
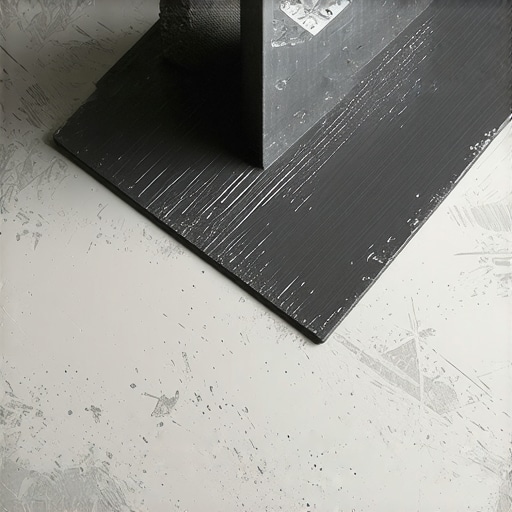
I’ll never forget the first time I met the ‘Black Death’ of flooring. I was standing in a 1960s kitchen, the sun hitting a floor I’d just stripped of its ugly yellow linoleum. Beneath it wasn’t a clean slate, but a thick, tar-like layer of black mastic. I thought I could just scrape it away with a little elbow grease and a heavy-duty blade. An hour later, my shoulders were screaming, my scraper was blunt, and I had gouged deep, jagged scars into the concrete slab. It was a disaster. I learned that day that when it comes to old adhesive, aggression is your enemy. You don’t want to fix one problem only to create a subfloor that looks like the surface of the moon.
Keep Your Slab Intact While the Mastic Vanishes
Removing old mastic is a test of patience that most of us want to skip. We want to get to the fun part—the expert flooring installation where everything looks shiny and new. But if you rush this, you’re going to pay for it later. I’ve seen so many DIYers—and even some pros who should know better—use a hammer drill hack that’s way too aggressive for soft concrete, leaving the homeowner with a repair bill before they’ve even bought their tile. The secret isn’t more power; it’s the right chemistry and a bit of finesse. We’re aiming for a surface that is perfectly smooth so you don’t run into common floor leveling challenges that make your new floor feel bouncy or uneven. [image_placeholder]
Does this sticky residue really matter for the next floor?
It’s the question everyone asks when they’re tired and covered in dust: Is it really worth the trouble? My short answer is a resounding yes. Old adhesives, especially the black cutback variety, are notorious for chemical migration. This means the oils in the old stuff can actually seep up through your new luxury vinyl or even cause your subfloor patching compound to delaminate and crack. According to the Resilient Floor Covering Institute, many pre-1980s adhesives contain asbestos, which means you cannot—and should not—dry-sand them. You need a method that keeps the slab cool and the dust down. I made the mistake once of thinking a little leftover residue wouldn’t hurt, only to have my beautiful new tiles start ‘clicking’ and moving six months later because they never properly bonded. Have you ever tried to ignore a problem during demo only to have it bite you in the end? Tell me your story in the comments. We’re going to walk through the precise floor leveling techniques and removal steps that ensure your slab stays healthy and your new floor stays put for decades.
Soften the Tar Before You Scrape a Single Inch
The biggest mistake I see is treating mastic like it’s just dry dirt. It’s more like a fossilized oil spill. To get it up without destroying the slab, you need a chemical stripper that actually penetrates the layers. I prefer soy-based products because they don’t have the brain-melting fumes of the old-school stuff, and they stay wet longer. 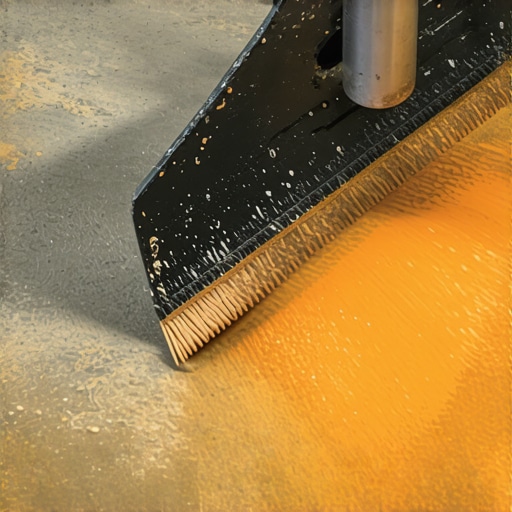
Wait for the Gunk to Go Liquid
I remember a job in Michigan back in 2014 where I was convinced a cheap scraper could beat a 40-year-old adhesive. I spent three hours and only cleared a square foot. It looked like I’d been wrestling a coal miner. I finally gave in, bought a gallon of soy-based remover, and let it sit overnight. The next morning, the tar was the consistency of chocolate syrup. I literally pushed it into a pile with a squeegee. That was the moment I realized that chemistry is better than muscle every single time. Apply it as thick as frosting on a birthday cake. If you can see the black through the stripper, you haven’t used enough. You need to let it sit until the mastic loses its grip on the concrete pores. This is the only best way to patch a concrete slab before leveling because it ensures the patch actually bonds to the stone, not the grease.
The Low-Dust Buffer Method That Saves Your Back
Once the chemicals have done their job, don’t just go at it with a hand scraper. For larger rooms, rent a floor buffer with a mastic removal attachment—usually a disc with diamond or carbide teeth designed to work wet. This keeps the dust down, which is vital if you’re dealing with older adhesives. Keeping the surface wet prevents any potential asbestos fibers from becoming airborne.
Turn That Sticky Mess Into Sludge for Easy Cleanup
As the buffer spins, it grinds the softened mastic into a thick slurry. Use a wet-dry vacuum with a HEPA filter to suck up the sludge as you go. If you let that slurry dry, it’s going to bond right back to the floor, and you’ll be back at square one. This deep cleaning is why precise floor leveling techniques to achieve flawless surfaces actually work. You can’t level over a layer of grease. If you skip the deep scrub, you’ll eventually see why your self-leveling compound is cracking like a dry lake bed when it fails to stick to the contaminated concrete.
Get a Clean Slate for Your Next Floor
After the sludge is gone, scrub the floor with warm water and a degreaser. You want the concrete to look like concrete again, not a stained driveway. This is the stage where you verify why you must prime concrete before every leveling job. Without a primer, the thirsty concrete will suck the moisture out of your new leveler or thinset, causing it to go brittle and fail. Once the slab is clean and dry, you’re finally ready to grab the 7 tools you actually need for a professional diy hardwood install and begin the installation process. A clean slab is a predictable slab, and in flooring, predictability is the difference between a floor that lasts thirty years and one that fails in three.Once you’ve cleared the ‘Black Death’ from your slab, it’s tempting to think the hard part is over. But this is exactly where I see most projects go south. Most people obsess over making a floor ‘level’ using a bubble tool, but in the world of high-end finishes, ‘level’ is often less important than ‘flat.’ You can have a floor that is perfectly level across the room but has a 1/4-inch dip in the middle that will cause your luxury vinyl floor to click every time you step on it. The National Wood Flooring Association (NWFA) defines a flat subfloor as having no more than 3/16-inch change over 10 feet. If you aren’t using a 10-foot straightedge to find those dips, you’re missing the most critical step in how to achieve flawless floor leveling before tile laying.
Stop Trusting the ‘Self’ in Self-Leveling Compound
A common myth is that self-leveling compound is a ‘pour and forget’ miracle. It isn’t. I’ve seen countless DIYers pour bag after bag only to end up with a wavy mess because they didn’t manage the surface tension or the ‘working time.’ This is one of the biggest flooring installation mistakes to avoid for lasting results. If you don’t use a spiked roller to release air bubbles, you’ll end up with a Swiss-cheese surface. Worse, if you don’t check the moisture levels of the slab first, that expensive compound will just pop right off. This is why learning how to use a moisture meter to prevent floor failure is the mark of a pro. Have you ever poured a leveler only to watch it crack or stay soft? Let me know in the comments; I’ve seen some wild ‘leveling’ disasters in my time. 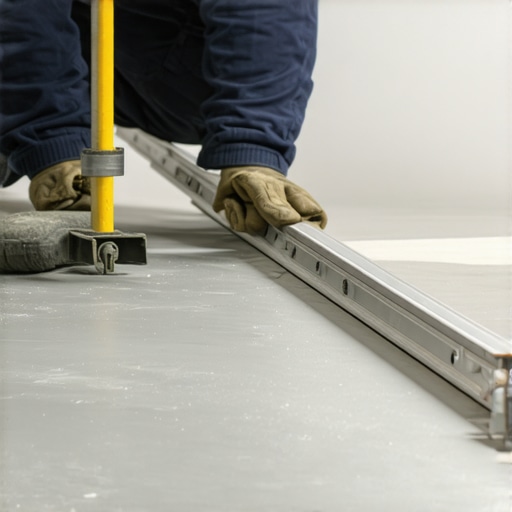
Why do my expansion gaps fail even when they meet the specs?
Experienced installers often run into a frustrating ‘trap’ where they leave the required 1/2-inch gap, yet the floor still buckles. The nuance here is often ‘pinch points’ at door frames or heavy kitchen islands. If you pin the floor down with a 500-pound island, you’ve essentially locked it in place, rendering the expansion gaps on the perimeter useless. This often leads to the dreaded scenario where your vinyl floor is tent peaking in the middle. For hardwood, the NWFA points out that humidity changes can move a floor more than you’d expect, especially with wider planks. If you’re doing a pro-level job, you need to understand that the floor is a living thing. These are the 7 signs your tile contractor is cutting corners on prep work: if they aren’t checking for these mechanical obstructions, the floor won’t last. Also, be careful with heat; I’ve seen many cases where floor leveler is cracking over radiant heat pipes because the installer used a standard mix instead of a fiber-reinforced one designed for thermal expansion. Digging into these nuances is what separates a weekend warrior from a craftsman.I’ve spent thousands on equipment over the years, but if I had to start from scratch, I’d grab a high-end pinless moisture meter before I even touched a scraper. Why? Because you can’t fight the laws of physics. According to the Laticrete Technical Data Sheet 230, the success of any installation is directly tied to the moisture vapor emission rate of the concrete slab. If you ignore this, you’re just building a sandcastle on a wet beach. I personally use a Tramex or Wagner meter because they allow me to scan the entire room without drilling holes in the customer’s slab—giving me a heat map of where the ‘Black Death’ residue might still be holding onto moisture. Learning how to use a moisture meter to prevent floor failure is the difference between a warranty-backed job and a DIY disaster.
Buy a Vacuum That Actually Sucks Up the Danger
When you’re grinding or scraping, that dust isn’t just annoying; it’s a health hazard. I never step onto a job site without a HEPA-certified vacuum hooked up to my shroud. If you are doing a step by step guide to flooring installation and leveling success, your lungs should be your first priority. I’ve found that the Pulse-Bac systems are worth every penny because they don’t clog every five minutes. It keeps the workspace visible and the homeowner happy. This prep is vital for how to achieve flawless floor leveling before tile laying. 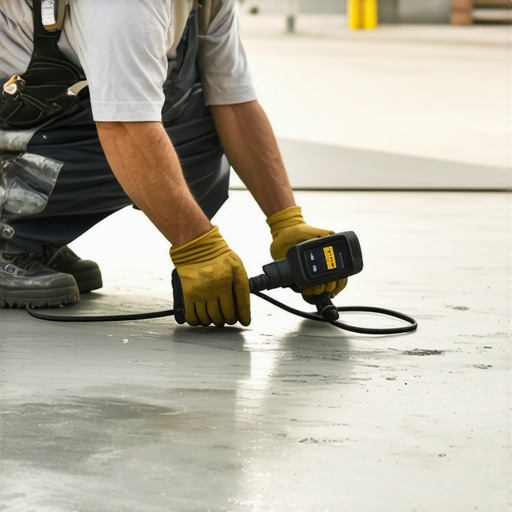
How do I maintain my floor’s integrity over the next decade?
Once the tools are packed away, the real work begins for the homeowner. The biggest killer of a beautiful floor isn’t foot traffic; it’s the wrong chemicals. I always tell my clients to throw away the bleach and the ‘steam mops’ that the commercials love so much. Steam is just forced moisture into the gaps you worked so hard to seal. Instead, follow the hardwood floor care secrets to longevity and shine by using pH-neutral cleaners and a microfiber pad. Also, remember how to clean hardwood floors after a major renovation matters because that fine construction dust is abrasive—it’s like sandpaper under your shoes if you don’t get it all up immediately. This is one of those flooring installation mistakes to avoid for lasting results.
Why Smart Sensors are the Future of Your Living Room
Looking ahead, I think we’re going to see a shift toward ‘smart’ subfloors. I’m already experimenting with Bluetooth moisture sensors that sit under the underlayment and alert your phone if a pipe leaks or the humidity spikes. It’s the ultimate insurance policy. If you really want to level up your game, grab the 7 tools you actually need for a professional diy hardwood install and add a high-quality straightedge to that list. My challenge to you: before your next pour, map out your floor’s high and low spots with a 10-foot straightedge and a pencil. You’ll be shocked at what you find. This simple step ensures you’re ready for the most expert flooring installation possible.
Why Your Prep Work Matters More Than the Tile Itself
Looking back at years of dust and debris, the lightbulb moment for me was realizing that I’m not just a flooring installer; I’m a subfloor preparation specialist. If you focus 90% of your energy on the slab, the actual layout becomes remarkably easy. One of the biggest flooring installation mistakes to avoid for lasting results is thinking that expensive materials can hide a poor or contaminated foundation. Concrete is porous and chemically active; if you don’t treat it with respect, it will fight your adhesive for the rest of its life. Noticing a contractor skip this deep-cleaning step is one of the 7 signs your tile contractor is cutting corners on prep work.
The Non-Negotiable Kit for a Professional Finish
I don’t go to any site without my ‘Holy Trinity’ of prep tools. First is a pinless moisture meter; it’s my absolute insurance policy against rot and delamination. I’ve detailed how to use a moisture meter to prevent floor failure because it remains the most critical diagnostic step in any renovation. Second, a 10-foot straightedge is the only way to find those long waves in a slab, which is the secret to how to achieve flawless floor leveling before tile laying. Finally, the 7 tools you actually need for a professional diy hardwood install should always include a high-quality scraper with replaceable carbide blades. I trust these tools because they provide hard data, and in flooring, data beats guesswork every single time. [image_placeholder]
Your Journey to a Flawless Floor Starts Below the Surface
Taking the time to remove old mastic and level your slab properly is a gift you give to your future self. When you finally walk across that finished room, you won’t just see a pretty surface; you’ll know it’s solid, quiet, and built to last. That confidence is what real craftsmanship is all about. Now that you know the secrets to a successful flooring installation, you’re ready to tackle that demo with a clear plan and the right chemistry on your side. What’s the weirdest thing you’ve ever found lurking under an old layer of linoleum or carpet? Let me know in the comments below!