

I’ll never forget the afternoon the sun finally betrayed my brand-new hardwood floors. I had spent a grueling weekend gathering the 7 tools you actually need for a professional DIY hardwood install, opting for the shiniest, most mirror-like finish I could find. It was gorgeous—until the light hit it at just the right angle. Every single microscopic scratch from my dog’s paws stood out like a neon sign. I felt defeated. If you’ve ever found yourself crawling on your hands and knees with a touch-up pen, you know exactly the frustration I’m talking about. That’s when I realized I’d made one of the most common flooring installation mistakes to avoid for lasting results. I had prioritized the showroom look over real-life durability. Today, I want to pull back the curtain on why matte finishes are actually the smarter choice for ninety percent of homeowners and how they can save your sanity. Have you ever regretted a high-gloss finish after seeing the first scratch? I’d love to hear your story in the comments below.
The Glaring Problem with That High-Shine Look
High gloss is the diva of the flooring world. It demands constant attention and screams when things aren’t perfect. The science behind it is actually pretty simple: specular reflection. A high-gloss surface acts like a mirror, reflecting light back at a single, consistent angle. When a scratch breaks that smooth surface, it interrupts the reflection, making the mark highly visible to the naked eye. This is especially true if you are trying to maintain hardwood floor care secrets to longevity and shine; sometimes, the shine itself is the enemy of the longevity part. Early in my DIY days, I thought shiny equaled clean. I spent a fortune on high-gloss poly, only to realize I’d basically turned my floor into a giant mirror for every speck of dust.
Is a matte finish actually worth the hype?
Absolutely, and here is why. While some worry it looks dull, matte finishes use a lower luster level—usually around ten to twenty-five percent—that diffuses light in multiple directions rather than reflecting it straight back at you. Instead of a mirror, think of it as a soft-focus lens. This diffusion is the secret weapon. When a scratch occurs on a matte surface, the scattered light doesn’t catch the edges of the groove nearly as much. According to industry insights from the National Wood Flooring Association, the shift toward lower sheen levels is largely driven by the practical need to mask the inevitable wear and tear of a lived-in home. By choosing a matte finish, you are essentially building a safety net into your floor’s aesthetic. It allows you to focus on mastering hardwood floor refinishing expert tips without the constant anxiety of a single grain of sand ruining your day. This transition from a high-maintenance gloss to a forgiving matte is the first step toward a home that looks great even when life gets a little messy.
Why you must start with a perfectly flat subfloor
The core of a great floor is the stuff you never see. Think of your subfloor like the foundation of a house; if it’s wonky, everything else will eventually fail. I learned the hard way during a guest room project where I skipped the leveling phase. A month later, the boards started clicking like a metronome every time I walked across the room. If you find low spots, use the chalk dust secret for finding low spots in subfloors to map out exactly where the floor dips. It’s a low-tech trick that works better than a laser level in small, cramped spaces. Once you have your map, applying the ultimate guide to floor leveling for a perfect finish principles ensures your planks sit dead flat against the substrate, preventing the vertical movement that eventually snaps tongues and grooves.
Stop the dust storm before it ruins your finish
Sanding is the most physically demanding part of the process, but it is also where the magic happens. I used to think I could just wing it with a hand sander, but for a whole room, you need the big guns—a drum sander and an edger. However, you cannot just tear into the wood. You must know how to sand a hardwood floor without creating a massive dust cloud, or you will be cleaning sawdust out of your curtains and vents for the next three years. I once finished a floor and applied the first coat of matte poly, only to see thousands of tiny specks of dust trapped forever in the finish because I didn’t vacuum the walls and window sills first. That grit acts like tiny pebbles under your feet and destroys the smooth feel of a matte surface. 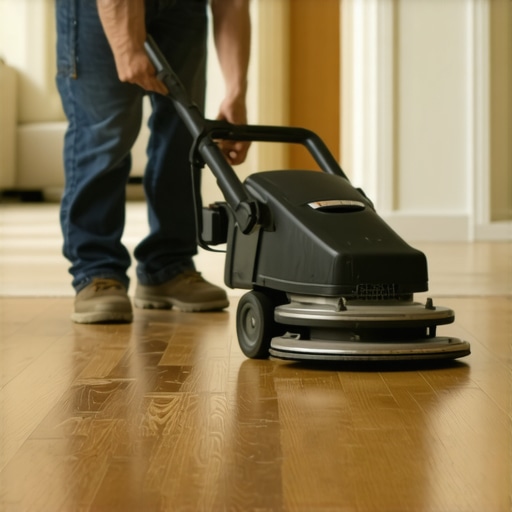
Trust your moisture meter over your eyes
Moisture is the silent killer of hardwood. Wood is essentially a giant sponge; if you install it while it is too wet, it will eventually shrink and leave massive gaps. If it is too dry when installed, it will buckle and crown. I always keep a meter handy because you simply cannot tell by looking or touching if the wood has acclimated properly. Learning how to use a moisture meter to prevent floor failure is the difference between a floor that lasts decades and one that needs replacing in two seasons. During a basement remodel last year, I rushed the install without checking the slab moisture, and within two weeks, my beautiful wide planks looked like curved Pringles chips. I had to rip out the entire middle section—a mistake that cost me both time and a lot of money.
Merge different floors without those ugly transition strips
A truly professional look comes from the fine details where the wood meets the wall or another room. Instead of using those chunky, raised T-moldings that everyone eventually trips over, try how to get a seamless look with different flooring types. It takes more patience to undercut the door jambs and match the heights of the subfloors, but the result is a visual flow that makes your home feel twice as large. Use the right way to undercut baseboards for a clean flooring finish to ensure your expansion gaps are hidden under the trim without needing ugly shoe molding or quarter round in every corner. This level of precision is what separates a DIY ‘good enough’ job from a floor that looks like it belongs in an architectural magazine.
Stop trusting the waterproof label on your laminate
Most homeowners walk into a big-box store and see a giant ‘100% Waterproof’ sticker on a box of laminate or luxury vinyl, thinking it means the floor is invincible. This is a dangerous trap. While the planks themselves might be impervious to water, the system as a whole is not. I’ve seen countless DIYers skip a moisture barrier because they bought waterproof flooring, only to find their boards warping six months later. The moisture isn’t coming from a spilled drink; it’s coming from the concrete slab below. In my experience, you should never skip a moisture barrier even if the floor feels dry. Without it, hydrostatic pressure can force vapor through the seams, leading to mold or that annoying ‘squishy’ feeling when you walk. Have you ever fallen into this trap? Let me know in the comments below.
Why do porcelain tiles crack more often than ceramic on wood?
It sounds counterintuitive because porcelain is denser and stronger, but that density is exactly why it’s less forgiving. According to the Tile Council of North America (TCNA), porcelain requires a much stiffer subfloor—specifically a deflection rating of L/360 or better—to prevent cracking. Because porcelain doesn’t flex, any slight bounce in your floor joists will snap the tile rather than allow it to move. If you are installing porcelain over a wood subfloor, you must ensure your joist spacing and plywood thickness meet these rigid standards, or you’ll be replacing grout and tiles within a year. 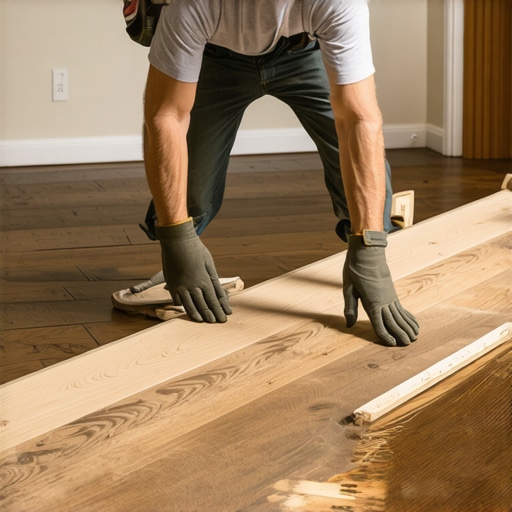
The trowel mistake that leads to hollow sounding floors
A common belief is that more thinset is always better. I once watched a neighbor ‘butter’ his tiles with a flat trowel, thinking he was creating a stronger bond. In reality, he was creating air pockets. You must use the correct notch size to create ridges that collapse and provide 100% coverage. If you don’t, you end up with hollow-sounding tiles that crack the first time you drop a coffee mug. Always check your coverage by pulling up a tile immediately after setting it; if you don’t see full contact, your trowel teeth are likely too small.
Why wide planks need more than just a few nails
If you’ve fallen in love with the look of seven-inch wide European oak, you need to know that traditional nailing isn’t enough. Wide planks have more surface area to expand and contract, which exerts incredible force on the fasteners. This is why wide planks often require a glue-assist method. By applying a serpentine bead of adhesive along with your cleats, you essentially ‘lock’ the center of the board to the subfloor while allowing the edges to breathe. It’s an extra step that adds cost, but it’s the only way to prevent the dreaded ‘cupping’ that ruins expensive wide-plank installations. When you focus on expert flooring installation tips like these, you aren’t just making it look good for the weekend; you are building a floor that stays flat for a lifetime.
Grab a dead blow hammer to save your edges
I used to use a standard rubber mallet for everything until I realized it was leaving subtle black scuff marks on my light oak. Now, I swear by a one-pound dead blow hammer. It delivers a solid thud without the bounce, which is essential for why you should use a dead blow hammer for floor capping. This tool allows you to seat the boards tightly without damaging the delicate tongue and groove system, especially on those final rows where space is tight. 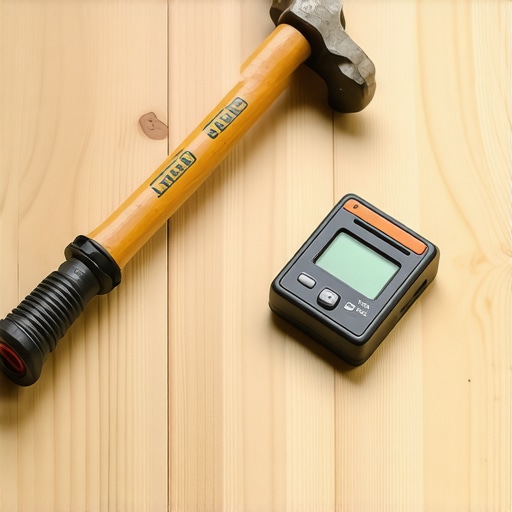
How do I maintain these floors over time without ruining the finish?
People often think matte is maintenance-free, but longevity is really about avoiding the wrong chemicals. The biggest mistake is reaching for whatever is under the kitchen sink. You must stop using vinegar on your hardwood floors immediately. The acidity breaks down the protective polyurethane over time, leaving the wood vulnerable to spills and scratches. Similarly, why you should never mop your floors with dish soap is a matter of residue; surfactants leave a sticky film that actually attracts more dirt and dulls the look of the wood. Stick to pH-neutral cleaners specifically formulated for your finish to keep those hardwood floor care secrets to longevity and shine working for you.
Prime your concrete or watch your leveler peel
If you are prepping a large area for tile, you likely already know how to achieve flawless floor leveling before tile laying. However, many DIYers skip the most critical step: the primer. You must understand why you must prime concrete before every leveling job. Without it, the porous concrete slab will suck the moisture out of your self-leveling compound too quickly. This prevents the chemical bond from forming and leads to a brittle layer that eventually cracks under the weight of the tile. In my experience, a simple coat of acrylic primer can save you thousands in future repairs.
Technical standards that prevent grout failure
A professional result isn’t just about the tools; it is about following established engineering standards. The Tile Council of North America (TCNA) Handbook, specifically the EJ171 standard, emphasizes the necessity of movement joints in every tile installation. If you ignore the expansion joint secret for large tiled living areas, your grout will inevitably fail as your home naturally expands and contracts with the seasons. I’ve seen beautiful porcelain jobs ruined by ‘tenting’ simply because the installer didn’t leave room for the floor to breathe at the perimeters. Looking forward, I predict the industry will move toward bio-based, self-healing resins in finishes that can autonomously repair micro-scratches. Until that tech hits the local hardware store, staying vigilant with your current flooring installation mistakes to avoid for lasting results is your best defense. Next time you start a project, don’t just grab a standard mallet; invest in a proper dead blow hammer and see how much easier it is to achieve a tight, professional fit.
The Hardest Lessons I Learned on My Hands and Knees
I have spent hundreds of hours staring at floor joists and grout lines, and if there is one thing I can tell you, it is that the prep isn’t just a separate phase—it is the actual job. If you rush through the subfloor, you are simply decorating a future problem that will eventually click, pop, or crack. I also learned that good enough usually isn’t, especially regarding moisture levels. I now always follow a step-by-step guide to flooring installation and leveling success to keep my sanity intact. Lastly, never underestimate how much natural lighting changes the look of a finish; what looked like a perfect sheen at the showroom might highlight every microscopic dog scratch in your sun-drenched living room. Putting in the effort to utilize mastering floor leveling pro secrets for perfect installations before you lay the first plank is the only way to sleep soundly at night.
The Gear That Saved My Back and My Wallet
You do not need a warehouse full of specialized machinery, but you do need a few high-stakes tools that do the heavy lifting for you. First, a high-quality moisture meter is non-negotiable; it is your only real defense against wood warping or tile failure. Second, for any tile job, applying precise floor leveling techniques to achieve flawless surfaces will save you from the nightmare of lippage and uneven grout lines. I also highly recommend keeping the TCNA Handbook nearby for technical engineering standards and always having a one-pound dead blow hammer ready for seating stubborn planks without marring the wood. These are not just gadgets; they are the difference between a frustrating weekend and a professional-grade renovation. #IMAGE_PLACEHOLDER_E#
Your Path to a Professional Finish Starts Here
A new floor is a massive investment in your home, but it is also one of the most rewarding DIY projects you can tackle. By focusing on the hidden details and avoiding the common flooring installation mistakes to avoid for lasting results, you are creating a space that will stand up to the chaos of daily life while looking incredible. Don’t be afraid to take that first step—just make sure it is on a perfectly flat, dry subfloor! Have you ever run into a surprise subfloor issue halfway through a project? Let me know your best save-the-day stories in the comments below.