
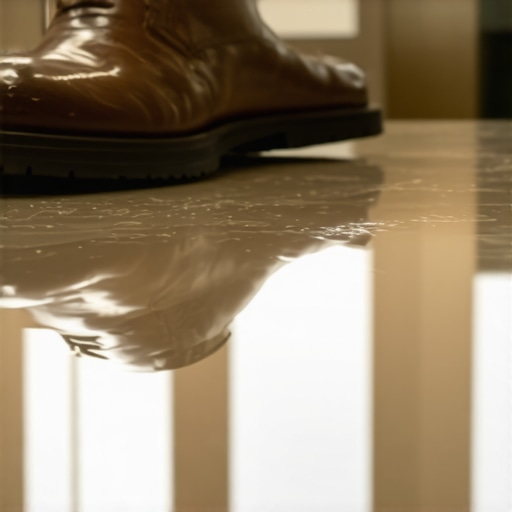
I’ll never forget the sound of that digital tester beep-beeping its way to a failing grade. It was my first big restaurant contract, and I had installed a gorgeous, polished porcelain that I thought was the peak of sophistication. I stood there, clipboard in hand, watching my profit margin evaporate as the inspector explained that “looking clean” isn’t the same as “walking safe.” I had made the classic rookie error of prioritizing aesthetics over friction, a mistake that nearly cost me my license.
Your Floor Might Be Pretty But Is It Actually Safe?
Most people think slip resistance is just about how rough a floor feels to the touch. It’s not. I’ve seen tiles that felt like sandpaper fail the test because of how they reacted to grease or water. We’re going to fix your failing grades today by looking at what’s actually happening between the shoe and the surface. Whether you are dealing with why your commercial kitchen needs slip-resistant quarry tile or a retail lobby, the science remains the same. I’m going to show you why your current maintenance or installation choice is working against you.
Is the slip test just a way for inspectors to annoy you?
It feels like a racket sometimes, doesn’t it? You pay for the material, you pay for the flooring installation fundamentals, and then someone tells you it’s illegal to walk on. But here is the reality: slip and fall accidents are the leading cause of workers’ comp claims. According to the National Floor Safety Institute (NFSI), falls account for over 8 million hospital emergency room visits annually, representing the leading cause of visits at 21.3%. That’s not a number you want your business to be part of. Early in my career, I ignored why high gloss tile is a safety hazard in mudrooms and public entries, thinking I could just “seal my way out of it.” I learned the hard way that a topical sealer is often a temporary band-aid that can actually lower your Dynamic Coefficient of Friction (DCOF) over time. If you’ve ever seen why your commercial vinyl is scuffing under rolling chairs, you know how quickly a surface can degrade and lose its grip. Have you ever had a floor pass the initial inspection only to fail six months later? It’s a common nightmare that keeps business owners up at night. To get that passing grade, you need to stop guessing. It starts with the secret to getting a flat floor for large format tiles because even slight lippage can mess with the way a tester reads the friction of a surface. Let’s dig into the specific reasons your numbers are coming up short.
Fix the foundation before you worry about the friction
Even the best slip-resistant tile will fail if it is installed on a wavy subfloor. Think of it like a car tire: if the road is full of potholes, you lose the necessary contact area to maintain grip. I once ignored a slight 1/4-inch dip in a commercial kitchen installation, and the DCOF tester literally skipped over the low spot, giving us an inconsistent reading that the inspector flagged immediately. You need to be mastering floor leveling pro secrets for perfect installations to ensure that your testing equipment makes 100% contact with the surface. If you do not have a perfectly flat plane, you are just gambling with the results. Most inspectors won’t even finish the test if they see significant lippage or dips.
The Velcro effect and why your primer choice matters
Slip resistance is not just about the top layer; it is about how that layer stays bonded to the substrate. If your sealer or anti-slip coating de-laminates, the friction numbers mean nothing. I remember a job in a high-traffic lobby where we applied a slip-resistant epoxy over a floor that was not properly prepped. Two weeks later, the coating was coming up in strips. It looked like a bad sunburn. This usually happens because the surface was not etched or the wrong primer was used. You have to understand why your floor primer is peeling off like a sunburn before you even think about the final finish. Use a mechanical grind or a high-quality chemical etchant to create a profile for the finish to bite into. It is like trying to tape something to a dusty table—it just will not hold. Always start by finding the best way to prep a dusty concrete floor for adhesive or coatings to ensure that the friction-enhancing additives stay exactly where you put them.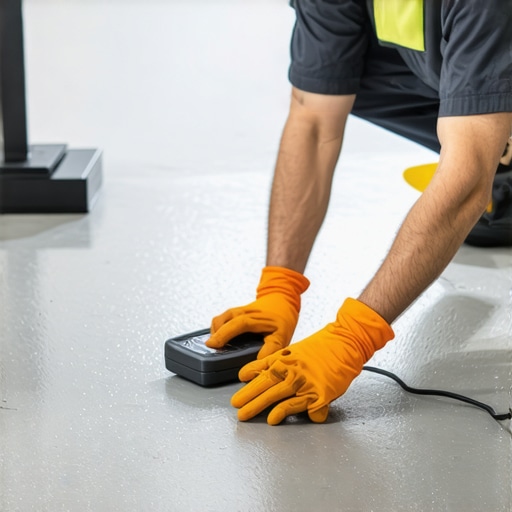
Stop using the wrong soap on your safety floors
This is the most common reason floors fail their six-month follow-up. Most commercial cleaners leave behind a microscopic film of surfactant. Over time, this film fills in the microscopic peaks and valleys of your slip-resistant tile, turning a safe surface into a slide. I have seen beautifully installed quarry tile become dangerous because the janitorial crew was using a “mop and shine” product. These products are effectively liquid wax. If you are learning how to achieve flawless floor leveling before tile laying, you have already done the hard work of creating a flat plane; do not ruin it by clogging the pores of the material. Stick to pH-neutral cleaners that do not leave residues to keep those safety numbers high.
Why your grout lines are your best friend or worst enemy
In wet areas, grout provides a natural break in the surface that helps channel water away from the shoe’s sole, much like the treads on a rain tire. However, if the grout is too high (overfilled), it creates a smooth bridge that reduces the overall friction of the floor system. Conversely, if it is too low, it creates a trip hazard. This is one of those flooring installation mistakes to avoid for lasting results. You want a flush or slightly recessed joint to maximize the mechanical grip of the tile edges themselves. I once had to regrout an entire 2,000-square-foot locker room because the installer over-washed the joints, making the transitions so sharp they were catching the rubber feet of the testing tripod and giving false readings.
The Texture Trap: Why Rough Surfaces Can Still Fail
Most contractors believe that a rough, sandpaper-like finish is the ultimate defense against slip-and-fall lawsuits. I used to think the same until I saw a ‘non-slip’ tile fail a BOT-3000E test in a commercial lobby. The contrarian truth is that excessive roughness can actually be a liability. If the surface texture is too tight, it prevents water from dispersing, creating a microscopic layer of fluid that your shoe simply glides over. You need surface ‘valleys’ deep enough to move liquid away from the point of contact. This is why precise floor leveling techniques to achieve flawless surfaces are so vital; you need that flat plane for the texture to work as engineered. 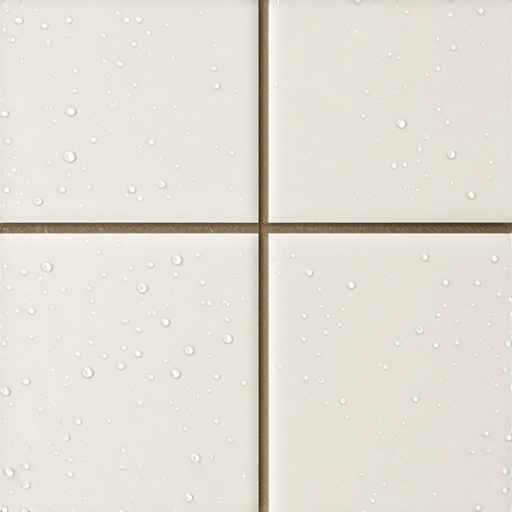
Does high-tech testing really beat the old-school foot-slide test?
For decades, we relied on the ‘foot-slide’ or static tests, but the industry has evolved. According to the ANSI A326.3 standard, which is the gold standard for modern flooring, the industry now focuses on the Dynamic Coefficient of Friction (DCOF). Static tests only measure what it takes to start a slip, but DCOF measures the friction while you are already in motion. If you are aiming for a safe commercial space, you should be looking for a DCOF value of 0.42 or higher for level indoor floors expected to be walked upon when wet. If you are struggling with your finish, checking out the ultimate guide to floor leveling for a perfect finish can help ensure your substrate isn’t throwing off your digital meter readings.
Stop watering down your chances of success
The biggest ‘oops’ factor I see with advanced installations involves self-leveling underlayments. It is tempting to add just a splash more water to the bucket to make the product flow like milk. Do not do it. Over-watering causes the polymers to separate from the cement, leading to a weak, powdery surface that will never hold a bond. This is exactly why your self-leveler developed spiderweb cracks overnight. If the foundation is brittle, your anti-slip coating will peel off like tape, regardless of how much you spent on the material. Use the roller selection that prevents air bubbles in leveler to maintain the integrity of the mix. Another nuance people miss in hardwood is the ‘crowning’ effect. It is not always about spills on top; it is often the moisture from a damp subfloor pushing up. If you do not know why your hardwood floor is crowning and how to dry it out, you might sand the ‘humps’ flat, only to have the floor turn into a series of valleys once it finally dries. Have you ever fallen into this trap where a ‘safe’ tile turned into an ice rink or your leveler crumbled under your feet? Let me know in the comments.
Stop guessing with your eyes and start using a moisture meter
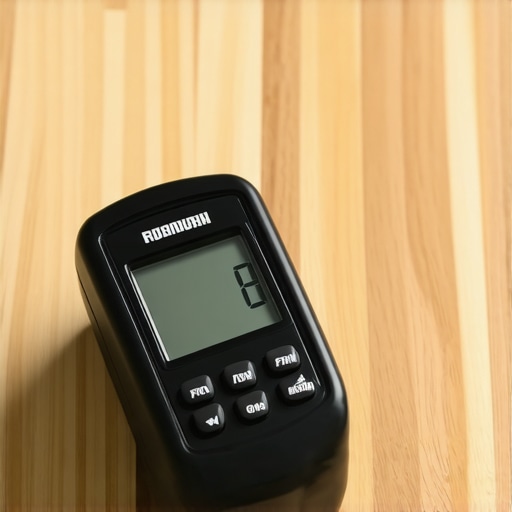
If you’re serious about this, you need to stop eyeballing things. I don’t go onto a job site without my Wagner Meters Orion 950. Why? Because pins are for amateurs. I need to know exactly what’s happening three-quarters of an inch deep into the wood without leaving a single mark. You should be learning how to use a moisture meter before you lay wood floors like your career depends on it—because it does. I’ve seen too many guys lose tens of thousands because they didn’t check the slab moisture. It is the silent killer of beautiful installs.
How do I maintain my floor’s slip resistance over time?
The secret isn’t a special chemical; it’s actually a lack of chemicals. Most people kill their floors with ‘shine’ products. If you want to keep that DCOF rating, you need a high-quality pH-neutral cleaner. The Tile Council of North America (TCNA) specifies in their Handbook that residues are the number one cause of decreased slip resistance in commercial settings. I personally recommend a dual-bucket system to ensure you aren’t just spreading dirty water around. If you’ve invested time into mastering hardwood floor refinishing expert tips for 2025, don’t ruin it with a steam mop. Those things are finish-killers. In fact, understanding hardwood floor care secrets to longevity and shine is just as important as the install itself.
Ditch the standard level and grab a digital inclinometer
A 6-foot bubble level is great for framing, but for precise floor leveling techniques to achieve flawless surfaces, I’ve switched to a digital inclinometer. It gives me a decimal reading. When you are trying to meet the strict 1/8-inch-in-10-foot requirement for large format tiles, ‘eyeballing the bubble’ isn’t enough. You need to be mastering floor leveling pro secrets for perfect installations with tools that don’t lie. I also swear by a high-frequency vibratory plate for setting those tiles—it collapses the ridges of the thinset better than any hand-beating ever could. It ensures 95% coverage, which is what you need for a floor that lasts decades instead of months.
Where the flooring world is headed in the next five years
I predict we are moving toward ‘sensor-embedded’ subfloors. We are already seeing prototypes of moisture-sensing underlayments that can alert your phone if a leak starts under your LVP. If you are installing tiles like a pro with step-by-step strategies for 2025, you’ll soon be dealing with smart leveling compounds that change color when they reach the perfect moisture content for bonding. It’s an exciting time to be in the trade, but only if you stay ahead of the curve. Before your next project, go out and buy a quality digital moisture meter—it’s the single best investment you’ll make this year. Don’t let a wet slab turn your reputation into a cautionary tale.
Hard Truths From a Decade on the Job Site
Looking back, my biggest lightbulb moment wasn’t about the tile itself, but the physics of what happens under it. I realized that a floor isn’t just a surface; it’s a multi-layered system. If you try to save money by skipping the primer, the whole system fails. Another hard truth? Most slip-and-fall lawsuits aren’t caused by bad tile—they’re caused by poor maintenance. You can install the most advanced safety material, but if a wax-based cleaner is used, your liability goes through the roof. Finally, never trust a slab that looks dry. Concrete is a sponge, and it will humble you if you don’t test it. I’ve had my share of floor leveling challenges common mistakes and how to avoid them, and every one of them started with overconfidence and ended with a re-pour.
The Essential Gear for a Professional Finish
If you want to move from handyman to expert, you need the right gear. First, get a high-quality moisture meter; it’s the only way to be certain before you lay wood. Second, ditch the bucket-mixing by eye and use a calibrated measuring pitcher for your leveler to avoid the structural issues we’ve discussed. I also highly recommend keeping a current digital copy of the TCNA Handbook. For those looking for tile installation pointers that save time and money, having the industry standards at your fingertips is the best way to win an argument with a difficult inspector or a skeptical client. #IMAGE_PLACEHOLDER_E#
Take Pride in Your Next Installation
Flooring is one of the few trades where your work is literally the foundation of someone’s life. When you take the time to follow a step-by-step guide to flooring installation and leveling success, you aren’t just laying down a product; you’re providing peace of mind. Don’t be intimidated by the technical standards or the new sensor technology. Take it one slab at a time, and remember that every mistake is just a lesson you won’t have to learn twice. Whether you want to revamp your home with expert flooring installation tips or tackle a massive commercial lobby, your commitment to the craft is what sets you apart. Have you ever had a client accidentally ruin their own floor’s slip resistance with the wrong cleaner? Let me know your horror stories in the comments!