
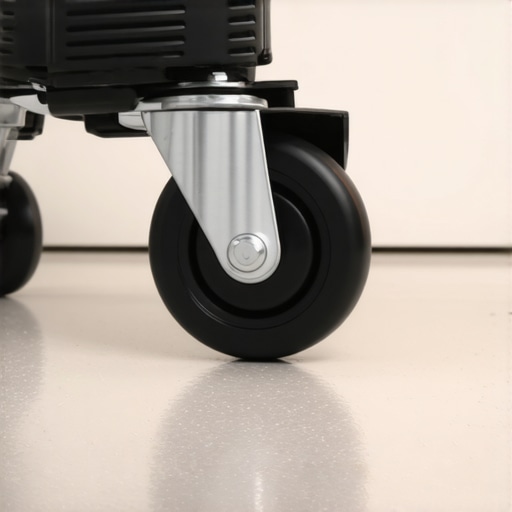
I stood there, lukewarm coffee in hand, staring at the floor of what was supposed to be a high-end boutique office. My heart absolutely sank. Those heavy-duty luxury vinyl planks I had bragged about just three months prior? They looked like they had been used as a practice rink for a local hockey team. The culprit wasn’t some industrial accident; it was just a standard office chair with standard casters. I felt like a total amateur, realizing that my ‘bulletproof’ recommendation was failing right before my eyes.
Stop Blaming the Office Chair for Your Ruined Vinyl
It is incredibly easy to point the finger at the person sitting in the chair, but usually, the problem started long before they ever sat down. Early in my career, I made the classic mistake of assuming that ‘commercial grade’ was a magic shield that could withstand anything. I didn’t realize that floor leveling challenges play a massive role in how the surface handles rolling loads. If there is even a slight dip in the subfloor, that chair wheel isn’t just rolling; it is grinding. When you skip mastering floor leveling techniques, you are essentially setting a trap for your vinyl. The localized pressure from a rolling load can be immense. According to the Resilient Floor Covering Institute (RFCI), rolling loads exert concentrated pressure that can easily exceed 2,000 PSI at the point of contact. If your subfloor isn’t perfectly flat, that pressure is focused on the edges of the planks, leading to those unsightly white scuffs and premature wear.
Does commercial grade flooring actually live up to the marketing?
You probably spent a fortune on 20-mil or 22-mil wear layers, thinking you were safe from any possible damage. I’ve been there. I once installed a beautiful floor without properly leveling for a seamless look, only to see the ‘durable’ finish peel like a bad sunburn. We often focus so much on the thickness of the vinyl that we forget about the friction between the casters and the floor. Have you ever noticed those white cloudy marks under your desk and felt like you wasted your hard-earned money? You are not alone, and the good news is that it is often a fixable issue involving caster replacement or topical protectors rather than a full tear-out. Whether you are dealing with choosing the right hardwood floors for a home office or maintaining vinyl in a retail space, the physics of rolling weight remains the same. Let’s look at how we can actually protect that investment before the damage becomes permanent.
Flatten the Subfloor to Save Your Joints
Imagine your vinyl plank is a thin sheet of glass. If you place it on a pile of sand and step on it, it snaps. While vinyl is flexible, that constant ‘micro-flexing’ under a rolling chair eventually leads to what we call ‘fatigue failure.’ I learned this the hard way on a project in a downtown loft. The floor looked flat to the naked eye, but there was a subtle trough right where the desk sat. After three weeks of the client rolling back and forth, the clicking started. That’s a classic sign that why your lvp floor is showing telegraphing from the subfloor wasn’t just a cosmetic worry—it was structural. You need to use a straightedge to find every dip. If you are dealing with a significant slope, you have to know how to level a floor that has a 2 inch drop across the room before you even think about clicking those planks together. When pouring leveler, pay attention to the roller selection that prevents air bubbles in leveler, because those tiny pinholes can become weak points under the weight of a heavy executive chair.
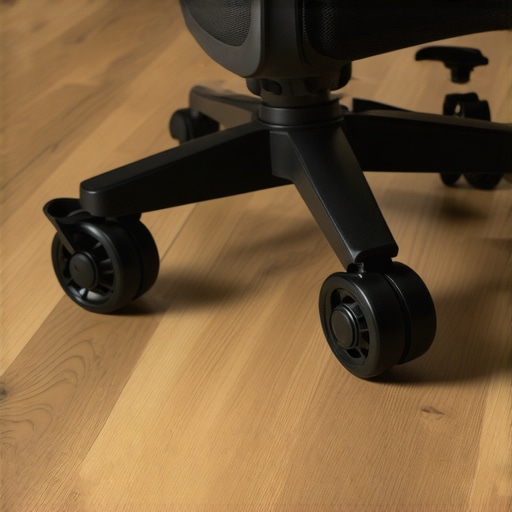
Swap Those Pizza-Cutter Wheels for Soft Rubber
Most office chairs come with ‘twin-wheel’ casters made of hard nylon. On a microscopic level, these are basically industrial grinders. They trap tiny grains of grit and press them into your wear layer. Think of it like sandpaper attached to a steamroller. A few years ago, I did a high-end install for a home office, and the homeowner insisted the factory wheels were fine because they were ‘brand new.’ Within six months, the matte finish was a clouded mess. Now, I tell everyone to immediately upgrade to soft polyurethane casters. They look like rollerblade wheels and distribute the weight much more evenly. If you have already noticed a dip in the floor’s performance, you might need to figure out how to fix a soft spot in the middle of a laminate floor or vinyl layout before the damage spreads to the core. This isn’t just about aesthetics; it’s about mechanical preservation.
Use a Barrier That Actually Stays Put
If you are not ready to swap your wheels, you need a physical barrier, but please, skip the cheap plastic mats from the big-box stores. They trap moisture and grit underneath, acting like an abrasive pad against your finish. For those who prefer a more permanent look, hardwood floor care secrets to longevity and shine often apply to high-end vinyl as well—specifically the use of felt-backed or woven protectors that allow the floor to ‘breathe.’ In commercial settings, I often suggest the heavy traffic solution for retail store entryways logic for office pods: use a low-profile, modular carpet tile area. It breaks the friction and saves the vinyl from the 2,000 PSI pressure points. I once saw a designer try to use a glass mat over an unlevel floor; the mat shattered within a week because the subfloor flexed. It always comes back to the foundation.
I often hear people say that as long as they buy the thickest wear layer available, they are immune to floor failure. This is one of the most persistent myths in the industry. While a heavy wear layer protects against surface abrasion, it does absolutely nothing to protect the integrity of the core or the bond to the subfloor. I have walked onto countless job sites where a high-end, 22-mil vinyl was buckling or delaminating not because of foot traffic, but because the installer failed to recognize basic flooring installation mistakes to avoid for lasting results. You can have the toughest surface in the world, but if the chemistry underneath is wrong, it is just an expensive mistake waiting to happen.
Don’t Let a Thick Wear Layer Fool You
The real nuance that separates a pro from an amateur is understanding moisture vapor. Most people think ‘waterproof’ means you can submerge the plank in a bucket of water and it stays perfect. That might be true for the plank itself, but it is not true for the installation system. When you trap moisture between a non-breathable vinyl plank and a concrete slab, you create a greenhouse effect. This can lead to mold, adhesive failure, and even ‘cupping’ of the vinyl. According to the National Wood Flooring Association (NWFA), moisture-related issues are responsible for more than 75% of flooring failures in North America. This is why you must learn how to use a moisture meter before you lay wood floors or vinyl products. If you do not have a meter, at the very least, use the painters plastic trick for testing concrete moisture to see if your slab is exhaling vapor that will eventually destroy your floor.
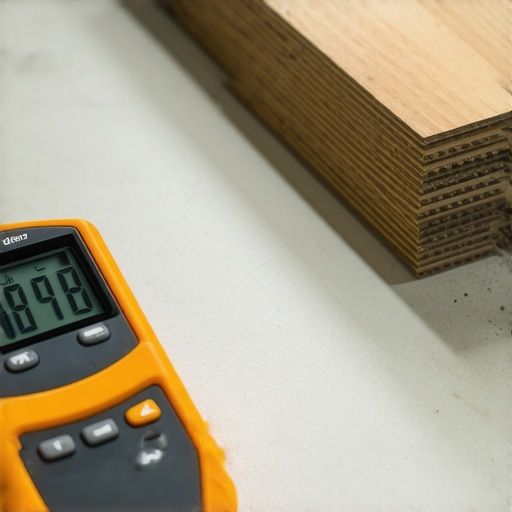
Can you really trust a waterproof label when your slab is sweating?
The short answer is: no. If your subfloor has high hydrostatic pressure, that moisture will eventually find a way out, usually through the seams. I once saw a project where the installer thought he was being clever by skip-prepping a damp basement. Within weeks, the edges were ‘peaking’—that’s when the joints push upward. This happened because the vapor was trapped and the pressure had nowhere else to go. This is a classic example of why why your self-leveler developed spiderweb-cracks overnight isn’t just about the mix; it’s about the environment. You have to address the source of the dampness, not just cover it with a ‘waterproof’ plastic board. Have you ever fallen into this trap? Let me know in the comments.
Why Your Cleaning Routine is Actually Killing Your Finish
The final ‘oops’ factor I see even seasoned homeowners commit is the cleaning method. There is a massive misconception that ‘natural’ is always better. I have seen beautiful marble and vinyl finishes ruined because someone followed a DIY blog’s advice to use vinegar. Please, avoid the vinegar mistake that eats through your natural stone tiles and degrades the protective topcoat of your LVP. Similarly, the industry is seeing a surge in failures due to heat. We need to talk about the truth about using steam mops on luxury vinyl planks. The high-pressure steam can actually force moisture into the joints and melt the glue that holds the wear layer to the core. It is a fast track to delamination that no warranty will cover. Longevity isn’t just about the installation; it is about the chemistry of how you live on the floor afterward.
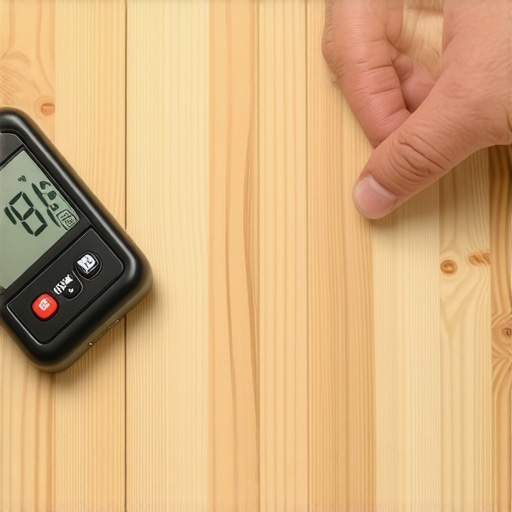
I have spent a decade learning that the most expensive tool in your arsenal isn’t necessarily the one that cuts the wood; it’s the one that tells you when the environment is wrong. If you want to move beyond being a weekend warrior, you need to invest in a high-quality pinless moisture meter. I’ve seen more installers fail because they didn’t know how to use a moisture meter before you lay wood floors than for any other reason. It isn’t just a gadget; it’s your insurance policy against a $10,000 failure. When I’m on a job, I map out the subfloor moisture on a grid, looking for consistency. If one corner is 3% higher than the rest, I know I have a drainage issue outside or a pipe weeping inside that needs to be addressed before a single plank hits the ground.
The Professional Tool Kit That Keeps My Sanity
Beyond the meter, my ‘secret weapon’ for long-term results is a set of precision levels. I’m not talking about the beat-up 4-foot level you keep in the garage. I use an 8-foot professional-grade straightedge to check for the tiniest deviations. I’ve found that mastering floor leveling requires seeing what the naked eye misses. I also swear by specialized pH-neutral cleaners that are specifically formulated for cross-linked polymer wear layers. Most people grab whatever is on sale, but according to the Resilient Floor Covering Institute (RFCI), using cleaners with a pH outside the 6-8 range can cause micro-etching that dulls the finish over time. This is why hardwood floor care secrets to longevity and shine always emphasize chemistry over elbow grease.
How do I keep my high-end floors from aging prematurely?
The answer lies in a proactive defense strategy rather than reactive cleaning. First, you must address the entry points. I always recommend the heavy traffic solution for retail store entryways logic for residential homes: use high-quality walk-off mats that catch grit before it acts as sandpaper on your finish. Second, you need to periodically inspect the seams. If you notice any lifting, you might be facing expert flooring installation tips regarding expansion gaps that were cut too tight. Looking ahead, I predict we will see smart-flooring integration where sensors embedded in the underlayment alert homeowners to subfloor moisture spikes before they ever see a warped plank. Until then, stay vigilant with your manual checks.
For those of you dealing with older installations, don’t lose heart. You can often breathe new life into a dull surface by mastering hardwood floor refinishing expert tips for 2025, which often involve specialized buffing techniques rather than a full sand-down. My best advice? Go out today and buy a pH-neutral cleaner specifically labeled for your floor type. It’s a five-minute switch that could double the life of your investment. Don’t wait for the cloudy haze to appear before you change your routine.
Hard-Won Truths from a Decade on My Knees
Looking back at that office floor disaster, I realized that my biggest enemy wasn’t the chair—it was my own ego. I thought I could outsmart physics by buying ‘premium’ materials. The reality is that no product can compensate for a rushed foundation. If I had simply slowed down and followed a step-by-step guide to flooring installation and leveling success, those planks would still look brand new. Another lesson? Don’t trust ‘waterproof’ marketing to save you from a sweating slab. Always verify the environment yourself. Lastly, the sound of your floor tells a story; if it clicks or bounces, it is screaming for help, and you need to listen before the locking systems fail. I have also learned that it is vital to know how to detect a hollow tile before the grout starts cracking, as those same air pockets under vinyl lead to the exact same structural fatigue.
Tools That Stop Disasters Before They Start
If you want to move from amateur to expert, you have to stop guessing. My personal toolkit isn’t full of fancy gadgets, but it is built on reliability. First, I never start a job without checking the ultimate guide to floor leveling for a perfect finish to ensure my straightedge is finding every hidden dip. Second, I always keep a collection of tile installation pointers that save time and money handy, because many of those rigid-core principles apply perfectly to heavy vinyl. Third, I highly recommend investing in a set of ‘rollerblade-style’ polyurethane casters for any office chair. These are the single most effective way to prevent the localized PSI from crushing your wear layer. Finally, keep a high-quality pinless moisture meter in your truck—it is the only way to truly know if your subfloor is ready for its new covering.
Go Build a Floor That Lasts a Lifetime
Flooring isn’t just about what you see on the surface; it is about the integrity of every layer underneath. You now have the knowledge to avoid the heartbreak of a ruined finish. Don’t be afraid to take your time on the prep work, as that is where the real magic happens. By respecting the subfloor and choosing the right protection, your flooring installation will remain a point of pride for years to come. You have the tools, the techniques, and the insight to do it right the first time. Have you ever seen those mysterious white scuffs appear under your desk or struggled with a bouncy plank? Let me know in the comments below—I would love to help you troubleshoot your space!