
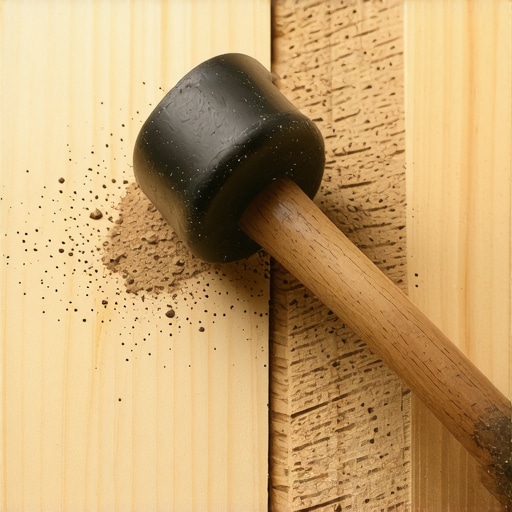
I stood there, sweating, staring at a $40 plank of engineered white oak that was now essentially firewood. I’d just given it a “gentle” tap with my trusty black rubber mallet to close a stubborn gap. Instead of a satisfying thump, I heard the sickening crunch of a splintering tongue. That was the moment I realized my favorite tool was actually a secret floor-wrecker. If you are currently standing over a pile of expensive boards with a mallet in hand, put it down for a second. We’ve all been told that rubber is “safe” because it’s soft, but in the world of flooring installation, that softness is exactly what gets you into trouble. Today, I’m going to show you why that mallet is sabotaging your flooring installation results and how to fix your technique before you ruin the next row.
Your Mallet is Hiding a Destructive Secret
Most of us grab a rubber mallet because we want to avoid marring the surface. It makes sense, right? But here’s the problem: rubber mallets bounce. That kinetic energy doesn’t just disappear; it vibrates through the thin, fragile tongue of your board. I learned this the hard way during a kitchen remodel when I ended up with three rows of “clicking” boards because I’d microscopically crushed the joints. According to research published by the Journal of Light Construction, excessive localized impact on the tongue of a plank can cause internal shear failure that isn’t visible until the floor starts squeaking months later. When you hit a board directly, you aren’t just moving it; you’re compressing the very part that is supposed to keep the floor locked together.
Can a different hammer actually make that much of a difference?
You might think a hammer is just a hammer. I used to think the same until I discovered why you should use a dead blow hammer for floor capping instead. A dead blow doesn’t recoil, meaning the force goes where it’s supposed to go—into the tapping block, not back into your wrist or into the delicate wood fibers. It’s a total game changer for achieving precise floor leveling and tight joints without the collateral damage. Have you ever felt that “crunch” under your mallet and realized you just toasted a whole plank? I’d love to hear your horror stories—it makes my own early failures feel a little less lonely. Let’s get into the mechanics of why this happens and how to swap your tools for a flawless finish.
Put a Buffer Between You and Your Investment
Think of your floor boards like high-end porcelain plates. You wouldn’t smack two plates together to make them fit on a shelf; you would use your hands to slide them into place. In flooring, the sacrificial tapping block is that hands-on gentleness translated into controlled impact. Instead of the mallet-to-tongue disaster I described earlier, you need a bridge for the force. I remember a humid Tuesday in July when I was struggling with a particularly stubborn batch of wide-plank oak. Every time I hit the board with the mallet, it just bounced back, mocking me. I finally grabbed a 6-inch offcut from the scrap pile, notched it to fit the groove, and used it as a buffer. By striking the scrap piece with a dead blow hammer, the force was distributed across the entire length of the board rather than focused on one tiny, breakable point. This is the only way to avoid the dreaded clicking sounds that plague amateur installs. 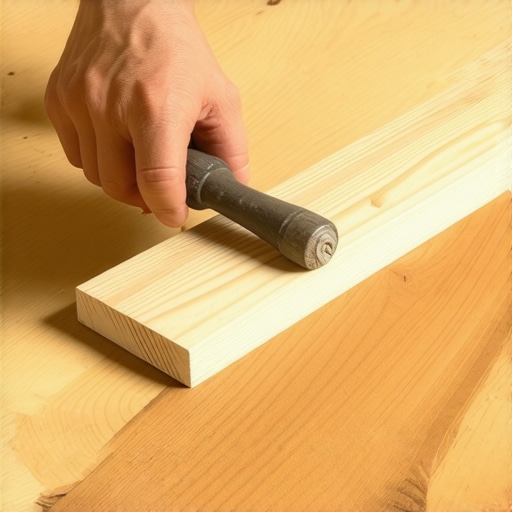
Prep the Foundation Before You Pull Out the Tools
You can have the world’s most expensive dead blow hammer, but if your subfloor looks like the rolling hills of Kentucky, those joints will never stay tight. I’ve seen homeowners try to hammer out a gap caused by a low spot in the plywood. It’s a losing battle that usually ends in a broken plank. Before you even think about the first row, you must master pro secrets for perfect floor leveling. If the subfloor isn’t flat within an eighth of an inch over ten feet, the tongue and groove will be under constant vertical tension. That tension eventually snaps the joint, leading to gaps that no amount of tapping can fix. Using precise floor leveling techniques ensures that when you do apply horizontal force with your hammer, the board slides smoothly instead of getting hung up on a hump in the floor.
How to Drive the Board Home Without Damage
The trick to a seamless look isn’t strength; it’s the angle of the approach. When you are installing wide plank hardwood, you want to lead the tongue into the groove at a slight 20-30 degree angle. Once it’s married to the previous row, you drop it flat. Only then do you bring in the tapping block. Strike the block with a firm, singular thud rather than a series of frantic taps. A single, heavy-mass strike from a dead blow hammer carries more momentum and less vibration, which is exactly what you need to seat the joint. When I was finishing my own hallway, I found that if I didn’t get that specific solid sound, it meant there was debris in the groove. I would stop, vacuum the joint, and try again. For those tricky areas near the wall, don’t forget the scrap wood move for snapping last row planks into place using a pull bar—it saves your baseboards from being dented by the hammer.
Forget the 48-Hour Rule for Hardwood Acclimation
If you have spent any time on DIY forums, you have heard the golden rule: let the wood sit for 48 hours. I’m here to tell you that’s one of the most dangerous myths in the industry. Time is irrelevant; moisture content is everything. I once rushed a job in a coastal home because the ’48-hour clock’ had run out, only to watch the entire floor cup three weeks later when the HVAC kicked on. According to the National Wood Flooring Association (NWFA), wood is a hygroscopic material that reaches equilibrium based on the environment, not a timer. You must how to use a moisture meter to prevent floor failure by ensuring the planks are within 2% to 4% of the subfloor’s moisture level. If you skip this, no amount of perfect tapping or leveling will save you from structural failure.
The Waterproof Label is Often a Marketing Trap
Another nuance that catches even seasoned pros off guard is the ‘waterproof’ promise on modern laminate and vinyl. While the material itself might be plastic-based, the installation system is almost never truly watertight. I’ve seen homeowners pour buckets of water on their new floors, thinking they were safe, only for the liquid to seep into the click-lock joints and rot the subfloor from the inside out. This is why you should not rely on waterproof labels for laminate without understanding that perimeter expansion gaps are still vulnerable points. If water gets under the floor, it’s trapped there by the very ‘waterproof’ material you bought. This leads to that dreaded moldy smell or why your vinyl floor is tent peaking in the middle as the subfloor swells and pushes the planks upward. 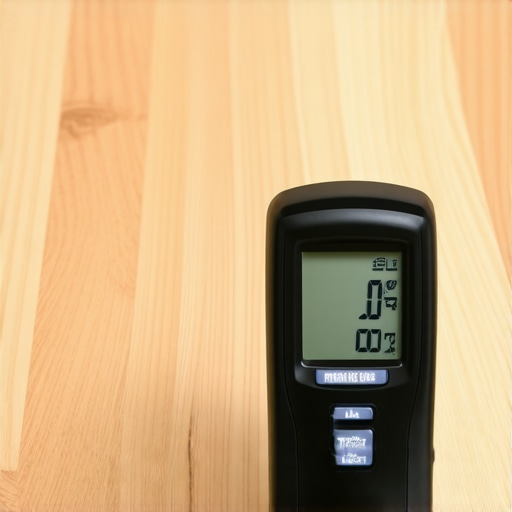
Is a Moisture Meter Actually Necessary for Small Rooms?
You might wonder if these high-tech tools are overkill for a simple bedroom refresh. In my experience, the smaller the room, the more concentrated the potential for disaster. A single damp patch in a concrete slab can ruin a 100-square-foot install just as easily as a 1,000-square-foot one. Before you commit to the layout, you should investigate mastering hardwood floor refinishing expert tips for 2025 to understand how moisture affects the wood’s ability to take stain and sealer later in its life. Have you ever fallen into this trap? Let me know in the comments.
The Hidden Nuance of Underlayment Compression
We often focus so much on the surface that we forget the ‘squish’ factor. Using a cheap, thick underlayment to try and hide a bad subfloor is a recipe for broken joints. High-quality hardwood floor care secrets to longevity and shine start with a solid foundation. If your underlayment is too soft, the floor will deflect every time you walk on it, eventually snapping the tongues you worked so hard to protect. Instead of padding, use precise floor leveling techniques to fix the substrate first. Professional results don’t come from hiding mistakes under foam; they come from a flat, dry, and stable base that allows the locking mechanism to do its job without stress.Once the last plank is snapped in and the baseboards are nailed down, most people think the hard work is over. But honestly, the real battle for your floor’s life begins about six months later when the seasons change. I’ve seen gorgeous $10,000 installs ruined by a single bottle of ‘natural’ cleaner. You have to realize that hardwood floor care secrets to longevity and shine don’t involve fancy waxes; they involve chemistry. I strictly tell my clients to stop using vinegar on your hardwood floors immediately. The acid in vinegar eats away at the polyurethane finish, leaving the wood vulnerable to moisture. I’ve also learned through painful trial and error why you should never mop your floors with dish soap—it leaves a surfactant film that acts like a magnet for dirt, making your floors look perpetually dull.
How do I keep my floors looking showroom-new for a decade?
The secret isn’t just cleaning; it’s monitoring. I never go to a site without a pinless moisture meter. Even after the floor is installed, I use it to check ‘hot spots’ near entryways or dishwashers. Knowing how to use a moisture meter to prevent floor failure is the difference between a minor spill and a total board replacement. If you do catch a leak early, you might not have to rip everything up. I’ve had success with how to save a water-damaged wood floor with a vacuum by creating a localized suction seal over the affected boards to draw moisture out of the grooves before they cup. According to the NWFA Technical Manual, wood reaches its Equilibrium Moisture Content based on the relative humidity of the room, so I always recommend a high-quality hygrometer to sit on your shelf alongside your photos. #IMAGE_PLACE_HOLDER_D#
The Pocket-Sized Tool That Saves Thousands
As we look toward the future of home tech, I predict we’ll soon see smart underlayments with integrated sensors that alert your phone the second a subfloor pipe starts sweating. It sounds like sci-fi, but for anyone who has dealt with a $20,000 insurance claim, it’s a dream. For now, focus on the fundamentals. If you’re planning a refresh soon, check out mastering hardwood floor refinishing expert tips for 2025 to see how modern finishes are becoming more durable. My biggest piece of advice? Go buy a digital hygrometer today and keep your home between 35% and 55% humidity. Your joints—and your wallet—will thank you.
The Hard Truth About My First Five Failed Rows
Looking back at my early projects, I realize I spent more time fighting the materials than working with them. Here are the lightbulb moments that finally clicked for me. First, if a joint isn’t closing with a gentle tap, a bigger hammer is never the solution; there’s almost always a tiny splinter or a speck of drywall dust hiding in the groove. Second, your ears are just as important as your eyes. A hollow sound when you tap the board usually means you need to rethink your flawless floor leveling strategy. Finally, ‘good enough’ is the enemy of a floor that doesn’t squeak. If you find yourself forcing a board, stop and re-evaluate your alignment before you ruin the tongue.
Gear That Earned a Permanent Spot in My Truck
I don’t believe in buying every gadget on the shelf, but these three are non-negotiable for anyone serious about quality. I always keep a digital hygrometer in the room to monitor the ‘breathing’ of the house because humidity is the silent killer of wood floors. I also swear by a 4-pound dead blow hammer because it delivers force without the bounce that damages joints. For the layout, I never trust my eyes alone; I rely on the laser level move for perfectly straight hallways to keep the entire floor square across multiple rooms. Before you even head to the checkout, make sure you know how to spot high-quality engineered wood before you buy, as better milling makes these tools work even more effectively.
#IMAGE_PLACEHOLDER_E#
Take the First Step Toward a Flawless Floor
Flooring is more than just a weekend project; it’s the physical foundation of your home’s comfort. It can feel overwhelming when you’re staring at a mountain of raw material, but remember that every master installer started with a single, nervous first row. By prioritizing precision over speed and using the right buffers, you’re building an investment that will look stunning for decades. Your flooring installation success comes down to the patience you show in those first few hours. Don’t be afraid to pull a board back up if it doesn’t seat perfectly the first time. Have you ever had a specific board that just refused to lock in place no matter what you tried? Let me know your biggest installation hurdle in the comments below!