
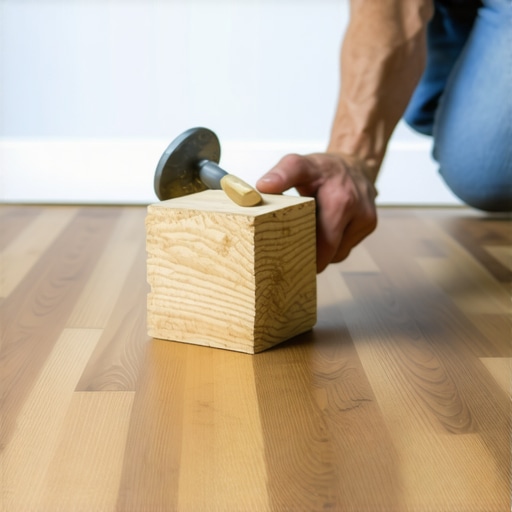
The sun was going down, and I was staring at a two-inch gap between my beautiful new floor and the baseboard. I was exhausted. My hands were shaking, and every time I tried to hook my pull bar into that final plank, it just slipped, leaving a fresh dent in the drywall I’d painted yesterday. I almost threw my hammer through the window. That’s when I realized that the fancy tools I’d bought weren’t going to save me from this tight corner. The pull bar is a great tool in the middle of the room, but when you have less than an inch of wiggle room, it becomes a liability that’s more likely to chip your wood than seat it. This was the visceral realization that changed how I approach the end of a job.
The Moment I Stopped Fighting the Wall
We’ve all been there. You follow all the flooring installation fundamentals and everything goes great until you reach the home stretch. I made a massive flooring installation mistake early on by thinking I could just muscle the last row into place with a pry bar. Spoiler: I just ended up with a ruined tongue and a gap that looked like a canyon. Today, I’m going to show you the Scrap Wood Move. It’s the simple, brilliant trick that lets you use leverage in spaces where a pull bar is physically impossible to use. We’re going to ensure your floor stays tight without sacrificing your drywall. According to the National Wood Flooring Association (NWFA), nearly 40 percent of DIY floor failures are caused by improper expansion gaps or poorly seated planks, meaning this final row is the most critical part of your entire project. If you want to fix a large gap in your floating floor before it becomes a permanent eyesore, you have to stop fighting the wall and start using your scraps.
Does this DIY hack actually work better than a pro tool?
I know it sounds sketchy. Why use a random offcut when you spent good money on specialized tools you actually need for the job? Because physics doesn’t care about your budget. Sometimes, a custom-sized block of scrap provides a wider surface area that won’t chip the delicate edge of your plank like a metal bar might. If you’ve already performed the 3 foot level test, don’t ruin that perfectly flat surface now by forcing a fit. Have you ever been tempted to just hide a half-inch gap with extra-wide baseboards because the last row wouldn’t click? I’ve been there, and trust me, there is a better way. This technique is about finesse, not force. I’ll walk you through how to use your own leftover materials to create a custom fulcrum that snaps those planks home with a satisfying click that a metal bar just can’t provide. Let’s look at how to set this up properly.
Getting the Last Row to Fit Like a Glove
Before you even think about the leverage move, you have to get your cut right. Most walls aren’t straight—they are wavy, unpredictable messes. If you just measure at the ends, you’ll end up with a gap in the middle. I learned this the hard way during a renovation in an old 1920s bungalow where the walls looked like they were melting. To get around this, you need to master the pencil trick for scribing wood planks. You place your full plank directly on top of the previous row, then use a small scrap of wood and a pencil to trace the wall’s contour onto the new piece. This ensures that even if the wall is crooked, your expansion gap remains consistent. If you are installing tiles like a pro, you know that layout is everything, and the same logic applies to the final row of your hardwood or laminate.
Build Your Own Custom Lever Block
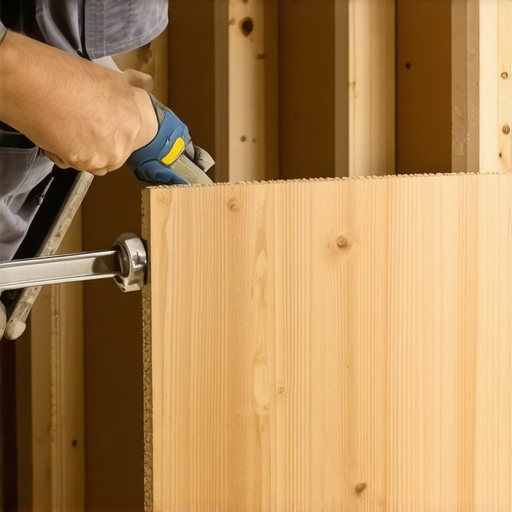
Here is the secret: take a 10-inch piece of scrap flooring that has the same tongue or groove as your current row. If you try to use a metal pry bar directly against the finish of your floor, you’re going to have a bad time. The metal will mar the surface faster than you can say ‘oops.’ Instead, lock the scrap piece into the last row you just laid. Now, you have a sacrificial surface that you can beat on. Think of it like a shock absorber for a car; it takes the brunt of the impact so the ‘frame’ of your floor stays perfect. During a particularly frustrating hallway install, I realized that if I angled my pry bar against the wall’s base plate (the solid wood behind the drywall), I could create enough force to slide the entire row home without even using a hammer. This is crucial when mastering hardwood floor refinishing or installation because it prevents the ‘tongue’ from snapping off, which is a common flooring installation mistake that ruins the whole plank.
The Physics of a Perfect Click
Why does this work better than a pull bar? A pull bar applies force at a single, narrow point. If your plank is six feet long, that force doesn’t travel evenly, which is why one end often pops out while you’re hitting the other. By using a longer piece of scrap as your ‘tap block,’ you spread that force across a wider area. It’s the difference between trying to push a car by its antenna versus pushing the bumper. If you’ve already ensured your surface is flat by using the 3 foot level test, the planks should slide together like magnets. If they don’t, check for debris in the groove. I once fought a piece for twenty minutes only to find a tiny sliver of wood from a previous cut was stuck in the channel. Once that’s clear, use your scrap block and a dead blow hammer to gently coax the piece into its final home. This method is the only way to fix a large gap in your floating floor when you are working in a closet or under a radiator where a traditional tool simply won’t fit.
Protecting Your Subfloor and Walls
Always place a wider piece of plywood or a heavy-duty shim against the drywall where your pry bar will rest. Drywall is basically compressed chalk; it will crumble under the pressure of a lever. I learned this when I punched a hole clean through a client’s wall in my second year of business. Now, I always keep a ‘wall guard’ in my kit alongside the 7 tools you actually need for the job. This protective barrier allows you to apply maximum pressure to the floor without any risk to the vertical surfaces. When you hear that deep, muffled ‘thud’ instead of a sharp ‘clack,’ you know the joint is fully seated and your floor is ready for the baseboards.
Now that we’ve tackled the mechanics of that final row, let’s talk about the mistake that ruins projects before the first plank even hits the ground: the obsession with being ‘level’ vs. being ‘flat.’ I’ve seen countless DIYers and even some ‘pros’ spend thousands trying to get a subfloor perfectly level with the earth’s horizon. Here’s the contrarian truth: your floor doesn’t need to be level to be perfect. If the whole house leans a quarter-inch to the left, you won’t notice. But if the subfloor isn’t flat, your planks will bounce, squeak, and eventually snap at the joints. The Tile Council of North America (TCNA) specifies that for large format tiles, the substrate must be flat within 1/8 inch in 10 feet. If you skip the 3 foot level test because you think ‘self-leveler’ will magically fix everything, you’re setting yourself up for a nightmare.
Level is a Luxury but Flat is Mandatory
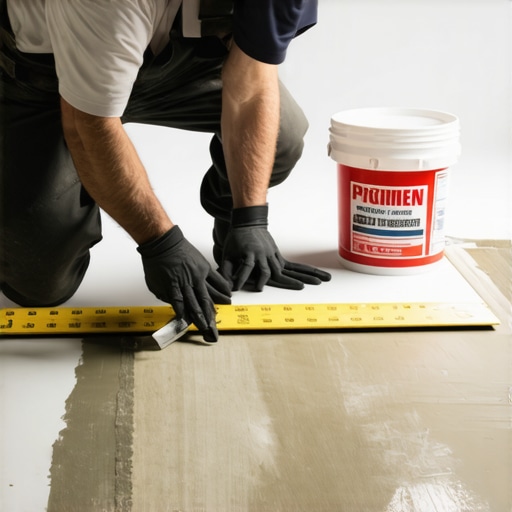
When you focus on how to achieve flawless floor leveling, you must understand that self-leveling compound is a liquid, not a miracle. The biggest ‘oops’ factor I see in the field is people pouring compound onto a dusty, unprimed concrete slab. This is a recipe for disaster. Without a dedicated primer, the dry concrete sucks the moisture out of the leveler too fast, leading to spider-web cracks and poor adhesion. This is exactly why your self-leveling compound is cracking like a dry lake bed. If you want a bond that lasts, you must realize that why you must prime concrete is about chemistry, not just cleanliness. If the bond fails, your beautiful new floor will eventually sound like you’re walking on potato chips.
Why does my self-leveler keep bubbling after I pour it?
This is a sophisticated question that often stumps beginners. It’s usually caused by ‘outgassing.’ As the liquid leveler sinks into the pores of the subfloor, it pushes air out. If you haven’t used a spiked roller or a high-quality primer to seal those pores, that air gets trapped in the thick liquid, creating small craters on your surface. When installing tiles like a pro, these tiny bubbles can create high spots that make it impossible to get a clean bond. It’s one of those floor leveling challenges that separates the weekend warriors from the experts. Before you pour, always use a moisture meter; if the slab is too damp, even the best leveler will eventually delaminate.
The Trap of the Waterproof Label
Another nuance people miss is the ‘waterproof’ myth. Just because your vinyl plank is waterproof doesn’t mean your subfloor is. If you have a moisture issue in your crawlspace, that water will get trapped under your ‘waterproof’ floor and grow mold. This is a common flooring installation mistake that leads to a healthy-looking floor with a toxic secret underneath. Expertise is knowing that the floor is a system, not just a surface. Have you ever fallen into this trap of trusting the marketing labels over the site conditions? Let me know in the comments. By focusing on these hidden details—flatness over levelness, priming over pouring, and systems over materials—you ensure your home improvement project actually adds value for the long haul.
When the last plank is in and the transitions are set, most people think the job is done. But I’ve learned that the first six months are actually the most volatile for a new floor. Your home is a living organism that breathes, expands, and contracts. If you want to avoid the heartbreak of seeing your hard work buckle, you need to treat the ‘aftercare’ with as much respect as the installation. I once returned to a site where a client had used a wet mop on a fresh install within 48 hours, and the edges were already starting to cup. It’s why I always emphasize hardwood floor care secrets to longevity and shine. You have to let those adhesives and finishes fully cure before you introduce moisture to the equation.
The One Tool That Actually Guarantees Success
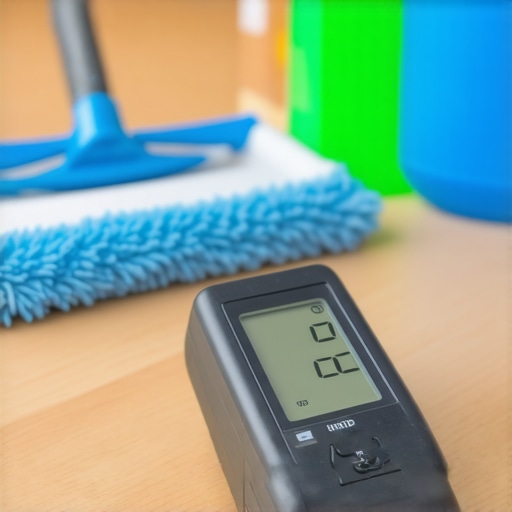
If you asked me which of the 7 tools you actually need is the most underrated, I’d point to the moisture meter every single time. It is the only way to know for sure if your environment is ready. I’ve seen beautiful projects fail because the installer didn’t realize the subfloor was holding onto humidity from a recent rainstorm. Learning how to use a moisture meter to prevent floor failure is the difference between a floor that lasts thirty years and one that fails in three. For my personal projects, I use the Wagner Meters Orion series because its pinless technology won’t mar the surface of my expensive wide-plank oak. According to the National Wood Flooring Association Technical Manual, maintaining a relative humidity between 30 and 50 percent is critical for stability—any deviation from this can lead to permanent gapping.
How do I keep this floor looking brand new?
Maintenance isn’t about scrubbing; it’s about prevention. Throw away your string mop and your bucket of soapy water. Those belong in the 1950s. Today, I use a microfiber dusting system and a pH-neutral cleaner. When you are figuring out the best way to clean a new hardwood floor for the first time, remember that less is more. Micro-scratches from dust and grit act like sandpaper over time, dulling the luster of your finish. If you’ve just finished mastering hardwood floor refinishing, the last thing you want is to ruin that glass-like surface with an abrasive cleaner. I recommend placing high-quality rugs at every entrance to catch grit before it ever touches your wood.
Why Digital Leveling is the Next Big Thing
Looking forward, I predict we are going to see a massive shift toward digital augmented reality (AR) for subfloor prep. We’re already seeing apps that can map a room’s topography with a smartphone camera, highlighting the exact low spots where you need to focus on how to achieve flawless floor leveling. This will eventually eliminate the ‘3-foot level test’ and replace it with a heat map of your entire room. It’s an exciting time to be a DIYer because the barrier to entry for a ‘perfect’ finish is getting lower every year. I challenge you to go out and buy a moisture meter before your next project; it is the single most ‘pro’ move you can make to elevate your craftsmanship.
Hard Truths I Learned from Twenty Years on My Knees
Looking back at my early projects, I realize I spent way too much time worrying about the aesthetics of the wood and not nearly enough time on the invisible foundation. One of the biggest ‘lightbulb moments’ for me was when I stopped trying to force my tools to do the work. If a plank isn’t clicking, it’s almost always because of a pro secret I missed: checking for tiny debris or a slight hump in the subfloor. I also learned that you can never be too careful with subfloor movement; always check for how to fix a bounce in your plywood subfloor before you commit to the first row.
Another lesson: silence is golden. A floor that squeaks is a floor that failed. I used to think a few extra nails would solve everything, but the real solution is often finding the simple way to fix a floating floor that moves by ensuring the expansion gaps are exactly right. If you’re hiring help, watch out for these signs your tile contractor is cutting corners, because their haste today will be your headache tomorrow.
#IMAGE_PLACE_HOLDER_E#
Gear That Actually Makes the Cut
I don’t believe in buying every gadget on the shelf, but these few items are non-negotiable for me. First, a high-quality dead blow hammer. It delivers the force you need without the recoil that damages your wrist or the floor’s edge. Second, the Wagner Orion moisture meter—it has saved me from thousands of dollars in replacement costs by catching damp subfloors before they cause rot. Third, I always keep a set of heavy-duty knee pads; your joints are your most important tool, so treat them well. Finally, follow a step-by-step guide to flooring installation that emphasizes preparation over speed. I trust these tools because they focus on the long-term health of the floor, not just the ‘look’ on day one.
Build a Surface You’re Proud to Walk On
Flooring is more than just a home improvement task; it’s a craft that changes the entire feel of your living space. When you take the time to handle that final row with precision and respect the drying times for your finishes, you’re creating something that will host decades of memories. Don’t let the fear of a crooked wall or a slightly uneven subfloor stop you from starting. With the right leverage and a bit of patience, your flooring installation will be the bedrock of a beautiful home. Have you ever reached the very last row of a room only to find a gap you couldn’t close? How did you handle it? Let me know in the comments below!