
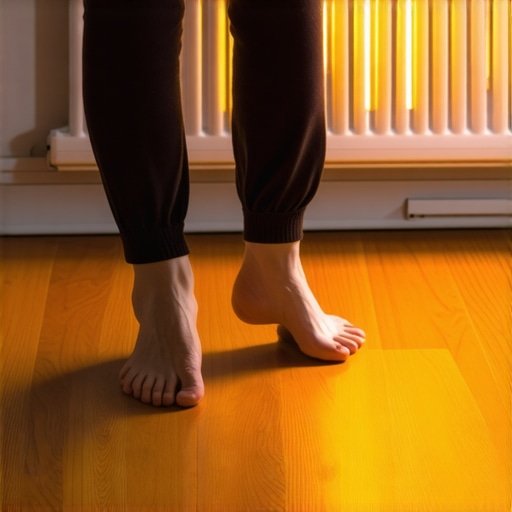
I remember the first night after I finished my big living room renovation. I’d spent weeks obsessing over grain patterns and making sure every plank was perfectly acclimated. I finally stepped out of bed at 2 AM for a glass of water, expecting that soft, luxurious warmth of a brand-new surface. Instead? My feet hit the boards and I nearly jumped out of my skin. It was like stepping onto a frozen pond in the middle of January. Even though my thermostat was set to a cozy 72 degrees, my feet were telling a different, much colder story.
The Night I Realized My Dream Floor Was a Thermal Disaster
It’s a frustrating, pull-your-hair-out kind of feeling when you invest a small fortune into your home only to find yourself wearing thick wool socks just to cross the kitchen. If you’ve ever wondered why your hardwood floor feels cold despite new insulation, you aren’t alone. I used to think that as long as the furnace was humming, the floors would follow suit. I was wrong. I made the classic rookie mistake of thinking the surface material—the stuff that looks pretty—was all that mattered. I ignored the invisible physics happening underneath my feet.
Today, we’re going to stop the shivering. I’m going to show you exactly why that thermal bridge is stealing your heat and how to bridge the gap between beautiful and actually comfortable. We’ll look at everything from subfloor gaps to the way air moves through your joists. According to the U.S. Department of Energy, floors can account for up to 10% of a home’s heat loss if they aren’t properly insulated and sealed, a fact that hits home when you’re the one paying the utility bill.
Can you actually fix this without starting over from scratch?
I know what you’re thinking: Is it time to rip it all up? That was my biggest fear, too. I sat on my sofa, staring at the floor, thinking about the step-by-step guide to flooring installation I had followed and wondered where I’d tripped up. The truth is, sometimes it’s a simple fix involving air sealing, and sometimes it’s about the expansion gap rule for radiant heated wood floors that was slightly misunderstood during the build.
One of the biggest blunders I made early on was neglecting the hollow spaces. When a floor isn’t perfectly flush or the underlayment is subpar, you end up with pockets of dead air that never warm up. It’s a similar reason to why floating floors sound hollow when you walk on them; if air can get in there, it can stay cold. I didn’t realize that my beautiful new floor was essentially sitting on a bed of ice because I hadn’t addressed the crawlspace draft properly. Have you ever walked across your brand-new tile or wood and felt that localized cold spot that makes no sense? Reach out and tell me your story—I’d love to hear if you’re currently fighting the same battle I did.
Stop the Draft Before It Reaches the Surface
Think of your home like a winter coat. You can have the thickest down filling in the world, but if you leave the bottom wide open, the wind is going to whistle right up your spine. Your floors work the same way. Cold air from a crawlspace or an unheated basement is under constant pressure to move into your warm living area. To stop this, you have to look at the perimeter. Most people assume the insulation between the joists is doing the heavy lifting, but if there are gaps where the subfloor meets the exterior wall, that insulation is essentially useless. I spent a frantic Saturday afternoon with a headlamp and three cans of spray foam, crawling into my own tight crawlspace to plug those exact leaks. It was messy, and I may have permanently glued a lock of hair to a floor joist, but the temperature in my hallway jumped by four degrees by nightfall.
Seal the Perimeter Like You’re Battening Down the Hatches
Before you even think about secondary rugs or space heaters, check your rim joists. This is the area where your floor system meets the foundation. If you see daylight or feel a breeze, you’ve found your culprit. Use a high-quality sealant or rigid foam board to close these gaps. This prevents the ‘chimney effect’ where cold air is sucked into the house. If you are currently in the middle of a project, following a step-by-step guide to flooring installation and leveling success is the perfect time to ensure your subfloor is airtight before the finish material goes down. You’d be surprised how much heat stays in the room when it isn’t fighting a constant updraft from the dirt below.
Choose an Underlayment That Actually Insulates
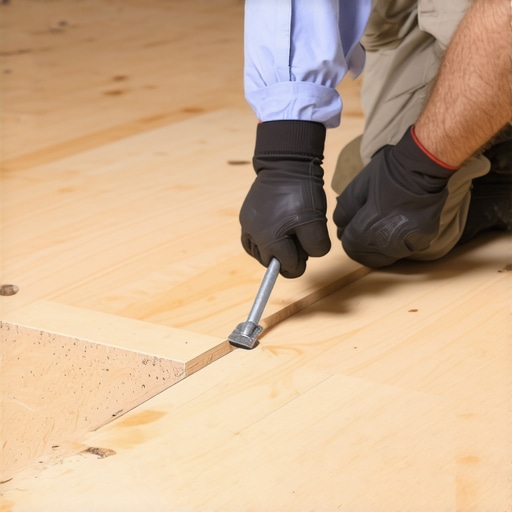
The material sitting directly under your wood planks is your last line of defense. A common mistake is using a thin, cheap foam that offers zero R-value. If you’re working over a concrete slab, the cold is radiating directly through the stone. You need more than just a cushion; you need a thermal break. This is especially true in below-grade spaces where you must remember why your basement floor needs a moisture barrier even if it feels dry. A high-density underlayment with integrated vapor protection doesn’t just keep the wood from warping; it creates a microscopic layer of trapped air that slows down heat transfer. When I swapped out my old, paper-thin padding for a heavy-duty cork-blend underlayment, the floor stopped feeling like an ice skating rink and started feeling like part of the room.
Kill the Cold Pockets with Precision Leveling
Air is a great insulator when it’s trapped in small bubbles, but a terrible one when it’s moving in large pockets. If your subfloor has dips or ‘waves,’ your hardwood planks will bridge over those low spots, creating a hollow cavern of cold air. This is why the ultimate guide to floor leveling for a perfect finish is so critical for thermal comfort. By ensuring a perfectly flat surface, you eliminate the voids where cold air can pool. If you are transitioning to a different material, knowing how to achieve flawless floor leveling before tile laying is equally important, as tile is an even better conductor of cold than wood. If you’ve already installed your floor and hear a ‘click’ when you walk, you likely have one of these thermal gaps, a problem often discussed when figuring out why your lvp floor is clicking when you walk on it. Addressing these levels ensures the wood stays in direct contact with the underlayment, which in turn stays in contact with the subfloor, creating a solid, warmer mass.
Respect the Expansion Gap for Radiant Systems
If you are lucky enough to have under-floor heating, you might think you’re immune to cold spots, but improper installation can still leave you shivering. Wood is a living material; it moves. If the planks are jammed too tight against the walls, they can buckle, creating—you guessed it—more air pockets. You must strictly follow the expansion gap rule for radiant heated wood floors. This allows the floor to expand and contract as it heats up, maintaining that crucial contact with the heating elements. Without that gap, your floor will fight itself, eventually lifting off the subfloor and losing the ability to pull heat from the pipes or mats below.
Most people will tell you that the solution to a cold floor is simply adding more insulation. They think if you double the R-value, you double the comfort. In my experience, that’s a half-truth that leads to expensive disappointments. You can pack three feet of fiberglass under your floorboards, but if you haven’t addressed convective loops—where air circulates within the floor cavity—you’re basically trying to stay warm in a house with the windows open. The real culprit is often the movement of air, not just the lack of a thermal barrier.
Stop Throwing Insulation at a Draft Problem
The biggest mistake I see DIYers and even some pros make is ignoring the ‘air seal’ in favor of the ‘insulation blanket.’ If air can move through your floor joists, it will carry heat away regardless of how much pink stuff you’ve stuffed in there. This is especially true when people realize 5 mistakes that make cheap lvp look even cheaper often involve skipping the perimeter seal. I’ve seen homeowners spend thousands on high-end oak only to have it feel like ice because they didn’t use a simple bead of acoustical sealant at the bottom plate of their walls. Have you ever fallen into this trap where you fixed the obvious problem but the symptom remained? Let me know in the comments—I’m curious how many of us have chased the same ghost.
The Invisible Bond That Makes or Breaks Your Leveler
When we talk about floor leveling, everyone focuses on the pour. But the ‘Oops’ factor usually happens twenty minutes before the bucket is even opened. If you are working on a renovation, you must understand why most floor levelers fail on top of painted concrete. People assume the leveler will just stick. It won’t. Without a dedicated primer that creates a chemical bridge, your leveler is just a floating sheet of brittle stone. This leads to the dreaded ‘hollow’ sound or, worse, spider-web cracking six months later. If you want mastering floor leveler pro secrets for perfect installations, start with the substrate prep, not the liquid.
Why Does Your Perfect Pour Keep Cracking?
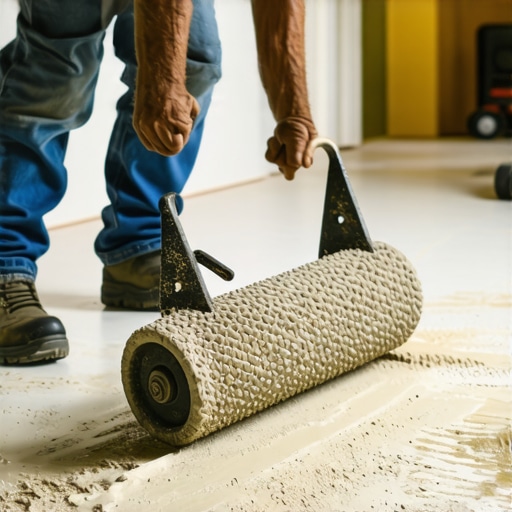
Even a level floor can be a failure if it lacks structural integrity. According to the National Wood Flooring Association (NWFA), the subfloor must be stiff enough to limit vertical deflection to L/360 for wood and even stricter for tile. If your joists are undersized, even the best leveling job is a temporary band-aid. You might think you’ve achieved a mirror-finish by using the spiky roller secret for a mirror-smooth pour, but if the house moves, the floor will crack. This is one of those flooring installation mistakes to avoid for lasting results that separates a weekend hobbyist from a seasoned pro. You have to address the bones of the house before you worry about the skin.
I used to think that once the last board was nailed or the last tile was grouted, the hard part was over. I was wrong. The real test of a floor’s quality happens three years later when the novelty has worn off and the daily foot traffic has set in. I’ve seen gorgeous walnut ruined by a single bottle of the wrong household cleaner, and it breaks my heart every time. If you want to avoid a costly disaster, you must stop using vinegar on your hardwood floors immediately because that acidity will eat through your protective finish before you even notice the damage. Instead, lean into hardwood floor care secrets to longevity and shine to keep that factory-fresh glow for decades.
The Tools That Saved My Sanity and My Floors
When it comes to the technical side of things, I never step onto a job site without my digital moisture meter. According to the National Wood Flooring Association (NWFA) technical standards, the moisture content of your subfloor and your hardwood must be within 2-4% of each other before installation. This is the difference between a floor that stays flat and one that cups by spring. If you are moving into the world of tile, don’t just grab any old trowel from the bargain bin; choosing the best trowel notch size for glass mosaic tiles or large format slabs is what prevents that annoying lippage that trips you up in the hallway. I personally swear by a mechanical lippage system for anything larger than 12 inches; it’s an absolute game-changer for a flat finish.
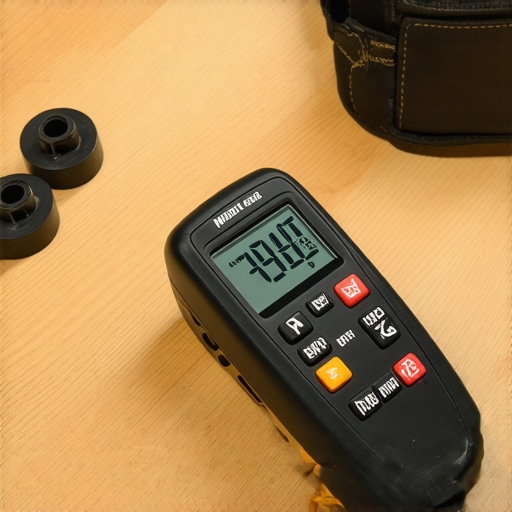
Prep tools are where most DIYers cut corners, but that’s exactly where the pros spend their money. One thing that saved my back on my last three projects was paying attention to the mixing paddle speed that ruins your leveling compound. If you whip too much air into the mix, you’re going to get thousands of tiny pinholes that weaken the surface. Looking forward, I suspect we are going to see a massive shift toward ‘smart’ underlayments with embedded sensors that can detect sub-surface leaks before they rot your joists, effectively turning your floor into a diagnostic tool for your home’s health.
How do I keep my new floor from wearing down?
It all comes down to environmental control. I follow a strict rule: keep the home between 30% and 50% humidity year-round. If you ignore this, you’ll see the gaps I mentioned earlier. If you’re dealing with modern synthetics, remember why you should never use a steam mop on luxury vinyl; the heat can literally delaminate the decorative layer from the core. If you really want to level up your home’s value, start mastering hardwood floor refinishing expert tips for 2025 so you are prepared for the eventual refresh. For the tile lovers, the secret to installing large format tile without lippage is using a dedicated clip system. Seriously, go out and buy a pack of leveling clips for your next project—it is the single best investment you can make for a professional-grade result.
The Hardest Lesson I Learned While Chasing Thermal Comfort
If there is one thing that years of knee pads and sawdust have taught me, it’s that your floor is only as good as the air it sits on. I used to think a thick rug could hide a drafty subfloor, but that’s just putting a band-aid on a broken bone. One of the biggest lightbulb moments for me was realizing that air movement is a far more aggressive heat thief than a lack of insulation. I spent way too much money on high-end planks before I understood the chalk dust secret for finding low spots in subfloors, which revealed the hidden caverns where cold air was pooling under my feet.
Another hard truth? Don’t trust the ‘easy way out’ when it comes to leveling. I once tried to skip the primer on a renovation, and within a season, I was hearing that hollow tapping sound every time I walked to the kitchen. It’s why I always tell people to research how to choose a floor leveler that won’t crack over radiant heat before they even buy their first bag of mix. Lastly, remember that your home is a system. If your windows are drafty, your floors will feel cold because of the ‘stack effect’ pulling air up through the joists. Seal the air, and the warmth will follow.
The Kit I Never Leave at the Shop
I’ve wasted enough money on ‘bargain’ tools to know that quality isn’t an expense—it’s an insurance policy. If you are serious about getting your home comfortable, these are the items I personally vouch for. First, get a high-quality digital moisture meter. You cannot guess the moisture content of your wood or your slab, and guessing is the fastest way to ruin a beautiful installation. Second, I always keep a stash of mechanical leveling clips. Even if you have a steady hand, the secret to installing large format tile without lippage is using a system that forces the tiles into a perfectly flat plane while the mortar sets.
For the technical side of the pour, I swear by specific precise floor leveling techniques to achieve flawless surfaces, which include using a dedicated mixing station to prevent air bubbles. I also recommend picking up a heavy-duty thermal leak detector; it’s a handheld tool that shows you exactly where the cold air is entering your room so you aren’t guessing which rim joist needs foam. These tools turn a frustrating weekend project into a professional-grade upgrade that adds real value to your home.
Your Path to a Truly Warm Welcome
You don’t have to live in a house where you dread taking your shoes off. By addressing the invisible gaps, choosing the right thermal barriers, and ensuring your subfloor is as flat as a mirror, you can turn your hardwood floors into a feature you actually enjoy every single morning. It takes a bit of patience and a willingness to crawl into those dark corners of the basement, but the first time you walk across your living room in mid-winter without shivering, you’ll know it was worth every second. If you’re ready to start, I suggest you revamp your home with expert flooring installation tips and take it one room at a time. You’ve got the knowledge now—it’s time to stop the drafts and take back your comfort. Have you ever found a specific ‘cold spot’ in your floor that seemed to defy the laws of physics? Let me know in the comments below, and let’s figure out how to seal it up!