
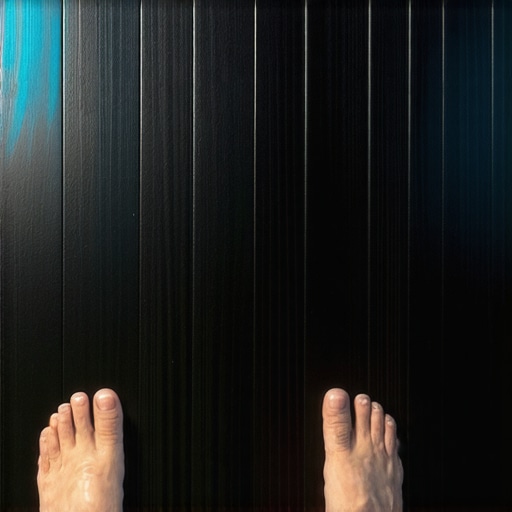
I remember it clearly. It was 6 AM last January, and the air outside was biting. I had just spent a grueling weekend crawling through cobwebs to stuff R-19 fiberglass batts into every single joist bay under my living room. I swung my legs out of bed, expecting a cozy landing, and—bam. My feet hit the floor and I nearly jumped back under the covers. It felt like I had stepped directly onto a block of dry ice. I stood there, shivering while my coffee brewed, staring at those oak planks like they were a personal betrayal. My insulation was brand new, yet my floors were still stealing the heat right out of my bones. If you are currently wearing three pairs of wool socks just to walk to the kitchen, I know exactly how frustrating that feels. Today, we are going to stop the guessing game and fix the thermal leaks that insulation alone cannot touch.
Stop Blaming the Insulation for Your Frozen Toes
Most of us are taught that insulation is a magical blanket that solves every cold-weather woe. I used to believe that too. In fact, one of the biggest mistakes I made early on was assuming that more pink fluffy stuff in the crawlspace was the only answer. I completely ignored the physics of how heat actually moves. According to the Building Science Corporation, heat loss through thermal bridging and air infiltration can bypass even the thickest insulation if your home’s envelope isn’t sealed. It is like wearing a heavy parka but leaving it unzipped—the material is warm, but the wind is still getting in. If you didn’t account for the expansion gap requirements or used the wrong underlayment, you might have created a highway for cold air.
Is it actually possible to have warm wood floors without a massive renovation?
You might be skeptical, thinking you are stuck with cold feet unless you rip everything up and install a boiler system. I thought the same thing until I realized that the ‘chill’ often comes from the air moving around the wood, not just through it. Before you give up, you need to check if you have followed the flooring installation fundamentals that prevent drafts. We often focus so much on the R-value of our insulation that we forget to use a moisture meter to see if damp air is pulling heat away from the surface. Have you ever spent a weekend on a DIY project only to find the problem didn’t go away? Drop a comment and tell me your story! We are about to look at the specific air-sealing tricks and hardwood floor care secrets that finally kept my toes warm.
Seal the rim joists to kill the draft at its source
Think of your house as a giant chimney. If cold air is sucked in through the bottom, the warm air you pay for is pushed out through the top. This ‘stack effect’ is the primary reason your feet are freezing. I once spent an entire Saturday morning armed with three cans of expandable spray foam and a high-intensity flashlight, crawling through my crawlspace. I found gaps the size of my thumb where the floor joists met the foundation. Every time I filled one, I could literally feel the draft slowing down. If you skip this, no amount of R-value will save you. You have to treat your home’s perimeter like a waterproof seal on a ship. Once the air stops moving, the wood can finally hold onto the heat.
Fix the subfloor gaps that act like tiny air tunnels
If your subfloor is uneven or has significant gaps, you are creating a highway for cold air to circulate directly under your finish material. This is where flooring installation fundamentals become a matter of comfort, not just aesthetics. I learned the hard way that a bouncy floor often means there is a void underneath that traps cold, damp air. If you find your floor feels like a trampoline in spots, you should learn how to fix a bouncy floor with a few well-placed screws before you worry about the surface temperature. Tightening that connection minimizes the space where cold air can hide and heat can escape. 
Level the playing field for better thermal contact
Air is a terrible conductor of heat, but wood is actually quite decent if it has a solid foundation. If your subfloor looks like the rolling hills of Kentucky, your hardwood isn’t making full contact with the structure below. This creates ‘dead air’ pockets that stay cold forever. I remember helping a neighbor who couldn’t figure out why one corner of his room was 10 degrees colder than the rest. We used the chalk dust secret for finding low spots in subfloors and realized the corner was a half-inch lower than the rest of the room. We had to dive into mastering floor leveling pro secrets to flatten the area out. Once the boards sat flush against the subfloor, the cold spot vanished because the thermal bridge was restored.
Choose an underlayment that doesn’t sacrifice warmth for price
Many people think underlayment is just a moisture barrier, but it is actually your last line of defense against the cold. If you went with a bargain-bin foam, you are likely feeling the consequences now. I’ve seen cases where why cheap vinyl underlayment makes your floor sound hollow also explains why it feels like ice; thin materials offer zero thermal resistance. If you are planning an upgrade, especially near windows or doors, remember the expansion gap rule for radiant heated wood floors even if you don’t have active heating pipes. That gap allows the wood to breathe without letting the wind whistle through the baseboards. It is all about creating a tight, contiguous layer of protection between your toes and the frozen ground below.
Acclimation is about science, not just a three-day wait
Most people will tell you that you just need to leave your wood planks in the room for 72 hours and call it a day. In my experience, that is a recipe for a buckling disaster. The common belief is that time is the only factor, but the real nuance lies in moisture parity. The National Wood Flooring Association (NWFA) states that wood should only be installed when it reaches the ‘equilibrium moisture content’ of the environment—a target that changes based on your home’s unique humidity. If your subfloor is at 12% moisture and your hardwood is at 6%, that 72-hour window means nothing. You need to use a moisture meter to ensure the gap is within 2% to 4% for solid wood. Have you ever fallen into this trap of rushing the install and watching your boards cup a month later? Let me know in the comments!
How do professional installers handle high-risk moisture zones?
The pros don’t just rely on a stack of wood in the corner; they ‘sticker’ the pile, placing small strips of wood between layers to allow air to circulate through the entire batch. This is an advanced move that prevents the boards in the middle of the stack from staying ‘wet’ while the outer ones dry out. If you ignore this, you’re basically inviting thermal gaps to form as the wood shifts post-installation. I’ve seen too many flooring installation mistakes to avoid for lasting results that stem from this exact lack of airflow.
The subtle error that turns self-leveler into a cracked mess
When we talk about mastering floor leveling pro secrets, most DIYers focus on the pour. But the real ‘oops’ factor happens minutes before that. If you skip the primer or mix the compound too fast, you are doomed. High-speed mixing draws air into the slurry, creating ‘honeycombing’ or tiny bubbles that pop and leave craters in your finished surface. If you’ve ever wondered why your self-leveling pour looks like a topographical map, it usually starts with the mixing paddle speed that ruins your leveling compound. You want a slow, steady churn to keep the mixture dense and thermally stable. 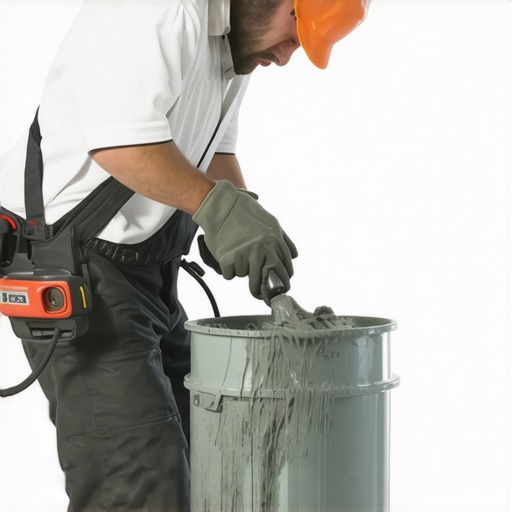
Why you must prime concrete even if it looks clean
A huge myth in the flooring world is that if the concrete slab is old and dry, you can pour leveler straight onto it. This is a massive mistake. Concrete is incredibly porous; it will suck the water right out of your leveling compound before it has a chance to bond. This results in ‘ghosting’ marks and a brittle floor that eventually delaminates. You have to understand why you must prime concrete before every leveling job to create a chemical bridge. Without that bridge, your wood or tile won’t have a solid thermal connection to the slab, and you’ll be right back to square one with those icy feet. Always look for precise floor leveling techniques to achieve flawless surfaces that prioritize the prep over the finish.I’ve learned that the difference between a floor that lasts thirty years and one that fails in three often comes down to the specific actions you take immediately following the install and the tools you choose for the final touch. First, you need the right equipment for the finish. If you are doing a self-leveling pour, you must use a specialized tool to release trapped air and tension. I used to think I could just vibrate the subfloor to get bubbles out, but the spiky roller secret for a mirror smooth pour is the only way to achieve that glass-like finish that prevents future cracking. According to the Maple Flooring Manufacturers Association (MFMA), maintaining a consistent indoor environment—specifically 35% to 50% humidity—is more critical than any top-coat sealer you can buy. If you let your house dry out in the winter, those gaps you fought so hard to seal will open right back up regardless of your insulation. 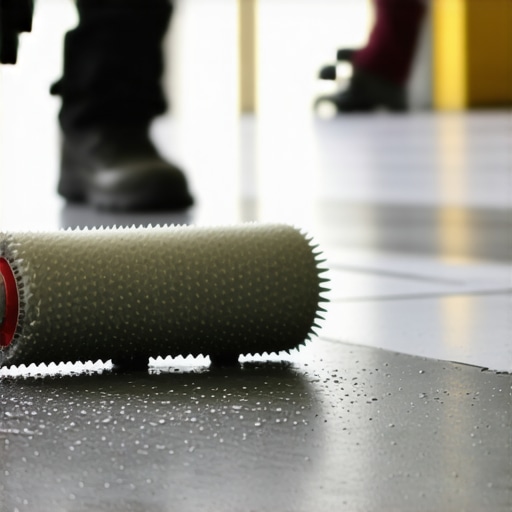
How do I keep my floors from falling apart five years from now?
The biggest threat isn’t foot traffic; it is the chemicals you use to clean the surface. I see people reach for white vinegar or dish soap daily, but those are acidic and will eat through your finish over time. You need to stop using vinegar on your hardwood floors immediately if you want the shine to stay. Instead, stick to pH-neutral cleaners designed for the specific finish you chose. If you’re seeing movement or buckling at the edges, go back and check why your floor-to-wall gap is the most important part of lvp or hardwood; that gap is the floor’s lungs, allowing it to expand and contract without stress. When it comes to scaling your flooring skills, I predict we are going to see a huge shift toward smart flooring underlayments that can sense moisture changes before they become visible to the eye. For now, your best bet is a high-quality moisture meter used as part of your hardwood floor care secrets to longevity and shine. I personally never start a job without checking the moisture levels three times: once when the wood arrives, once mid-week, and once the morning of the install. If you have tile transitions, keep an eye on the grout lines. If you notice why your tile grout is cracking at the room corners, it is usually a sign of subfloor movement that needs addressing before it spreads. Always use a dead-blow hammer instead of a standard mallet to avoid the rubber mallet mistake that ruins tongue and groove joints. Grab a moisture meter this weekend and test three different spots in your home—you might be surprised to find that your dry subfloor is actually holding onto enough water to ruin your next project!
The Hardest Lessons I Learned While Chasing a Warm Subfloor
Reflecting on my own journey through the crawlspace, I’ve realized that the perfect installation isn’t about following the instructions on the back of a bag; it is about anticipating the physics of your specific home. First, I learned that air movement is the enemy of insulation. You can spend thousands on high-quality fiberglass, but if your rim joists aren’t sealed, you are simply filtering the cold air before it hits your feet. Second, I realized that subfloor flatness is not just for looks. A floor that does not make full contact with the subfloor creates a pocket of stagnant, cold air that no heater can reach. Finally, I discovered that patience is a tool just like a hammer. Rushing the acclimation process is the most expensive mistake you can make, often resulting in buckling that no amount of repair can fully fix.
The Specific Tools I Trust for Professional Results
If you are serious about DIY success, you need to stop guessing and start measuring. I never start a project without a high-quality pinless moisture meter. Learning how to use a moisture meter to prevent floor failure is the single biggest step you can take toward a professional result. For anyone dealing with uneven slabs, do not just pour and pray. You need a dedicated primer to ensure a proper bond, and you should always understand why you must prime concrete before every leveling job to avoid structural failure. Once you pour your compound, use a specialized roller; the spiky roller secret for a mirror smooth pour is what separates a lumpy, cracked surface from a flat, thermally efficient foundation. I also recommend keeping a hygrometer in the room for at least a week before installation to track the ambient humidity.
Transform Your Home One Sealing Bead at a Time
Creating a warm, inviting atmosphere is about more than just aesthetics; it is about the quiet satisfaction of walking barefoot across your living room in the dead of winter without a second thought. By mastering floor leveling pro secrets and sealing the invisible gaps that steal your heat, you are investing in the long-term health and efficiency of your property. Don’t let the technical details intimidate you. Every expert was once a beginner staring at a drafty floor and wondering where to start. Your hardwood floors are the literal foundation of your home’s comfort, and with the right preparation, they will serve you for decades to come. Have you ever discovered a massive air leak or a hidden moisture problem in the middle of a flooring project? Let me know your story in the comments below!