
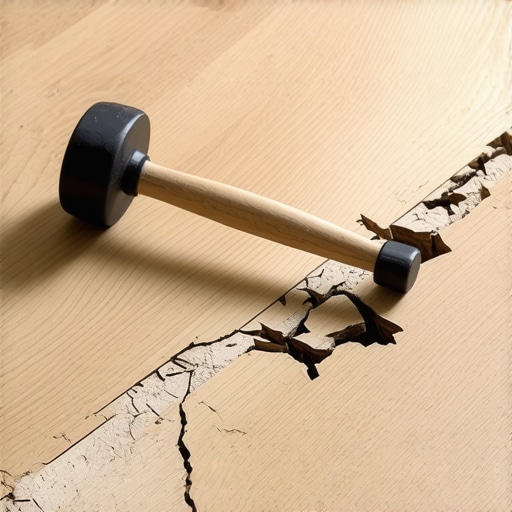
I still remember the feeling of absolute defeat. I was sitting on my knees in my guest room, admiring what I thought was a flawless luxury vinyl plank installation. Then, I heard it—a faint, sickening crack. I had just tapped a stubborn plank with my trusty black rubber mallet, thinking a little extra force would seat the lock perfectly. Instead, I had completely sheared off the delicate tongue of the locking joint. It is a classic blunder, and today, I want to help you avoid making the same devastating error that turns a quick weekend project into an expensive nightmare. We will dive deep into how to protect those fragile connections, use the right tools, and save your hard-earned cash.
Why the Trusty Mallet Is Your Floor’s Worst Enemy
Many DIYers assume that because a rubber mallet is soft, it is safe for forcing materials together. Unfortunately, with modern click-lock floors, that assumption is flat-out wrong. The micro-thin locking profiles on vinyl planks are incredibly brittle under direct impact. If you strike the plank directly or apply uneven pressure, you will crush the interlocking channels. This ruins the water-resistant seal and leads to a situation where your click lock flooring is popping out at the joints weeks after you finish. According to research on structural polymer mechanics, concentrated impact stress on rigid cores like stone plastic composite (SPC) can induce microscopic fractures that fail later under normal foot traffic. When you strike with a heavy mallet, you aren’t distributing the force; you are focusing a high-energy shockwave directly into a tiny piece of plastic.
Is LVP actually as durable as everyone claims?
Yes, luxury vinyl is amazingly durable, but only after it is properly installed and supported. During the installation phase, the material is at its most vulnerable. I learned this the hard way during my first big remodel when I ruined an entire box of premium planks by trying to beat them into submission. It is why knowing flooring installation mistakes to avoid for lasting results is absolutely critical before you open your first box. Have you ever tried to force a tight joint and ended up damaging a plank? Drop a comment and tell me your story—I promise you are not the only one who has suffered from mallet madness! Let’s look at how to get those seamless seams without breaking a single click-lock flange.
Step-by-Step System for Flawless Click-Lock Connections
To get those perfect, watertight seams without sacrificing your materials to the trash heap, you must think of your flooring planks as precision interlocking gear teeth rather than puzzle pieces that can be forced together. The secret lies in a system of gradual, distributed energy. When you use the right technique, the tongue and groove slide into a permanent embrace with barely any physical exertion at all. Let us walk through the exact physical execution that guarantees a professional finish.
Prep Your Base for Success First
Before you even pick up a plank, you have to realize that no installation technique can save a click-lock joint that is resting on a roller-coaster subfloor. If your subfloor dips or rises, the locking joints will constantly be under tension, eventually flexing and snap-cracking underfoot. I learned this during a frantic basement remodel where I skipped checking the concrete slab. Within three months, the joints started splitting. To avoid this, always use precise floor leveler techniques to achieve flawless surfaces before laying down your underlayment. Ensuring a truly flat foundation is 90% of the battle.
The Perfect 45-Degree Angle Drop
Never try to slide planks together flat on the floor. Instead, hold the tongue of the new plank at roughly a 45-degree angle relative to the groove of the installed plank. Gently insert the tongue, sliding it forward until you feel it seat fully into the channel. Using light pressure, push forward and sweep the plank downward to the floor. You should hear or feel a soft, satisfying click as it seats. If the plank resists lying flat, do not force it down. Lift it back up, check for debris or shaved vinyl trapped inside the groove, and try again. 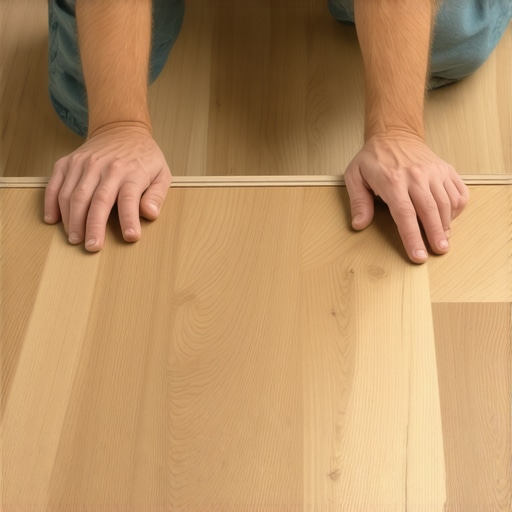
Tapping with a Block to Safely Distribute Force
If you need to close a microscopic hairline gap on the short ends of your planks, do not let your mallet touch the vinyl directly. Instead, use a professional tapping block made of dense, high-density polyethylene (HDPE). This block absorbs the shock and distributes the force evenly along the entire shoulder of the plank. Align the tapping block’s lip with the flat edge of the vinyl, ensuring it does not rest on the fragile tongue. Tap the block gently with your mallet. I once tried to save time by using a scrap piece of wood instead of a real tapping block, which actually splintered and jammed debris into the groove, ruining three boards before I realized my mistake. Take your time, tap softly, and let the tool distribute the energy across the entire joint.Let’s dig deeper into the actual mechanics of subfloor preparation, because this is where the amateur DIYer and the seasoned flooring professional truly part ways. Most guides online tell you to simply buy a bag of self-leveling compound, mix it up with water, and dump it over your uneven spots. They make it sound like magic liquid that cures all sins. But in my years of fixing failed installations, I have learned that the ‘just pour and let it flow’ approach is the quickest way to ruin your subfloor. If you do not understand the delicate chemistry of self-levelers, you are setting yourself up for an incredibly frustrating and expensive failure.
The biggest contrarian truth in the flooring world is that self-leveling compound does not actually level itself. It is a highly viscous slurry that requires manual assistance and precise environmental controls. If you just pour it out, it will often puddle, create high ridges, or cure before it reaches the low spots. In fact, a study by the National Wood Flooring Association emphasizes that subfloor flatness must be within 3/16 inches over a 10-foot span for floating floors to function without structural stress. Achieving this requires using specialized tools and understanding the reason your leveler is setting up too fast, which is almost always related to water temperature, mixing speeds, or a failure to prime the subfloor first.
Why does self-leveler fail to bond and crack over wood subfloors?
Many advanced DIYers believe that because wood flexes, you cannot use cementitious levelers over plywood. This is a costly myth. The real culprit behind cracking and peeling leveler is the failure to use a high-quality acrylic primer. Without a proper primer, the dry plywood acts like a giant sponge, instantly sucking all the moisture out of your freshly poured leveler. This starves the cement of the water it needs to complete its chemical hydration process, leaving you with a chalky, brittle layer that detaches from the wood. If you are working over a wood base, you must master the best primer for installing leveler over plywood to create an unbreakable chemical bond.
Another critical ‘oops’ factor that professionals look out for is subfloor leakage. Because self-leveling concrete is highly fluid when first mixed, it will find any gap, knot-hole, or seam in your plywood and drain right through into the ceiling below. I once watched a helper pour three bags of leveler into a second-story hallway, only to find it dripping onto the homeowner’s dining room table downstairs because he forgot to caulk the joints first! Before you pour a single drop of liquid, you must learn how to stop your floor leveler from leaking through the subfloor by sealing every single seam, crack, and perimeter edge.
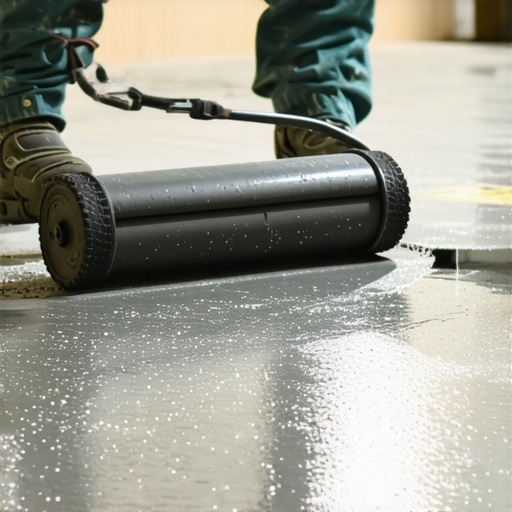
Once your leveler is poured, you cannot just sit back and watch. You need to actively manage the surface tension. Professionals use a spiked roller to release trapped air bubbles that would otherwise leave weak, crater-like voids in your finished floor. If you want a perfectly flat, glass-like finish, you need to know how to use a spiked roller for the perfect leveling pour. It helps distribute the self-leveler evenly while ensuring the micro-bubbles escape before the mixture begins to gel. Have you ever fallen into this trap and had a pour go wrong? Let me know in the comments below, and let’s keep troubleshooting together!Once you have conquered the physical installation, you enter the real battle: long-term preservation. I have seen beautiful, expensive floors ruined in under a year because the owner treated them like indestructible plastic. To keep your work looking pristine, you must adopt a professional maintenance mindset and stock your utility closet with the correct gear. For example, knowing hardwood floor care secrets to longevity and shine is just as critical as the initial nailing pattern. The same rule applies to resilient floors. If you spent days leveling and clicking planks together, do not throw away that effort by grabbing the wrong cleaning chemical. Under no circumstances should you use harsh cleaners; in fact, understanding why you should never mop your luxury vinyl with bleach will prevent you from permanently stripping the protective wear layer and clouding the finish. Always opt for pH-neutral cleaners specifically formulated for your exact flooring category.
How do I maintain my newly leveled click-lock floor over time?
To protect your floating floor over the years, you must actively control the indoor climate. Extreme seasonal shifts can wreak havoc on joints. During winter, dry heated air causes materials to shrink, which is why learning how to keep your hardwood floors from gapping in the winter is essential for wood homeowners. For LVP, high heat and direct summer sunlight can cause severe expansion issues; you must know how to stop LVP from expanding and buckling in sunrooms by utilizing proper window treatments and maintaining a consistent relative humidity between 35% and 55% year-round. According to the World Floor Covering Association (WFCA) technical guidelines, maintaining stable indoor environmental conditions is the single most effective way to prevent joint separation and buckling in floating floor systems. Additionally, never use a steam mop on click-lock planks. The high heat and pressurized moisture can bypass the locking joints, degrading the core and causing warping. Read my breakdown on why you should never use a steam mop on click-lock floors to protect your investment.
Tools That Make the Difference Between Amateur and Pro
If you want to step up your DIY game, throw away the cheap plastic kits and invest in dedicated, professional-grade equipment. I highly recommend purchasing a heavy-duty, cast-iron pull bar. Unlike thin steel bars that bend under pressure, a rigid professional pull bar lets you transfer force perfectly to close end-joint gaps in tight spaces. You should also grab a digital moisture meter. Before laying down any wood or vinyl over a subfloor, knowing how to use a moisture meter before installing wood floors is your ultimate insurance policy against cupping and buckling. I predict that over the next few years, we will see smart, integrated moisture-monitoring sensors embedded directly into premium underlayments, giving homeowners real-time alerts before subfloor moisture can destroy their finishes. For now, rely on your trusty handheld meter.
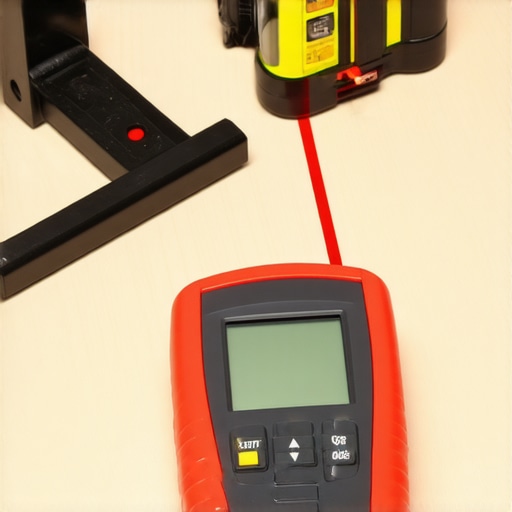
If you are tackling a tile project next, do not skimp on your layout tools. A high-quality self-leveling cross-line laser level is indispensable for keeping your lines perfectly straight across multiple rooms. It completely eliminates the drift that occurs when relying solely on physical spirit levels. Grab one of these lasers and try mapping out your next room layout; you will be amazed at how much time and frustration you save. Let me know in the comments which tool you plan to add to your arsenal first!
The Hardest Lessons I Learned on the Subfloor Battlefield
Over the years, my hands have felt every possible flooring mistake, and my wallet has paid the price for them. If there is one crucial truth I can impart to you, it is that impatience is the ultimate killer of beautiful materials. When you rush the prep work or try to force a joint that isn’t quite aligned, you aren’t saving time—you are simply scheduling a costly repair for next year. I used to believe that a heavy hand could solve a slight misalignment, but I learned that finesse beats force every single time in the flooring world. Treat your subfloor like the foundation of your home, because it literally is.
- The 10-foot straightedge rule is non-negotiable. If you do not use how to measure subfloor flatness before you start installing as your first step, you are gambling with your materials.
- Primer is your insurance policy. Skipping primer on plywood before pouring leveler is the number-one reason projects fail within the first month.
- Expansion gaps are not optional suggestions. Leaving a proper perimeter gap prevents your beautiful summer installation from turning into a buckled, peaking mountain range in the winter.
My Essential Toolkit for Perfect Leveling and Laying
To consistently get professional results, you need to look past the bargain-bin tool kits. Over countless jobs, I have curated a specific arsenal that has never let me down. First, invest in a premium, non-rebound dead blow mallet and heavy-duty HDPE tapping blocks; they absorb the violent shocks that shatter fragile click-lock tongues. Second, always have a high-quality cast-iron pull bar handy for those impossible-to-reach perimeter gaps. Finally, for any wet leveling work, a premium spiked roller is my absolute secret weapon to ensure a smooth, bubble-free surface.
I also highly recommend keeping a digital moisture meter in your toolbox. Before you lay down any underlayment, checking the ambient subfloor moisture is critical to preventing long-term warping. It takes less than two minutes and can save you thousands of dollars in ruined planks. Trust the tools that seasoned professionals use, and you will see your anxiety levels drop instantly.
Your Turn to Create a Flawless Floor
There is nothing quite like the feeling of stepping onto a newly completed floor that you installed with your own hands. By respecting the materials, prepping your subfloor with precision, and using the right techniques, you can achieve a durable, professional finish. Do not let the fear of making a mistake keep you from starting your project. Grab your level, prep your surface, and take the first step toward transforming your home. You’ve got the knowledge—now it’s time to build a solid flooring installation and leveling success story of your own!
Have you ever run into a stubborn click-lock joint that just refused to seat, or had a self-leveling pour start setting up too quickly on you? Let me know about your flooring triumphs and struggles in the comments below!