
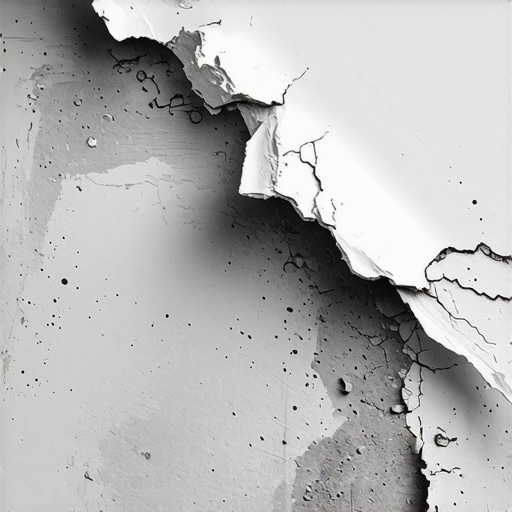
I still remember the first time I heard that sickening, hollow crunch. I had just finished what I thought was a flawless pour in my basement, and as I walked across the room the next morning, the floor didn’t feel solid—it felt like I was walking on dried leaves. I looked down and saw a hairline crack where the leveler had physically lifted away from the slab. I could literally slide a putty knife underneath it and pop up a piece the size of a dinner plate. It was a heart-sinking moment that taught me a very expensive lesson: self-leveler doesn’t just ‘stick’ because you poured it. If you have ever stared at a peeling floor and wondered where you went wrong, you are not alone. Today, I am going to walk you through exactly why your self-leveler is losing its grip and how we can make sure your next pour stays bonded for life.
Stop Watching Your Hard Work Peel Off the Slab
Most people think concrete is as solid and inert as a rock, but it is actually a porous, breathing sponge. When I was starting out, my biggest mistake was assuming a quick sweep with a shop vac was enough. It wasn’t. Micro-dust is the ultimate bond-breaker, acting like a layer of ball bearings between your slab and your new floor. When the underlayment cures, it naturally undergoes a bit of tension and shrinkage. If it hasn’t physically gripped into the microscopic pores of the concrete, that tension pulls the leveler right off the surface. You might have read about flooring installation fundamentals leveling for a seamless look, but no amount of technique matters if the chemical bond fails at the start. According to the American Concrete Institute, proper surface preparation is responsible for more than 80% of all topping and coating failures. If the concrete is ‘sealed’ or too smooth, the leveler has nothing to grab onto. It is like trying to glue two pieces of glass together with school glue; it just isn’t going to hold when things get heavy. This is why mastering floor leveling starts long before you open the first bag.
Is it actually worth the extra prep time?
I know you are itching to get that tile or hardwood down, and the idea of spending hours scrubbing a slab sounds miserable. You might be asking yourself if you can just skip the primer or use a cheaper alternative. Trust me, I have been there, and I have also been the guy chipping out 300 pounds of failed, cracked leveler with a hammer and chisel two weeks later. It is a nightmare you want to avoid. Have you ever stepped on a spot in your home and felt that weird, bouncy ‘give’ in the floor? Tell me in the comments if you are dealing with a ‘hollow’ sounding floor right now, because that is the first sign of a bond failure. We often see why your subfloor primer is bubbling on old concrete as a warning sign that the slab wasn’t ready to receive the leveler. Getting this right the first time is the only way to ensure your finished flooring doesn’t fail prematurely.
Scrub Away the Invisible Bond Breakers
Before you even touch a bag of leveler, you need to treat your subfloor like a surgical site. If you have old adhesive or paint stuck to the slab, that is your first point of failure. I used to think a quick scrape with a flat shovel was enough, but I learned the hard way that you really need the best tool for scraping glue off a concrete slab to get down to the actual pores of the concrete. Think of it like this: if you put a piece of tape on a dusty table, it falls off. If you clean the table first, it stays. It sounds simple, but 90% of the failures I see happen because someone was too tired to spend thirty minutes with a floor scraper and a high-quality vacuum. I once tried to shortcut a 200-square-foot kitchen by using a leaf blower instead of a vacuum. I thought it was “clean enough,” but when I started pouring, the dust I’d missed rose to the surface, creating thousands of tiny pinholes. It looked like the surface of the moon and felt just as fragile. I ended up having to grind the whole thing off—a mistake that cost me three days and $400 in materials.
Paint Your Way to a Permanent Bond
The primer isn’t just an extra step; it is the glue that marries the new floor to the old. Concrete is essentially a thirsty sponge. If you pour leveler directly onto dry concrete, the slab will suck the moisture out of the mix so fast that the leveler won’t have time to cure properly. This leads to “flash-drying,” where the leveler turns to brittle chalk before it even settles. Using precise floor leveling techniques to achieve flawless surfaces always involves a dedicated primer. You want to “broom” the primer into the surface, not just spray it on. Scrubbing it in with a soft-bristled broom ensures that every micro-pore is sealed and ready. This also prevents air from escaping the slab, which is why your self-leveler is bubbling over plywood or concrete. 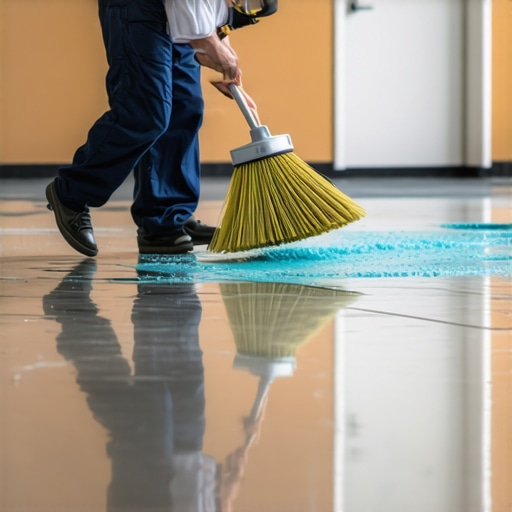
Mix for Consistency Not Just for Speed
When it is time to mix, the water-to-powder ratio is your holy grail. Too much water and the polymers separate, leaving you with a white, dusty film on top that will never hold a tile. Too little water and it won’t flow, leaving you with a lumpy mess that looks like oatmeal. This is the reason your leveler is setting up too fast more often than not. I always recommend using a dedicated measuring bucket; don’t eyeball it. Learning the secret to mixing the perfect bucket of self-leveler every time means using a high-torque drill and mixing for the full time recommended on the bag—usually two to three minutes—to fully activate those bonding agents.
Keep the Liquid Where it Belongs
Finally, you have to remember that self-leveler is essentially water for the first ten minutes. It will find every crack, every vent, and every gap under the baseboards. I have seen guys pour five bags of leveler into a room only to realize it was all running down into the basement through a gap around the plumbing. Before you pour, you must learn how to dam a doorway before pouring self-leveler using foam sills or even just a bead of high-quality caulk. This ensures the material stays where you need it, building up the height required for a truly flat surface.But here is the truth that most ‘pro’ videos skip: ‘flat’ and ‘level’ are not the same thing, and confusing the two is a trap that will haunt your project for years. Most people believe that once the leveler is dry, the hard work is over. In reality, you are just entering the most nuanced phase of the build.
Leveling is an Active Process Not a Passive One
The marketing on the bag makes it sound like you can just dump a bucket and watch physics do the rest. That is a myth. In my experience, if you don’t use a gauge rake or a spiked roller to break the surface tension, the material will ‘mound’ slightly. This results in subtle waves that are invisible to the naked eye but become a nightmare when you try to set a long plank. I have seen countless DIYers rely on gravity alone, only to discover why your self-leveler didn’t flow into the low spots 2. You have to actively guide the liquid to ensure it reaches every corner of the room.
The Structural Lie That Cracks Your Grout
Here is the contrarian view: a floor can be perfectly level and still be a total failure. I see people spend days getting a slab as smooth as glass, only to have their grout pop out six months later. Why? Because they ignored deflection. If your subfloor has even a tiny bit of ‘bounce,’ your tile is doomed. This is the real reason your floor joists are making your tile crack. The Tile Council of North America (TCNA) Handbook mandates a deflection limit of L/360 for ceramic and a much stricter L/720 for natural stone. If you are pouring leveler over a bouncy plywood subfloor without reinforcing the joists first, you are just putting a band-aid on a broken leg. 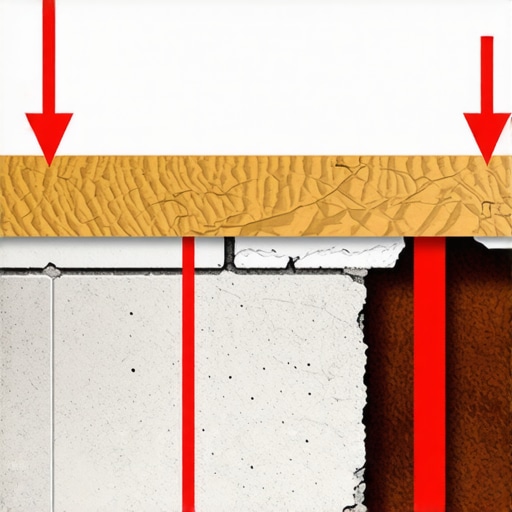
Why is your floor still clicking after you leveled it?
This is a common frustration for anyone installing luxury vinyl or laminate. You followed the step-by-step guide to flooring installation and leveling success, yet you still hear that annoying ‘tick’ when you walk. Usually, this happens because of ‘pinholing’ or micro-divots in the leveler that create air pockets under the planks. Even a 1/8-inch deviation can cause the locking mechanisms to rub. It is one of those flooring installation mistakes to avoid for lasting results. Have you ever fallen into this trap? Let me know in the comments if you’ve ever had to deal with a ‘noisy’ floor after thinking you’d leveled it perfectly.
Don’t Go Cheap on the Sticky Stuff
Finally, if you are moving into the world of 24×48 inch tiles, you have reached the ‘advanced level’ of floor prep. These massive slabs do not tolerate even a millimeter of error. This is where the hidden cost of using cheap thinset on large format tiles catches up with you. Standard thinsets shrink as they dry, which can pull your perfectly level tiles out of alignment. You must use a Large and Heavy Tile (LHT) mortar to keep everything flat. Combine that with the knowledge of why your large format tiles need back-buttering every time, and you will have a floor that lasts a century. These tile installation pointers that save time and money might seem like overkill now, but they are the difference between a pro finish and a weekend disaster.
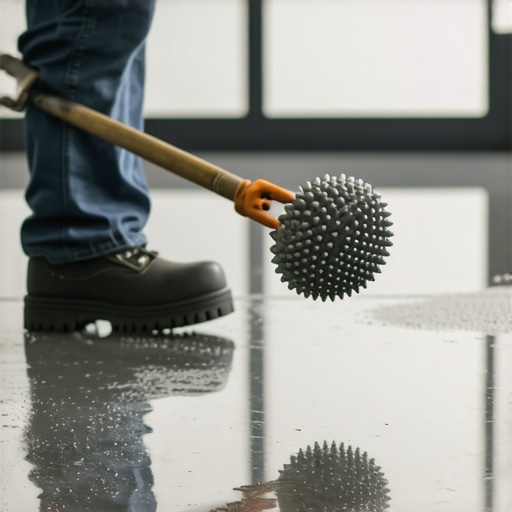
If you are serious about moving from weekend warrior to pro-level results, you need to stop using a garden rake to move your leveler. I used to think I could ‘eye’ the depth, but after one too many high spots, I invested in a dedicated gauge rake with adjustable cams. Why? Because manual spreading is a guessing game that physics usually wins. By setting the pins to exactly 1/4 inch, I ensure the material is uniform before it even thinks about setting. I also never step onto a wet pour without my spiked shoes. It looks ridiculous, but being able to walk right back into the middle of the room to pop a bubble or smooth a ridge is the difference between a glassy finish and an expensive sanding job. You can find more of these essentials in the ultimate guide to floor leveling for a perfect finish.
How do I maintain my floor leveling and finish over time?
Maintenance starts with the environment, not just the mop. I tell my clients that a floor is only as stable as the air around it. For those who choose natural materials, I always point them toward hardwood floor care secrets to longevity and shine. According to the National Wood Flooring Association (NWFA) Technical Publication No. C200, maintaining a consistent relative humidity between 30% and 50% is the single most important factor in preventing structural floor failure. If the air gets too dry, your wood shrinks and pulls at the leveler below; too damp, and it expands, potentially shearing the bond you worked so hard to create. If you are planning a refresh, consider looking into mastering hardwood floor refinishing expert tips for 2025 to keep that protective layer thick and resilient.
The Future of Flooring Prep is Fiber-Reinforced
I predict we are moving away from traditional gypsum-based levelers toward advanced, fiber-reinforced polymers. These materials act more like a flexible mesh than a rigid rock, allowing for thinner pours over challenging subfloors without the risk of cracking. This is particularly vital when you are installing tiles like a pro in older homes where the joists have a bit of ‘character’ (read: bounce). These high-tensile mixes are more expensive per bag, but they save you thousands in potential callbacks. If you are worried about the initial investment, remember flooring installation mistakes to avoid for lasting results; the cheapest product is the one you only have to buy once. I challenge you to try one advanced tip on your next project: use a spiked roller. It seems like a minor addition, but the way it releases trapped air and knits separate buckets of leveler together is absolute magic for your final finish.
The Truth About Your Floor’s Hidden Drama
I used to think that once the leveler was down, I was in the clear. But I learned that the floor speaks to you if you listen. One trick I swear by now is the ‘golf ball test.’ Once your leveler is dry, roll a golf ball across the surface. If the sound changes from a solid ‘thud’ to a hollow ‘click,’ you have a bond failure before you even start tiling. It is better to find it now than after the grout starts cracking. Another epiphany: humidity is your shadow partner. I have had pours go south just because the AC kicked on and blew dry air across a setting floor, causing it to ‘skin over’ and trap bubbles. If you are dealing with floor leveling challenges common mistakes and how to avoid them, look at your thermostat first. Finally, remember that leveler is not a structural repair. If your house is still settling, no amount of polymer-modified underlayment will stop a moving crack. You must address the movement before you address the level.
The Tools That Saved My Sanity
If you want to move from ‘good enough’ to ‘architectural grade,’ you need a 10-foot straightedge. Knowing how to check for high spots with a 10-foot straightedge is the only way to prove your work to a skeptical client or even yourself. I also never start a pour without double-checking my dams; a few minutes learning how to stop your floor leveler from leaking through the subfloor will save you from a basement cleanup you will never forget. I highly recommend using a high-shear mixing paddle rather than a standard paint mixer. A paint mixer introduces too much air, while a high-shear paddle creates a creamy, vortex-like blend that ensures how to achieve flawless floor leveling before tile laying is actually possible in a single pass. #IMAGE_PLACEHOLDER_E#
Build a Floor That Outlasts the Mortgage
Floor leveling is not just about making things flat; it is about creating a foundation for the memories you will make in your home. Whether you are setting stone or laying oak, the care you put into the prep work today determines if that floor will still be silent and sturdy twenty years from now. You have the knowledge and the tools—now it is time to mix that first bucket and see the transformation for yourself. Don’t be afraid of the process; embrace the precision. Have you ever discovered a massive high spot only after you started laying your first row of tile? Let me know how you handled it in the comments below!