
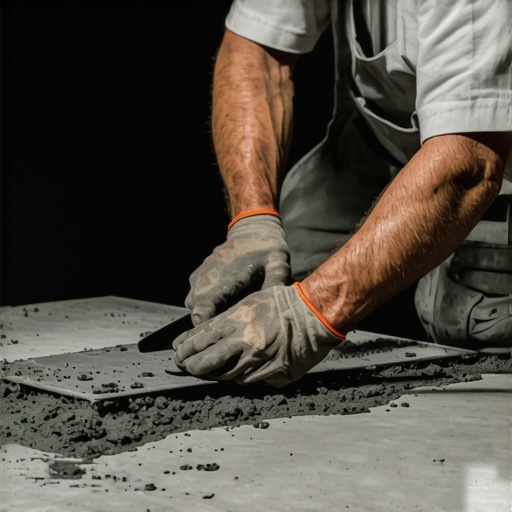
I still remember the sound. It wasn’t a loud bang, but a subtle, sickening crunch beneath my work boot. I had just spent three days laying a stunning 24×48 porcelain floor in my own kitchen, feeling like a total pro. Then I stepped on a corner. That tiny pocket of air I ignored became a costly crack in a heartbeat. I’d skipped back-buttering because I thought my thick-notched trowel on the floor was doing all the heavy lifting. I was wrong. If you’ve ever looked at a massive tile and thought, ‘That looks heavy enough to stay put on its own,’ let me tell you—gravity is not your friend here. Today, I’m going to show you how to avoid that heartbreak and ensure your floor stays rock-solid for decades.
Avoid the Heartbreak of Cracked Porcelain
The physics of large format tiles are different from the 12×12 squares we grew up with. They don’t flex, and they sure don’t forgive a bumpy subfloor. When you’re dealing with anything over 15 inches on one side, a standard bed of mortar just isn’t enough to ensure a permanent bond. I learned the hard way that flooring installation mistakes to avoid for lasting results usually start with what we don’t see under the surface. Without back-buttering, you’re basically gambling on air pockets. According to the Tile Council of North America (TCNA), large format tiles require at least 95% mortar coverage in wet areas to prevent failure. If you miss that mark, you’re just waiting for a hairline fracture to ruin your weekend. Have you ever finished a job only to hear that ‘hollow’ tap when you walk across the room? It is a soul-crushing sound.
Is This Extra Step Just a Waste of Thinset?
I get it. You’re tired, your knees hurt, and the last thing you want to do is pick up a 40-pound slab of stone and smear more goop on the back of it. But let’s be real: why your large format tiles need back-buttering every time comes down to creating a mechanical ‘suction.’ That thin layer of mortar on the tile’s backside acts as a bridge. It grabs the ridges on the floor and pulls them together into a monolithic bond. Think of it like trying to stick two dry crackers together with peanut butter on only one side; it might hold for a second, but it isn’t a sandwich until both sides are coated. Back when I started, I thought I could outsmart the system by using a bigger notch, but I ended up with hollow tiles that needed detecting before I even finished the grout. If you want to sleep at night, you need to master the trowel notch secret for getting full thinset coverage. Let’s dive into the actual technique so you don’t repeat my early-career disasters.
Get Your Thinset Consistency Right Every Time
The biggest mistake people make happens before the tile even touches the floor. They treat thinset like it is just ‘glue,’ but it’s actually a structural component. You want your mortar to have the consistency of creamy peanut butter—firm enough to hold a ridge but wet enough to transfer to the tile. I once rushed a batch for a laundry room and it was so runny that the heavy tiles literally ‘swam’ out of alignment within twenty minutes. I had to pull up six tiles and scrape the floor clean, which is a mess I wouldn’t wish on my worst enemy. If you want to avoid that, follow installing tiles like a pro step-by-step strategies for 2025 and always let your thinset ‘slake’ (rest) for ten minutes after the initial mix. This allows the chemicals to fully activate so the bond doesn’t fail prematurely.
Flatten Your Subfloor or Face the Consequences
With large format porcelain, ‘close enough’ is never good enough for your subfloor. If there is a dip of even an eighth of an inch over ten feet, your tile will bridge that gap, creating a hollow void. This is exactly how I ended up with that cracked kitchen tile I mentioned earlier. You need to learn how to achieve flawless floor level before tile laying to ensure a dead-flat surface. I remember working on a project where the homeowner insisted the plywood was fine, but a quick check with a straightedge revealed a massive valley in the center. We ended up using a self-leveling compound to save the job. If you skip this, no amount of back-buttering will save you from lippage—that annoying vertical offset where one tile edge sits higher than the neighbor. Following a step-by-step guide to flooring installation and leveling success is the only way to guarantee the tile sits flush. 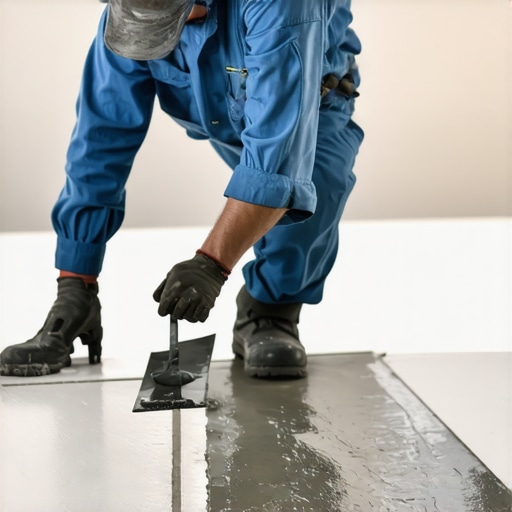
The Proper Way to Butter Your Tile
Now, let’s talk about the actual ‘buttering.’ You aren’t just slopping mortar on the back. You want to use the flat side of your trowel to ‘burn’ a thin layer of thinset into the back of the tile. This fills all the microscopic pores and ridges in the porcelain. I call this the ‘primer coat.’ Once that’s done, you apply your notched layer to the floor. Using the trowel notch secret for getting full thinset coverage means combing the mortar in straight lines, not swirls. Swirls trap air; straight lines allow air to escape when you press the tile down.
Set It and Forget It with the Right Suction
When you finally drop that slab into place, don’t just let it sit there. You need to shift it back and forth about half an inch perpendicular to the trowel ridges. This collapses the ridges and creates a solid, monolithic bed of stone. I’ve seen guys try to ‘beat’ the tile into place with a rubber mallet, but that’s a recipe for disaster. The goal is suction, not force. If you do this correctly, you’ll never have to worry about flooring installation mistakes to avoid for lasting results because that tile is now part of the house. It’s a physical workout, but the peace of mind you get when you walk across a solid, silent floor is worth every drop of sweat.Stop treating self-leveling compound like it’s just magic water that fixes every sin of a crooked house. The most common myth I hear is that you can just ‘pour and pray.’ In reality, leveler is a fickle beast. If you don’t prep the surface correctly, you’ll end up wondering why your self-leveler is bubbling over plywood. Those bubbles aren’t just cosmetic; they represent weak spots where the bond has failed. I’ve walked onto jobs where the leveler was literally crunching under my feet because the installer skipped the primer.
Why Is Your Subfloor Still Bouncy After All That Work?
It’s a question that keeps DIYers up at night. You’ve leveled the floor, you’ve used the best mortar, but the tile still cracks. Often, the issue isn’t the surface—it’s the structure underneath. According to the Tile Council of North America (TCNA), the deflection of your subfloor must be limited to L/360 for ceramic and L/720 for natural stone. If your joists are too far apart, the real reason your floor joists are making your tile crack is simple physics: they are bending under the weight. No amount of ‘magic’ liquid will fix a structural bounce. You need to stiffen the floor before you even think about the finish. 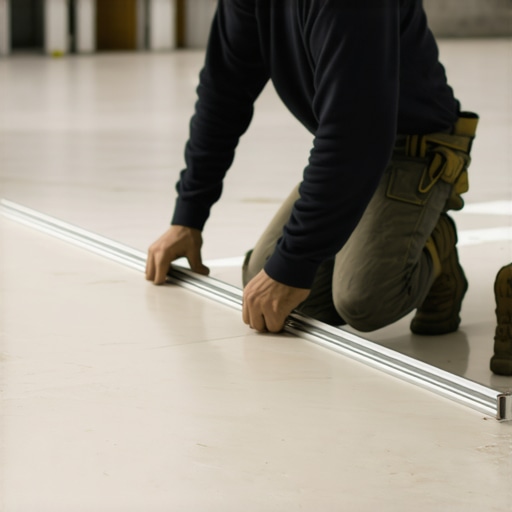
The Primer Trap That Ruins Professional Jobs
Most people think primer is just an optional ‘extra’ to make the leveler manufacturer more money. But on a porous surface like old concrete or plywood, that liquid leveler will lose its moisture too fast, leading to a ‘flash set’ or poor adhesion. This is mastering floor leveling pro secrets for perfect installations 101: the primer seals the pores so the leveler flows smoothly. If you don’t seal the cracks in your subfloor, you’ll also learn how to stop your floor leveler from leaking through the subfloor the hard way—usually when it starts dripping through the light fixtures in the room below. Trust me, explaining to a client why their kitchen island is now cemented to the basement floor is a conversation you never want to have.
Account for Movement at the Transition
When you are mixing materials, like trying to transform your space with expert hardwood floor tile combinations, the nuance gets even trickier. Wood moves; tile doesn’t. If you don’t account for the expansion gap at the transition, the wood will eventually push against the tile and pop it loose. I’ve seen beautiful oak floors buckle because they were installed too tight against a porcelain border. It’s about more than just aesthetics; it’s about managing moisture. If you’re working on a slab, you must know how to install luxury vinyl over a concrete slab with high moisture because that vapor will destroy your adhesive from the bottom up. Even the best leveling job is useless if the ground is ‘sweating’ beneath it. Have you ever fallen into this trap? Let me know in the comments. Digging deeper into these nuances is what separates a weekend warrior from a seasoned pro.I’ve spent years realizing that a great installation is only half the battle. If you don’t have the right arsenal to keep things pristine, your hard work will start showing its age way too fast. I’m a bit obsessive about dust, which is why I stopped using standard shop vacs and switched to a dedicated HEPA system. Specifically, finding the vacuum attachment that actually picks up fine sawdust changed how I finish my hardwood projects. It prevents those microscopic scratches that dull a finish over time. I also swear by the Wagner Meters Orion 950; according to technical documentation from the National Wood Flooring Association (NWFA), knowing the moisture content of your subfloor and the wood itself is the only way to prevent crowning or cupping. Without a pro-grade meter, you’re just guessing.
How do I maintain my flooring surfaces for the long haul?
Maintaining a floor isn’t just about mopping; it’s about environmental control. You have to learn how to keep your hardwood floors from gapping in the winter by managing your home’s humidity. I tell everyone to ditch the steam mops—seriously, the truth about using steam mops on luxury vinyl planks is that they often melt the adhesives. For tile, it’s all about the grout. If you don’t seal it, why your white grout turned orange in the shower becomes a recurring nightmare. I personally use a high-quality pH-neutral cleaner. It’s a simple switch that preserves the chemical bond of the sealer for years longer than generic supermarket sprays. 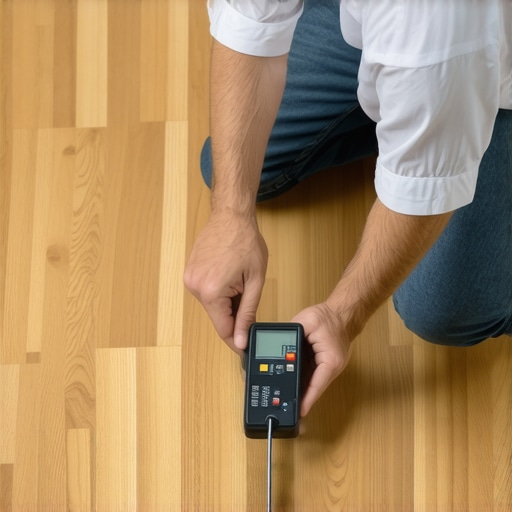
Gear Up for the Future of Flooring
Looking ahead, I see a massive shift toward “smart” flooring. We’re already seeing subfloor membranes with integrated moisture sensors that ping your phone if a leak starts under the dishwasher. It sounds like sci-fi, but for anyone who has dealt with hardwood floor care secrets to longevity and shine, it’s a total game-changer. For now, focus on the basics of flooring installation fundamentals leveling for a seamless look and invest in a quality straightedge. If you really want to level up your game today, go out and buy a 10-foot aluminum straightedge and stop relying on a 4-foot level for your layout—it’s the single best investment you’ll ever make for a flat floor.
3 Myths About Thinset That Nearly Ruined My Kitchen
After years of scraping up dried mortar and cursing at lippage, I’ve realized that the small things are actually the big things. First, never trust your eyes when it comes to flatness; always verify. I’ve seen pros get cocky and skip the straightedge, only to find a birdbath dip in the center of the room later. Second, your thinset is a living chemical reaction. If it starts to skin over, scrape it off and start fresh. It’s better to lose five dollars in mortar than a five-hundred-dollar tile job. Third, the light in the room changes everything. That floor might look great at noon, but why your porcelain tile looks wavy under recessed lighting at night is a masterclass in shadows and precision. I learned that even the best back-buttering won’t hide a floor that isn’t truly flat.
My Essential Toolkit for Flat Floors
If you want to move beyond basic DIY, you need the right kit. I don’t start a job without a 10-foot aluminum straightedge. You can learn how to check for high spots with one of these, and it beats a 4-foot level every time because it spans the actual distance of the tile run. I also highly recommend checking out the ultimate guide to floor leveling for a perfect finish if you’re dealing with old, uneven subfloors. Finally, keep some tile installation pointers that save time and money in your back pocket, like using a high-quality suction cup for handling those massive slabs without straining your back. These tools are the insurance policy for your labor.
The Future of Your Home Starts Under Your Feet
Tiling is intimidating, especially when the slabs are expensive and the thinset is heavy. But remember, every expert started with a cracked tile and a messy bucket. By focusing on your subfloor prep and mastering the art of back-buttering, you are already ahead of most hobbyists. Whether you are doing a simple bathroom or trying to transform your living area with elegant tile designs, the effort you put in now determines how your home feels for the next twenty years. Don’t rush the process; enjoy the craft of flooring installation. Have you ever struggled with a floor that felt a little bouncy or hollow? Let me know in the comments how you fixed it!