
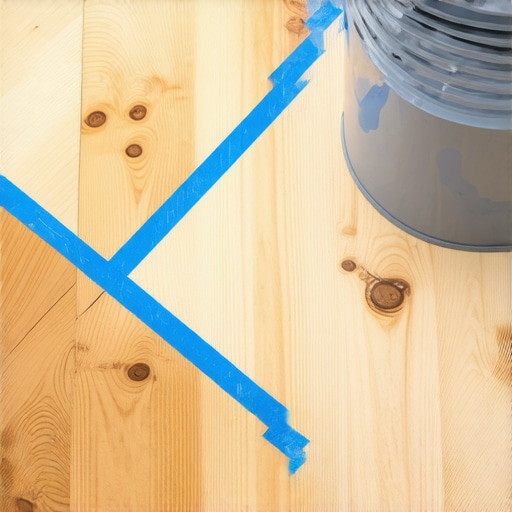
I stood in my half-finished bathroom with a heavy bucket of self-leveling underlayment, feeling like a total pro. I had spent all morning prepping the area, but I decided to skip one tiny, seemingly insignificant detail. I poured that grey, milky mixture onto the plywood, watched it spread like a dream, and felt a massive surge of pride. Then I heard it. A steady, rhythmic tap-tap-tap echoing from the basement directly below me. I sprinted downstairs only to witness a disaster: expensive self-leveler was raining down from the floor joists, coating my workbench and several storage bins in a sludge that would soon be hard as rock. I had literally poured fifty bucks worth of material through a gap I thought was ‘small enough’ to ignore. It was a soul-crushing moment that turned a two-hour job into a two-day cleanup. Today, I am going to make sure you never have to experience that sinking feeling of watching your budget leak through the floorboards. We are diving deep into the art of making your room a vault before the first drop hits the ground.
Build a Bathtub Before You Pour Your Floor
When you are tackling floor leveling challenges common mistakes and how to avoid them are usually top of mind, but most folks underestimate just how thin this stuff really is. Self-leveling underlayment has the consistency of heavy cream or a very loose milkshake. If there is a hole the size of a pinhead in your plywood seams or around a plumbing pipe, that leveler is going to find it and gravity is going to do the rest. I learned the hard way that ‘good enough’ is just an invitation for a ceiling repair project. This isn’t just about saving your materials; it’s about structural integrity and ensuring your finished floor doesn’t have a massive hollow spot because half the support material ended up in your crawlspace. According to the National Wood Flooring Association (NWFA), subfloor preparation is the single most critical phase of any flooring project, yet it is the one most frequently rushed or skipped entirely by homeowners. If you don’t treat your subfloor like you’re building a literal bathtub, you’re just gambling with your time and money. We want those ultimate guide to floor leveling results without the frantic basement cleanup. This means sealing every seam, every screw hole, and every perimeter gap with a level of obsession that might seem crazy until you see the stuff start to flow.
Can’t I just use duct tape and call it a day?
I get the skepticism; you’re tired, you’ve been working all day, and you just want to get the pour over with. You look at a seam and think it’s tight enough. But let me tell you, tape is a temporary fix that often fails under the weight and moisture of the wet leveler. You need a mechanical seal. Whether it is a high-quality silicone caulk, a specific subfloor filler, or even expanding foam for the bigger gaps, you have to be relentless. You even need to know how to dam a doorway properly so the liquid doesn’t decide to migrate into your carpeted hallway. Trust me, spending ten dollars on a tube of sealant is significantly cheaper than buying three extra bags of leveler because the first three are now part of your foundation. Before you even think about mixing the perfect bucket of self-leveler, you need to ensure your room is a sealed vault. Have you ever had a DIY project literally slip through your fingers and into the room below? Tell me I’m not the only one who has made this mess! If you want a truly professional result for your next flooring installation, the prep is where the battle is won or lost.
Seal Every Crack Before the Liquid Gold Hits the Floor
Before you even crack open a bag, you need to realize that self-leveler is a snitch—it will find every mistake you left behind. I start by walking the entire perimeter with a can of low-expansion spray foam or a high-quality silicone sealant. Think of it like caulking a bathtub; if there’s a gap between the subfloor and the drywall, that liquid is going to disappear behind your baseboards. During a kitchen remodel last year, I spent an extra hour sealing the gap under the cabinets. I felt like I was overdoing it until I saw the leveler rise right up against the foam, staying exactly where it belonged instead of flooding the pantry below. This is a critical step in how to achieve flawless floor leveling before tile laying because any loss of volume means your floor won’t actually be level.
Stop the Squeak While You Have the Chance
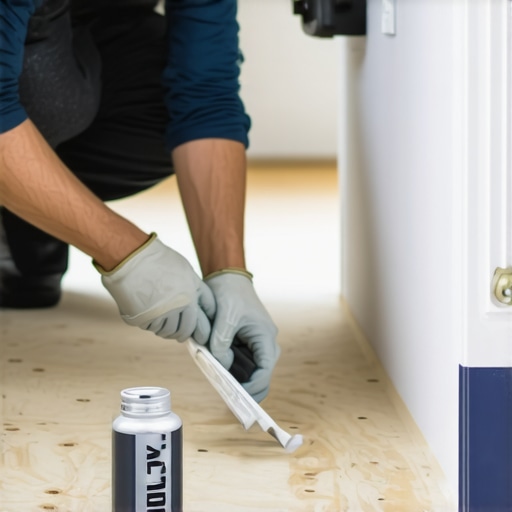
While you are down on your hands and knees sealing seams, take a hammer and a drill with you. This is your last opportunity to address movement. If a sheet of plywood moves when you step on it, the cured leveler on top will eventually crack. I once ignored a slight ‘click’ in a hallway, poured the leveler, and laid beautiful tile, only to have the grout pop out two months later. Now, I use the how to stop your subfloor from squeaking with one screw method to lock everything down tight. Once the floor is silent and stable, use a fast-setting floor filler or even a high-grade silicone to cover every single screw head. If you don’t, you’ll see dozens of little ‘dimples’ where the leveler settled into the screw recesses, which can lead to bonding issues or telegraph through thin flooring.
Build Dams That Actually Hold
Doorways and floor vents are the most common escape routes. You can’t just hope the leveler stops at the threshold. You need to build a physical levee. I use scrap pieces of 1×2 lumber or even strips of foam weatherstripping hot-glued to the subfloor. If you’re wondering how to dam a doorway before pouring self-leveler, the trick is to make the dam slightly higher than your intended pour thickness. I once tried using a rolled-up towel—don’t do that. The leveler soaked into the towel, hardened, and I had to use an angle grinder to get the crusty mess off my subfloor. Now, I stick to rigid barriers. This prep ensures you won’t have to worry about why your self-leveler didn’t bond to the wood subfloor because you’ve maintained the necessary depth for a proper chemical grip.
The Prime Directive for Subfloors
Once your ‘bathtub’ is sealed, the most skipped step is the primer. Plywood is like a giant sponge; it will suck the moisture right out of your wet leveler before it has a chance to flatten out. This often explains why your self-leveler developed spiderweb cracks overnight. You need to roll on the manufacturer’s recommended primer and let it get tacky. It acts as the glue between the old wood and the new stone-like surface. If you’re working over an old renovation, make sure you know the best way to remove thinset from a plywood subfloor before priming, because any leftover dust or old adhesive will act as a bond-breaker. Don’t just slap the primer on with a mop; use a soft-bristle push broom to scrub it into the pores, ensuring no puddles are left behind. Clean it, seal it, dam it, and prime it. Only then are you ready for the secret to mixing the perfect bucket of self-leveler every time.
Most DIYers think the goal is to get a perfectly level floor. In my experience, chasing a ‘level’ floor in an old house is a fool’s errand that leads to massive humps at the doorways. What you actually need is a flat floor. There is a massive difference. According to the Tile Council of North America (TCNA), for modern large format tiles, your substrate must be flat within 1/8 inch over a 10-foot span. If you try to make a 100-year-old house level, you might end up with three inches of material in one corner, which brings us to a major risk: weight. Standard leveler weighs about 12 pounds per square foot at an inch thick. If your joists aren’t up to the task, you’re looking at the real reason your floor joists are making your tile crack—structural deflection. Before you pour, you must know how to check for high spots with a 10-foot straightedge.
Stop Obsessing Over the Bubble
The myth that every floor needs to be perfectly level is one of the most expensive mistakes you can make. If you are doing a flooring installation, you need to prioritize flatness over levelness. If your subfloor slopes 1/4 inch across the room but is perfectly flat, your tile will lay beautifully. If you try to ‘level’ that slope, you might create a transition nightmare at your door. Professional installers follow the TCNA guidelines, which emphasize that flatness is the key to preventing lippage, especially with why your large format tiles need back buttering every time. Always check the specs before you start dumping bags.
Avoid the Extra Water Trap
It is incredibly tempting to add an extra quart of water to the bucket to make the mixture ‘self-level’ more easily. This is a fatal mistake. Over-watering causes the heavy aggregates to sink to the bottom and the light polymers to float to the top, creating a weak, dusty surface known as laitance. This is a primary reason why your floor leveler pitted during the drying process. If you can scratch the surface of your cured leveler with a car key, it’s too weak to hold tile. Always use a measured pitcher—never eyeball the water. 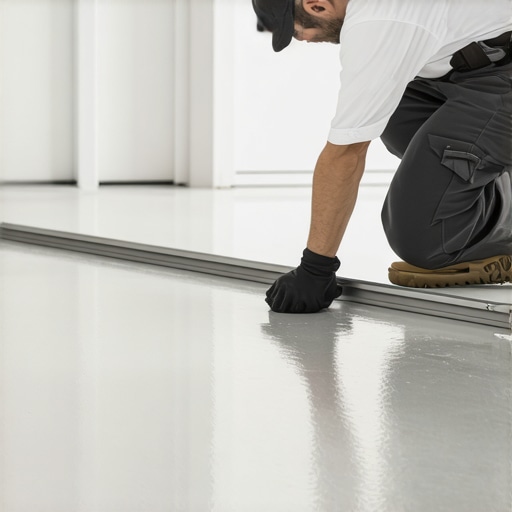
Why does your surface look like a dried salt flat?
If you see ‘alligatoring’ or tiny cracks across the surface, your leveler lost its moisture too quickly. This usually happens when the subfloor wasn’t primed enough or there’s a draft from a nearby HVAC vent. This environmental factor is often the reason your leveler is setting up too fast. You need to seal the room, turn off the furnace, and ensure the primer has created a non-porous film. Have you ever fallen into this trap? Let me know in the comments. Using the trowel notch secret for getting full thinset coverage won’t matter if the leveling layer underneath is crumbling.
The Gear That Separates Pros from Amateurs
Once you have mastered the prep, you need the equipment that actually delivers a flat surface. I do not use the flimsy plastic buckets found at big-box checkout counters. I use reinforced, heavy-duty 5-gallon pails that will not distort under the pressure of a high-torque mixing drill. If you are serious about your results, you need to understand the secret to mixing the perfect bucket of self-leveler every time, which involves using a specific egg-beater style paddle rather than a spiral one. A standard spiral paddle often introduces too much air, leading to those frustrating surface bubbles. My most trusted tool, however, is a 10-foot aluminum straightedge. Learning how to check for high spots with a 10-foot straightedge is the only definitive way to verify your work before the material cures. According to the TCNA Handbook for Ceramic, Glass, and Stone Tile Installation, specifically Method F185, substrate flatness is the single most critical factor for the longevity of your grout joints and tile bond.
How do I maintain my floor’s stability over time?
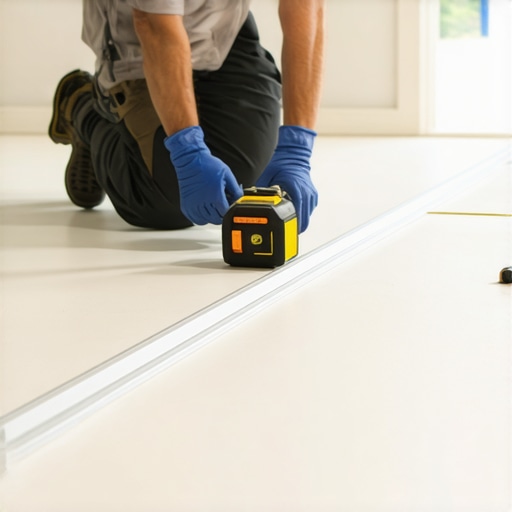
Maintenance actually begins the moment the leveler is dry. You have to respect the climate of your home to protect your investment. I have seen perfectly leveled floors ruined because the homeowner did not know how to keep your hardwood floors from gapping in the winter. If the wood subfloor beneath your leveler shrinks excessively due to low humidity, it can pull away from the perimeter or cause the underlayment to shear. Maintaining consistent humidity levels is the unsung hero of hardwood floor care secrets to longevity and shine. Furthermore, keep a close eye on your transitions. If you notice a hairline crack in a doorway, it is often one of the flooring installation mistakes to avoid for lasting results, usually indicating a lack of proper expansion joints in the leveling layer.
The Digital Future of Floor Prep
We are standing on the edge of a major shift in how we handle home renovations. I predict that within the next few years, we will see handheld LiDAR scanners become standard for DIYers, allowing you to project a 3D topographic map of your subfloor onto your smartphone screen before you pour a single bag. This will take the guesswork out of volume calculations and virtually eliminate material waste. Until then, you must rely on your eyes and your physical straightedge. For more tile installation pointers that save time and money, start by investing in a high-quality laser level. My challenge to you for your next project: use a 10-foot straightedge to map your entire room and mark every low spot with a pencil before you open a bag of leveler. You will be shocked at what your eyes missed but the bar found.
Hard-Won Secrets from the Trenches of My First Big Mess
Over the years, I have realized that the clock is your biggest enemy once the water hits the powder. One of my biggest lightbulb moments was realizing that self-leveling underlayment is a team sport; having one person mixing while the other pours is the only way to avoid ‘cold joints’ where one batch starts to harden before the next one hits. I also learned that if you are tackling a massive dip like how to level a floor that has a 2 inch drop across the room, you should never try to do it in one single lift. Pouring too thick at once can cause the material to overheat and crack during the curing process. Another trick is to keep your water cool—warm water makes the chemical reaction happen way too fast, giving you zero time to work the material toward the edges.
Tools That Saved My Sanity When Things Got Sticky
If you want precise floor leveling techniques to achieve flawless surfaces, you have to stop relying on cheap equipment. I swear by my heavy-duty mixing drill; a standard cordless drill will often burn out before you finish the third bag. I also highly recommend the TCNA Handbook; it is essentially the bible for anyone doing a flooring installation and provides the exact tolerances you need for different materials. Lastly, don’t overlook a spiked roller. It looks like something out of a medieval movie, but it is the best tool for popping those tiny air bubbles that rise to the surface of your fresh pour, ensuring you won’t need to sand later. For more foundational knowledge, check out flooring installation fundamentals leveling for a seamless look.
Go Ahead and Make That Floor Perfectly Flat
Prep work is the invisible part of a beautiful home, but it is the part that allows your tile or hardwood to shine for decades. Now that you know mastering floor leveling pro secrets for perfect installations is all about the ‘bathtub’ method and the right tools, you can approach your next project with confidence. Don’t let a few bumps in the subfloor stop you from creating a professional-grade finish. Every expert started with one messy bucket and a few mistakes—the difference is they kept pouring and learning. Have you ever had self-leveler escape through a floor vent or a gap you thought was sealed? Let me know about your DIY adventures in the comments below!