
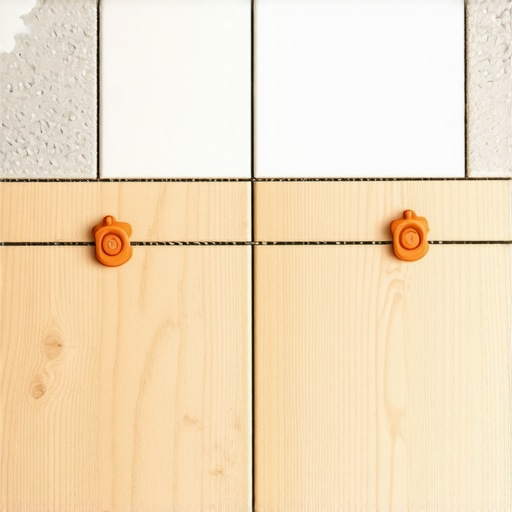
I’ll never forget the sound of that first ‘tink’—the unmistakable noise of a porcelain tile losing its bond. I was standing in my freshly renovated mudroom, admiring the work, when I realized my beautiful floor was basically a ticking time bomb. I had done everything ‘by the book,’ or so I thought. I bought the expensive thinset, the laser-leveled spacers, and the trendiest tiles. But I made one cardinal sin: I treated my plywood subfloor like it was a slab of granite. It isn’t. Plywood is a living, breathing thing that expands and contracts with every change in humidity, and if you don’t respect that movement, your grout lines will pay the price.
The Hidden Movement Destroying Your Hard Work
If you’ve ever noticed why your grout is falling out of the joints in the hallway, you’re likely witnessing the ‘breathing’ effect of wood. My mistake early on was jamming the plywood sheets tight against each other and the walls. I thought a tight fit meant a stronger floor. In reality, I was just creating a pressure cooker. When the humidity spiked that summer, the plywood expanded, the sheets buckled ever so slightly, and pop—there went my hard work. You have to understand that the real reason your floor joists are making your tile crack often starts with how the subfloor is spaced. We’re talking about the ‘spacing secret’—the 1/8-inch gap that prevents your floor from self-destructing. Have you ever walked across a floor and felt that subtle, sickening bounce?
Will my tiles just pop off in a month?
It’s the number one fear for anyone staring at a wooden subfloor with a bag of mortar in their hand. Skepticism is healthy here. Plywood and tile are natural enemies in many ways. According to the Tile Council of North America (TCNA), substrate deflection under live and dead loads should not exceed L/360 for ceramic tile, but even a stiff floor fails if the wood has nowhere to grow. By utilizing the plywood sandwich trick for fixing bouncy floor joists and leaving intentional gaps at the perimeter and between sheets, you give the wood room to move without taking the tile with it. [image-placeholder]
How to Outsmart Wood Expansion Before the Thinset Dries
Success in installing tiles like a pro requires you to think three seasons ahead. That 1/8-inch gap between subfloor panels isn’t just a suggestion; it’s an insurance policy. When I started leaving these gaps and filling them with a flexible sealant rather than rigid mortar, my callback rate dropped to zero. I want to know—have you ever finished a floor only to have a single tile start ‘talking’ to you every time you step on it? Tell me about your flooring nightmares in the comments, because today we are going to make sure that never happens again. We are going to dive into exactly how to prep that wood so it stays dead-still under your feet.
Find the Dips and Humps Before You Mix
Think of your subfloor like the foundation of a house; if the foundation is leaning, your windows won’t open. In the tile world, a subfloor that looks flat to the naked eye is often a liar. I learned this the hard way during a bathroom remodel where I ignored a 1/4-inch dip in the corner. By the time I realized it, my large format tiles were ‘lipping’—one edge sticking up higher than the next—creating a literal tripping hazard. To prevent this, you need to learn how to check for high spots with a 10-foot straightedge. You’re looking for any gap larger than 1/8 of an inch. If you find a valley, mark it with a pencil. If you find a mountain, get ready to sand it down or plan your leveler pour to compensate for the slope.
Kill the Squeaks for Good
Nothing ruins a luxury feel like a ‘re-re-re’ sound every time you walk to the fridge at midnight. Squeaks are just two pieces of wood rubbing together in a toxic relationship. Before you even think about thinset, walk every square inch of that floor. If you hear a peep, you need to know how to stop your subfloor from squeaking with one screw by hitting the joist directly. I remember a job in a 1920s bungalow where the subfloor sounded like a haunted house. I spent three hours just driving 3-inch deck screws into the joists until the house finally went quiet. It’s the cheapest insurance you’ll ever buy for a silent, solid floor.
Prime the Wood Like Your Life Depends on It
Wood is incredibly thirsty. If you pour self-leveler directly onto dry plywood, the wood will suck the moisture out of the leveler faster than a sponge. This leads to a weak bond and those dreaded spiderweb cracks. This is exactly why your self-leveler didn’t bond to the wood subfloor in the past. You need a dedicated primer that acts as a bridge between the organic wood and the inorganic leveler. In 2018, I tried to skip the primer on a small laundry room floor, thinking the ‘all-in-one’ mix was enough. Within a month, the leveler had delaminated, and the tiles sounded hollow when walked upon. It was a $600 mistake. Use a soft-bristled broom to work the primer into the grain, and don’t leave puddles. 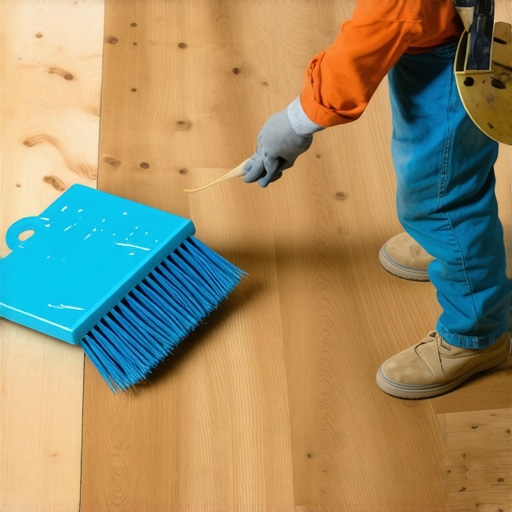
The Science of a Perfect Leveler Pour
Mixing leveler is a high-stakes race against the clock. You want a consistency like heavy cream—not watery, but certainly not like peanut butter. You must master the secret to mixing the perfect bucket of self-leveler every time to ensure it flows smoothly into those valleys you marked earlier. If you mess up the water-to-powder ratio, you’ll end up wondering why your self-leveler is drying faster than you can pour it, leaving you with a lumpy mess that’s harder to fix than the original dip. Use a spiked roller to release air bubbles and help the material ‘knit’ together. This is the stage where precise floor leveling techniques to achieve flawless surfaces actually pay off, giving you a substrate that feels as smooth as glass and ready for your dream tile layout.
Stop Believing the Self-Leveling Marketing Hype
Most DIYers—and frankly, many ‘pros’—fall for the biggest lie in the industry: the idea that self-leveling underlayment (SLU) is a ‘set it and forget it’ product. The marketing makes you think you can just dump a bucket and walk away while gravity does the work. In reality, SLU is self-smoothing, not self-leveling. If you don’t actively help the material reach the corners and maintain a wet edge, you’ll end up with ‘islands’ and ‘ridges’ that are harder to fix than the original dip. I’ve seen countless common floor leveling challenges stem from this exact misconception. You need to be the boss of the pour, using a gauge rake to set the depth and a spiked roller to keep the surface tension from creating high spots.
How do I stop my leveler from turning into a chalky mess?
This is the ‘Oops’ factor that ruins more floors than anything else: the temptation to add just a splash more water. We’ve all been there—the mix feels a little thick, the clock is ticking, and you think a little extra hydration will help it flow. Don’t do it. Over-watering is the primary reason why your floor leveler pitted during the drying process or turned into a soft, chalky surface that peels off with the tile. According to the National Tile Contractors Association (NTCA), the water-to-powder ratio isn’t a suggestion; it’s a chemical requirement. Too much water causes the heavy aggregates to sink to the bottom and the weak polymers to float to the top, leaving you with a substrate that has the structural integrity of a wet cracker. Have you ever fallen into the ‘just add more water’ trap? Let me know in the comments.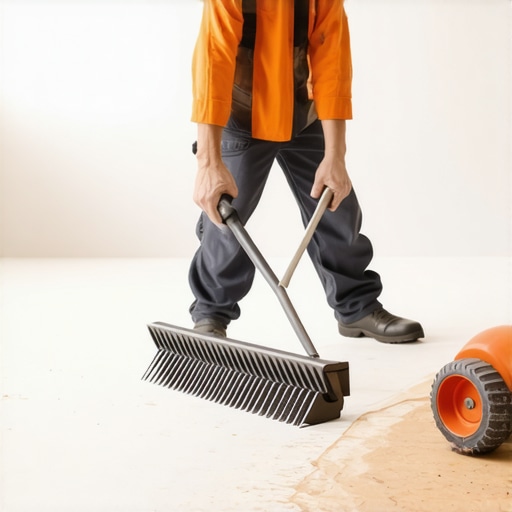
The Thinset Choice That Makes or Breaks Large Tile
Once your floor is flat, the battle is only half won. The next mistake people make is thinking all thinsets are created equal. If you are using modern large-format tiles (anything over 15 inches on one side), you cannot use standard mortar. You need a Medium Bed Mortar (MBM). There is a hidden cost of using cheap thinset that most don’t realize until their tiles start ‘lipping’ or sounding hollow. MBM is designed to support the weight of heavy tiles without shrinking as it cures. If you use the cheap stuff, the tile will sink into the bed overnight, and you’ll wake up to a floor that looks like a series of small steps. To avoid this, you must master the trowel notch secret for getting full thinset coverage, ensuring your ridges all run in the same direction to allow air to escape. This is a non-negotiable step in how to achieve flawless floor leveling before tile laying. If you skip the details here, even a perfectly level subfloor won’t save your design. Always remember that why your large format tiles need back-buttering every time isn’t just a pro tip—it’s an industry standard for a permanent bond.
Ditch the Level That Lies to You
I’ve seen too many DIYers rely on a beat-up, four-foot level they found in the garage. If you want a floor that actually stays flat, you need a professional-grade straightedge. I personally swear by the 72-inch Stabila R-Beam because it’s virtually unbendable. When you are mastering floor leveling pro secrets, you realize that your eyes will deceive you, but a rigid beam won’t. I use this tool to sweep the floor before every pour, identifying ‘light-gaps’ that indicate a valley. This is how you achieve flawless floor leveling before tile laying. If you aren’t checking your work with a tool that spans at least half the room’s width, you are just guessing, and guessing is why tiles eventually fail.
How do I keep my tiles from cracking ten years from now?
The secret to a floor that lasts decades isn’t just the install; it’s the environment and the upkeep. According to the ANSI A108.02 standards, movement joints are mandatory for any tile installation. This means you must leave a perimeter gap filled with 100% silicone, not grout. Grout is rigid; silicone is a gasket. If you grout all the way to the baseboard, the house will eventually squeeze the tile until it buckles. Beyond the structure, you have to watch your cleaning habits. I’ve had clients call me back after five years wondering why their floor looks dull. Most of the time, it’s because they made the vinegar mistake that eats through your natural stone tiles. That acidity slowly dissolves the sealer and pits the grout. Switch to a pH-neutral cleaner to protect your investment for the long haul. 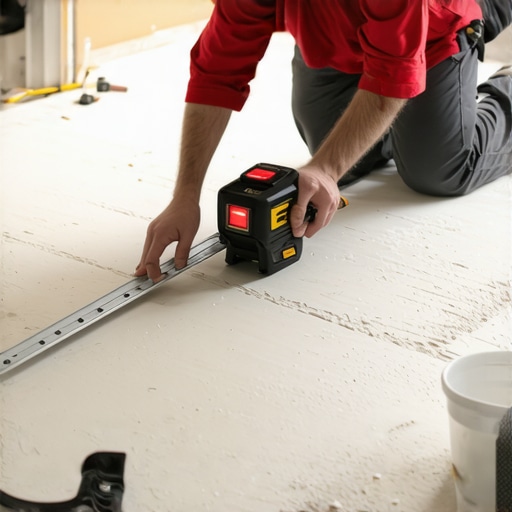
Large Format Slabs are the Future
The industry is moving toward ‘gauged porcelain’—slabs that can be as large as 5-by-10 feet. This requires even more precision than we’ve discussed today. In the next five years, I predict we will see standard tile sizes practically disappear in high-end homes, replaced by these massive, seamless surfaces. This means step-by-step guide to flooring installation will become even more focused on mechanical leveling systems like the Raimondi or Spin-Doctor clips. These aren’t just for amateurs; they are the only way to ensure these giant slabs don’t ‘lip’ during the curing process. If you want to stay ahead, start practicing with these leveling clips now. For those working with wood, keeping that glow is about the right products, so check out these hardwood floor care secrets to keep your transitions looking sharp. My advanced tip for you today: before you grout your next project, do a ‘double-point check’ with a flashlight held low to the floor. If you see a shadow, that’s a high spot you need to address before it’s permanent.
What the Subfloor Taught Me After 500 Bags of Leveler
Experience is just the name we give to our mistakes, and I’ve made enough to fill a warehouse. One of the biggest shifts in my mindset happened when I stopped viewing floor prep as a chore and started seeing it as the main event. If your prep is perfect, the tile practically lays itself. I also learned that you can’t out-bond dust; if you skip the vacuuming stage, your primer is just sticking to debris, not the wood. Finally, trust your gut—if a sheet of plywood feels slightly bouncy even after screwing it down, it likely needs the plywood sandwich trick for fixing bouncy floor joists or another layer of support. Don’t hope for the best; build for the worst.
The Gear That Actually Makes a Difference
I don’t believe in buying every gadget on the shelf, but specific items are non-negotiable for my workflow. First, a heavy-duty mixing drill with high torque is vital because burning out a standard drill mid-pour is a disaster. Second, I always refer back to the ultimate guide to floor leveling for a perfect finish when I’m dealing with weird transitions. Third, investing in a high-quality 6-foot straightedge is the only way to avoid flooring installation mistakes to avoid for lasting results. I trust these tools because they remove the guesswork and provide physical proof that my floor is flat before I ever open a bag of mortar.
[image-placeholder]
Build a Surface You Will Be Proud of for Decades
Tiling a floor is an act of permanence in a world that’s constantly changing. When you take the time to prep your subfloor correctly, you aren’t just laying ceramic or stone; you’re creating a legacy of quality in your home. These tile installation pointers that save time and money are here to help you skip the stress and get straight to the satisfaction of a job well done. Don’t be afraid of the complexity; just take it one square foot at a time. Your future self will thank you every time they walk across that silent, solid floor. Have you ever run into a subfloor that seemed impossible to get flat? Let me know your biggest challenge in the comments below!