
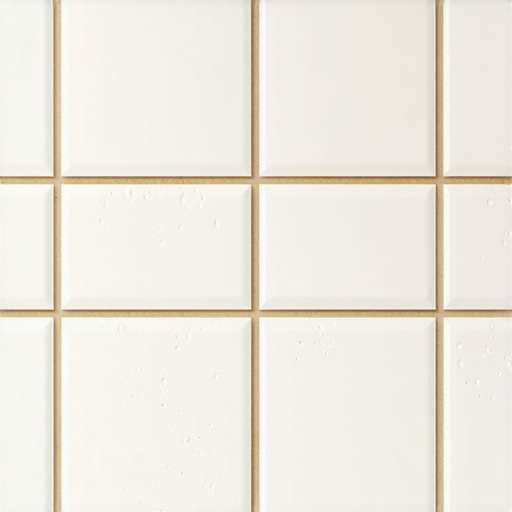
I remember standing in my guest bathroom, clutching a scrub brush and feeling like a total failure. I had followed every rule in the book—or so I thought—only to have my beautiful, crisp white grout lines turn a nauseating shade of neon orange within just three months of finishing the project. It wasn’t just a little bit of grime; it looked like someone had showered in tomato soup. I felt defeated, wondering if I had made one of those classic flooring installation mistakes to avoid for lasting results right out of the gate. Today, I’m going to pull back the curtain on why this happens and show you exactly how to stop the orange invasion for good.
Stop Blaming Your Cleaning Routine for Those Rusty Streaks
It is a common misconception that orange grout is just a sign of a lazy homeowner. I used to think the same thing. I scrubbed until my knuckles were raw, yet the discoloration persisted. The truth is often buried in your home’s plumbing or the very air you breathe. When I first saw the staining, I made the amateur move of reaching for the harshest chemicals I could find. It was a disaster. I learned the hard way that the vinegar mistake that eats through your natural stone tiles can also strip away grout sealers, leaving the porous material even more vulnerable to the minerals and bacteria that cause the orange hue. We are going to solve this mystery by looking at iron oxidation and a very specific type of pinkish-orange bacteria that thrives on soap scum. Have you ever felt like no matter how much you scrub, the shower just looks ‘dirty’ again twenty-four hours later?
Should I Be Panicking About Toxic Mold?
It is the question everyone asks when they see neon colors in their shower: is this stuff going to make me sick? Most of the time, that bright orange or pink slime is actually a bacterium called Serratia marcescens. According to the Centers for Disease Control and Prevention (CDC), while this bacterium is common in moist environments and feeds on fatty substances like those found in soaps and shampoos, it can be an opportunistic pathogen in hospital settings, though for most of us at home, it’s primarily a cosmetic nuisance that indicates a need for better ventilation and more frequent disinfecting. It isn’t the same as the dreaded black mold, but it certainly isn’t something you want to share your morning rinse with. When I first started out, I even wondered if I had used a bad batch of grout, but the reality was much simpler: my water was the culprit. Iron in your water supply acts like a dye, and once it hits the oxygen in your shower, it ‘rusts’ right inside your grout lines. Knowing the difference between a mineral stain and a bacterial colony is the first step toward a permanent fix. To keep your bathroom looking its best, you might also want to check out these tile installation pointers that save time and money to ensure your next project starts with the right foundation.Let’s start with the immediate cleanup phase, which requires more chemistry than elbow grease. If you are dealing with Serratia marcescens, that pinkish-orange bacteria, you aren’t just fighting a stain; you are fighting a living colony. Imagine your grout lines are a buffet and your soap scum is the prime rib. To stop the bacteria, you have to take away the food source. I found that using a steam cleaner is like a tactical strike—it kills the bacteria with heat without saturating the grout with excess chemicals that can degrade the mortar.
Erase the Rust Without Damaging Your Tile
If the stain is actually iron from your well water or old pipes, you need to treat it like a restoration project rather than a simple cleaning chore. Standard bleach won’t work here; in fact, it can sometimes oxidize the iron further, making the orange even darker and more permanent. You need a dedicated rust remover or a chelating agent. I remember my first attempt at this in my guest bath; I spent three hours with a toothbrush and a ‘natural’ lemon cleaner that did absolutely nothing but make the room smell like a tart. I was so frustrated I almost ripped the tile out. Then, I learned how to remove rust stains from a light colored tile floor using a mild phosphoric acid cleaner designed specifically for mineral deposits. The key is to let the solution sit for five minutes—do not let it dry—and watch the orange lift effortlessly from the pores.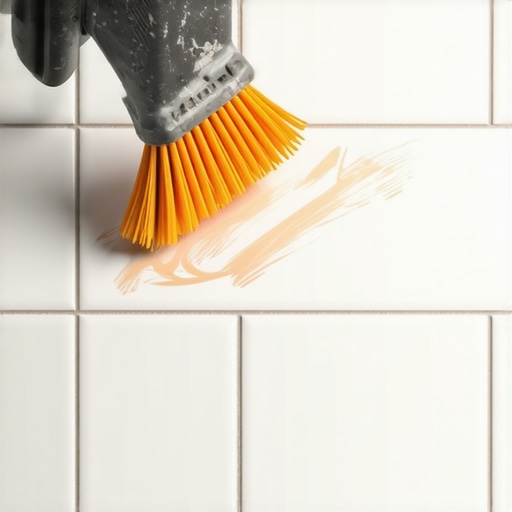
Test for Structural Issues Before You Reseal
Before you lock everything in with a sealer, you have to ensure the grout itself is still sound. If the orange staining is deep-seated or if the grout is crumbling in specific spots, you might have moisture trapped behind the tile. I’ve seen cases where a poor installation led to water pooling in the mortar bed, creating a constant ‘wicking’ effect of minerals. It’s worth the time to learn how to detect a hollow tile before the grout starts cracking, as these pockets are breeding grounds for that orange slime. If the tile sounds like a drum when you tap it with a plastic mallet, you’ve got a bigger moisture problem than just aesthetics.
Stop Your Grout from Acting Like a Sponge
Grout is naturally porous. If you look at it under a microscope, it looks like a piece of coral with millions of tiny holes. If you don’t fill those holes, they will suck up every drop of iron-rich water that hits them. Once your lines are clean and bone-dry—wait at least 24 hours after cleaning—apply a high-quality penetrating sealer. This isn’t a ‘one and done’ task. Think of it like waxing a car; you need a fresh coat every year or two to maintain the water-beading effect that keeps the minerals out.
Avoid These Common Application Blunders
I once rushed a sealing job and ended up with a cloudy mess because I didn’t realize the reason your grout color looks splotchy and uneven was often due to applying sealer over damp grout. The moisture gets trapped, creating white, hazy patches that are even harder to fix than the orange stains. If you’re starting a fresh project to avoid these issues entirely, following installing tiles like a pro step-by-step strategies for 2025 will give you the modern techniques needed for a bulletproof finish. For those who are still in the middle of a build, remember that even the exact moment you should pull your tile spacers for the cleanest lines can impact how well your grout accepts the sealer and resists staining later on.Once you have conquered the orange grout invasion, you might think you are in the clear, but there is a deeper layer of flooring expertise that most people ignore until it is too late. I have seen countless homeowners spend thousands on premium tile or hardwood, only to have the entire project fail because they trusted the marketing on a bag of ‘self-leveling’ compound. Here is the hard truth: self-leveler does not level itself. If you just pour it and walk away, you are going to end up with a wavy mess that makes your expensive planks look cheap. Real pros know that the ultimate guide to floor leveling for a perfect finish involves active manipulation and a deep understanding of surface tension, not just gravity.
Stop Trusting the Marketing on Your Leveler Bags
One of the most common mistakes I see—the ‘Oops’ factor that keeps me up at night—is failing to use a spiked roller. Without it, the leveler traps air, and you end up with a moonscape of tiny craters and weak spots. I have learned through trial and error that the roller selection that prevents air bubbles in leveler is the difference between a glass-like surface and a expensive disaster. If you skip this step, or if you ignore the specific primer required for your subfloor, you will eventually find out why your self-leveler developed spiderweb cracks overnight. It is a gut-wrenching sight to see your hard work literally peeling off the subfloor because of a simple chemical bond failure.#IMAGE_PLACE_HOLDER_C#
Does Your Concrete Subfloor Require Mechanical Abrasion?
This is the question that separates the amateurs from the veterans. Many think a quick sweep is enough, but according to the Tile Council of North America (TCNA), substrates must be completely free of any ‘bond breakers’ like old sealers, oil, or wax. If you are working on an old, smooth garage or basement floor, you almost certainly need to grind the surface to achieve the right Concrete Surface Profile (CSP). If you don’t, you will be left wondering why most floor levelers fail on top of painted concrete. It isn’t just about the quality of the product; it is about the physical ‘tooth’ of the surface. Another trap is the ‘over-watering’ habit. When people see the mix getting thick, they think more water will help it flow better. This actually destroys the structural integrity. You will end up with a chalky, weak surface that cannot support the weight of your floor. If you are struggling with the clock, there are better ways to manage the flow, especially if you understand why your self-leveler is drying faster than you can pour it. Environmental factors like temperature and humidity play a much bigger role than most realize. Even complex fixes like how to level a floor that has a 2 inch drop across the room require a staged, professional approach rather than a single massive pour. Have you ever fallen into this trap? Let me know in the comments.
The Gear That Separates DIYers From True Pros
After years of trial and error, I have realized that the most important tool in my arsenal isn’t a fancy saw—it is a high-quality pinless moisture meter. If I had owned one years ago, I could have avoided the heartbreak of seeing a client’s expensive oak floor buckle. Professionals know that guessing is for amateurs. You need to know how to use a moisture meter before you lay wood floors because wood is a living material that reacts to its environment. According to the National Wood Flooring Association (NWFA), wood flooring should be within 2% to 4% of the moisture content of the subfloor for planks wider than 3 inches. Without this data, you are basically flipping a coin on whether your floor will stay flat. I personally use a pinless meter because it allows me to scan the boards without leaving unsightly puncture marks in the finish. In the near future, I expect we will see smart sensors embedded directly into subfloors that send humidity alerts to your smartphone, but for now, manual testing is your best defense against disaster.
How do I maintain my flooring investment over time?
Long-term success isn’t just about the installation; it is about the daily habits that protect the surface. For hardwood, the enemy isn’t just water—it is the wrong kind of cleaner. I always tell my friends to ditch the grocery store ‘shine’ products that build up waxy residue. Instead, focusing on hardwood floor care secrets to longevity and shine involves using pH-neutral cleaners and maintaining a stable indoor humidity. If you live in a climate with wild seasonal swings, you are likely already seeing how to stop hardwood floors from gapping in the hallway by using a whole-home humidifier. It is much easier to manage the air than it is to fill hundreds of tiny cracks with wood filler every spring.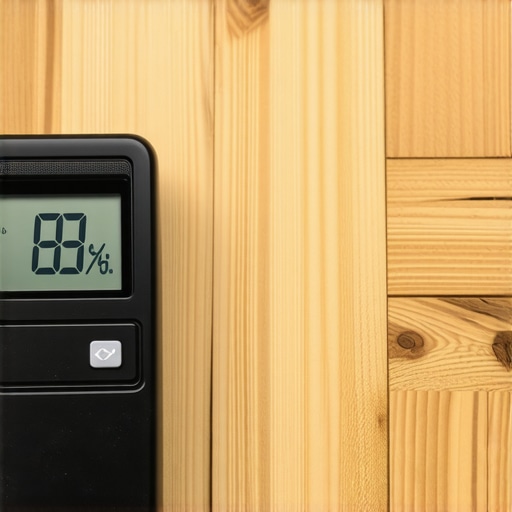
Stop Your Hardwood From Moving Behind Your Back
When the humidity gets too high, you might notice the edges of your boards rising higher than the centers. This is a red flag. Understanding why your hardwood floor is crowning and how to dry it out before the damage becomes permanent can save you thousands in replacement costs. Sometimes, the fix is as simple as running a dehumidifier in the crawlspace, but wait too long, and the wood fibers will crush themselves. If you do reach a point where the finish is gone, don’t panic and think you need a week-long hotel stay. Modern technology has given us the dust-free move for hardwood floor refinishing in kansas city and other major hubs, using HEPA-filtered vacuum systems that keep your home breathable. Finally, pay attention to the small details that connect your spaces. A loose threshold is more than a trip hazard; it allows moisture to seep under the edges of your tile or wood. If yours is wobbly, learning how to fix a transition strip that wont stay glued down using a high-quality construction adhesive will provide that final touch of professional polish. I challenge you to go buy a moisture meter today; it is the single best investment you can make to ensure your floor stays as perfect as the day it was laid.
Lessons from the Mud: What I Know Now About Tile Success
One of the hardest truths I had to swallow is that a ‘clean’ looking project can hide deep structural failures. I used to think that as long as the tile was level, the job was done. Now, I know that if I didn’t address the moisture content of the subfloor, I was just building on a foundation of sand. It is why I always suggest checking out step-by-step guide to flooring installation and leveling success before you even buy your first box of material.
Another ‘lightbulb moment’ was realizing that grout isn’t just filler; it’s a structural component that needs protection. If you treat it like an afterthought, it will reward you with stains and cracks. I’ve found that mastering floor leveling pro secrets for perfect installations often starts with the substrate prep, ensuring the grout isn’t under unnecessary stress from shifting tiles.
The Non-Negotiables in My Toolbox
If you are serious about your home, you need to look beyond the basic hammer and trowel. My first recommendation is always a pinless moisture meter. This tool allowed me to understand why your hardwood floor is crowning and how to dry it out before the boards were ruined forever. It is an investment that pays for itself in one avoided disaster.
Secondly, for anyone doing tile work, keep a specialized mineral deposit remover on hand. Skip the DIY vinegar hacks; they do more harm than good to your natural stone. Finally, I always keep a digital copy of precise floor leveling techniques to achieve flawless surfaces bookmarked on my phone. When I’m in the middle of a pour and things start looking wonky, having a reliable technical reference is my safety net.
Your Turn to Create a Flawless Finish
Flooring is more than just a surface to walk on; it is the stage for your life. Whether you are battling a neon orange shower or trying to get a dead-flat surface for large-format planks, the key is patience and the right knowledge. Don’t let a few setbacks discourage you. Every professional you see today once stood over a bucket of ruined mortar wondering what went wrong. Use these tips, take your time, and you will achieve a professional-grade flooring installation that you can be proud of for decades.
Have you ever struggled with persistent orange stains in your shower despite cleaning every single day? Let me know in the comments below!