
I was staring at a half-inch gap between my new hardwood floor and the drywall, and I’ll be honest, I almost cried. It was 11:00 PM on a Sunday, and I’d just realized my “measure twice, cut once” mantra had failed me because I was measuring from the wrong side of the board. This wasn’t just a small sliver; it was a glaring, jagged mistake that looked more like a bite out of a cookie than a professional floor. If you’ve ever felt that sinking feeling in your gut after a saw blade stops spinning, you’re in the right place. We’ve all been there, standing over a pile of sawdust, realizing that the piece of wood we just destroyed was the last one in the box.
The Moment I Realized My Baseboard Wouldn’t Save Me
We like to think that baseboards are magic wands that can wave away any flooring installation mistakes to avoid for lasting results, but even they have limits. Most standard baseboards are about 9/16th of an inch thick. If your gap is wider than that, or if your cut is so crooked it wanders out from underneath the wood, you’re looking at a shadow line that screams “amateur hour.” I spent years thinking I had to rip the whole row out and start over. I didn’t realize that pros have a whole bag of tricks for these exact “oops” moments. Whether you’re working with tile, laminate, or mastering hardwood floor refinishing expert tips for 2025, there is always a way to save the job. It’s about more than just vanity; it’s about making the room look intentional. Have you ever stood there staring at a gap wondering if you could just fill it with caulk and hope for the best? (Spoiler alert: Please don’t do that yet). I remember my first “big” project. I was so focused on the center of the room that I completely ignored the perimeter. By the time I got to the walls, nothing was square. I ended up with gaps that a mouse could use as a private highway. That’s when I learned that the floor isn’t finished until the trim work says it is. When you’re looking to revamp your home with expert flooring installation tips, you have to think three steps ahead. If you’ve ever felt like your project was one bad cut away from a disaster, drop a comment or reach out—I’ve likely made that same mistake twice.
Is covering up a bad cut actually worth the effort?
It’s a fair question. You might worry that by “hiding” a mistake, you’re compromising the floor. However, even the pros deal with walls that aren’t square or subfloors that shift. According to the National Wood Flooring Association (NWFA), wood flooring requires a specific expansion gap to prevent buckling, but sometimes our cuts go beyond that functional necessity. We aren’t just hiding a mistake; we are finishing the room in a way that allows for natural movement without looking like a mess. If you’ve struggled with getting everything perfectly lined up, remember that even the secret to a perfect miter cut on baseboard corners won’t help if the floor underneath is visibly lacking. Today, I’m going to show you how to use shoe molding, sliver-patching, and “cheating” the baseboard to make that gap disappear forever. We are going to turn that “oops” into a “wow” without spending a fortune on new materials.
Save Your Scraps for the Sliver-Patch
If you’ve cut a board too short, don’t throw it in the burn pile yet. The sliver-patch is my go-to for those 1/4 inch gaps that are just slightly too wide for a standard baseboard. I remember a kitchen project where the drywall had a weird kick-out at the bottom. I ended up with a gap that looked like a missing tooth. I took a scrap of the same flooring, ripped a thin strip on my table saw, and applied a tiny bit of wood glue. The trick is to match the wood grain when patching a hole in oak or whatever material you’re using. Once you tap that sliver in and it sets, you can sand it flush. It’s essentially wood surgery, and when done right, it’s invisible. Flooring is like a jigsaw puzzle where the table keeps changing size; you have to be willing to manufacture your own pieces to make the edges fit.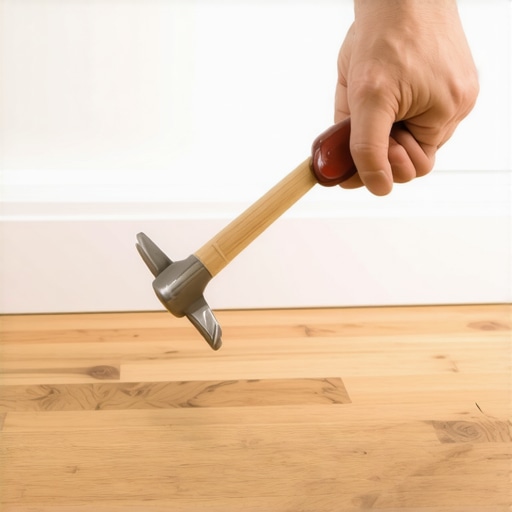
Cover Your Tracks with Shoe Molding
If the gap is consistent but just too wide for the baseboard, shoe molding is your get-out-of-jail-free card. Think of shoe molding as the eyeliner of the flooring world—it defines the edges and hides the imperfections. It’s much more flexible than a thick baseboard, allowing it to hug the floor even if you have slight dips or rises. If you are struggling with the leveling secret for installing plank flooring over tiles, you’ll find that shoe molding masks those tiny height variances that make traditional trim look gappy. I once used a 3/4-inch quarter round to hide a disastrous edge in a laundry room, and the homeowner thought it was an intentional design choice. It’s all about the finish work.
Wrestle the Baseboard into a New Position
Sometimes the problem isn’t the wood—it’s the wall. In older homes, walls bow like they’re tired of holding up the ceiling. If you have a massive gap in the middle of a run, you can actually “cheat” the baseboard by pulling it out from the wall slightly. You can use small wood shims behind the baseboard to push it over the gap. Then, you fill the resulting top gap with a bead of high-quality caulk. If you’re worried about how the corners will look after shifting things, the secret to a perfect miter cut on baseboard corners is often just a little extra patience and a sharp blade.
Prevent the Gap Before the First Cut
If you’re still in the planning phase, you can avoid these headaches by choosing your starting point wisely. If you’ve wondered the best direction to run flooring in a house with no square walls, always start on the most visible, longest wall. This minimizes the number of awkward cuts you have to make in the shadows. When I first started, I didn’t realize that even how to stop hardwood floors from gapping in the hallway often comes down to how you secure the first three rows. If those aren’t straight, the gap at the far wall will be massive. If you find yourself with a floating floor that feels unstable, it might be why floating floors sound hollow when you walk on them—often a result of a subfloor that wasn’t prepped, making those edge cuts even harder to get right.Most people spend their Saturdays chasing a bubble in a spirit level, convinced that level is the holy grail of a good install. But here’s the contrarian truth: Your floor doesn’t actually need to be level to look perfect; it needs to be flat. Everyone says you must compensate for every dip, but in my experience, focusing solely on the bubble in a 100-year-old house is a fool’s errand. If you have a two-inch slope across a kitchen, making it perfectly level often creates a massive, dangerous step-up at the doorway. Instead, pros prioritize flatness to ensure the secret to getting a flat floor for large format tiles is achieved without compromising the home’s transitions. According to the Tile Council of North America (TCNA), the industry standard for large-format tiles requires the floor to be flat within 1/8 of an inch over a 10-foot radius. If you ignore this and just trust your level, you’ll end up with lippage—where one tile edge sits higher than the next—which is a nightmare to fix once the thinset cures. Have you ever fallen into this trap? Let me know in the comments.
Level is a Myth but Flatness is Your Real Goal
When you are working through a step-by-step guide to flooring installation and leveling success, the biggest mistake is the dump and pray method with self-leveling compound. People assume it acts like water and finds its own level automatically. It doesn’t. It’s more like thick pancake batter. If you don’t help it move, it will slump and create new humps that are harder to grind down than the original dips. This is where the ultimate guide to floor leveling for a perfect finish becomes about technique rather than just the product. You need to gauge the thickness and use a specialized gauge rake to keep the depth consistent. 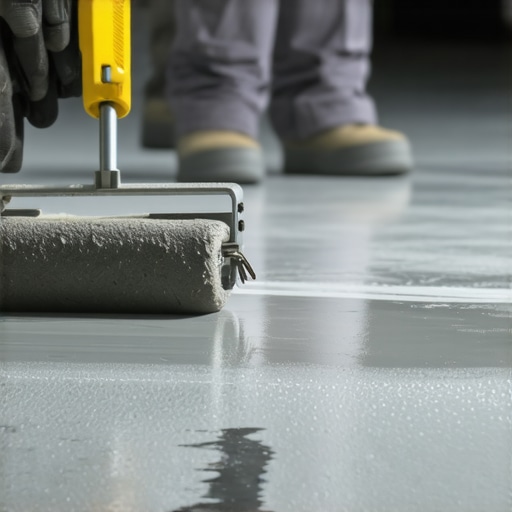
The Invisible Bond Breakers Hiding on Your Subfloor
The most dangerous oops factor I see in modern renovations is applying leveler over existing residues. I’ve seen entire floors peel up like a giant scab because the installer ignored old paint or adhesive. This is why most floor levelers fail on top of painted concrete; the leveler bonds to the paint, not the slab, and the paint eventually loses its grip. If you’re dealing with an old renovation, you might be tempted to just pour over it, but you are building on a foundation of sand. You must mechanicaly abrade the surface or use a high-performance primer to bridge that gap. This is one of those floor leveling challenges common mistakes and how to avoid them that usually shows up three months after the job is finished when you start hearing a hollow crunching sound under your feet.
Why is my self-leveling compound actually making the floor worse?
If you find your leveler is setting too fast or creating tiny craters, you likely skipped the air-release step. Many DIYers don’t realize that as leveler hydrates, it can trap air. Using the roller selection that prevents air bubbles in leveler is non-negotiable for a glass-smooth finish. Without it, you get pinholes that telegraph through thin vinyl or cause weak spots in your tile bond. Furthermore, if you’re trying to save time by figuring out how to install tile over an old vinyl floor without tearing it out, you must ensure that vinyl is fully adhered and correctly primed. Any movement in the layer below will crack the rigid leveler above. True expertise isn’t just knowing how to pour; it’s knowing exactly when to pull the exact moment you should pull your tile spacers for the cleanest lines and how to prep the subfloor so those lines stay straight for decades.
Throw Away Your Bubble Level
If you want to move from DIY enthusiast to professional-grade results, stop relying on a four-foot spirit level for large rooms. I personally made the switch to a 360-degree green beam laser level years ago, and it changed everything. In a room with multiple doorways and transitions, a bubble level is a game of telephone; every time you move it, you introduce a tiny margin of error that compounds by the time you reach the opposite wall. Using precise floor leveling techniques to achieve flawless surfaces starts with a fixed reference point that doesn’t move. I use the Bosch GLL3-330CG because the green line is visible even in bright rooms, allowing me to map out high spots across the entire subfloor before a single drop of leveler is poured. This is how you ensure the secret to installing large-format tile without lippage becomes a reality rather than a struggle against gravity. 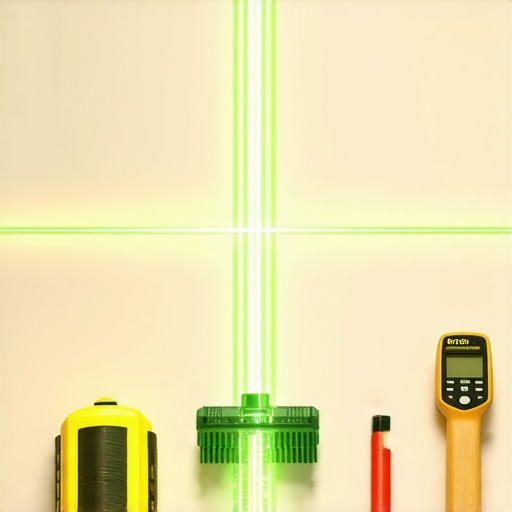
How do I maintain my floor’s finish over time?
Maintenance isn’t just about cleaning; it’s about humidity control and protecting the wear layer. For those of you with wood, hardwood floor care secrets to longevity and shine often boil down to keeping your home between 35% and 55% humidity. I’ve seen beautiful white oak floors split and gap because the owner ran a wood stove all winter without a humidifier. If you’ve invested in installing tiles like a pro step-by-step strategies for 2025, your biggest maintenance hurdle is grout erosion. According to the American National Standards Institute (ANSI) A108.02, surface variation must be strictly controlled, but post-install, the industry is moving toward high-performance epoxy grouts that never need sealing. I predict that within five years, traditional cementitious grout will be obsolete for residential use, replaced by pre-mixed resins that are completely stain-proof from day one.
The Future of Flooring Layouts is Digital
We are already seeing a shift toward augmented reality (AR) apps that allow you to project tile patterns directly onto your subfloor using your phone. This eliminates the ‘oops’ of a bad layout before you even mix the mortar. If you are ready to scale your skills, my biggest recommendation is to invest in a high-quality moisture meter. I never lay a single plank until I know the moisture content of the subfloor and the wood are within 2% of each other. It’s the ultimate insurance policy against the floor buckling later. If you want to really level up, try the ‘grid-mapping’ method for your next pour: mark your floor in 2-foot squares and use a digital moisture probe in every single one. You’ll be shocked at what you find hiding in the corners. Don’t just wing it; use the data to drive your installation.
The Hardest Lesson I Learned About Flooring Shortcuts
Looking back at my earliest projects, the biggest mistake wasn’t the saw I used; it was my impatience with the environment. I used to think that as long as the wood looked dry, it was ready to go. I learned the hard way that how to use a moisture meter before you lay wood floors is the difference between a floor that stays tight and one that buckles within six months. Another lightbulb moment was realizing that your eyes will lie to you, but a laser won’t. If you are struggling with floor leveling challenges common mistakes and how to avoid them, stop trying to eyeball the high spots. The subfloor is a foundation, not a suggestion, and taking the extra hour to prep a surface—especially knowing the best way to prep a dusty concrete floor for adhesive—will save you days of repair work later. Lastly, I realized that trim isn’t just decoration; it’s a structural bridge that allows the floor to breathe while hiding the necessary expansion gaps.
Gear That Saved My Sanity More Than Once
If you are serious about DIY, there are a few tools that moved from luxury to mandatory in my kit. First is the 360-degree green beam laser; it takes the guesswork out of precise floor leveling techniques to achieve flawless surfaces. I also swear by the Lignomat moisture meter to ensure the subfloor and planks are in harmony before the first nail is driven. For those tricky edges where the drywall is uneven, I always keep a tube of Big Stretch high-performance caulk handy. I trust these tools because they remove the human error variable from the equation, ensuring that flooring installation fundamentals leveling for a seamless look remain intact even on difficult job sites.
#IMAGE_PLACEHOLDER_E#
Your Next Row Will Be Your Best
It is easy to get discouraged when you see a gap or a crooked cut, but remember that every professional started with a pile of ruined scraps. The beauty of flooring is that almost everything can be fixed, hidden, or improved with the right technique and a bit of patience. Whether you are mastering hardwood floor refinishing expert tips for 2025 or just trying to get your first laminate plank to click into place, you now have the tools to make it happen. Don’t let the fear of a bad cut stop you from starting your project. Your home deserves that fresh look, and you are more than capable of delivering it. Have you ever had a flooring gap that seemed impossible to hide? Let me know how you handled it in the comments below!