
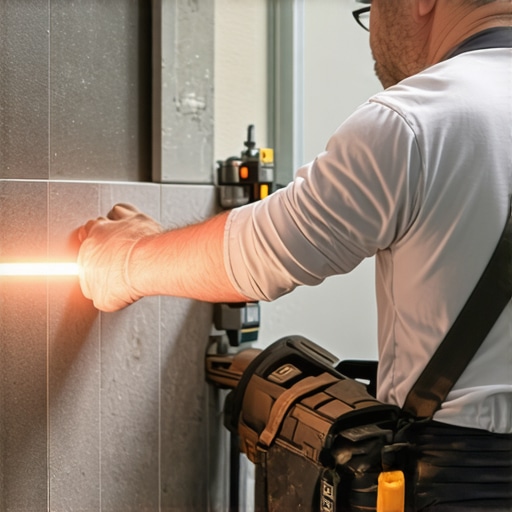
I remember my first bathroom remodel in my old house like it was yesterday. I was young, overconfident, and I honestly thought that if I just followed the line of the tub, everything would turn out fine. I didn’t realize the tub was installed by someone who clearly had a vendetta against right angles. By the time I worked my way across to the vanity, my grout lines looked like a topographical map of the Appalachian trail. It was a disaster that cost me two days of demo and a lot of pride. [image] If you’ve ever felt that sinking feeling of seeing a crooked line halfway through a job, you know exactly why getting that first row perfect is the most important ten minutes of your entire project. Today, I’m going to help you avoid my rookie mistakes and show you how to set a line so straight your neighbors will think you hired a pro.
Your Walls Are Lying to You and Your Floor Knows It
Most DIYers make the fatal mistake of trusting their walls to be square. They aren’t. According to the National Kitchen & Bath Association, structural shifts and standard construction tolerances mean that almost no room is a perfect rectangle. If you simply butt your tile up against the drywall and start spreading thinset, you’re essentially gambling with your floor’s aesthetic. This is one of those flooring installation mistakes to avoid if you want a result that lasts. We aren’t just laying tile; we are engineering a visual grid that needs to ignore the house’s quirks. This starts with a ‘sacred’ reference line, a mark on the floor that remains true even when the walls wander. I’ve seen beautiful, expensive porcelain ruined because the installer was too lazy to snap a chalk line. Don’t be that person. Have you ever started a project only to realize your layout was drifting? Tell me about your worst ‘funhouse’ floor moment in the comments!
Is a Laser Level Actually Worth the Extra Cash?
You might be looking at the price tag of a self-leveling cross-line laser and wondering if you can just get by with your old 4-foot bubble level. I’ll be honest with you: I used a bubble level for a decade and my floors were okay, but the moment I invested in a laser, everything changed. It removes the human error of pencil marks and shifting straightedges. However, if the budget is tight, a snap-line works beautifully as long as you know the chalk dust secret for finding low spots before you commit. My early career was defined by ‘close enough’ until a mentor showed me that ‘close enough’ is why grout lines crack. If you’re dealing with a subfloor that looks like rolling hills, you definitely need a step-by-step guide to floor leveling before you even think about your layout. Once your surface is flat, we can focus on the geometry. To keep those lines crisp as you work, you also need to know the exact moment you should pull your tile spacers. This prevents the spacers from getting stuck in the hardening mortar and throwing off your precision. Let’s look at how to actually find the center of your universe—or at least the center of your room.To find a true 90-degree angle in a room that looks like a trapezoid, you need to channel your inner high school geometry teacher. I use the 3-4-5 rule: measure 3 feet from a corner along one wall, 4 feet along the adjacent wall, and the diagonal between those points should be exactly 5 feet. If it isn’t, your walls are lying. When installing tiles like a pro, you use this math to snap two perpendicular chalk lines that cross in the center of the room. This ‘crosshair’ is the foundation of everything. If this center point is off by even an eighth of an inch, your layout will be visibly skewed by the time you reach the far wall. 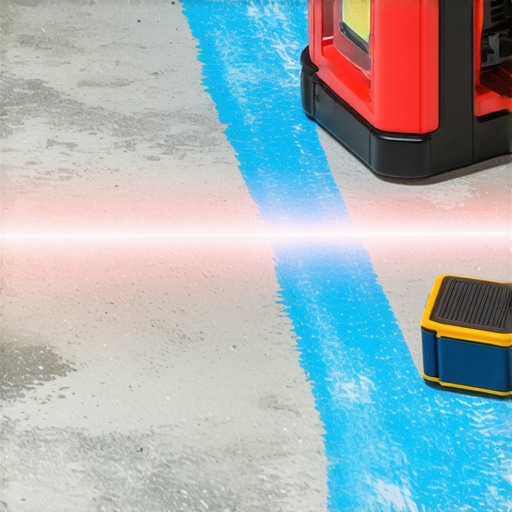
Don’t Skip the Dry Fit Unless You Love Wasted Material
Before you mix a single bag of thinset, you must lay out your tiles along your chalk lines. This is what pros call ‘dry fitting.’ I once ignored the dry fit rule for complex herringbone patterns during a kitchen remodel. I assumed the math was perfect, but I ended up with a tiny, one-inch sliver of tile at the most visible entrance. It looked amateur and forced me to shift the entire grid two inches to the left. By dry fitting, you can see where your cuts will fall. If you find a tiny sliver at one wall, shift your center line by half a tile width to create larger, more balanced cuts on both sides. This is also the time to ensure you aren’t dealing with a ‘lippage’ nightmare, especially if you are using big tiles. Knowing the secret to getting a flat floor for large format tiles is crucial here; if your subfloor has a hump, your layout will literally rise and fall, throwing off your alignment.
Fix Your Subfloor Before You Snap a Single Line
You can have the straightest lines in the world, but if your floor is wavy, your tile will still look like a mess. I always perform the chalk dust secret for finding low spots before I commit to my layout. If I find a dip that is deeper than 1/8th of an inch, I stop everything. You need to spend time mastering floor leveling with a high-quality compound. Think of it like building a house: the tile is the beautiful siding, but the leveler is the foundation. If the foundation is slanted, the whole house feels off. Once your floor is a flat canvas, your snapped lines become sacred. You work from the center out, ensuring every tile edge kisses that chalk line perfectly. This prevents the ‘creep’ that happens when one tile is just slightly off, pushing the next one further, until you have a gap wide enough to lose a car key in.Most DIYers—and even some pros—treat self-leveling compound as if it’s magic water that instinctively knows how to create a flat plane. It doesn’t. In my experience, the ‘self’ in self-leveling is a marketing stretch. If you pour it and walk away, you’re going to end up with a surface that looks like a frozen pond after a windstorm. The Tile Council of North America (TCNA) emphasizes that surface preparation and manual distribution are non-negotiable for a truly flat finish. You have to actively guide the material to where it needs to go. This is where the spiky roller secret for a mirror-smooth pour comes in; it breaks the surface tension and releases trapped air that the compound simply cannot shed on its own. Then there is the ‘Oops’ factor that ruins more bags of expensive compound than I can count: your drill speed. We’ve all been there, trying to save time by cranking the mixing drill to its highest setting. Don’t do it. The mixing paddle speed that ruins your leveling compound is anything high enough to fold air into the mix. You aren’t making a meringue; you’re creating a structural substrate. Those tiny bubbles turn into pinholes, and those pinholes become the starting point for porcelain tile cracking in a straight line later because the support underneath is essentially Swiss cheese. Always use a low-RPM setting and the roller selection that prevents air bubbles in leveler to ensure a dense, solid base. 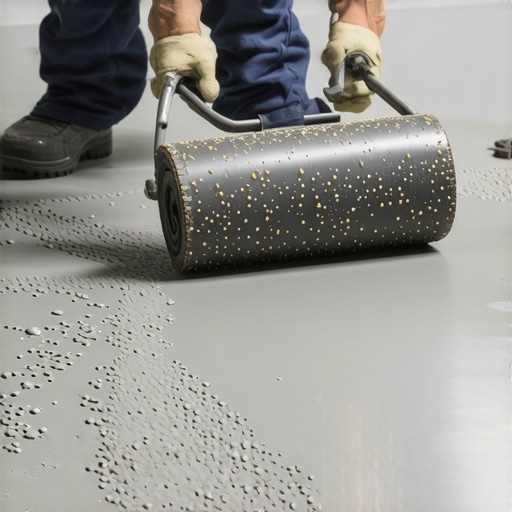
Will My New Tile Actually Bond to a Painted Floor?
This is the question I get most often from homeowners looking to renovate an old basement. The common belief is that if the paint isn’t peeling, it’s a solid foundation. That is a dangerous assumption. Most modern thinsets and levelers are designed to bond to the pores of concrete, not the chemical film of an old epoxy or latex paint. In fact, why most floor levelers fail on top of painted concrete comes down to a lack of mechanical ‘tooth.’ If you don’t perform the concrete etching step you shouldnt skip before leveling, your entire new floor is basically floating on a layer of paint that could let go at any time. And since we’re talking about things that move, let’s address the hardwood-to-tile transition. People often obsess over getting the gap between the two materials as tight as possible. While it looks pretty for the first month, a tight gap is a recipe for disaster. Wood is a living material that breathes. If you don’t understand why your floor-to-wall gap is the most important part of LVP or hardwood, you’ll eventually see buckling that pushes against your tile. I once saw a beautiful oak floor literally pop a row of marble tiles out of the thinset because the installer didn’t leave room for the wood to expand in the summer humidity. Finally, stop believing the myth of ‘more mud.’ Beginners think that if a floor isn’t quite level, they can just ‘back-butter’ the tile with a thicker layer of thinset to compensate. This is a nightmare for large format tiles. As thinset dries, it shrinks. If you have a massive glob under one corner and a thin layer under the other, the shrinkage will be uneven, pulling the tile down and creating ‘lippage.’ You need the secret to getting a flat floor for large format tiles which is 90% preparation and 10% installation. Don’t try to fix the subfloor with the adhesive; you’ll lose that battle every time. Have you ever fallen into this trap or seen a floor start to ‘grow’ on its own? Let me know in the comments!I’ve spent thousands on saws and drills, but if you asked me which tool actually keeps my floors from failing, I’d point to my Wagner moisture meter every single time. Most people think they can just ‘feel’ if wood is dry. You can’t. The National Wood Flooring Association (NWFA) specifies in Technical Publication No. C100 that for a successful install, the moisture content between the subfloor and the hardwood should usually be within 2 to 4 percent of each other. If you skip learning how to use a moisture meter before you lay wood floors, you’re basically inviting the boards to cup, crown, or buckle within six months. It’s the difference between a floor that lasts a century and one that becomes a liability. For tile, my ‘secret weapon’ is a simple 10mm notched trowel for large formats, but I always keep a specific kit for maintenance ready before the project even ends. 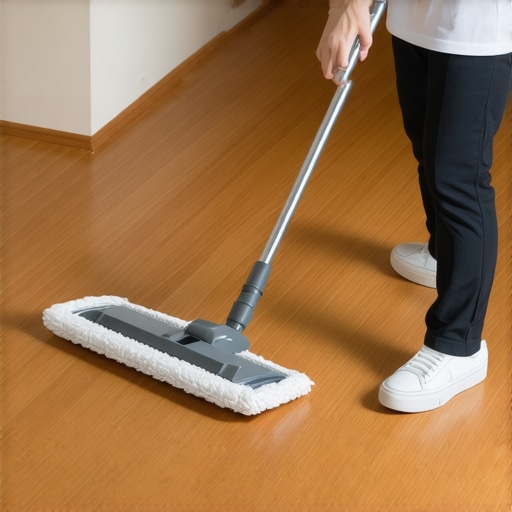
How do I keep my new floor from losing its luster over time?
Maintenance isn’t just about cleaning; it’s about preservation. The biggest mistake I see is the ‘supermarket cleaner’ trap. You need to stop using vinegar on your hardwood floors immediately. The acid in vinegar slowly eats away at the polyurethane finish, turning your beautiful investment into a dull, grey mess. Similarly, if you’ve gone with the luxury vinyl plank trend, why you should never use a steam mop on luxury vinyl is a lesson usually learned too late—the heat can actually delaminate the layers of the plank. I recommend sticking to pH-neutral cleaners and a microfiber pad. Knowing these hardwood floor care secrets to longevity and shine will save you from having to look up mastering hardwood floor refinishing five years earlier than necessary. If you have kids or pets, I always lean toward a matte finish because why matte finish hides scratches better than high gloss becomes very apparent after the first high-speed ‘zoomies’ session.
Why the Future of Flooring is Digital and Fast
Looking ahead to 2025 and beyond, we are seeing a massive shift toward ‘smart’ materials and digital layout precision. We’re already dealing with compounds that behave differently under different temperatures; for instance, why your self leveler is drying faster than you can pour it is often a result of modern chemistry reacting to ambient heat. In the future, I expect to see augmented reality apps that project your chalk lines directly onto the subfloor through a headset, making the manual 3-4-5 rule a thing of the past for all but the most traditionalist pros. We’re also seeing more complex heating integrations, which means you’ll need to be even stricter about the expansion gap rule for radiant heated wood floors as materials are pushed to their thermal limits. My advice? Start small but start smart. If you’re planning your next room, I challenge you to go out and buy a quality moisture meter today. It’s the single most ‘pro’ move you can make to level up your DIY game and ensure your hard work stays flat for the long haul.
The Hardest Lessons I Learned on the Job
After years of demo and dusty knees, I’ve realized that the most expensive mistakes aren’t usually the big ones; they’re the tiny details you ignored at the start. For example, never underestimate a subfloor’s ability to hide its flaws until the tile is already down. I’ve seen many floor leveling challenges that could have been solved with an extra hour of prep but ended up costing a weekend of rework. Another hard-earned truth: your cleaning habits start the day the floor is finished. If you want to keep that shine, you must understand why you should never mop your floors with dish soap or harsh chemicals that strip the finish. Finally, trust your tools but verify your work. A laser is great, but a second set of eyes on your chalk lines is priceless. 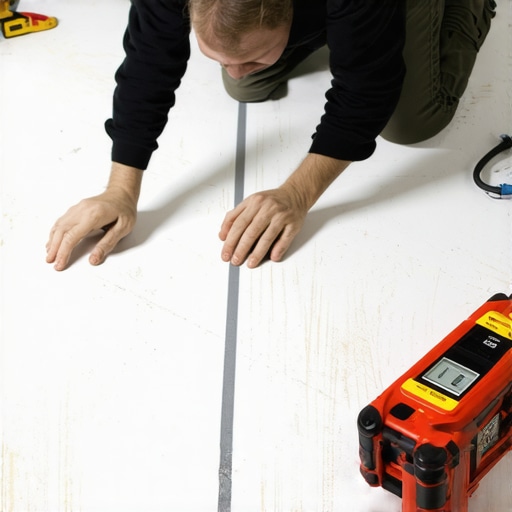
The Gear That Separates Amateurs from Pros
If you’re serious about a high-end result, you need to invest in a few specific items. I personally won’t start a project without my moisture meter—it’s the only way to ensure wood planks won’t buckle. For those tackling self-leveling projects, using the spiky roller secret is the only way to get that glass-like finish without trapped air bubbles. I also highly recommend the TCNA Handbook for tile enthusiasts; it is the industry gold standard. To keep your hardwood looking new, skip the generic sprays and use pH-neutral cleaners to avoid cloudy floors that look aged before their time.
Take the First Step Toward Your Dream Floor
The road to a perfect home renovation is paved with patience and the right information. Whether you are following a step-by-step guide to flooring installation or experimenting with a complex pattern, remember that your effort now will pay off for decades. Don’t be intimidated by the math or the prep work; once you see those lines perfectly aligned, the satisfaction is unmatched. Your flooring installation is the literal foundation of your home’s style—treat it with the respect it deserves. Have you ever discovered a subfloor surprise that nearly ruined your project? Let me know in the comments below!