
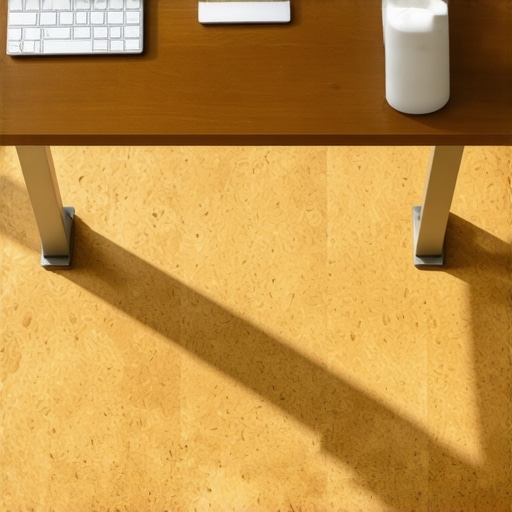
About three years ago, I finally took the plunge and bought one of those fancy electric standing desks. I felt like a productivity king—until about 11:00 AM on Tuesday. My lower back felt like it had been through a slow-motion car wreck, and my heels were pulsing. I’d spent all this money on the desk but completely ignored what I was standing on. My cold, unforgiving tile floor was sucking the life out of my joints. I tried a thick rubber mat, but it was a trip hazard and honestly, it looked like a piece of industrial scrap in my home office. That’s when I discovered cork. I realized that my previous flooring installation mistakes were largely due to picking materials based on looks alone, rather than how they actually treated my body. Today, I’m going to show you why cork is the secret weapon for any ergonomic workspace.
Your Knees Will Thank You for This Floor Swap
The truth is, most of us focus on the desk height and the monitor arms, but we forget about the physics of standing. Standing on hard surfaces like concrete or standard tile for eight hours a day creates “static loading” in your muscles. According to research from the Canadian Centre for Occupational Health and Safety, prolonged standing on hard floors can lead to significant discomfort and even long-term circulatory issues. Cork is the “goldilocks” of flooring because it contains millions of tiny air-filled cells. When you stand on it, the floor gives just enough to support your weight without feeling squishy. I once tried to fix a wobbly workspace without looking at the subfloor, but if your surface isn’t right, even the best material won’t help; you really have to address floor leveling challenges before you lay down your dream floor. Cork doesn’t just save your joints; it also acts as the best eco-friendly underlayment if you happen to be working in a second-story apartment where every footstep sounds like a drum solo to the neighbors below. Have you ever found yourself shifting from foot to foot every thirty seconds just to find a comfortable spot?
Does Cork Actually Hold Up Under a Heavy Desk?
I get it. You think cork belongs in a wine bottle or on a bulletin board. You’re worried your heavy mahogany desk or that beefy dual-motor frame will leave permanent craters in the floor. I had the same skepticism. Early on, I made the mistake of using a very soft, low-density cork that crumbled under the pressure of my office chair rollers. But high-quality, high-density cork is a different beast entirely. It has a natural “memory” that allows it to bounce back from indentations. Plus, if you’re concerned about the chemicals found in some synthetic floors, learning how to choose flooring that wont kill your indoor air quality will lead you straight back to cork’s natural, antimicrobial properties. It’s tough, it’s sustainable, and it’s about to change how you feel at the end of your workday.
Prepare Your Subfloor Before You Lay a Single Plank
If you treat your flooring installation like a quick weekend project without looking at the base, you are setting yourself up for failure. Think of your subfloor like the foundation of a house; if the foundation is tilted, the windows won’t open. Before I laid my first professional-grade cork tile, I used the chalk dust secret for finding low spots in subfloors. I simply took a long straightedge, ran it across the concrete, and puffed some chalk dust underneath. Anywhere the dust didn’t touch the board was a dip that needed filling. If you ignore these ‘valleys,’ your cork will eventually flex into them and crack or pull away from the adhesive.
Find the Hidden Dips with This Dusty Trick
I remember my first attempt at a home office upgrade in my old house. I thought a few small bumps wouldn’t matter because the cork was ‘flexible.’ Boy, was I wrong. Within three months, every time I rolled my office chair, I heard a sickening ‘pop’ where the cork was bridging a half-inch gap. I ended up having to rip out three rows of perfectly good material. Now, I never start without a level. If you are working with a slab, you need to know why you must prime concrete before every leveling job. Without primer, the concrete sucks the moisture out of your leveling compound too fast, leading to a brittle mess that will crumble under your desk’s weight. 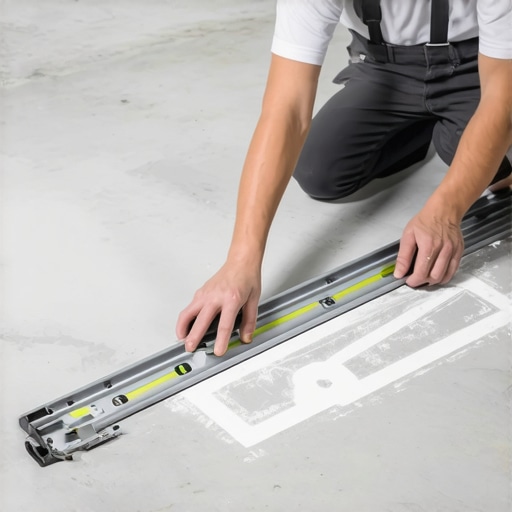
Why You Should Never Skip the Moisture Test
Even if your floor looks bone-dry, concrete is porous. I once saw a beautiful cork floor buckle because the installer didn’t realize the slab was ‘sweating’ from underneath. You must how to use a moisture meter to prevent floor failure before proceeding. If the moisture levels are too high, you’ll need a barrier, or that expensive cork will expand until it looks like a mountain range in the middle of your office.
Install Your Cork Without the Rookie Mistakes
Once your floor is level and dry, it’s time for the layout. Cork expands and contracts more than most people realize. It’s like a sponge that reacts to the humidity in your room. If you pin it tight against the wall, it has nowhere to go but up.
Give It Room to Breathe with Expansion Gaps
The number one mistake I see in DIY blogs is people forgetting the perimeter. You have to realize why your floor to wall gap is the most important part of lvp and cork alike. I use 1/4-inch spacers all around the room. Don’t worry—your baseboards will hide the gap. If you skip this, your floor will ‘tent’ in the summer when the humidity hits.
Use the Right Trowel to Avoid Glue Bubbles
If you are using glue-down cork, the application is everything. I learned the hard way that a flat trowel leaves too much glue in some spots and none in others. Instead, I use the notched trowel hack for even glue coverage to ensure a consistent bond. You want ‘ridges’ of glue that flatten out perfectly when you press the tile down. This prevents the ‘squish’ factor where glue oozes up through the seams, ruining your finish before you even get to sit at your desk.
Stop Believing the ‘Self-Leveling’ Fairy Tale
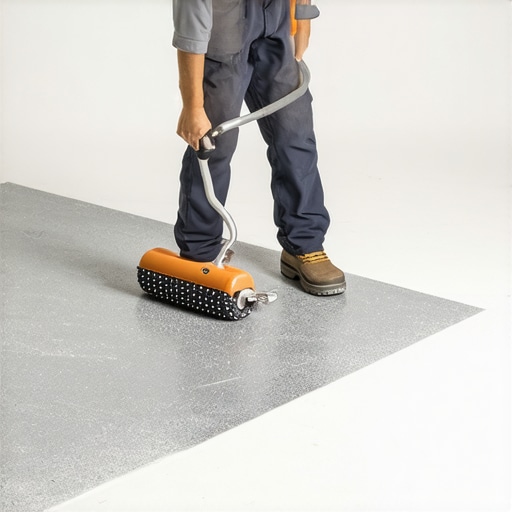
Let’s dig deeper into the mechanics of a perfect workspace. Most people assume that self-leveling compound is a ‘set it and forget it’ solution. I’ve seen countless projects fail because the installer thought the liquid would act like water in a bathtub. In reality, these compounds have high surface tension. If you don’t use a spiked roller or a gauge rake to break that tension, you’re left with a series of connected puddles rather than a flat plane. I learned this the hard way when I tried to fix a slope and ended up with a series of ‘mini-hills’ that made my flooring installation mistakes even harder to hide. According to the National Wood Flooring Association (NWFA), flatness is a distinct metric from being ‘level,’ and a floor can be perfectly level but still too wavy for a successful install.
One Cup of Water Can Ruin Your Entire Subfloor
The ‘Oops’ factor often comes down to the mix ratio. It’s tempting to add a little extra water to make the compound ‘runnier’ so it spreads easier. Don’t do it. Over-watering causes the heavy aggregates to sink and the lightweight polymers to float to the top. This creates a brittle, chalky surface that will eventually delaminate. This is exactly why your subfloor patching compound is cracking under pressure when you finally put the weight of a heavy desk on it. The Tile Council of North America (TCNA) warns that precise water-to-powder ratios are non-negotiable for structural integrity; even a small deviation can compromise the bond strength of your adhesive.
Why Does Your Floor Still Click Despite Being Level?
This is the question that keeps professional installers up at night. You can have a floor that is perfectly level according to a laser, but if it isn’t flat, your flooring will fail. There is a nuance here that even some ‘pros’ miss. A floor can be sloped two inches across a room (not level) but still be perfectly flat, which is fine for most floating floors. However, a floor that is perfectly level but has a 1/8-inch ‘crown’ or ‘hump’ in the middle will cause your planks to deflect. This is often why your lvp floor is clicking when you walk on it. You need to master precise floor leveling techniques to achieve flawless surfaces by focusing on the ‘flatness’ spec—usually 1/8 inch over 10 feet—rather than just the bubble in your level. Have you ever fallen into this trap where you thought you fixed the floor only to hear that dreaded ‘click-clack’ a week later? Let me know in the comments.
Don’t forget the ‘waterproof’ myth. Many people think a waterproof floor means they don’t need to worry about the subfloor’s moisture. Wrong. Even if the plank is plastic, the trapped moisture underneath will breed mold and rot your subfloor. That’s why you should not rely on waterproof labels for laminate or any other material without a proper barrier. To really get it right, check out the ultimate guide to floor leveling for a perfect finish and save yourself the headache of a total teardown.
I spent years using a standard rubber mallet until I realized I was actually damaging the tongue-and-groove joints on my higher-end installs. The impact was too sharp, and the bounce-back was inconsistent. Now, I exclusively use a dead blow hammer for every project. This isn’t just about brute force; it’s about the shot-filled head that eliminates recoil, providing a controlled thud that seats the material perfectly. This is precisely why you should use a dead blow hammer for floor capping and tight joins. It’s one of the 7 tools you actually need for a professional DIY hardwood install if you want to avoid that ‘weekend warrior’ look where the gaps start showing after the first winter.
The Gear That Actually Makes a Difference
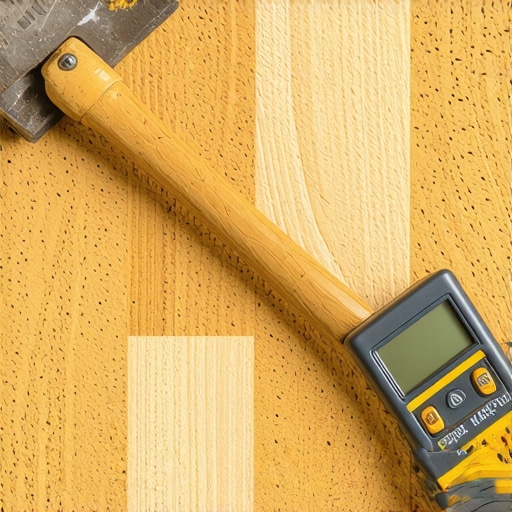
Beyond the hammer, the one tool that saved my office floor was a high-quality moisture meter. People think they can eyeball dryness, but your eyes can’t see the water molecules trapped in a concrete slab. You must learn how to use a moisture meter to prevent floor failure before you even open your boxes of flooring. According to the National Wood Flooring Association’s Technical Manual B-200, the moisture content between a wood floor and its subfloor should not exceed a 4% difference for planks wider than 3 inches. If you ignore this technical spec, you are essentially gambling with your investment. I’ve seen beautiful wide-plank installations turn into a wavy mess because the installer was too impatient to wait for the subfloor to reach equilibrium.
How do I keep my new cork and wood floors looking brand new for a decade?
Maintenance is where the average homeowner loses the battle. I’ve seen neighbors spend five figures on a custom floor only to ruin the finish within two years by using a bucket of sudsy water and a string mop. You have to realize why you should never mop your floors with dish soap; the residue it leaves behind creates a dull film that acts like a magnet for grit and dirt. Over time, that grit acts like sandpaper under your office chair rollers. For real hardwood floor care secrets to longevity and shine, stick to pH-neutral cleaners specifically designed for your finish type.
If you have pets, the challenge doubles. I love my golden retriever, but his ‘zoomies’ are the natural enemy of any soft flooring. I had to learn how to stop your pets claws from ruining your vinyl planks and cork by keeping his nails dremel-smooth and placing area rugs in high-traffic ‘sprint’ zones. It’s about proactive protection, not just reacting to scratches after they happen.
Smart Tech is Coming for Your Living Room
Looking ahead, the flooring industry is moving toward ‘active’ intelligence. In the next five years, I expect we will see smart underlayments with built-in moisture sensors that sync to your phone, alerting you to a pipe leak under the floor before you even see a puddle. We are already seeing incredible jumps in finishing technology, such as ceramic-infused topcoats that make mastering hardwood floor refinishing expert tips for 2025 more about choosing the right chemical bond than just sanding harder. If you’re ready to take your home to the next level, I highly recommend you revamp your home with expert flooring installation tips that focus on these long-term durability factors. My biggest piece of advice? Go out and buy a dead blow hammer today; it’s the single cheapest way to instantly improve the quality of your joints and save your wrists from the strain of a standard mallet.
The Three Hardest Truths About Standing Desk Floors
After years of trial and error, I’ve realized that acclimation is the silent killer of great installs. Just because you brought the boxes inside doesn’t mean they are ready. Even though I usually talk about cork, I learned from a friend that why bamboo floors need triple the acclimation time is a lesson in patience that applies to every organic material. If your room is humid and your floor is dry, that first summer will be a disaster.
Another lightbulb moment was realizing that “flat” is more important than “level.” I spent weeks trying to make a 100-year-old house level before I realized I just needed to solve floor leveling challenges to ensure the planks didn’t click. Perfection is the enemy of progress; focus on a smooth transition rather than a perfectly horizontal plane.
The Short List of Gear That Saves Your Back and Your Budget
If you are serious about doing this yourself, don’t buy the “all-in-one” kits from big box stores. Instead, build your own kit from these essentials. First, a high-quality moisture meter is non-negotiable. I use it to check the slab, the air, and the wood itself. You can find more on this in the step-by-step guide to flooring installation and leveling success.
Second, swap your standard mallet for a dead blow hammer. It delivers all the force without the wrist-shattering recoil. It’s one of the 7 tools you actually need for a professional DIY hardwood install if you want your joints to stay tight for a decade. Finally, always keep a bag of high-quality patching compound for those unexpected subfloor dips you find at 9:00 PM on a Saturday.
Your Path to a Pain-Free Workspace Starts Under Your Feet
You’ve done the research, you’ve picked the material, and you know the pitfalls to avoid. Transitioning to a cork floor isn’t just about aesthetics; it’s a long-term investment in your physical health. By taking the time to revamp your home with expert flooring installation tips, you are ensuring that your 11:00 AM energy slump becomes a thing of the past. Don’t let the fear of a flooring installation project stop you from creating the ergonomic haven you deserve. Your knees, back, and productivity levels will thank you the moment you step onto that resilient surface.
Have you ever experienced joint pain from standing at your desk too long, and what did you try to fix it? Let me know in the comments below!