
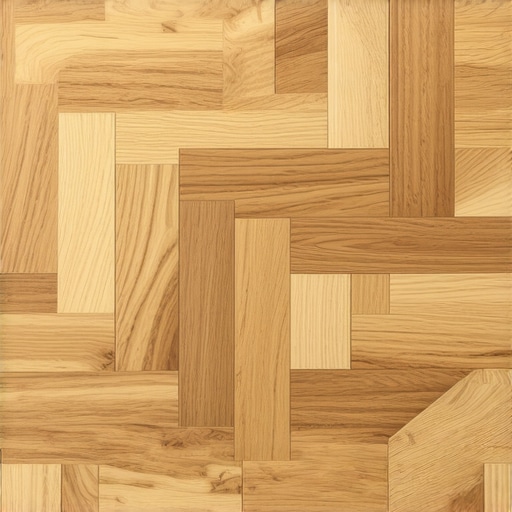
I remember staring at my kitchen floor at 2 AM, a half-empty bag of spacers in one hand and a pry bar in the other. I had spent six hours laying a beautiful white oak herringbone pattern, only to realize that by the time I hit the third row, the entire design had drifted nearly two inches off-center. It looked like the floor was drunk. I had to rip it all up, wasting boards and my own sanity. That was my ‘welcome to herringbone’ moment, and it taught me that this classic pattern is a cruel mistress if you do not know the spacing secret. Today, I am going to show you exactly how to avoid that drift so your floor looks like it was installed by a master craftsman, even if it is your first time.
Why Most DIY Herringbone Projects Look Off by the Final Row
You see it all the time in photos that do not zoom in—gaps that get wider, lines that do not quite meet, and that nagging feeling that the room is slightly tilted. Most people jump straight into the glue or the nails without a real plan because they are excited. I was one of them. I thought I could just eye it and use standard spacers. Big mistake. One of the 7 mistakes that ruin your luxury vinyl plank installation is underestimating how quickly a tiny 1/16th-inch error compounds over thirty feet. In a herringbone pattern, that error does not just stay in one place; it telescopes outward, turning your ‘V’ shapes into lopsided checkmarks. Before you even open a box of flooring, you need to learn how to get a perfectly straight first row of flooring every time, because in this layout, your first row is your only lifeline.
Is This Extra Math Really Worth the Headache?
Honestly, it is a lot of work. But once you master the layout, it transforms a basic room into something that looks like a million bucks. The secret isn’t just in the spacers; it is in the geometry of the first three ‘V’ shapes. If those aren’t perfectly square to your center line, you are doomed. I learned the hard way that precise floor leveling techniques are non-negotiable here. If the floor dips even slightly, the ‘V’ opens up, and suddenly your joints are gapping. According to the National Wood Flooring Association, even a 1% variation in plank width can lead to significant alignment issues in complex patterns. This is why I always recommend the 3-foot level test before you start. Have you ever spent a whole weekend on a project only to realize the first row was crooked? Tell me your flooring horror stories in the comments—I have probably lived through them too. We are going to fix those mistakes today.
Snap Your Lines Like a Pro to Avoid a Crooked Room
Think of your center line as the spine of the entire room. If the spine is curved, the body simply doesn’t work. For a herringbone layout, you need more than just one line; you need a grid that is perfectly square to your longest wall. I learned this the hard way during a renovation in an old 1920s bungalow. I snapped what I thought was a straight line using standard blue chalk, but the subfloor was so dusty the line practically walked away while I was working. By the time I reached the doorway, my pattern was leaning five degrees to the left. To prevent this, always vacuum the subfloor meticulously and consider using a permanent ink line or a high-visibility laser. This is where the chalk line mistake that makes open rooms look crooked can turn a dream project into a demolition job.
Build a Starter Template Instead of Winging It
The biggest hurdle in flooring installation and leveling success is the first “V.” If you start with loose planks, they will slide as soon as you apply pressure. I recommend cutting a “starter triangle” out of a piece of 3/4-inch plywood. This triangle acts as a physical stop that ensures your first row stays at a perfect 45-degree angle. Screw this template directly into the subfloor along your center line. When you push your first two planks against it, they have nowhere to go. This simple jig is one of the 7 tools you actually need for a professional DIY hardwood install that most people overlook.
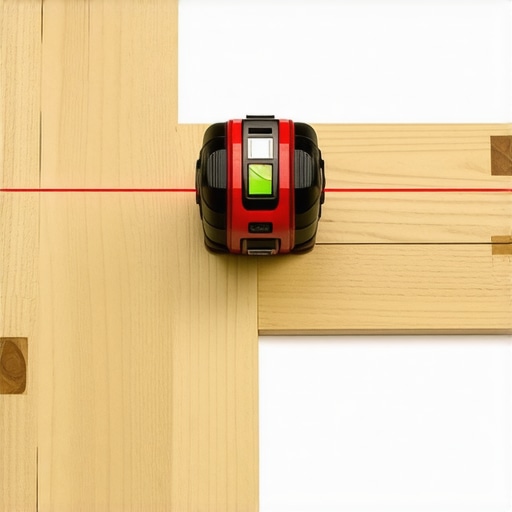
Manage the Creep with Constant Measurements
Even with a template, “creep” is your enemy. This happens when the cumulative thickness of your glue or tiny manufacturing variations in the hardwood floors start to push the pattern out. Every three rows, take a measurement from your center line to the points of your “V” shapes on both sides. They should be identical. If one side is 1/8th of an inch further out, you need to tighten up your joints on the next row. If you are working with tile and hardwood combinations, this is even more critical because grout lines leave zero room for error. Speaking of grout, if you are using spacers for a tile-look herringbone, be careful not to leave them in too long; why your tile spacers are getting stuck in the grout lines is a common frustration when the thinset hardens faster than you expect.
Keep the Surface Flat to Prevent Gapping
If your subfloor has a hump, your herringbone pattern will “peak,” meaning the boards will lift at the joints. If there is a dip, the boards will “valley,” and the “V” will pull apart, creating a gap that no amount of wood filler can hide. Before the first board goes down, use precise floor leveling techniques to ensure the surface is flat within 3/16th of an inch over a 10-foot span. Think of it like trying to wrap a gift box; if the box is crushed, the paper will never lay flat. I have spent more time with a floor grinder and self-leveling compound than I have with a nail gun, but that is the difference between a floor that squeaks and one that stays silent for decades. If you are dealing with stubborn adhesive from a previous floor, learn how to remove carpet glue from a concrete subfloor without chemicals to ensure your leveler bonds properly.
Stop Treating Self-Leveling Compound Like It’s Magic Water
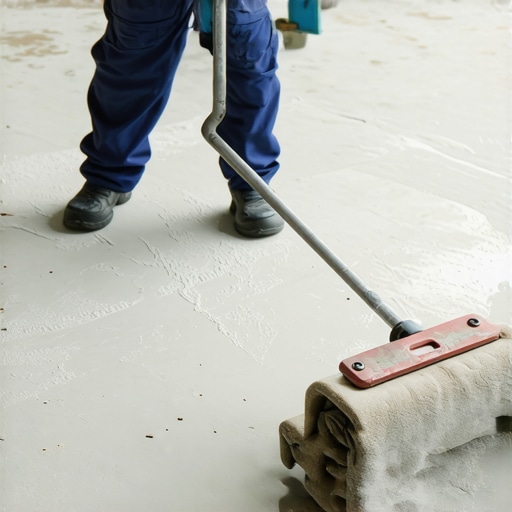
Common wisdom suggests that self-leveling compound is a ‘set it and forget it’ solution—you just pour it out and let gravity do the work. In my experience, that is exactly how you end up with a floor that feels like a hollow drum. The truth is, self-leveler is finicky. If you don’t understand the chemistry of the bond, you will find out why your self-leveler is peeling off the concrete in sheets just as you start laying your expensive planks. The most overlooked step is the mechanical and chemical bond. You cannot just sweep; you must grind and prime. Failing to use a dedicated primer is the quickest way to watch why your self-leveling compound is cracking like a dry lake bed. The concrete subfloor is thirsty and will suck the moisture out of your leveler before it can properly hydrate, leading to a weak, brittle surface. Always ensure you know why you must prime concrete before every leveling job to create a bridge between the old slab and the new surface.
How Can You Tell if Your Subfloor Is Too Bouncy for Rigid Tile?
This is the question that separates the pros from the hobbyists. You can have a floor that is perfectly flat but still functionally broken. If there is too much ‘flex’ or deflection between your floor joists, your beautiful herringbone tile will crack along the grout lines within months. The Tile Council of North America (TCNA) specifies that for ceramic tile, the subfloor deflection must not exceed L/360—meaning the floor shouldn’t bend more than the length of the span divided by 360 under a heavy load. I always perform the simple test to see if your subfloor is strong enough for tile by placing a full bucket of water in the center of the room and jumping nearby; if the water ripples significantly, you need more plywood. Before you commit, how to check for subfloor flex before you lay rigid tile should be your first priority. If it’s too bouncy, you might need to learn how to fix a bouncy floor with a few well-placed screws or additional blocking below.
The Hidden Danger of Glue Shrinkage on Wide Planks
If you have moved beyond standard widths and are installing hardwood floors with wide planks, you are dealing with massive amounts of internal tension. Many DIYers think that a standard bead of glue is enough, but why wide planks need more than just nails to stay flat comes down to seasonal humidity. Wide planks want to cup, and if your subfloor isn’t perfectly prepped with the ultimate guide to floor leveling for a perfect finish, that glue will eventually snap or ‘bridge,’ creating a hollow sound. Even the choice of trowel matters; the trowel size error that leads to hollow sounding tiles is a classic trap where insufficient coverage allows air pockets to form. When these pockets expand and contract, they pull at the wood fibers. Have you ever poured leveler or applied adhesive only to watch it fail a week later? It is a gut-wrenching feeling—let me know your subfloor nightmares in the comments, and let’s figure out what went wrong together. Mastering how to achieve flawless floor leveling before tile laying is the only way to ensure your herringbone ‘V’ stays as tight as the day you installed it.
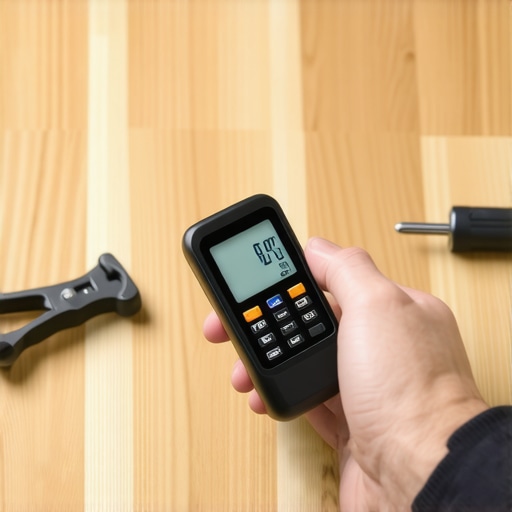
You cannot simply trust your eyes when the stakes are this high. I never start a project without my Lignomat moisture meter. The National Wood Flooring Association (NWFA) technical documentation states that the majority of installation failures occur because the installer ignored the equilibrium moisture content (EMC). If your subfloor and your planks are not within a tight margin of each other, that herringbone pattern will start moving like a tectonic plate. This is why you must learn how to use a moisture meter to prevent floor failure before you even open a bucket of adhesive. I have seen gorgeous oak floors buckle in a single season because the wood was too ‘green’ for the house environment.
Gear That Saves Your Back and Your Wallet
When it comes to the actual installation, a standard rubber mallet just does not cut it. I always reach for a dead blow hammer. It delivers a solid, dead-weight hit without the annoying recoil that can knock your delicate herringbone ‘V’ out of alignment. If you are wondering why you should use a dead blow hammer for floor capping, it is all about control. You need that energy to transfer directly into the tongue and groove, not back into your wrist. This is one of the 7 tools you actually need for a professional DIY hardwood install if you want to avoid chronic fatigue and crooked rows by the end of the day.
How do I keep my herringbone floor looking new for years?
The complexity of this pattern means there are significantly more joints than a standard layout, which means more places for microscopic grit to hide. My biggest rule for clients? Throw away the steam mop. I have witnessed homeowners ruin a five-figure floor because they thought high-pressure steam was a ‘deep clean.’ I constantly explain why you should never use a steam mop on engineered wood floors to everyone who asks; it forces moisture into those tiny herringbone seams, causing the edges to swell, cup, and eventually peel. Instead, stick to a dry microfiber mop and a dedicated pH-neutral cleaner. Following these hardwood floor care secrets to longevity and shine will keep those 45-degree angles crisp for decades.
The Future of Intricate Floor Patterns
Looking ahead to 2025 and beyond, I see a massive shift toward ultra-large format porcelain tiles being used for herringbone layouts. While it is much heavier and harder to install than traditional wood, the durability for high-traffic kitchens is unmatched. If you are going that route, you will need to be installing tiles like a pro with step-by-step strategies for 2025 to handle the weight without cracking. My best advice for any DIYer is to try the ‘starter triangle’ trick I mentioned earlier, even if you are working with stone or ceramic. It is the one advanced move that guarantees a square start every single time. Go grab a scrap of 3/4-inch plywood and cut that 45-degree guide right now—your future self will thank you when the last row clicks perfectly into place against the baseboard without a single gap.
The Hardest Lesson I Learned While Wrestling with Herringbone
After years of installs, I have realized that herringbone is 90% preparation and 10% actually laying the wood. The biggest lightbulb moment for me was accepting that no room is perfectly square. Instead of fighting the walls, I learned to cheat the pattern by centering it on the most visible focal point, like a fireplace or a grand entryway, which keeps the eye from noticing slightly tapered edges at the baseboards. This is where flooring installation fundamentals and leveling for a seamless look become your best friend. Another hard-won truth: your knees will give out before your patience does if you do not invest in professional-grade, hinged knee pads. I also found that how to acclimate your hardwood without taking over the whole house is the absolute difference between a floor that stays tight and one that gaps or buckles by the next season.
What I Keep in My Truck for Every Flooring Job
If you are serious about this layout, you need a toolkit that does not quit. I never show up to a job site without a premium moisture meter and a high-quality notched trowel to manage the adhesive. I have seen too many failures because of poor glue spread, which is why I always recommend the notched trowel hack for even glue coverage to ensure a permanent, silent bond. For those finishing their own raw wood, mastering the best grit sequence for sanding red oak to a mirror finish is the final touch that makes the herringbone geometry pop under the light. These are not just tools; they are the insurance policy for your hard work and your budget.
#IMAGE_PLACEHOLDER_E#
Take the First Step Toward Your Dream Floor
Installing a herringbone floor is a rite of passage for any dedicated DIYer. It is challenging, occasionally frustrating, but the result is a timeless masterpiece that adds incredible character to your home. Do not let the complexity scare you away. By focusing on mastering floor leveling pro secrets for perfect installations and following the geometric layout steps we discussed, you are already miles ahead of most weekend warriors. You have the knowledge and the strategy—now it is time to get those lines snapped and that first starter V set. Once you see that pattern start to march across the room, you will know exactly why we put in all this effort. Have you ever started a complex pattern only to realize the room was completely out of square? Let me know your pivot moments in the comments below!