
I walked into my basement last Tuesday and honestly thought a gas line had ruptured. That sharp, unmistakable scent of rotten eggs hit me like a physical wall. I’d just spent three days lugging heavy mats to create the ultimate home gym, and now, my house felt like a sulfur pit. It wasn’t a gas leak, though; it was my brand-new rubber flooring off-gassing. If you’re smelling sulfur, you aren’t crazy, and your house isn’t haunted. You’re just dealing with the chemical aftermath of vulcanization. I’m going to tell you exactly how I reclaimed my air quality after a few failed attempts of my own.
Stop the Stink Without Ruining Your New Floors
When I first encountered this, I made a massive mistake: I doused the whole floor in a heavy-duty industrial degreaser thinking it was just ‘surface oils’ causing the stench. Big error. Not only did it do nothing for the sulfur scent, but it also made the floor slicker than an ice rink. Before you start pouring random chemicals, we need to talk about why this is happening. Most rubber flooring is made from recycled tires or synthetic EPDM. During manufacturing, sulfur is used to ‘cross-link’ the polymers—a process called vulcanization—to make the rubber durable. While this makes it tough enough for a commercial gym, it can release Volatile Organic Compounds (VOCs) that smell like a matchstick factory. According to the U.S. Environmental Protection Agency (EPA), VOCs can cause headaches and respiratory irritation, so getting this sorted isn’t just about your nose—it’s about your comfort. Just like the one step people skip during waterproof flooring installation, proper ventilation is the foundation of a healthy room.
Is that funky smell actually toxic?
This is the big question everyone asks me. ‘Is this floor making me sick?’ Usually, the answer is no, but the discomfort is real. If you’ve been reading up on expert flooring installation tips, you know that every material has a ‘cure’ time. Just like how you shouldn’t mop new hardwood for at least two weeks, rubber needs time to breathe and stabilize. We are going to look at ventilation strategies and specific cleaners that actually neutralize sulfur rather than just masking it. Have you ever bought a product that smelled so bad you considered ripping it out the same day? Let me know, because I’ve been there and I want to help you avoid that frustration.
Move the Air to Move the Chemicals
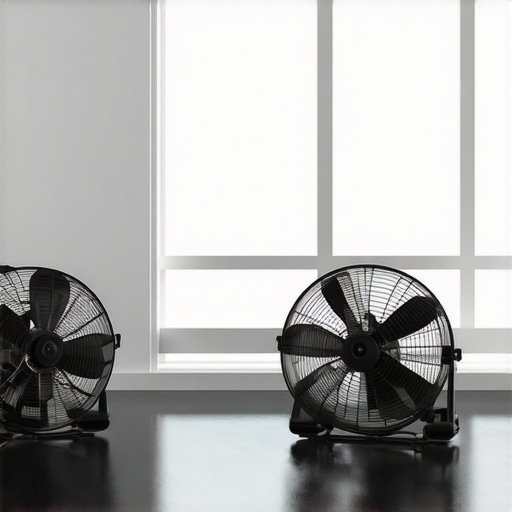
The biggest mistake most people make is thinking a cracked window will solve the problem. It won’t. You need to treat your room like a laboratory exhaust system. When I was setting up my home gym in that cramped basement, the air felt thick enough to chew. I realized that the heavy sulfur molecules were just settling in the low spots of the room. Think of it like water in a bowl; if you don’t tilt the bowl or splash the water out, it stays there. You need high-velocity fans—the kind pros use to dry out a house after a flood. I ended up renting two industrial blowers. I placed one at the entrance to the room and pointed the other one out the window. This created a literal wind tunnel that forced the air to turn over every few minutes. Just as how to use a moisture meter before installing wood floors is essential for environmental control, these fans are your primary tool for air quality control.
Wash the Surface Without Damaging the Material
After you have got the air moving, you have to address the physical surface. The ‘new floor’ smell is partly due to the oils and residues left over from the manufacturing process. I used to think stronger was better, but dousing rubber in harsh chemicals can actually degrade the binders. Instead, I use a 50/50 mix of plain white vinegar and water. The acidity in the vinegar reacts with the basic sulfur compounds to help neutralize the odor. In my last project, I went over the mats three times with a damp (not soaking) microfiber cloth. You want to avoid the damp mop mistake that swells your laminate seams by ensuring no liquid pools in the joints of your rubber tiles. Scrubbing firmly lifts the microscopic particles that are currently launching themselves into your nose. It is tedious, but I saw a visible gray film on my rags afterward that proved I was actually removing the source of the stink.
Give the Rubber Some Quality Time with UV Light
If you haven’t installed the floor yet, do yourself a favor and leave the mats outside. This is the ‘sun-curing’ method, and it is incredibly effective. UV radiation from the sun helps break down the volatile compounds faster than a dark basement ever could. I once spent a whole Saturday flipping twelve rubber mats on my driveway every four hours. It felt like I was grilling the world’s heaviest steaks. By Sunday evening, the pungent sulfur smell had transformed into a faint, manageable rubber scent. It is a similar logic to step-by-step guide to flooring installation and leveling success where patience in the prep phase saves you from a disaster once everything is locked in place. If you cannot get them outside, keep the room as warm as possible; heat increases the rate of off-gassing, allowing the fans to do their job more efficiently.
Stop Believing the Self-Leveling Myth
Most homeowners—and even some contractors—treat self-leveling compound like it is magical water that will perfectly find the low spots on its own. In reality, it is much more like thick syrup. If you just pour it and walk away, you are going to end up with ‘islands’ and high ridges that are a nightmare for installing tiles like a pro. My contrarian take? Forget about making the floor ‘level’ relative to the Earth’s core; focus on making it ‘flat’ within 1/8th of an inch over ten feet. I always use a long straightedge for measuring subfloor flatness before starting. If you chase a perfectly level floor in an old, sagging house, you will end up with a six-inch step-up at the doorway. You need to manipulate the material manually, despite the ‘self’ in the name.
Why does my leveler look like Swiss cheese after it dries?
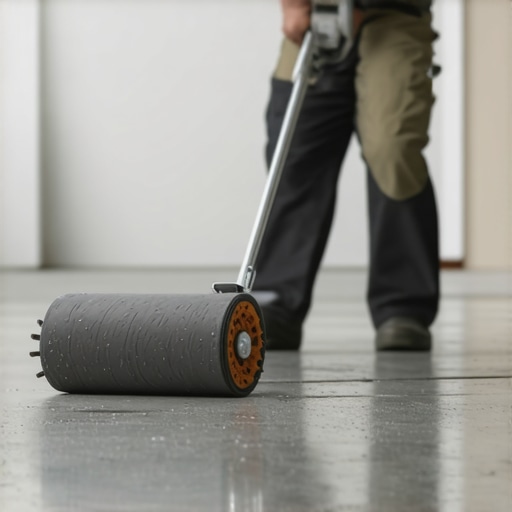
This is the ultimate ‘oops’ factor for advanced DIYers. You spend forty dollars a bag on high-end leveler, and it dries full of tiny pinholes. This happens because you skipped the primer or did not use a spiked roller for the perfect leveling pour. According to the Tile Council of North America (TCNA) Handbook, proper substrate priming is non-negotiable because it seals the pores of the subfloor. Without it, air escapes from the wood or concrete and bubbles through your wet leveler, leaving those pesky pits. It is a similar frustration to why your self-leveler is bubbling over plywood. These pits are not just ugly; they are weak points where your tile mortar will not bond correctly.
Master the Chemistry Before You Pour
Another nuance people miss is the chemistry of the mix. I have seen so many people try to ‘stretch’ a bag by adding an extra cup of water or only mixing half a bag to save money. This is a recipe for structural failure. You must always mix the entire bag of grout at once or leveler at once to ensure the polymers are evenly distributed. If the ratio is off, the floor might look fine today but will start pulling away from the concrete in six months. This technical precision is what separates a floor that lasts decades from one that cracks before the paint is dry. You should also be careful about how to dam a doorway before pouring self-leveler, otherwise, you will be chipping dried cement out of your hallway carpet for a week. Have you ever had a project look perfect only to have it fail a year later? Let me know in the comments—I want to hear those horror stories so we can all avoid them.
Equip Yourself with the Gear Pros Use to Stay Clean
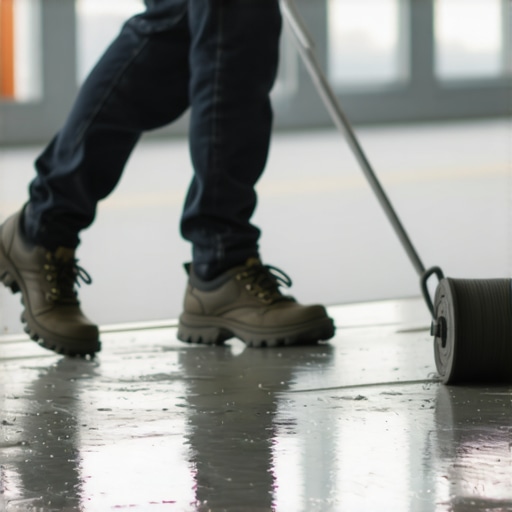
If you are planning a large pour, you have to be mobile. I used to try and ‘reach’ the middle of the room with a long-handled rake, but I invariably missed a spot or created a ridge that I could not fix once it started to skin over. Now, I never step onto a wet floor without a pair of spiked shoes. They look like something out of a medieval armory, but they allow you to walk right through the wet compound to address bubbles or high spots without displacing the material. This is one of those precise floor leveling techniques to achieve flawless surfaces that separates the hobbyists from the veterans. Also, do not underestimate the power of a truly clean job site. I always use the vacuum attachment that actually picks up fine sawdust because even a microscopic layer of wood dust can act as a bond-breaker. According to the Ardex Technical Bulletin T-1, atmospheric conditions like humidity and cross-drafts can drastically alter the ‘open time’ of your material, so I keep a simple hygrometer in the room to monitor the environment during the process.
How do I keep my subfloor flat for the long haul?
Maintenance does not start after the furniture is moved back in; it starts the moment the leveler cures. You have to protect that perfectly flat surface from structural shifts. If you are working in an older home, you should be checking for the real reason your floor joists are making your tile crack, which is often lack of lateral bracing. Once the installation is finished, long-term success comes down to environmental stability. For those with timber elements, hardwood floor care secrets to longevity and shine often revolve around maintaining a consistent 35-55% humidity level to prevent the subfloor from expanding and contracting. If your subfloor moves, your leveling compound—as strong as it is—will eventually fatigue and crack under the stress of foot traffic.
Precision Tech Is Coming for Your Subfloor
I suspect that within the next few years, we will see a massive shift toward 3D-mapped laser leveling systems for residential use. Imagine a handheld scanner that maps your subfloor and syncs with a pump that tells you exactly how many liters of compound you need for every square inch. We are already seeing this in high-end commercial warehouses, and the tech is trickling down to the consumer level. This will eventually eliminate the guesswork and the flooring installation mistakes to avoid for lasting results that plague so many DIY projects today. Until then, we rely on our eyes, our straightedges, and our patience. My challenge to you? Before your next pour, get a 10-foot straightedge and mark every single ‘low spot’ with a bright red crayon. Seeing the map of your floor’s failures before you start will completely change how you distribute the material and ensure you do not run out of compound halfway through.
Lessons the Hard Way
Over the years, I have learned that your nose is often a better diagnostic tool than your eyes. That sulfur scent was a wake-up call for me to respect the chemistry of my materials. One thing I wish someone had told me earlier is that air movement is not just for odors; it is for curing. If you do not let the floor breathe, the bond will never reach its full potential. I have also realized that floor leveling challenges are rarely about the material and almost always about the prep work. Another lightbulb moment? High-quality primer is cheaper than replacing a cracked floor two years later. Always trust your gut—if the subfloor looks dusty or feels bouncy, it probably is.
The Pro Gear I Keep in My Truck
If you want to move from good enough to professional grade, you need a few non-negotiable items. First, get a high-quality 10-foot straightedge; it is the only way to truly see where the floor is lying to you. Second, I always recommend checking industry handbooks for specific substrate requirements—it is the industry bible for a reason. For the actual pour, the secret to mixing the perfect bucket of self leveler every time is having a dedicated mixing station and a timer. Finally, keep a simple hygrometer in your toolbox. Knowing the room’s humidity can tell you exactly when it is safe to proceed to the next step, ensuring you avoid flooring installation mistakes to avoid for lasting results.
Why Your Next Project Starts with Confidence
Stepping into a DIY project can be intimidating, especially when you are dealing with sulfur smells or liquid cement flowing across your room. But remember, every expert started exactly where you are—staring at a messy subfloor and wondering if they bit off more than they could chew. By focusing on the fundamentals and using mastering floor leveler pro secrets for perfect installations, you are setting yourself up for a result that looks and feels like a million bucks. Floor leveling is not just about a flat surface; it is about the peace of mind that comes from knowing the foundation of your home is solid. What is the one stinky or tricky flooring situation you have managed to conquer? Let me know in the comments below!