
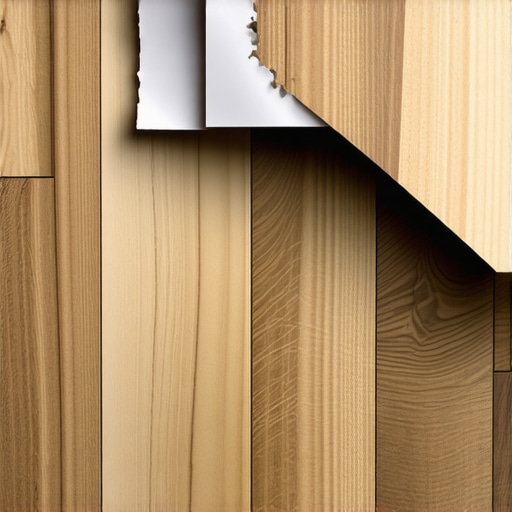
I was walking across my kitchen in thick wool socks when I felt it—a sharp, plastic-like snag that nearly sent me tripping. I looked down, expecting a dropped grape or a bit of dried mud. Instead, I saw a translucent, jagged sliver of my flooring curling upward like a bad sunburn. My heart sank. I had spent a small fortune on these ‘indestructible’ planks, yet here they were, literally shedding their skin. It felt like my home was falling apart at the seams. If you have ever looked at your beautiful flooring and seen those thin, clear layers flaking away from the rigid middle, you are not alone, and it is usually a sign that something is fundamentally wrong beneath the surface.
Stop the Shedding Before Your Floor Falls Apart
I am going to be honest with you: I made a massive mistake early on. I thought ‘waterproof’ meant I could treat my floors like a commercial kitchen. I blasted them with heat and moisture, only to realize too late that I was killing the adhesive bond. This peeling—properly called delamination—is a heartbreak that often stems from environmental stress. For instance, I have seen many homeowners wonder why your luxury vinyl plank is buckling near the window, and the culprit is almost always extreme heat. When that top wear layer gets baked by the sun, it expands faster than the core it is glued to, and eventually, the glue just gives up. You might also notice that why cheap underlayment makes your luxury vinyl sound hollow, which contributes to the vertical movement that stresses these layers every time you take a step. It is a domino effect of small errors leading to a floor that looks like it is ten years older than it actually is.
Is Luxury Vinyl Just a Marketing Lie?
Many people ask me if LVP is actually worth the hype if it is just going to peel. The truth is that while LVP is incredibly durable, it is not invincible. According to the Resilient Floor Covering Institute (RFCI), resilient flooring is designed to withstand moisture, but excessive localized heat—like from a high-powered steam mop—can compromise the integrity of the wear layer. I learned this the hard way when I ruined my first guest bath floor because I did not know why you should never use a steam mop on click-lock floors. The steam penetrates the micro-gaps, hits that adhesive, and turns your premium flooring into a science project. Today, we are going to dive into the core reasons this happens—from manufacturing defects to ‘oops’ moments during cleaning—and how you can stop the peeling before you are forced to rip everything out and start over. Have you noticed any weird flaking or sharp edges appearing on your planks lately?The root of almost every LVP delamination or peeling issue isn’t just a bad box of planks; it’s what is happening underneath them. If your subfloor has the topography of a mountain range, those planks are going to flex every time you walk on them. This constant vertical movement acts like a crowbar, slowly prying the wear layer away from the core. I learned this the hard way in my guest room. I thought a 1/8-inch dip was ‘good enough.’ Three months later, the seams were clicking like a metronome, and the edges started to fray. You absolutely must learn how to measure subfloor flatness before you start installing to prevent this mechanical stress.
Find the High Spots Before They Ruin Your Install
You cannot just eyeball a floor and expect it to be flat. You need a tool that doesn’t lie. I always recommend learning how to check for high spots with a 10-foot straightedge. If you see light peeking under that metal bar, you have work to do. Leveling is not optional; it is the foundation of a floor that lasts twenty years instead of two. If you are dealing with a concrete slab that looks like a moon crater, don’t just throw more underlayment at it. You need to follow the ultimate guide to floor leveling for a perfect finish.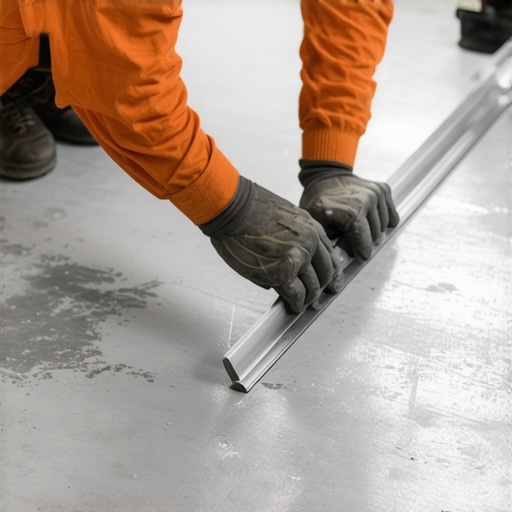
Pour Your Way to a Glass-Smooth Base
When you finally decide to use a self-leveler, do not just dump it and hope for the best. The consistency is everything. I once mixed a batch too thick—it looked like oatmeal—and it stayed exactly where I poured it, creating a new hump I had to grind down later. The goal is a consistency more like heavy cream. You can find the secret to mixing leveler for a glass-smooth finish to ensure it actually flows into the low spots. Properly mixed leveler should do 90% of the work for you. Once that base is flat, the physical stress on the vinyl’s top layers disappears.
Give Your Planks Room to Breathe
One of the biggest reasons the top layer of your floor starts to buckle and peel is because the entire floor is ‘pinched.’ Your floor is a living thing; it expands and contracts with the seasons. If you did not leave a big enough gap at the walls, the floor hits the drywall, has nowhere to go, and starts to arch. This creates tension that shears the wear layer right off the core. I use the quarter trick for checking expansion gaps in luxury vinyl floors to make sure I am leaving exactly enough space for that movement.
Control the Climate or Lose the Floor
Before you even open the boxes, you need to know the moisture content of your subfloor. Excessive moisture coming up through a concrete slab can turn the adhesive on the back of your planks into a gooey mess, leading to total delamination. I never start a project without knowing how to use a moisture meter before installing wood floors or LVP. If your subfloor is ‘sweating,’ your floor is doomed from the start. Taking ten minutes to check these levels can save you five thousand dollars in replacement costs and stop the peeling before it ever begins.
Let’s dig deeper into the most common lie told in the flooring aisle: the idea that a thick, squishy underlayment is a magic fix for an uneven subfloor. In fact, in my experience, the opposite is true. While most retailers will try to sell you the most expensive, padded underlayment to ‘smooth out’ those bumps, adding too much cushion under a floating floor is a recipe for disaster. The more ‘give’ your floor has, the more the locking mechanisms flex, which eventually causes the wear layer to shear off or the joints to snap. If you want to avoid a floor that sounds like a drum kit, you need to understand why cheap underlayment makes your luxury vinyl sound hollow and realize that firmness is actually your friend.
Stop thinking thicker padding saves a bad subfloor
The National Wood Flooring Association (NWFA) explicitly states that subfloors must be flat within 3/16-inch over a 10-foot span. If you exceed this, no amount of foam padding will save you. When your floor flexes into those low spots, it doesn’t just feel soft; it creates a micro-mechanical friction that slowly pulls the decorative film away from the core of the plank. This is why you see the edges peeling first. You are effectively walking the floor apart. Before you lay a single plank, you must address flooring installation mistakes to avoid for lasting results, and that starts with the realization that underlayment is for sound dampening and moisture protection, not for structural leveling.
The invisible step that keeps your leveler from lifting
If you have decided to use a self-leveling compound, there is a technical ‘trap’ that ruins half of the DIY jobs I see. Most people treat leveler like pancake batter—they mix it until it looks right and dump it out. But if you don’t use the correct water-to-powder ratio, the integrity of the mix fails. Too much water and you will see why your self-leveler pitted during the drying process, leaving you with a fragile, dusty surface that won’t hold adhesive or sustain the weight of your furniture. Even worse, if you skip the primer, the thirsty concrete or plywood subfloor will suck the moisture out of the leveler so fast that it won’t have time to flow. This is a common reason why your subfloor primer is bubbling on old concrete or failing to bond. You need a solid, primed foundation before you even think about the secret to mixing the perfect bucket of self-leveler every time.
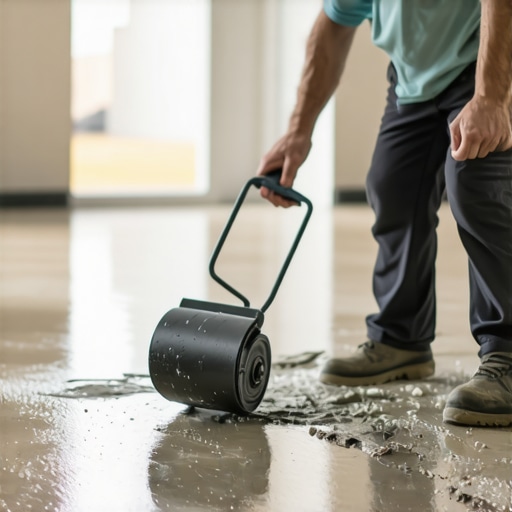
Can your floor really handle the weight of your kitchen island?
Here is an advanced nuance many homeowners miss: the ‘pinch point’ created by heavy fixed objects. If you install a floating LVP floor and then place a heavy 500-pound kitchen island on top of it, you have essentially ‘pinned’ the floor to the subfloor. When the other side of the room expands or contracts, that pinned area cannot move. The result? The planks under tension start to buckle or the wear layer begins to delaminate because the material is trying to move while being held in a vice. For large-scale projects, you must consider the one-step people skip during waterproof flooring installation in mckinney, which often involves planning for these heavy zones. Similarly, in multi-story homes, many people have overlooked the real reason your floor joists are making your tile crack: excessive deflection. If your joists are too bouncy, the rigid LVP or tile on top has no choice but to fail at the weakest point—the seams. Have you ever fallen into this trap of thinking the floor was ‘supposed’ to flex that much? Let me know in the comments.
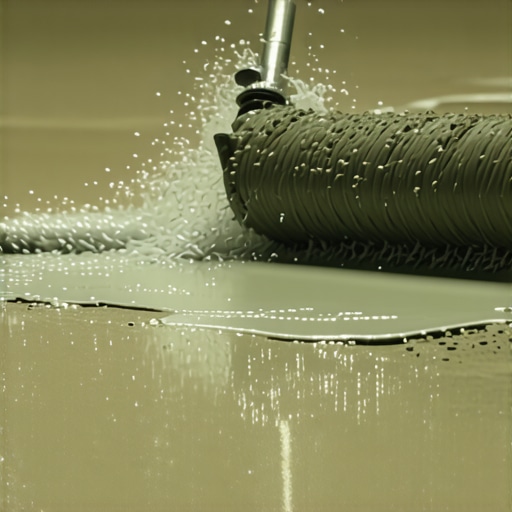
If you want to move beyond just surviving a DIY project and actually start thriving as a home renovator, you need to stop buying the generic ‘all-in-one’ kits and start looking at specialized gear that professionals use to solve specific physics problems. For example, my leveler used to look like a topographic map of Mars until I learned how to use a spiked roller for the perfect leveling pour. This isn’t just about moving the goop around; those tiny spikes break the surface tension and release trapped air that eventually turns into pits. If you leave those bubbles, you’re essentially building your floor on a layer of Swiss cheese that will eventually collapse and cause your vinyl to peel. I also keep a stash of microfiber pads specifically for my finish work because I’ve seen how quickly a standard cotton mop can drag abrasive grit across a fresh seal, creating micro-scratches that invite moisture.
The Tool That Finally Stopped My Leveler From Bubbling
 I’ve spent years looking for shortcuts, but when it comes to the long-term integrity of a room, there is no substitute for the right edge. If you’re working with exotic or high-density materials, don’t assume your standard miter saw blade will cut it. I learned the hard way that you absolutely have to know why you need a specific blade for cutting bamboo planks—otherwise, you’ll end up with frayed edges and micro-splinters that no amount of wood filler can hide.
How do I keep my installation looking new for a decade?
Maintenance isn’t just about cleaning; it’s about preventing chemical and mechanical degradation of the wear layer. According to the Tile Council of North America (TCNA) Handbook, many common household cleaners contain acidic agents that slowly eat away at the bond of your grout or the polyurethane sealer on your hardwood. This is why I advocate for hardwood floor care secrets to longevity and shine that focus on pH-neutral cleaners and immediate debris removal. Even when I’m tiling, I’ve found that the wet rag trick for cleaning up wet grout haze saves me hours of scrubbing later, which protects the grout from being over-saturated during the curing process. Looking ahead, I suspect we are heading toward a future where 3D-scanning apps on our phones will allow us to map subfloor irregularities to the millimeter before we even buy material, but until that’s mainstream, manual precision is your only defense.
Why Your Standard Mop is Slowly Killing Your Finish
If you have large-format tiles, please, stop skipping the extra work and learn how to back-butter large format tiles the right way. The TCNA actually specifies that coverage for tiles in wet areas must be at least 95%, which is nearly impossible to achieve without the mechanical bond of back-buttering. This prevents the hollow spots that lead to ‘lippage’ or cracking under the weight of your fridge. My challenge to you: before your next project, go buy a dedicated moisture meter. It’s the single most important tool in my bag that doesn’t involve a hammer, and it will tell you more about the future of your floor than any ‘waterproof’ label ever could.
What I Learned the Hard Way About Floating Floors
Looking back at my first few attempts, I realized that the term “floating” in luxury vinyl is a bit of a misnomer—it shouldn’t be drifting or flexing around like a raft. I used to think that a tiny bit of unevenness was just character, but I’ve learned that mastering floor leveling pro secrets for perfect installations is the only real way to avoid that heartbreaking peeling. Another lightbulb moment for me was realizing that the sun is often your floor’s biggest enemy; it’s not just about aesthetics, but physical integrity. If you don’t account for those temperature spikes, your flooring installation will fail. I also discovered that if you don’t use the right prep for your specific environment, you’re just setting a timer for failure. You have to treat the subfloor like the foundation of a skyscraper, even if it’s just for a small guest bathroom.
The Tools I Won’t Step Onto a Job Site Without
If you are serious about preventing delamination, you need a toolkit that looks past the surface. I swear by my pinless moisture meter because it tells me things the “hand-touch test” never could; you should definitely check out a step by step guide to flooring installation and leveling success to see how measurement changes the game. I also never pour a self-leveler without a spiked roller to kill those pesky air bubbles that create weak spots. For cutting, I’ve stopped using generic utility knives and moved to specific blades to prevent fraying—it’s vital to know why you need a specific blade for cutting bamboo planks or high-density vinyl to keep those edges crisp and locked. These aren’t just gadgets; they are the difference between a floor that lasts and one that sheds its skin after six months.
Take Control of Your Flooring Future Today
You have the knowledge now to stop your flooring from falling apart at the seams. It can feel overwhelming to look at a peeling floor, but remember that every professional started with a single mistake and a desire to fix it. By focusing on the fundamentals like flooring installation fundamentals leveling for a seamless look, you are building a home that is as durable as it is beautiful. Don’t let a little delamination or a bad first experience stop you from creating the space you deserve. With the right prep, your flooring installation can easily last for decades. Have you ever pulled back a piece of old flooring and found a subfloor surprise you weren’t expecting? Let me know in the comments below!