
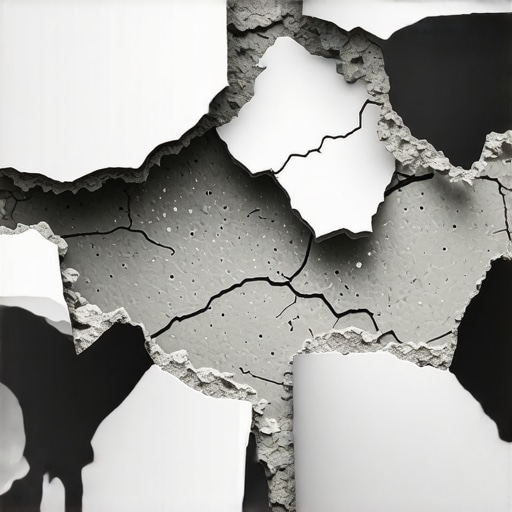
I stood there, coffee in hand, staring at a piece of my garage floor that was now stuck to my rear-left tire. It wasn’t just a flake. It was a thick, rubbery sheet of grey epoxy about the size of a dinner plate. If you’ve ever experienced that sinking feeling in your gut after spending a whole weekend on your knees prepping and painting, you know exactly what I’m talking about. You followed the box instructions, you waited for it to dry, and now it looks like your concrete is literally shedding its skin. This isn’t just an eyesore; it is a sign that the bond between your resin and the slab has completely failed.
The Day My Garage Floor Decided to Quit
It’s a nightmare. You think you did everything right, but epoxy is a jealous mistress. It demands absolute perfection from the surface beneath it. A few years ago, I made the classic rookie error: I assumed that because my concrete looked clean, it was ready for a coating. I skipped the heavy-duty grinding and just used a bit of acid etch. Big mistake. Within a month, I was dealing with the same peeling issues that plague commercial floors when they rush the prep work. The reality is that epoxy doesn’t soak into concrete like stain; it creates a mechanical bond. If there’s even a hint of oil, sealer, or moisture in the way, that bond is never going to happen. It is very similar to why floor levelers fail on top of old paint; the new layer is only as strong as the bond of the layer beneath it. If you are seeing sheets coming up, it is usually because the epoxy is holding onto itself better than it is holding onto your slab. Look at the back of the peeled piece; if it is smooth and shiny, you didn’t have enough profile. If it is dusty, your slab was too dirty.
Does DIY Epoxy Actually Work or Is It a Total Scam?
You might be wondering if those kits from the big-box stores are even worth the effort. I get it. The skepticism is real. The truth is, the kits can work, but they are incredibly unforgiving. Most people fail because they don’t account for invisible enemies like hydrostatic pressure. According to the American Concrete Institute (ACI), moisture vapor emission can actually create enough pressure to physically lift a non-breathable coating right off the surface. If you didn’t use the painters plastic trick to check for moisture before you started, you were essentially gambling with your hard-earned money. I want to help you stop the cycle of common flooring installation mistakes that lead to these heart-wrenching results. We are going to look at the three main culprits: poor profile, moisture intrusion, and chemical contamination. Have you ever pulled your car in after a rainstorm only to find the floor peeling exactly where the tires sat? If so, let me know—I have been through that exact headache, and I know we can fix it. [image_placeholder]
Stop Treating Your Slab Like a Countertop
Concrete might look solid, but it is actually a massive, rigid sponge. If you want epoxy to stay down, you have to treat it like you are trying to glue two pieces of wood together; you need a rough surface for the ‘teeth’ of the resin to bite into. This is called the Concrete Surface Profile (CSP). For most residential epoxy, you are aiming for a CSP-2 or CSP-3, which feels roughly like 60-grit sandpaper. I once tried to shortcut this by using a consumer-grade acid etch on a power-troweled garage floor. The acid just beaded up like water on a freshly waxed car. If the acid doesn’t sizzle like bacon in a pan, it isn’t doing anything. You must mechanically grind the surface to open those pores. If you skip this, you are just painting over a layer of ‘laitance’—that weak, milky layer of concrete dust on top. Learning the best way to prep a dusty concrete floor for adhesive is the same logic you apply here: if it’s dusty, it won’t stick.
The Acid Etch Lie We All Want to Believe
The kits at the store tell you that a little packet of citric acid is enough. It usually isn’t. Acid etching only works if the concrete is porous and completely free of sealers. If your floor has ever been sealed, the acid will just sit there. I remember a job in a small workshop where I spent four hours scrubbing acid, only to realize the previous owner had used a silane sealer. I ended up having to rent a diamond grinder anyway. Save yourself the double labor. Grinding is the only way to ensure you’ve removed old contaminants and opened the slab up for a deep bond. It is a similar principle to mastering floor leveling pro secrets for perfect installations; the foundation determines the finish. [image_placeholder_B]
Testing for Moisture Before You Mix Part A and B
You cannot see moisture vapor, but it is the number one reason floors fail. If you have moisture rising through the slab, it will eventually push the epoxy off in big, ugly bubbles. I use the painters plastic trick for testing concrete moisture on every single project. You tape a 24-inch square of clear plastic to the floor, seal the edges with duct tape, and wait 48 hours. If there’s condensation under the plastic or the concrete is darker, you have a moisture problem. In those cases, you can’t just use a standard kit; you need a moisture-mitigating primer. It’s the same caution you’d take when using a moisture meter before you lay wood floors. If the ground is wet, the floor will move.
Oil Is the Silent Killer of Your Mechanical Bond
Even if you grind the floor, a deep oil stain from an old leaky transmission can ruin your day. Oil soaks deep into the capillaries of the concrete. You can’t just wipe it; you have to draw it out. I’ve used everything from kitty litter to specialized degreasers. If you drop water on the spot and it beads up, the oil is still there. If you try to pour epoxy over that, it will ‘fish-eye’—the resin will literally pull away from the spot like it’s scared of it. This is why most floor levelers fail on top of painted concrete or oily spots; the bond is chemically impossible. Once the floor is clean and profiled, you must treat it like a surgical suite. No bare hands, no sweaty brow drips, and definitely no driving the lawnmower over it before the first coat goes down. If you need to fix divots first, make sure you know the secret to mixing the perfect bucket of self leveler every time so your patches are as strong as the slab itself.
The most dangerous myth in the flooring world is the idea that self-leveling underlayment is actually ‘self-leveling.’ People often treat it like water, assuming gravity will magically create a glass-flat surface. In my experience, that logic is the fastest way to ruin a thousand-dollar installation. If you don’t use a spiked roller to release surface tension and air, you’ll end up with a moonscape of tiny craters. This is exactly the roller selection that prevents air bubbles in leveler, and skipping it is a mistake that even some ‘pros’ make. You have to actively manage the product while it is in its liquid state, or you will find why your self-leveler is drying faster than you can pour it before you’ve even reached the doorway.
The Hidden Math of Subfloor Deflection
Another common trap is focusing purely on how flat the floor is while ignoring how much it moves. You can spend a week mastering floor leveling pro secrets for perfect installations, but if your subfloor has too much ‘bounce’ or deflection, that leveler is going to crack. The Tile Council of North America (TCNA) specifies that for natural stone, you need a deflection rating of L/720. If you pour a rigid material over a flexible joist system, you are essentially creating a giant sheet of brittle glass. This structural nuance is often why your self-leveler developed spiderweb cracks overnight. It wasn’t the product; it was the physics of the house. 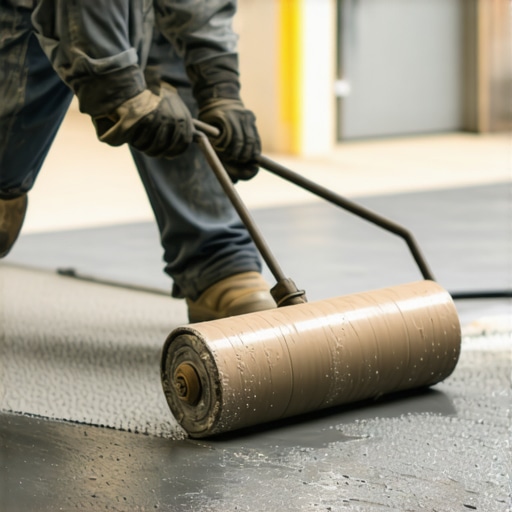
Why Does My Floor Still Feel Bouncy After Professional Leveling?
If you’ve leveled the floor and it still feels soft underfoot, you are likely dealing with a lack of vertical integrity. Often, installers forget that wide-format materials change the rules of engagement. For instance, why wide plank flooring needs both glue and nails is a matter of stability; without that secondary bond, the planks will flex independently of the subfloor. This creates that ‘clicking’ or ‘bouncing’ sensation that drives homeowners crazy. This is also why your lvp floor feels like its bouncing when you walk even if the slab looks flat. The floor is flat, but it isn’t solid. Have you ever fallen into this trap? Let me know in the comments.
Don’t Drown Your Mix
The most technical mistake I see is the ‘eye-balling’ of water ratios. People think adding an extra cup of water will help the flow. It actually destroys the chemistry. Excess water causes the polymers to separate from the cement, leading to a dusty, weak surface that peels off later. You must learn the secret to mixing the perfect bucket of self leveler every time if you want the product to perform as advertised. If you see a white, chalky film on top of your dried leveler, you’ve over-watered it, and no amount of primer will save that bond. This falls under the category of flooring installation mistakes to avoid for lasting results that can cost you your entire deposit.
Once you have conquered the chaos of prep work and successfully poured your leveler or laid your planks, you are not actually finished. The battle for a perfect floor just shifts into the maintenance phase. I have seen twenty-thousand-dollar installations ruined in six months because someone used a steam mop on a floor that wasn’t built for it. To avoid that heartache, you need to move past the ‘clean it with whatever is under the sink’ mentality and adopt a professional-grade strategy for longevity.
The Gear That Separates Pros from Amateurs
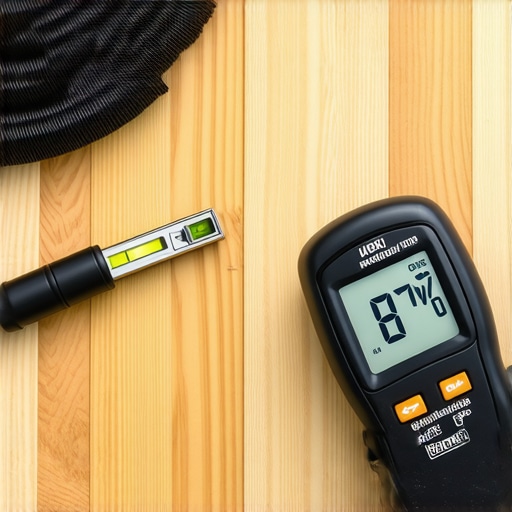
I don’t carry a massive trailer full of tools just to look the part; I carry them because specific results require specific physics. For example, I never start a wood project without my pinless moisture meter. According to the National Wood Flooring Association (NWFA) Technical Manual, the moisture content between your subfloor and your hardwood should be within 2% to 4% of each other. If you don’t know how to use a moisture meter before you lay wood floors, you are essentially flying a plane without an altimeter. I use it because it prevents the dreaded washboard effect where boards expand and contract unevenly.
Another non-negotiable in my kit is my HEPA-certified dust extraction system. Standard shop-vacs are great for sawdust, but they actually blow fine silica and wood flour back into the room through the exhaust. This fine dust settles into your wet finish or tile grout, creating a gritty texture that is impossible to clean later. I always use the vacuum attachment that actually picks up fine sawdust to ensure the surface is surgically clean before the first coat of poly or thinset hits the ground. It is the difference between a floor that looks ‘okay’ and one that looks like a mirror.
How do I keep my new floors looking pristine for decades?
Maintenance is where most homeowners lose the game. If you have hardwood, you need to master hardwood floor care secrets to longevity and shine, which starts with banning the mop and bucket. Excessive water is the enemy. I have been called to dozens of homes to investigate why your hardwood floor is crowning and how to dry it out, and 90% of the time, it was caused by over-zealous cleaning. For tile, the secret is all about the pH of your cleaner. I once saw a beautiful slate entryway destroyed because the owner used a vinegar-based solution; the vinegar mistake that eats through your natural stone tiles is a chemical reaction that can’t be reversed. If you see your finish getting hazy, check your products immediately, as that is often why your hardwood floor turned cloudy after cleaning.
Why Smart Sensors Will Replace Traditional Underlayments
I predict that in the next five years, we will stop talking about ‘dumb’ floors and start talking about ‘smart’ subfloors. We are already seeing the emergence of underlayments with integrated moisture sensors that send an alert to your phone if a pipe leaks behind a wall before the water ruins your floor. This kind of tech will make precise floor leveling techniques to achieve flawless surfaces even more critical, as these sensors require perfectly flat contact to work. I strongly suggest you stop guessing and start measuring; go out and buy a basic moisture meter before your next project. It is the cheapest insurance policy you will ever own.
What the Garage Floor Taught Me About Cutting Corners
After decades of getting my hands dirty, I’ve realized that the most expensive floor is the one you have to do twice. If I could go back and talk to my younger self, I’d emphasize that moisture is a silent assassin; just because the slab looks dry doesn’t mean it isn’t breathing out vapor that will destroy your bond. I also learned that if you aren’t sweating during the prep phase, you aren’t doing it right. Real flooring installation and leveling success comes from the work nobody sees—the grinding, the vacuuming, and the tedious moisture testing. Finally, trust your gut: if the self-leveler feels too thick or the acid doesn’t sizzle, stop immediately before you waste a thousand dollars in materials.
The Gear That Keeps My Installations From Failing
I don’t rely on luck; I rely on physics and the right tools. To avoid the heartbreak of a failed bond, I always keep a few non-negotiables in my truck. First is a high-quality diamond grinder—etching is for amateurs, but grinding is for pros. Second, I never mix a bag without a dedicated measuring bucket for water to ensure I’m using precise floor leveling techniques to achieve flawless surfaces. I also highly recommend checking out the TCNA (Tile Council of North America) handbook; it’s the ‘bible’ of the industry and explains why specific substrates require specific thinsets. For those focusing on wood, mastering hardwood floor care secrets to longevity and shine starts with using the right moisture barriers during the initial layout.
Stop Fearing the Slab and Start Prepping Like a Pro
It is easy to feel overwhelmed by the chemistry of epoxy or the physics of floor leveling, but remember that every pro started with a peeling floor and a lesson learned. Your garage, kitchen, or basement is a blank canvas, and with the right ultimate guide to floor leveling for a perfect finish, you can achieve a result that lasts a lifetime. Don’t let a bad experience with a big-box kit scare you away from a professional-grade finish. Take your time, respect the moisture, and never underestimate the power of a clean, rough surface. Your future self—and your car tires—will thank you for the extra effort you put in today.
Have you ever had an epoxy floor peel up in giant sheets, or did you catch a moisture problem before it was too late? Let me know your biggest flooring horror stories in the comments below!