
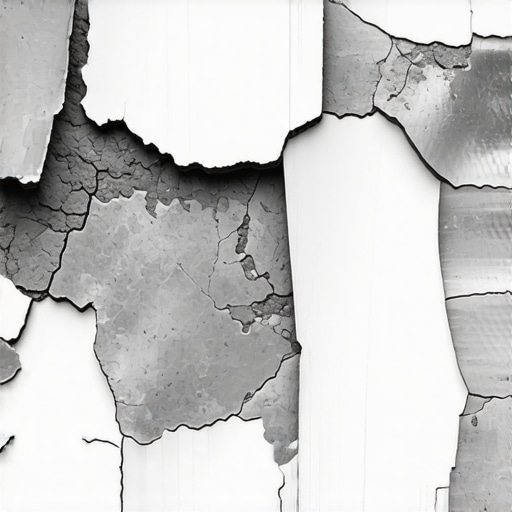
I still remember the sinking feeling in my gut when I walked back into that 5,000-square-foot warehouse three months after I thought I’d nailed the job. The client didn’t say a word; he just pointed at a section near the loading dock. A piece of gray epoxy, roughly the size of a pizza box, was curling upward like a piece of burnt toast. I reached down, gave it a little tug, and a whole sheet just zipped right off the concrete. It was devastating. I’d spent weeks obsessing over the color and the finish, yet I’d completely ignored the invisible physics happening beneath the surface. If you have ever stood over a floor you poured your heart (and budget) into, only to see it bubble and flake away, you know it’s enough to make you want to hang up your trowel for good. Today, I am going to walk you through exactly why this happens and how to ensure your next project sticks like it’s part of the slab itself.
Stop the Peeling Before You Even Open the Resin
It is tempting to think that a ‘clean’ floor is a ‘ready’ floor, but that is the biggest lie in the industry. Early in my career, I figured a good sweep and a quick mop were enough to prep for an epoxy coating. I was wrong. The reality is that concrete is a breathing, sweating organism. If you don’t account for what is coming up from the ground, your expensive coating is just a temporary lid on a pressure cooker. This is a common theme whether you are dealing with resinous coatings or even traditional flooring installation mistakes to avoid for lasting results. The bond is only as good as the profile of the concrete. I learned the hard way that skipping the concrete etching step you shouldn’t skip before leveling or coating is a recipe for total failure. According to the American Concrete Institute, moisture vapor emission is the leading cause of floor coating delamination, often exerting enough pressure to physically lift the polymer right off the substrate.
Is Commercial Epoxy Actually Worth the Hassle?
You might be sitting there thinking, ‘If it’s this finicky, should I just stick to polished concrete or tile?’ It is a fair question. Epoxy is incredibly durable, but it’s also unforgiving. When I messed up that warehouse floor, it wasn’t because epoxy is a bad product; it was because I didn’t respect the prep. Much like why your self-leveler didn’t bond to the wood subfloor in residential jobs, the issue is almost always a lack of mechanical ‘teeth’ for the material to grab onto. To fix my mistake, I had to learn the painters plastic trick for testing concrete moisture to see if the slab was even ready for a seal. Have you ever had a floor fail on you right after the warranty expired? It’s a lonely feeling, isn’t it? Let’s dive into the mechanical prep that actually keeps the floor down for a decade instead of a week.
Turn Your Concrete Into Sandpaper
To get a bond that survives hot tires and heavy machinery, you must open the ‘pores’ of the concrete. Think of a smooth concrete slab like a sheet of glass; if you pour water on it, the water just sits there. If you want epoxy to grab, you need that surface to feel like 80-grit sandpaper. This is where most DIYers and even some pros fail. They rely on acid etching because it is cheap and easy, but the concrete etching step you shouldn’t skip before leveling or coating is often insufficient for dense, power-troweled slabs. You need mechanical abrasion. I remember a garage project where I tried to save money by using a handheld angle grinder because the big rental unit was out of stock. By the end of the day, my knees were shot, and I had left ‘islands’ of smooth concrete everywhere. Predictably, six months later, those smooth spots were exactly where the epoxy started to flake. Now, I never start a job without a heavy-duty planetary diamond grinder. It is the only way to ensure a uniform Concrete Surface Profile (CSP) of 2 or 3, which is the industry standard for thin-film coatings. 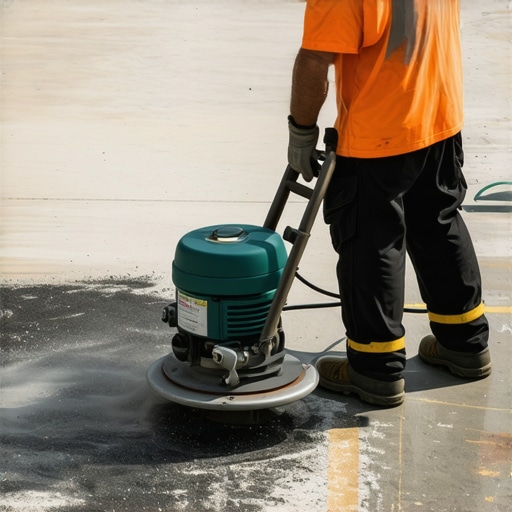
Stop Moisture from Ruining the Job
Even if the floor looks bone dry, it probably isn’t. Concrete is porous, and moisture is constantly migrating from the soil up through the slab. If you seal that moisture in with epoxy, the vapor pressure will eventually blow the coating off. I always use the painters plastic trick for testing concrete moisture by taping 2×2 foot squares of clear poly to the floor for 24 hours. If there is condensation under that plastic the next day, you are looking at a disaster in the making. This is a critical part of mastering floor leveling pro secrets for perfect installations. You cannot fight physics; you have to accommodate it with a moisture vapor barrier if the readings are too high.
Keep the Air Out of Your Resin
Once the prep is done, the way you handle the material determines the final look. Mixing epoxy is not like mixing paint. If you whip it too fast, you introduce micro-bubbles that will turn into ‘pinholes’ as the coating cures. Just like the mixing paddle speed that ruins your leveling compound, high-speed drills are your enemy here. You want a slow, steady churn that folds the resin and hardener together without sucking in air.
Use the Right Tools to Smooth the Surface
When you finally pour that ribbon of resin onto the floor, do not just push it around with a squeegee and hope for the best. To get that glass-like finish, you need to use a spiked roller. Much like the spiky roller secret for a mirror-smooth pour when working with self-leveling underlayment, this tool breaks the surface tension and releases any trapped air. Without it, you will end up with a cratered surface that looks like the moon. Getting this right is as essential as following the ultimate guide to floor leveling for a perfect finish. It is the difference between a floor that looks like it was just painted and one that looks like a custom industrial installation.People always tell you to grab a level and start pouring compound until the bubble is centered. But here is the truth that separates the pros from the weekend warriors: a floor can be perfectly level and still be a complete disaster for your installation. In my experience, flatness trumps levelness every single day of the week. While a ‘level’ floor is parallel to the horizon, a ‘flat’ floor lacks the humps and dips that snap the tongues off your hardwood or cause your tiles to ‘lippage’—that annoying height difference between tile edges. When I first started, I obsessed over the pitch of the room, but I ignored the tiny 1/8-inch dips. I quickly learned that the secret to getting a flat floor for large format tiles isn’t about the volume of the pour, but the precision of the screed. 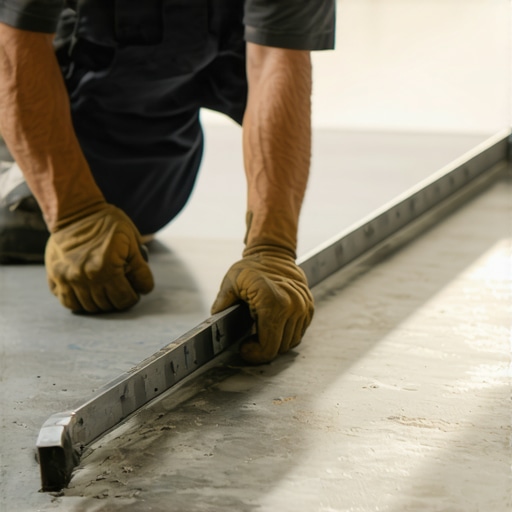
Don’t Use Thinset to Fix a Bad Subfloor
A common trap I see is the ‘butter-it-thick’ mentality. You find a low spot and think, ‘I will just add an extra half-inch of mortar under this tile to bring it up.’ This is a massive mistake. Mortar (thinset) is designed to be a bond, not a structural filler. As thinset cures, it shrinks. If one area has twice as much mortar as the next, it will pull the tile down at a different rate, leaving you with a jagged, uneven surface the next morning. This is one of the most frequent flooring installation mistakes to avoid for lasting results. According to the National Tile Contractors Association (NTCA), the substrate for large format tiles must be flat within 1/8 of an inch over a 10-foot span. If you exceed that, the physics of evaporation and tension will ruin your layout every time.
Why Does My Large Format Tile Still Have Lippage?
Even with a flat floor, you might notice your tiles don’t sit flush. This is often due to ‘bowing’ inherent in the manufacturing of large porcelain planks. Because these tiles are fired in a kiln, they often have a slight crown in the center. If you offset them by 50% (the classic brick pattern), you are putting the highest point of one tile next to the lowest point of another. To combat this, always aim for a 33% offset or use a mechanical leveling system. I’ve seen beautiful projects ruined because someone ignored the secret to installing large format tile without lippage.
The Ghost in the Subfloor
If you are moving away from tile and toward resilient flooring, you have to watch out for ‘telegraphing.’ I remember a high-end luxury vinyl plank (LVP) job where the client called me back because they could ‘see the plywood seams’ through the floor. It looked like a ghost was rising through the planks. This happened because LVP is flexible; it eventually drapes itself over every imperfection in the subfloor. If you don’t use precise floor leveling techniques to achieve flawless surfaces, those seams will haunt you. This is precisely why your lvp floor is showing telegraphing from the subfloor—the material is just too thin to hide your prep sins. Have you ever fallen into this trap and had a floor reveal all your secrets months later? Let me know in the comments.
Why I Never Trust My Eyes Without a Moisture Meter
I have seen twenty thousand dollars worth of select-grade white oak turn into a wavy, cupped mess simply because the installer ‘felt’ the subfloor was dry enough. Don’t be that person. I personally carry a pin-less moisture meter in my back pocket like a smartphone; it is the only way to verify if the substrate is truly ready. If you are preparing to install, learning how to use a moisture meter before you lay wood floors is the single most important skill you can acquire. According to the National Wood Flooring Association (NWFA) Technical Publication A100, the moisture content between a wood subfloor and the hardwood planks should never differ by more than 4% for strip flooring. Anything more, and you are basically inviting the wood to warp as it reaches equilibrium. 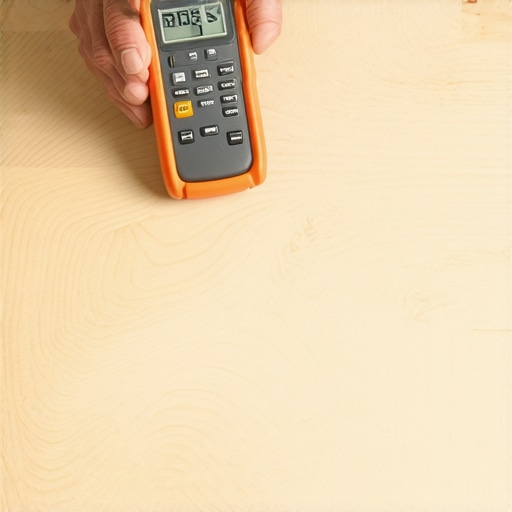
Stop Scrubbing the Life Out of Your Wood
Once the floor is down and looking beautiful, the real battle begins: maintenance. Most homeowners—and even some ‘pro’ cleaners—kill their floors with kindness. They use steam mops or harsh chemicals that eat through the finish. If you have ever wondered why your hardwood floor turned cloudy after cleaning, it is likely because you are leaving a soapy residue that traps dirt instead of removing it. I always tell my clients to stick to a pH-neutral cleaner and a barely damp microfiber pad. This is the core of hardwood floor care secrets to longevity and shine. You want to preserve that factory seal for as long as possible before you have to consider the dust-free move for hardwood floor refinishing in Kansas City style projects.
How do I maintain these high-end finishes over time?
Consistency is more important than intensity. Instead of a deep clean once a month, a light dust-mop every two days prevents the ‘sandpaper effect’ where grit on your shoes slowly grinds down the polyurethane. If you have utilized precise floor leveling techniques to achieve flawless surfaces, the maintenance is actually easier because there are no ‘high spots’ for the vacuum or mop to catch on and abrade. Looking ahead, I predict we will see the rise of ‘smart’ subfloors with embedded sensors that alert your phone if a leak occurs under your expensive planks before the wood even begins to swell. This technology is already in beta for commercial high-rises, and it is going to change the residential game entirely. My challenge to you: Before you lay your next row of tile or plank, buy a high-quality moisture meter and take ten readings across the room. It might just save your reputation.
I have spent over a decade chasing the perfect finish, and if there is one thing I have learned, it is that the floor does not care about your schedule. It only cares about the physics of the bond. Whether you are dealing with a commercial epoxy pour or a residential tile layout, the success of your project is decided long before the first bucket of resin is opened or the first plank is snapped into place.
What 15 Years of Ripping Up Floors Taught Me
The hardest lesson I ever learned was that ‘good enough’ is a lie we tell ourselves to save time. Early in my career, I ignored minor dips in the slab, thinking the adhesive would fill the void. It never does. Here are the lightbulb moments that changed my approach forever: First, never trust a slab that looks dry. Concrete is a moisture magnet, and skipping the test is just gambling with your reputation. Second, flatness is more important than levelness for 90% of installations. You can live with a slight slope, but you cannot live with a tile that trips you every time you walk by. Finally, speed is the enemy of quality. If you find yourself rushing to beat the ‘pot life’ of your material, you haven’t planned your layout well enough. Following a step-by-step guide to flooring installation and leveling success is not just for beginners; it is the safety net that prevents five-figure mistakes.
The Gear I Actually Pack in My Truck
I do not get paid by tool companies, but I trust these items because they have saved my skin on more than one occasion. A high-quality moisture meter is non-negotiable. I use it on every single job because knowing how to use a moisture meter before you lay wood floors is the difference between a floor that lasts and one that cups within six months. I also swear by a heavy-duty spiky roller for any liquid pour. It seems like a simple tool, but the spiky roller secret for a mirror-smooth pour is the only way to ensure you don’t end up with tiny air bubbles ruining your finish. Lastly, never underestimate the power of a long, professional-grade straight edge. If you aren’t checking for flatness every three feet, you are flying blind.
Your Slab Is a Blank Canvas
At the end of the day, flooring is as much about the discipline of the prep as it is about the beauty of the finish. It is easy to get overwhelmed by the chemical ratios and the mechanical grinding, but remember that you are building something meant to last for generations. When you take the time to respect the flooring installation fundamentals leveling for a seamless look, you are not just laying a floor; you are creating a foundation for a home or a business. Don’t be afraid of the technical details. Embrace the prep, trust your tools, and the results will speak for themselves. What is the one flooring mistake that still keeps you up at night? Let me know in the comments below.