
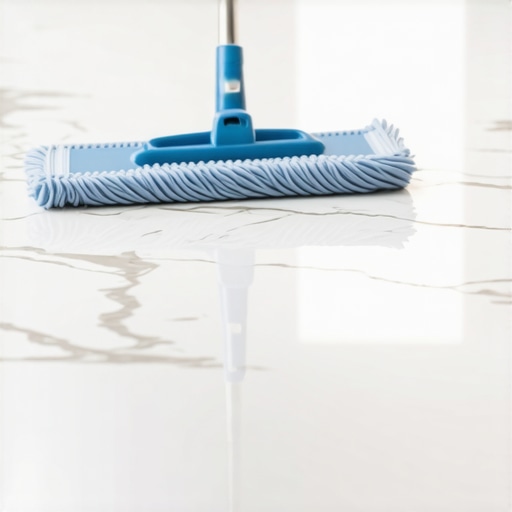
I still cringe when I think about my first “big break” in a high-end remodel back in the early days. I’d just finished laying three hundred square feet of gorgeous, honed travertine. It looked like a Mediterranean palace, all warm tones and soft edges. I was so proud of my craftsmanship. Two weeks later, the homeowner called me, sounding absolutely frantic. That beautiful, buttery glow was gone, replaced by a “fuzzy” and dull film that made the whole room look dingy. I realized right then that I’d given her the worst advice possible: “Just use a standard string mop and some dish soap.” I was a pro at the physical labor, but I was a total amateur at the chemistry of maintenance. I learned the hard way that flooring installation mistakes to avoid for lasting results include everything that happens after the thinset cures and the tools are packed away.
Stop Treating Your Stone Like a Kitchen Tile
Natural stone isn’t like your typical ceramic or porcelain; it’s a living, breathing material with a unique personality—and a very long memory. When you drag a heavy, saturated cotton mop across a slab of marble, slate, or limestone, you aren’t just moving dirt around. You are pushing microscopic particles of debris and dirty water deep into the natural pores of the rock. Most people assume that if a mop works on a piece of linoleum or a cheap laminate, it’ll work just fine on granite. It simply won’t. In fact, those old-school standard mops are often the primary culprit behind “ghosting” and that permanent, hazy dullness that drives homeowners crazy.
Is “Stone-Safe” Cleaner Actually Worth the Extra Cash?
You might be skeptical about this—I certainly was when I first started. I used to think it was just a clever marketing gimmick designed to get you to buy overpriced bottles of specialized soap. But here is the cold, hard reality: your standard mop often carries residues from previous cleaners that are far too acidic for natural materials. Knowing why you should never use acid-based cleaners on natural stone is a lesson your floor will eventually teach you through permanent, irreversible etching. According to the Natural Stone Institute, even a slightly acidic spill or a pH-unbalanced cleaner can create a chemical reaction that eats away the calcium carbonate in stones like marble, travertine, and limestone. This isn’t just a surface stain; it’s a structural change to the rock itself that no amount of scrubbing will fix.
The Hidden Danger of the Traditional Dirty Mop Bucket
Think about the physics of how a standard mop works. You dip it in a bucket of water, swish it on the floor, and then dip it back into the same bucket. Within minutes, you’re essentially washing your floor with “stone soup”—a gritty, abrasive mixture of everything you just picked up from the hallway. On a polished or honed surface, that microscopic grit acts exactly like sandpaper, slowly grinding away the finish every single time you clean. It’s why hardwood floor care secrets to longevity and shine place such a high emphasis on removing grit before it can do damage, and natural stone requires that same level of respect. Have you ever noticed your grout lines turning a nasty, muddy gray even though you “mop” every single weekend? That’s the standard mop depositing liquid dirt right into the lowest points of the floor. Have you ever finished a two-hour mopping session only to find your stone floors look streakier and worse than when you started? Tell me about your biggest cleaning frustration or that one mystery stain you can’t get rid of in the comments below. We’re going to fix those streaks once and for all, starting with throwing that old bucket away. Next, we will dive into the specific microfiber tools and pH-neutral solutions that actually protect your investment and keep it looking like the day it was installed.Switch to a flat-head microfiber mop system immediately. Unlike the heavy cotton strands that hold onto dirty water like a sponge, microfiber pads use millions of tiny hooks to grab dust and hair without needing a gallon of water to do it. Think of it like using a high-precision scalpel instead of a sledgehammer. When I first made the switch for my own projects, I noticed the step-by-step guide to flooring installation isn’t complete until you have the right post-care kit. I once spent four hours hand-scrubbing a slate floor only to realize a dry microfiber sweep would have picked up the ‘haze’ in ten minutes. 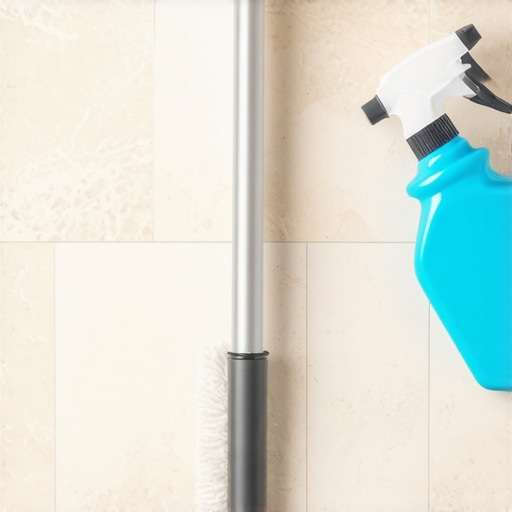
Grab the Dust Before the Water Hits the Floor
This is the most skipped step in residential cleaning. You must dry-mop or vacuum using a hard-floor setting before you even think about getting the floor wet. If you apply water to a dusty stone floor, you are essentially creating a thin layer of liquid mud. That mud settles into the natural divots of the stone and the grout lines. I’ve seen beautiful projects where the homeowner followed all the tile installation pointers that save time and money, only to end up with permanently darkened grout because they mopped wet first.
Master the Damp Spray Technique
Instead of the bucket, use a fine-mist spray bottle filled with a pH-neutral cleaner. Work in small sections, roughly four by four feet. Spray a light mist and then glide your microfiber pad over the area. This prevents water from pooling in the low spots, which is a common issue if you didn’t achieve flawless floor leveling before tile laying. If the pad looks dirty, swap it for a fresh one. You might go through several pads for a large room, but your stone will actually be clean, not just wiped.
Dealing with the Inevitable Spills
When a glass of wine or a splash of orange juice hits the floor, your instinct is to wipe it up with a circular motion. Stop. You are just spreading the acid over a larger surface area. Blot the spill with a clean paper towel, then neutralize the area with your stone-safe spray. Even if you’ve followed the flooring installation fundamentals to a tee, a single acidic spill can ruin the surface. I remember a client who tried to scrub a coffee stain off a travertine tile and ended up with a dull, white ring twice the size of the original drop. If you catch it early and blot, you save yourself a massive headache.
Check Your Grout for Trapped Grime
If your stone looks okay but the floor feels off, look at the grout. Grout is the valley of your flooring landscape. If you haven’t used the wet rag trick for cleaning up wet grout haze during the initial install, you might have a buildup of residue that attracts dirt like a magnet. Use a soft-bristled brush with your neutral cleaner to gently agitate those lines once a month. This keeps the frame of your stone tiles looking as sharp as the day the spacers were pulled out.Let’s dig deeper into why your prep work might still fail even if you follow the instructions on the bag. Everyone tells you that self-leveling underlayment is the “set it and forget it” solution for a bumpy subfloor, but that is a dangerous oversimplification. In my experience, “self-leveling” is a bit of a misnomer; if you do not use a spiked roller or a gauge rake to help it along, you will likely end up with “self-lumping” instead. I have seen countless DIYers wonder why your self-leveler is bubbling over plywood when they didn’t prime the surface correctly. It is not just about pouring; it is about the chemistry of the bond. Using precise floor leveling techniques to achieve flawless surfaces requires understanding that the ambient temperature and humidity of the room change how that material flows. If the room is too hot, the reason your leveler is setting up too fast will be your undoing, leaving you with ridges that are harder to sand than the original subfloor. 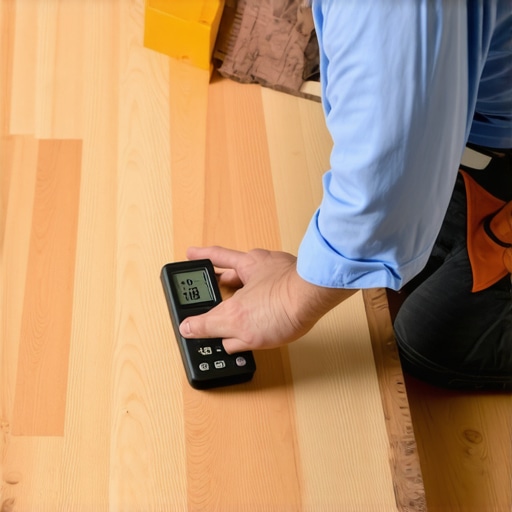
The Acclimation Myth That Costs Thousands
One of the biggest traps in the industry is the standard “72-hour rule” for hardwood. People think if the wood sits in the house for three days, it is ready to be nailed down. That is a recipe for disaster. According to the National Wood Flooring Association (NWFA), wood is not ready when a clock says it is; it is ready when it reaches “equilibrium moisture content” with its unique environment. If you ignore this, you will deal with crowning or gaps that no amount of wood filler can hide. You absolutely must learn how to use a moisture meter before installing wood floors to ensure the planks are within a few percentage points of the subfloor’s moisture level. I have walked into multi-million dollar homes where the floors were buckling because a “pro” didn’t wait for the moisture levels to stabilize. Have you ever fallen into this trap? Let me know in the comments.
Is Your Moisture Meter Giving You a False Sense of Security?
Many folks buy a cheap pin-less meter and assume the number on the screen is gospel. However, those meters can be fooled by surface moisture or even the specific density of the wood species. This is where mastering floor leveling pro secrets for perfect installations meets the hard science of wood. You need to test multiple spots across the layout, not just the center of the room. Finally, let’s talk about the “whip it good” mistake with grout. Using a high-speed drill to mix your grout is the fastest way to ruin a high-end tile job. It whips air into the mixture, creating microscopic bubbles that eventually pop, leaving you with pinholes and weak, sandy joints. Learning the correct way to mix grout so it doesn’t change color often means putting down the power tools and doing it by hand to ensure a dense, durable finish. If you are struggling with air pockets, try how to mix grout by hand without getting air bubbles to see the massive difference it makes in the final aesthetic.I see it every single week on Instagram: someone using a ‘deep clean’ steam mop on their brand new luxury vinyl or hardwood. It looks satisfying on camera, but as a pro, it makes my stomach turn. You have to realize that why you should never use a steam mop on click lock floors comes down to the high-pressure moisture forcing its way into the core. It is the fastest way to turn a five-thousand-dollar investment into a warped, buckled mess within eighteen months.
Why Your Steam Mop is Actually a Water Damage Machine
Most people think the heat is ‘sanitizing,’ but what they are really doing is delaminating the factory-applied finish. If you want to revamp your home with expert flooring installation tips, you have to start with the mindset that water is the enemy. For hardwood, I personally follow the technical guidelines from Bona, which emphasize that a barely-damp microfiber is all you need. If you see standing water for more than five seconds, you are doing it wrong.
The One Tool That Actually Saves a Concrete Subfloor
Before you even get to the pretty stuff, you have to deal with the ugly reality of old adhesive. I used to spend days with a dull putty knife until I discovered the heavy-duty long-handled floor scraper with replaceable four-inch blades. Using the best tool for scraping glue off a concrete slab isn’t just about speed; it’s about getting the surface flat enough so your leveler doesn’t have to work overtime. Any leftover ‘gunk’ can react chemically with new thinset, leading to a bond failure. 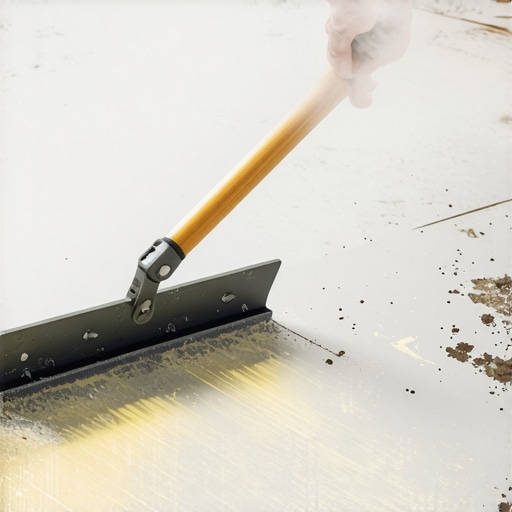
How do I maintain my flooring for the next decade?
It starts with the air. I tell my clients that a floor is only as stable as the humidity in the room. During the winter, the air gets dry and your wood shrinks; in the summer, it swells. To prevent the ‘click-clack’ sound of a failing floor, I always use the quarter trick for checking expansion gaps in luxury vinyl floors during the install. If those gaps are too tight, the floor has nowhere to go but up. Also, stop neglecting your cleanup. Dust is essentially microscopic sandpaper. I highly recommend using the vacuum attachment that actually picks up fine sawdust rather than a broom, which just lofts the abrasive particles back into the air to settle later.
Stop the Threshold Breakage Before It Starts
The most common repair call I get is for a cracked or wobbly transition strip. If you want to know why your thresholds are always the first thing to break, it is usually because they were glued down as an afterthought rather than mechanically fastened or set into a proper channel. According to the TCNA (Tile Council of North America) Handbook, movement joints and transitions are not optional; they are structural requirements. Looking ahead, I predict we will see more ‘smart subfloors’ with built-in moisture sensors that alert your phone if a pipe leaks under the floorboards before the wood even starts to cup. For now, your best defense is a high-quality moisture meter. Go ahead and grab a professional-grade pinless moisture meter this weekend and scan your subfloor before your next project; you might be surprised by what’s hiding under there.
Three Secrets I Learned the Hard Way About Forever Floors
After years in the trade, the biggest ‘lightbulb moment’ I had wasn’t about a tool, but a philosophy: stop fighting the material. When you try to force a floor to behave against its nature—like skipping acclimation or using the wrong cleaner—you are playing a losing game. Here are a few reflections from my time on the knee pads:
- The ‘Good Enough’ Trap: I’ve seen more flooring installation failures from ‘good enough’ subfloors than from bad tile. If it’s not flat, the finish will never look right.
- Chemistry Trumps Effort: You can scrub for hours, but if you’re using the wrong pH, you’re just damaging the surface.
- Patience is a Tool: Whether it’s waiting for the moisture meter to hit the right number or letting the leveler sit for those extra minutes, the best results come from the clock, not the hammer.
By keeping these in mind, you can revamp your home with expert flooring installation tips that actually stick for years.
The Gear That Never Leaves My Truck
I don’t get paid to promote these, but these are the items I trust with my reputation. First, always keep a high-quality, pH-neutral stone and wood cleaner on hand; it’s the only way to avoid the flooring installation mistakes to avoid for lasting results that haunt so many DIYers. Second, a pinless moisture meter is non-negotiable for anyone touching wood. Third, if you’re dealing with uneven surfaces, learn the secret to mixing the perfect bucket of self-leveler every time to master your floor leveling and save yourself a world of sanding later. I also highly recommend keeping a copy of the TCNA Handbook or NWFA guidelines nearby—it’s the ‘bible’ of our industry and has saved me from expensive errors more times than I can count.
Your Floor is the Foundation of Your Home
Stepping back and looking at a finished room where the hardwood floors shine or the tile lines are perfectly straight is one of the most rewarding feelings there is. It’s about more than just aesthetics; it’s about creating a space that feels solid and cared for. Don’t let the technical details intimidate you. If you focus on the fundamentals and respect the materials, your flooring installation will stand the test of time. Remember, the goal is a home that looks as good in ten years as it does today. You now have the knowledge to how to keep your hardwood floors from gapping in the winter and maintain that pristine look. I’m excited to see what you build. Have you ever discovered a ‘shortcut’ that actually ended up costing you more time in the long run? Let me know in the comments below!