
I still remember the sinking feeling in my stomach when I laid down my first long-plank tile. I pressed it into the fresh thinset, stood back, and there it was—a massive, ugly lip. My heart sank. I had spent hours prepping, yet my subfloor was secretly a rolling landscape of dips and valleys. It was a classic rookie mistake, and it ended up costing me both time and expensive materials. If you have ever walked across a finished room only to feel a bouncy dip under your feet, or worse, heard the dreadful squeak of popping joints, you know exactly what I am talking about.
Subfloor prep is the single most ignored phase of any renovation, yet it dictates the entire life of your flooring. Today, we are going to fix that. I am going to share the incredibly simple laser level trick that transformed how I prep my surfaces, ensuring you get a dead-flat substrate every single time without the guesswork.
The Costly Mistake of Trusting Your Eyeballs
I used to think a standard six-foot bubble level was enough. It is not. Traditional levels only show you what is happening directly beneath them, completely missing the broader slopes across a large room. Early in my career, I tried to bypass deep measurements and just poured self-leveling compound, hoping gravity would do my job for me. The result? A disastrous mess because I did not realize why your self-leveler didn’t flow into the low spots, leaving me with high mounds and the exact same valleys I started with.
According to research by the National Wood Flooring Association, over 90% of premature flooring failures—including separated click-lock joints and cracked grout—are directly traced back to subfloor flatness issues that exceeded the standard tolerance of 3/16 of an inch over a 10-foot span. When your subfloor is uneven, your finished floor flexes under foot traffic. Over time, that constant bending breaks the locking tongues or snaps the tile bond. Trust me, spending an hour mapping your floor now saves you a week of tear-out work later.
Is this laser level trick actually worth the extra setup time?
Absolutely, and here is why. It turns an invisible problem into a highly visible, glowing red or green line that does not lie. Instead of crawling on your knees with a metal straightedge, you let light do the work. By setting up a rotary or 360-degree cross-line laser on a stable tripod, you project a perfectly level datum plane across your entire room. All you need is a simple hand target or a ruler to measure down from that beam to the floor at various grid points. The differences in your measurements tell you exactly where your high spots need to be ground down and where your low spots need to be filled. It takes less than fifteen minutes to set up, but it gives you a flawless roadmap before you ever open a bag of thinset or underlayment.
Before you get started on your next project, you should also learn how to measure subfloor flatness using traditional methods to combine with your laser work, ensuring absolute accuracy. If you are prepping specifically for ceramic or stone, mastering precise floor leveling techniques is your ticket to a professional finish that lasts decades.
Have you ever laid down a beautiful new floor only to find a bouncy spot or a frustrating squeak a few weeks later? I would love to hear about your leveling battles in the comments below!
How to Turn Your Laser Level into a Subfloor Blueprint
Think of your laser level as an invisible, perfectly flat table suspended in the middle of your room. The space between this glowing light beam and your wavy subfloor will shrink and expand. Where the distance is short, you have a high spot that needs grinding. Where the distance is long, you have a valley waiting to swallow your expensive thinset or underlayment.
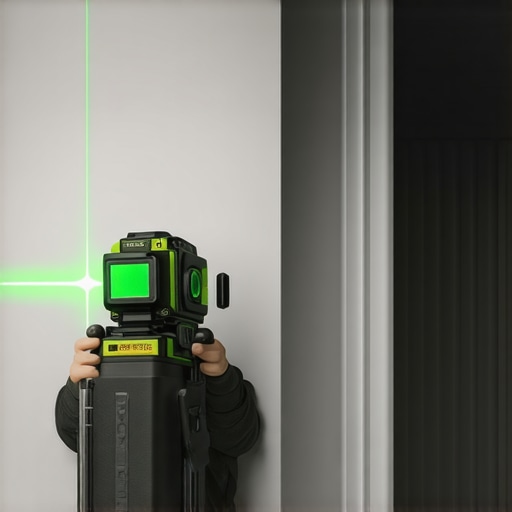
To get started, you need a 360-degree self-leveling laser, a tape measure, some painter’s tape, and a sharp pencil. Place the laser on a stable tripod in the center of the room. Adjust it so the beam shines about two to three inches above the highest visible point of the floor. If your tripod is unstable, every footstep you take will send the laser line bouncing, completely ruining your measurements.
Establish Your Measurement Grid
Do not just measure random spots. I made that mistake on a kitchen remodel in 2021, and I missed a massive dip right in front of the refrigerator because my grid was too loose. Draw a grid directly on your subfloor with your pencil, spacing your lines exactly two feet apart in both directions.
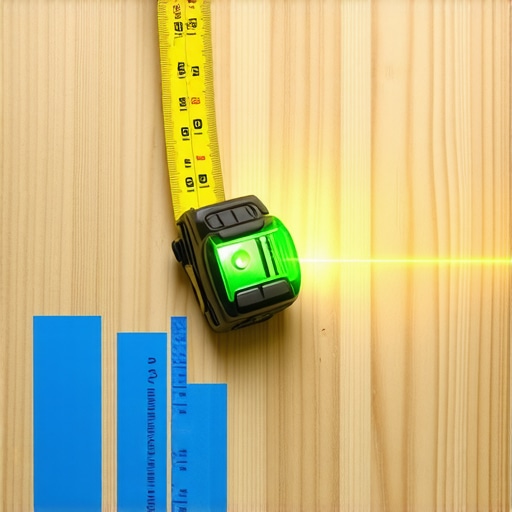
At every intersection of your grid, place a small piece of painter’s tape. This gives you a clean surface to write your measurements directly on the floor. Take your tape measure, stand it vertically on the first intersection, and read exactly where the laser line hits the tape. If the line hits the 2.5-inch mark, write “2.5” on that tape square. Move to the next intersection and repeat. If the next spot reads 2.75 inches, you just found a quarter-inch valley. For those working over wood, you can use the shim trick for fixing a bouncy plywood subfloor if you notice these low areas also happen to flex under your weight.
Map the High and Low Zones
Once your grid is completely written out, take a step back and look at the numbers. To make this visual, I like to highlight my lowest numbers (which represent high spots) with a red marker and my highest numbers (which represent low spots) with a blue marker.
This color-coded map tells you your exact battle plan. If you are preparing for a gorgeous wood layout, mastering these heights is crucial, especially when you are looking to transform your space with expert hardwood floor tile combinations where the transition must be absolutely flush. If you skip this mapping phase, you risk facing major floor leveling challenges, which often lead to click-lock joints separating or tiles cracking later on.
Prep the Surface Before You Pour or Grind
Now that your map is drawn, you must address the specific zones before applying any materials. If you have high spots on a concrete slab, a diamond cup wheel on an angle grinder will shave them down quickly. Always wear a respirator and use a dust shroud vacuum attachment—concrete dust is incredibly invasive.
If you are dealing with wood subfloors and plan to pour self-leveling compound to fix the low spots, you must seal every single gap. Self-leveler has the consistency of water and will find any crack to run straight through to the ceiling below. Take time to learn how to stop your floor leveler from leaking through the subfloor using silicone caulk or weatherstripping tape around the room perimeter and heating vents. Only after your substrate is sealed and primed with the correct latex primer should you mix your leveling compound to a glass-smooth finish.
The Self-Leveling Gravity Myth That Costs Thousands
Many DIYers and even some seasoned contractors fall into the comfortable trap of thinking that self-leveling compound acts exactly like water. They believe you can simply dump it onto a rough subfloor, and gravity will effortlessly create a perfectly flat plane. This is a costly illusion. In reality, self-leveler is highly viscous and starts its chemical curing process the moment water hits the powder. If you rely solely on gravity, you will end up with high mounds and the exact same valleys you started with because the material stiffens before it can fully migrate. Industry experts at the National Wood Flooring Association point out that failure to manually help the material flow is a primary cause of subsurface voids. To combat this, you need to actively guide the pour using specialized tools, which is why learning how to use a spiked roller for the perfect leveling pour is so critical to breaking the surface tension and releasing trapped air.
Why does your self-leveler keep cracking and peeling off the substrate?
This is the ultimate ‘oops’ factor in subfloor preparation. Many people assume that as long as the concrete or plywood underneath is swept clean, the new leveling compound will stick. It won’t. Unprimed substrates act like giant sponges, sucking the moisture out of your wet leveler before it has a chance to properly cure. This rapid moisture loss ruins the chemical bond, leading to a hollow-sounding floor that eventually tenters and cracks under pressure. You must seal the porosity of your substrate. Utilizing the best primer for installing leveler over plywood creates an acrylic barrier that prevents this water loss and guarantees a tenacious mechanical bond. Skipping this single step is the most common reason why your self-leveler is pulling away from the concrete or wood below.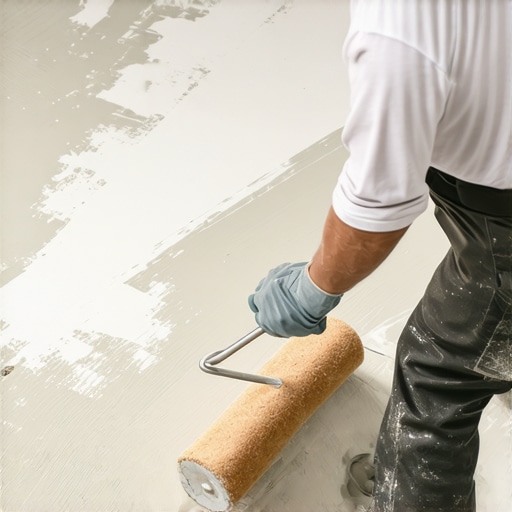
Why Thinset is Not a Subfloor Leveler
Another dangerous industry myth is that you can just ‘build up’ the low spots with extra thinset mortar as you lay your tile. Thinset is engineered as an adhesive, not a structural filler. When thick layers of mortar dry, they shrink significantly. If you place a large-format tile over a half-inch pocket of wet thinset, that shrinking action will pull individual tiles downward at different rates. This creates massive lippage issues and introduces hollow pockets beneath your floor. When you are undertaking a major project, bypassing proper leveling steps leads to severe flooring installation mistakes to avoid for lasting results. Instead, focus on perfecting your substrate flatness before the first tile or plank ever touches the ground. Have you ever fallen into this trap of trying to fix a slope with extra adhesive? Let me know in the comments below!
My Personal Toolkit for Perfect Subfloor Geometry
I do not guess when it comes to flatness, and you shouldn’t either. Over the years, I have narrowed my toolkit down to three non-negotiable items that save my back and my budget on every single job. First is my Bosch 360-degree three-plane leveling laser. Standard line lasers fail because they do not project a continuous, unbroken datum line around corners. The three-plane setup lets me map multiple rooms simultaneously. Second is my 10-foot professional aluminum straightedge. While a laser tells you the overall room slope, a heavy-duty straightedge is what you slide across the substrate to physically feel those micro-waves that the laser might overlook. Finally, I never mix self-leveling compound without a heavy-duty, dual-paddle mud mixer. Standard drills lack the torque and introduce thousands of tiny air bubbles into your mix, which inevitably causes structural failures once the compound cures. By investing in professional-grade tools, you ensure your mastering floor leveling pro secrets actually translate into a flawless, flat reality.
How do I maintain floor flatness and prevent movement over time?
Long-term stability is all about controlling moisture and structural deflection. Wood subfloors naturally expand and contract with seasonal changes, which is why your framing must be rigid. According to the Wood Council’s engineering standards, a subfloor must meet a minimum deflection limit of L/360 for ceramic tile and L/720 for heavy stone to prevent the substrate from bending under concentrated loads. If you notice any bounce in your plywood before starting, you must resolve it immediately. I highly recommend using the shim trick for fixing a bouncy plywood subfloor to reinforce weak joists from below. Furthermore, maintaining a stable indoor relative humidity between 30% and 50% year-round prevents wood joists from warping and shifting beneath your finished floor, ensuring those expensive tile joints or hardwood planks never buckle or squeak.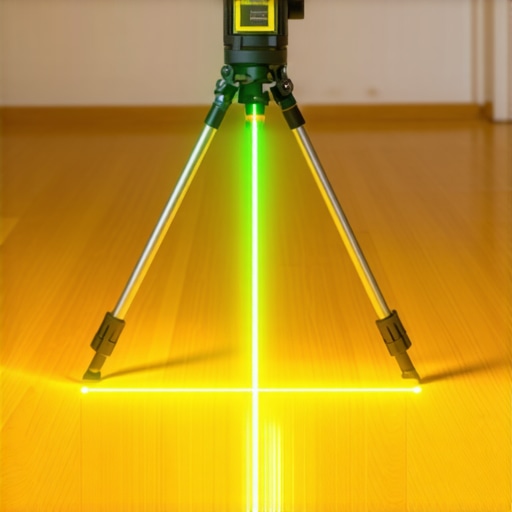
The Future of Precision Flooring Installation
Looking ahead, the flooring industry is moving rapidly toward digitized, high-tech surface mapping. We are already starting to see mobile smartphone apps paired with compact LiDAR sensors that can instantly generate a 3D heat map of a concrete slab. Instead of drawing grids manually with pencil and tape, future installers will simply scan the room and receive a precise digital readout telling them the exact volume of self-leveling compound required to fill the low spots down to the milliliter. This technology will completely eliminate material waste and take the last bit of guesswork out of the ultimate guide to floor leveling. If you want to elevate your craftsmanship today and avoid devastating callbacks tomorrow, I challenge you to try my 360-degree laser mapping grid on your very next project. Map it, mark it, and prep it right—your finished floor will thank you for decades.
3 Myths About Floor Leveling That Held Me Back for Years
Over my years of running into frustrating installation hurdles, I had to unlearn several costly habits that are still passed around as common wisdom on job sites. First, I used to believe that concrete slab high spots were too difficult to grind down manually, so I would just pour self-leveler over everything to bury the problem. This was a massive waste of material and often resulted in the leveling compound feathering too thin over the high areas, leading directly to cracking. Second, I fell for the trap of thinking a standard foam underlayment would cushion and naturally mask minor dips. In reality, why your floating floor feels soft under your feet is almost always due to this exact shortcut—the foam compresses under load and leaves a hollow, bouncy void beneath your feet. Finally, I assumed that once a floor looked level to the naked eye, the job was done. Now I know that microscopic surface waves will always telegraph through to your finished flooring, making careful calibration the only real path to success.
My Essential Toolkit for Precision Prep
If you want to transition from guessing to guaranteed accuracy, you need to rely on tools that do not lie. Here is the exact gear I bring to every single site:
- A 360-Degree Three-Plane Laser: I personally trust my Bosch green-beam laser. Green light is significantly easier to see across bright, open rooms than red beams, and the three-plane projection allows me to check the level of both the floor and adjacent wall transitions simultaneously.
- A Heavy-Duty 10-Foot Aluminum Straightedge: While lasers give you the macro-picture, sliding a dedicated metal straightedge across your subfloor lets you physically feel those micro-waves that light might miss.
- A Specialized Pin-Type Moisture Meter: Before you ever mix a batch of primer or self-leveler over wood, you must check the moisture content. I always keep a high-quality meter on hand to ensure the substrate is dry, which prevents rotting joists down the road. For best practices, read up on how to use a moisture meter before installing wood floors to save yourself from catastrophic adhesive failures.
Stop Guessing and Start Mapping Your Next Project
Taking the plunge into high-precision leveling can feel intimidating, but your very first successful layout will change how you approach construction forever. When you take the extra minutes to map out a precise grid, you are not just prep-work planning; you are building an insurance policy for your home. By putting in the sweat equity today, you protect your investment, extend the life of your materials, and master flooring installation fundamentals that separate amateur work from high-end craftsmanship. Have you ever struggled with a bouncy click-lock joint or an uneven transition in your projects? Let me know in the comments below, and let’s get your questions answered!