
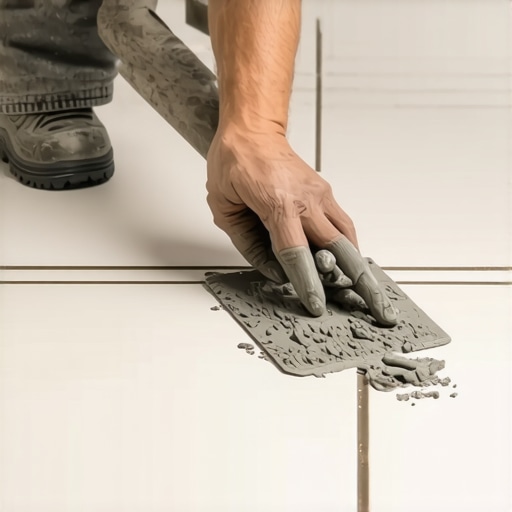
I still remember the smell of wet concrete and the sinking feeling in my gut when I realized my guest bathroom wouldn’t be ready for my parents’ visit. I’d followed every “standard” guide to the letter, which meant waiting a full day for the thinset to cure before even thinking about grout. It felt like watching paint dry, but with higher stakes and more dust. I even made a rookie mistake early on by stepping on a “dry-looking” tile too early, which led to a nightmare of flooring installation mistakes to avoid for lasting results. That was my breaking point. I knew there had to be a way to bridge the gap between just laid and completely finished without compromising the integrity of the floor. That’s when I discovered the rapid-set approach, and it changed my DIY life forever. Today, I am going to show you exactly how to skip the 24-hour wait and get your floors finished in a single afternoon.
Stop Waiting Days to Finish Your Tile Job
The secret isn’t magic; it’s chemistry. Fast-set mortar—or rapid-setting thinset as the pros call it—is a total game-changer for those of us who don’t have a week to dedicate to a single hallway. I’ve used it to install tiles like a pro in half the time, and honestly, I’m never going back to the slow stuff for small residential projects. But let’s be real: speed can be a double-edged sword. If you aren’t prepared, that mortar will turn into a rock inside your bucket before you’ve even leveled your first row. I once spent more time chipping dried rapid-set off a expensive trowel than I did actually laying tile because I thought I could work at my usual leisurely pace. You need to have your tile layout completely mapped out before the water hits the powder.
Does fast-set mortar actually hold up over time?
I get it. You’re worried the bond won’t be as strong or that the tiles will pop up the second someone breathes on them. I had the same fear. However, according to the Tile Council of North America (TCNA), rapid-setting mortars are specifically engineered to reach final set and high early strength in just a few hours. When I first tried this trick, I was terrified I’d end up with grout cracks, but three years later, that floor is as solid as the day I put it down. The key is managing your pot life—the time you have to work with the mix—and ensuring you have already used precise floor leveling techniques so you aren’t fighting uneven surfaces while the clock is ticking. Have you ever tried to rush a job only to have it blow up in your face? I’d love to hear about your experience in the comments so we can keep each other from making the same mistakes twice.
Mix Small to Avoid Mixing Disasters
Working with rapid-set mortar is like being in a high-speed chase; you cannot stop to check the map once the engine is running. The most common mistake I see—and one I’ve paid for in literal sweat—is mixing the whole bag at once. I remember trying to finish a mudroom before a Friday night party. I dumped half a bag of rapid-set into a bucket, hit it with a high-speed drill, and by the time I laid my fourth tile, the mortar was the consistency of peanut butter left in a freezer. I learned the hard way that the mixing paddle speed that ruins your leveling compound also applies here; too much friction creates heat, and heat makes the mortar kick even faster. Mix only what you can spread in 15 minutes. Think of it as cooking a single steak rather than trying to grill for a whole neighborhood.
Keep Your Water Ratios Precise
Precision is your best friend when you are on the clock. If you add too much water to make it “easier” to spread, you weaken the crystalline bond that makes rapid-set so strong. Use a measuring cup, not a garden hose. These tile installation pointers that save time and money really boil down to following the manufacturer’s directions to the milliliter. If the bucket says 4.5 quarts, don’t eyeball it. I’ve seen beautiful porcelain floors fail because the installer thought “soupy” meant “smooth.”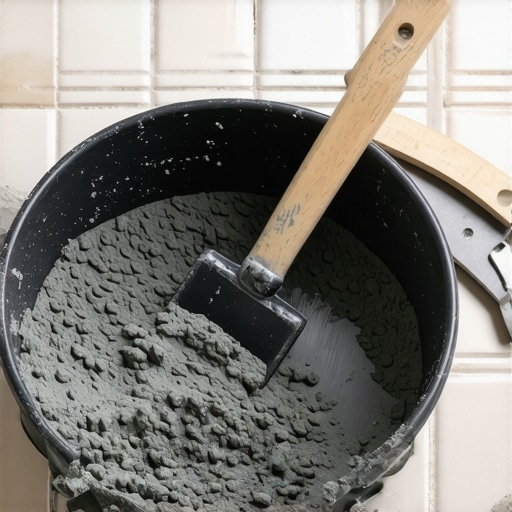
The Blitz Technique for Spreading and Setting
Once that mortar is mixed, you need to move. You aren’t just laying tile; you are racing a chemical clock. I use a technique I call the “Blitz.” I spread enough mortar for exactly two rows, notch it out, and set the tiles immediately. If you wait too long, a skin forms on the surface of the ridges, and your tile won’t actually stick. You’ll know this happened if you pull a tile up and the back is clean. If you notice why your trowel teeth are ruining your thinset coverage, it’s usually because you’re trying to use a trowel that’s too small for the tile size, which is a recipe for disaster when every second counts.
Clean the Joints as You Go
This is the most critical “pro secret” for same-day grouting. Since the mortar is going to be rock-hard in 90 minutes, any thinset that squishes up into the grout lines needs to be removed while it is still soft. If you wait, you’ll be stuck with the secret to getting dried thinset off your new tiles, which usually involves a lot of swearing and a utility knife that might chip your tile edges. I keep a damp sponge and a bucket of clean water right next to me. Every time a tile is leveled, I run a spacer or a small screwdriver through the joint to clear a path for the grout. It adds 10 seconds per tile, but saves two hours of cleaning later.
Test for Readiness Without Ruining the Bond
How do you know when it’s actually time to grout? The “Thumb Test” never fails. Find a spot in a corner or under where a baseboard will go, and try to press your thumbnail into the mortar in the joint. If it feels like stone and leaves no mark, you are ready to walk. Generally, with a high-quality rapid-set, this happens in about 2 to 4 hours. It’s a similar patience-testing window to the spiky roller secret for a mirror-smooth pour when leveling; you have to wait for the chemistry to do its job. When I did my laundry room, I started at 8:00 AM, had a sandwich at noon, and was spreading grout by 2:00 PM. It’s a rush, but the satisfaction of seeing a finished floor before the sun goes down is unbeatable.
Why a Flat Floor Beats a Level Floor Every Time
Everyone tells you that your floor needs to be perfectly ‘level.’ In reality, your house could be leaning at a five-degree angle like the Tower of Pisa and the tile would be fine, as long as the surface is flat. People often confuse these two terms, but a ‘level’ floor that has waves and dips will still result in massive lippage where one tile edge sits higher than its neighbor. According to the National Tile Contractors Association (NTCA), substrate preparation is the single most important factor for a successful install, and they specify that for large-format tiles, the floor must be flat within 1/8 inch over a 10-foot span. If you chase ‘level’ at the expense of ‘flat,’ you’ll burn through bags of expensive compound without actually fixing the flawless floor leveling you need for a professional look.
Stop Letting Bubbles Ruin Your Self-Leveling Pour
One of the most frustrating ‘oops’ moments for any DIYer is waking up to a self-leveling pour that looks like the surface of the moon. This happens because of ‘outgassing’—air escaping from the porous subfloor and getting trapped in the thick liquid. I’ve seen entire jobs ruined because the installer thought they could save twenty bucks by skipping the primer. You must seal the subfloor first. Using a high-quality primer is non-negotiable because it prevents the substrate from sucking the water out of the leveler too fast. If you see pinholes, it’s because you didn’t prime concrete before every leveling job. To get that glass-like finish, you also need to use the spiky roller secret for a mirror-smooth pour, which breaks the surface tension and releases those trapped air bubbles before they harden into permanent craters. 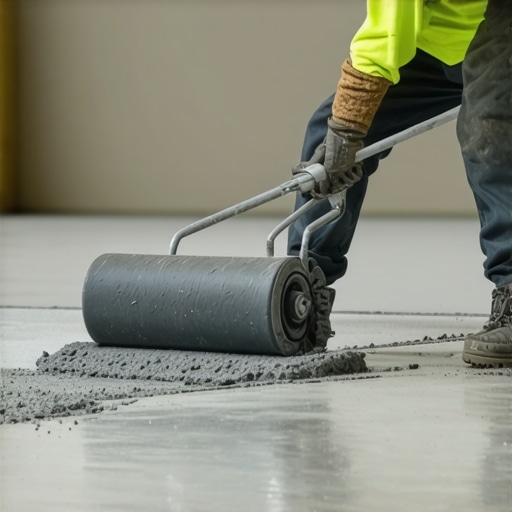
Does thicker thinset actually compensate for a bad subfloor?
I see this question in every flooring forum: ‘Can’t I just use a bigger trowel and more mortar to fill in the low spots?’ The short answer is a resounding no. Standard thinset is designed to be a bonding agent, not a structural filler. When thinset is applied too thick, it shrinks as the moisture evaporates, which can pull the tile down and create an uneven surface anyway. This is the trowel size error that leads to hollow sounding tiles. If your floor has a dip deeper than 1/4 inch, you are much better off using a dedicated patching compound or self-leveler rather than trying to ‘build’ it up with mortar. Have you ever tried to ‘eyeball’ a dip and ended up with a tripping hazard? Let me know in the comments.
The Hidden Trap of Subfloor Deflection
Even if your floor is as flat as a pool table, your tile can still fail if the subfloor is ‘bouncy.’ This is what pros call deflection. Porcelain and stone have zero flexibility; if the plywood beneath them flexes when you walk, the grout or the tile itself will crack. I once spent a weekend tiling a beautiful master bath only to realize the floor joists were spaced too far apart for the weight of the new marble. I had to go into the crawlspace and fix a bouncy floor with a few well-placed screws and additional blocking to meet the L/360 deflection standard. Don’t assume your subfloor is ready just because it looks solid. Test it by having someone jump near you while you watch a glass of water on the floor; if the water ripples significantly, your rapid-set mortar won’t save you from future flooring installation mistakes. Always remember that the finish is only as good as the foundation beneath it.Once you have conquered the deflection and the substrate is ready, the difference between a ‘DIY’ look and a professional finish often comes down to the gear you keep in your truck. I used to think a 4-foot bubble level was enough, but I was wrong. These days, I don’t start a single job without my 3-plane green beam laser. It is the only way to execute the laser level move for perfectly straight hallways, ensuring that your first row of tile or hardwood is dead-on. If you are working with wood-to-tile transitions, you also need to know how to use a moisture meter to prevent floor failure. I personally use the Wagner Meters Orion series because it’s pinless and won’t mar the surface of expensive hardwoods. According to the MAPEI Technical Bulletin 14, ignoring the Moisture Vapor Emission Rate (MVER) of a concrete slab is the leading cause of adhesive failure in modern flooring. Don’t be the person who skips the data and hopes for the best.
How do I maintain my tiled and leveled floors over time?
The hard work doesn’t end when the last tile is set. Maintenance is about protecting that chemical bond you worked so hard to create. For starters, throw away your dish soap and vinegar. I’ve seen homeowners ruin the luster of a brand-new install within months because they didn’t realize why you should never mop your floors with dish soap. The residue actually attracts more dirt and can break down the sealers in your grout joints. Instead, stick to pH-neutral cleaners specifically designed for stone or ceramic. If you have pets, you have to be proactive; stop your pets’ claws from ruining your vinyl planks or hardwoods by keeping their nails trimmed and using area rugs in high-speed ‘zoomie’ zones. These hardwood floor care secrets to longevity and shine apply to almost every hard surface: keep the grit off the floor, as dirt acts like sandpaper underfoot. 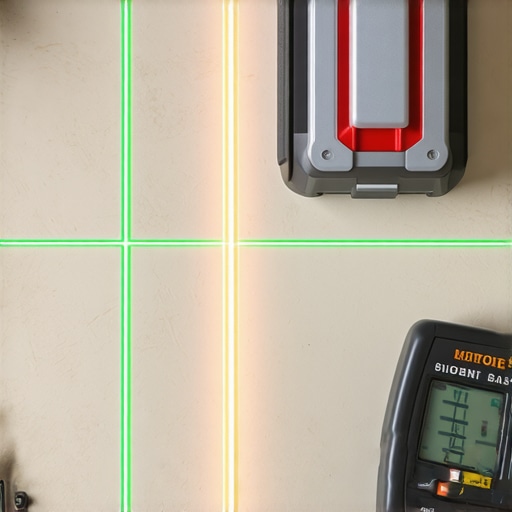
Scale Your Skills with Better Methods
If you find yourself doing more than one room, it’s time to stop thinking like a hobbyist and start mastering floor leveling pro secrets. I predict that in the next few years, we are going to see a massive shift toward ‘smart’ self-leveling compounds with even longer flow times and built-in fiber reinforcement that eliminates the need for lath. We are already seeing high-flow hybrids that can be walked on in under two hours. To stay ahead of the curve, I challenge you to try a ‘two-pour’ system on your next project: use a base leveler for the bulk and a high-flow finish for that mirror-smooth top coat. It sounds like extra work, but it saves hours of sanding and thinset-leveling later. Go grab a moisture meter before your next project and tell me what your readings are; you might be surprised at what your slab is hiding from you.
What Professionals Rarely Mention About Fast-Set Mortar
After years of trial and error, I’ve realized that the real challenge isn’t the chemistry of the mortar—it’s the environment. One of the biggest lightbulb moments I had was discovering the chalk dust secret for finding low spots in subfloors. I used to rely solely on a bubble level, but seeing the dust settle in the valleys changed how I prep every room. Another hard lesson? Temperature is your boss. If you’re working in a room over 80 degrees, your “15-minute pot life” turns into five. Conversely, a cold concrete slab can double your wait time. Always keep a close eye on your environment to avoid seeing why your self-leveling pour looks like a topographical map when you check it the next morning. #IMAGE_PLACEHOLDER_E#
The Gear That Saves My Sanity Every Time
If you’re serious about a professional finish, you need more than just a bucket and a trowel. I personally swear by these three items: First, a high-quality 3-plane green laser level. It’s the difference between a hallway that looks straight and one that feels “off” the moment you walk in. Second, a reliable moisture meter is non-negotiable for anyone mixing flooring installation and leveling success with natural wood. Third, never underestimate the power of a micro-fiber grout sponge. It sounds simple, but it prevents the common mineral spirits trick for removing dried grout haze because it picks up the residue rather than just moving it around.
Your Floor Is the Foundation of Your Home
It’s easy to get overwhelmed by the timelines and the technical jargon, but remember: you are building the stage where your life happens. Whether you are using the secret to installing large-format tile without lippage or just trying to get a small entryway done before dinner, the effort you put into the prep will pay off for decades. Don’t be afraid to take that first mix—even if it’s just a small batch. Have you ever had a rapid-set mortar “kick” on you before you were ready? I’d love to hear your survival stories in the comments below!