
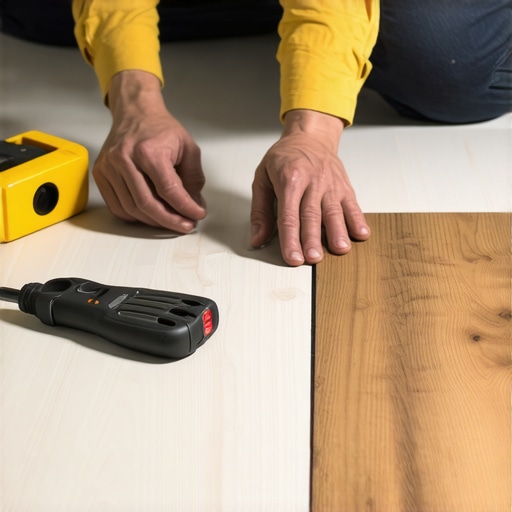
I stood there in my kitchen, frozen, staring at the deep, jagged gash in the middle of my brand-new floor. My favorite cast-iron skillet had slipped, and the “indestructible” luxury vinyl plank (LVP) didn’t stand a chance. It wasn’t just a scratch; it was a crater. My eyes went straight to it every time I walked into the room. For weeks, I tried to cover it with a rug, but I knew the truth: that one plank was mocking me. I felt like a failure. I’d spent all that time researching flooring installation mistakes to avoid, only to create a disaster myself. [IMAGE_PLACEHOLDER]
You Don’t Have to Move All Your Furniture to Fix One Plank
Dealing with a click-lock floor usually means you have to start at the wall and disassemble half the room just to reach the center. It’s a nightmare that involves moving couches, pulling up baseboards, and losing your entire weekend. But I’m here to tell you there is a better way. You can perform what I call “plank surgery.” It’s a method where we cut out the offender and drop in a replacement without disturbing the neighbors. Early in my DIY journey, I made the classic mistake of trying to hide a gouge with wood filler and a Sharpie. It looked like a toddler’s art project and eventually crumbled into dust within a month. Real LVP repair requires a bit more bravery but yields a result that is practically invisible. This isn’t like dealing with LVP buckling near a window where the whole floor is stressed; this is a localized fix for a localized tragedy. According to the Resilient Floor Covering Institute (RFCI), the modular nature of luxury vinyl is specifically designed to allow for localized replacement, provided you have a spare plank from your original batch.
Is cutting into my floor actually a good idea?
I know what you’re thinking. Taking a circular saw or a utility knife to a perfectly good (mostly) floor feels like a recipe for disaster. You’re worried you’ll slice the subfloor or, heaven forbid, cut into the surrounding planks. I’ve been there, sweating through my t-shirt as I made the first plunge cut. But as long as you set your depth correctly and stay patient, it’s the cleanest way to restore your home’s value. If you’ve already checked the quarter trick for expansion gaps and your floor is otherwise healthy, this repair is the final piece of the puzzle. Have you ever dropped something and immediately wanted to move house just to escape the evidence? Tell me your floor-fail stories in the comments! Before we grab the tools, we need to make sure we have a replacement plank that matches the grain. If you don’t have a spare, you might be in trouble—but for the rest of us, it’s time to get to work.First, you need to mark the boundaries clearly. Use painter’s tape to outline the damaged area about an inch inside the edges of the plank. This isn’t just for visibility; it acts as a literal safety net that protects the surrounding healthy planks from a stray blade. You’ll want to set your circular saw blade depth to exactly the thickness of the plank plus a hair. If you go too deep, you’re carving into your subfloor, which leads to a whole different mess involving structural integrity. Think of it like a surgeon adjusting a scalpel—precision is everything. If you find your subfloor is uneven once the plank is out, you might need to check out the ultimate guide to floor leveling for a perfect finish before you attempt to drop the new piece in.
Make the Plunge and Save Your Floor
The ‘I-cut’ method is your best friend here. Cut a straight line down the center of the damaged plank, stopping about two inches from each end. Then, make four diagonal cuts from that center line toward the corners of the plank. This creates a series of triangles that you can easily pry up with a flathead screwdriver or a small pry bar. I remember the first time I tried this; I was so nervous about hitting the subfloor that I barely scratched the surface of the vinyl. I had to go back three times, each time more frustrated than the last. Eventually, I realized the saw blade depth is the ‘safety net’ of this whole operation. Once I dialed it in, the stress vanished. Slow and steady wins the race here. Make sure you also understand how to match wood grain when replacing a single plank so the ‘new guy’ doesn’t stick out like a sore thumb. 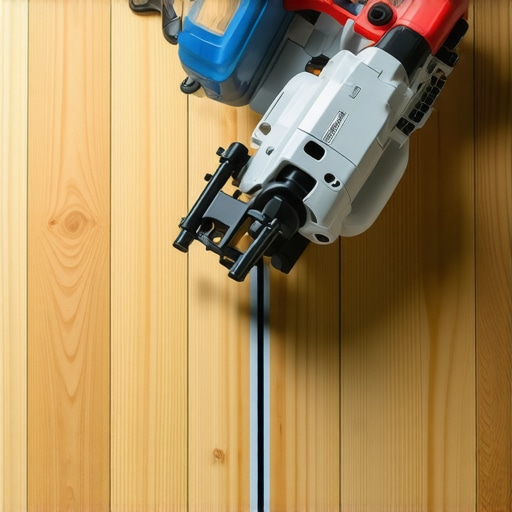
Trim the New Plank for a Perfect Drop-In Fit
Once the old plank is gone, clean the cavity meticulously. Use a high-powered vacuum to get every speck of dust out of the grooves. Any debris left behind will cause that annoying ‘crunch’ sound every time someone walks over that spot. This is very similar to why professionals focus on flooring installation fundamentals leveling for a seamless look; a clean, flat surface is the only way to avoid a hollow sound. Now, take your new plank. You can’t just click it in because the surrounding floor is already locked tight. You have to ‘neuter’ the new plank by using a sharp utility knife to shave off the bottom lip of the groove on both the long side and the short end. This allows the plank to drop straight down into the hole rather than sliding in at an angle.
Seal the Deal with the Right Adhesive
Apply a thin, consistent bead of high-quality vinyl floor adhesive or a specialized super glue along the edges where you trimmed the tabs. Don’t overdo it—you don’t want glue oozing out onto the decorative surface and ruining the finish. If you skip this step or use the wrong glue, you’ll eventually end up wondering why your click-lock flooring is popping out at the joints six months from now. Drop the plank in, wipe away any microscopic excess glue immediately with a damp rag, and weigh it down with something heavy—like a stack of heavy books or those old dumbbells in the garage—for at least six to eight hours. Following a step-by-step guide to flooring installation and leveling success is about more than just the initial layout; it’s about mastering these micro-repairs that keep your home looking professional and well-maintained.
Most people think that ‘self-leveling’ means the product does all the work for you. In my experience, that is the biggest lie in the flooring industry. If you don’t prime correctly, you’ll quickly find out why your self-leveler is pulling away from the concrete before the furniture is even back in the room. Professional installers know that the subfloor is a thirsty sponge. If you don’t seal it first, the substrate sucks the water out of the leveler instantly, causing it to crack, pit, and fail to flow. This is why the best primer for installing leveler over plywood isn’t just an optional add-on—it’s a non-negotiable requirement for a floor that doesn’t crunch underfoot. Have you ever fallen into the trap of skipping the ‘boring’ prep work? Let me know in the comments below.
The Steam Mop Trap That Destroys Modern Floors
Everyone says LVP is indestructible, but I’ve seen more floors ruined by a $50 cleaning tool than by dropped cast-iron skillets. One of the most common myths is that you can use a steam mop on waterproof vinyl. Stop right there. The high-pressure steam can penetrate the seams, causing the core to swell or the wear layer to delaminate. If you’ve noticed why your LVP is peeling off the core, your cleaning routine might be the culprit. I always tell my clients that while the plank itself is waterproof, the system is not a submarine. According to the National Wood Flooring Association (NWFA), excessive moisture and heat are the primary causes of premature floor failure in modern homes. Stick to a damp—never dripping—microfiber mop instead.
Don’t Make Your Fit Too Perfect
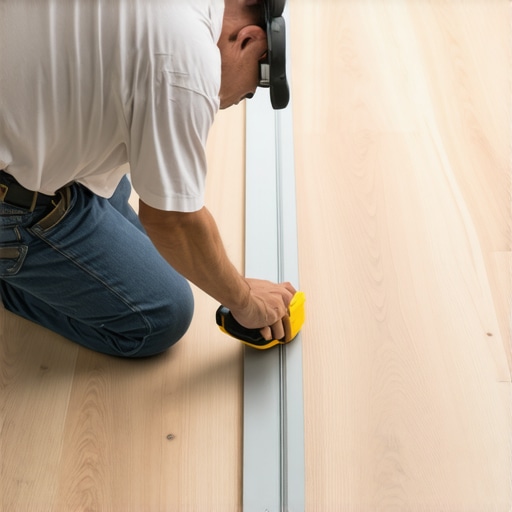
Here’s another nuance: homeowners often strive for a ‘perfect’ fit against the walls, thinking they are being precise. In reality, a tight fit is a death sentence for a floating floor. You need to understand the hidden reason your floating floor is pinching. If the floor can’t move as the house breathes, it will buckle. I’ve seen beautiful installations ruined because the owner skipped the transition strips in doorways. Without them, the floor acts as one massive sheet that expands and contracts with enough force to snap the locking mechanisms. This leads to the frustrating realization of why your click-lock flooring is popping out at the joints months after you thought the job was finished.
Is your expansion gap actually large enough for a humid summer?
Precision in flooring isn’t about how close you can get to the wall; it’s about how accurately you can calculate the movement. If you installed your floor in the dry winter months, you might be surprised by why your expansion gap is closing up in the summer. A 1/4-inch gap might be standard, but for large open-concept areas, you may need even more breathing room. Advanced installers use a 10-foot straightedge to check for high spots because even a tiny hump can ‘pinch’ the floor’s movement. Learning how to check for high spots with a 10-foot straightedge is what separates a DIY weekend project from a floor that lasts twenty years. Always leave room for the floor to breathe, or it will eventually gasp for air in the form of a buckle.
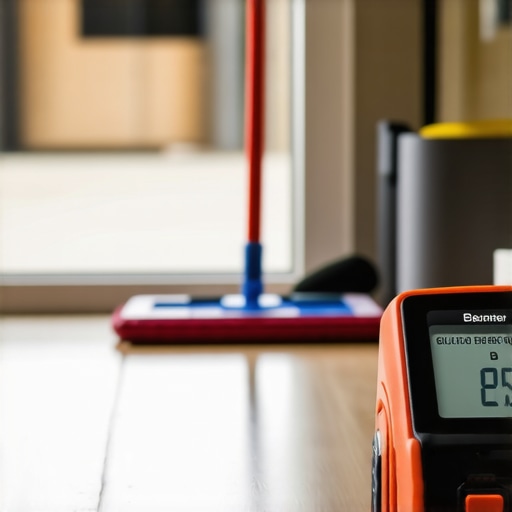
But a great installation is only half the battle. If you don’t have a plan for the next decade, you’re just renting a nice floor from time. I’ve realized that the difference between a floor that looks ‘okay’ and one that looks ‘stunning’ five years later comes down to the gear you keep in your utility closet. For me, that starts with a high-quality moisture meter. I don’t just use it during the install; I check my subfloor and the planks themselves every change of season. According to ASTM F710, which is the gold standard practice for preparing concrete floors to receive resilient flooring, understanding the moisture vapor emission rate is non-negotiable. If you aren’t checking this, you’re flying blind. Learning how to use a moisture meter before installing wood floors and during their lifespan is the ultimate insurance policy for your investment.
Stop Guessing and Start Measuring
I also ditched the generic ‘all-purpose’ cleaners long ago. They leave a waxy buildup that eventually makes your floor look cloudy. Instead, I stick to pH-neutral cleaners specifically formulated for the finish. If you’ve ever wondered why your floor looks dull no matter how much you scrub, you’re likely fighting chemical residue. This is part of the hardwood floor care secrets to longevity and shine that most people overlook because they want a quick fix from a spray bottle. Real maintenance is about removing grit—the tiny particles of sand and dirt that act like sandpaper under your feet—before they can scratch the wear layer.
How do I maintain my floors so they still look new in five years?
The secret is a two-pronged attack: preventative protection and humidity control. Use heavy-duty felt pads on every single piece of furniture—and I mean every piece, even the light ones. Then, keep your home’s relative humidity between 30% and 50%. This prevents the dramatic expansion and contraction that leads to gaps and squeaks. If you can master this, you won’t be searching for how to keep your hardwood floors from gapping in the winter every January. It’s much easier to run a humidifier than it is to refinish a whole room.
Level Up Your Game with a Spiked Roller
If you’re planning to scale up your DIY skills to larger rooms or even different materials, you need to upgrade your toolkit. When I moved from small bathroom patches to full-room pours, I discovered the spiked roller. It sounds like a medieval torture device, but it’s actually the key to precise floor leveling techniques to achieve flawless surfaces. It pops the tiny air bubbles that form in self-leveler, which prevents those annoying pits from appearing as it dries. Knowing how to use a spiked roller for the perfect leveling pour transformed my results from ‘good enough’ to ‘mirror-finish.’ Combining this with the secret to mixing leveler for a glass smooth finish will give you a substrate so perfect you’ll almost be sad to cover it with tile.
The Future is Mixed Materials and Seamless Transitions
Looking ahead, the biggest trend I’m seeing in high-end homes is the ‘mixed-media’ floor. We are moving away from the hard transition strips and toward seamless ‘organic’ transitions where hexagonal tiles bleed into hardwood planks. It’s a stunning look, but it requires incredible precision in subfloor height. You have to be meticulous about choosing the best tile for your hardwood floor upgrade to ensure the thicknesses match up once the thinset is applied. If you want to stay ahead of the curve, start practicing your ‘scribing’ skills now. My advice? Grab a moisture meter today and start mapping the humidity in your house—it’s the best way to understand how your floor ‘breathes’ before you make your next big change.
The Hidden Truths I Learned the Hard Way
After years of fixing my own mistakes, I’ve realized that flooring is 10% muscle and 90% patience. My first lightbulb moment was discovering that most failures happen before the first plank is even laid. If you skip mastering floor leveling pro secrets for perfect installations, you’re essentially building on a foundation of sand. I also learned that waterproof doesn’t mean invincible—the locking joints are the Achilles’ heel of any LVP floor. Finally, always buy one box more than you think you need. Styles get discontinued faster than you’d believe, and that extra box is the only thing standing between a quick fix and a total floor replacement.
Gears and Gadgets That Turned My Disasters into Success
You don’t need a warehouse full of tools, but these three are my personal non-negotiables for a professional look. First, I never touch a piece of wood without knowing its internal state; learning how to use a moisture meter before installing wood floors has saved me from thousands of dollars in warping damage. Second, for any leveling work, a spiked roller for the perfect leveling pour is the only way to get that glass-smooth surface that tile dreams of. Lastly, don’t overlook the humble transition; understanding why you need a transition strip between different flooring heights is what keeps your floor from buckling during the humid months.
[IMAGE_PLACEHOLDER]
Your Path to a Floor That Doesn’t Mock You
I know how it feels to stare at a dent or a gap and feel like you’ve ruined your home. But the truth is, every scratch is an opportunity to learn the hardwood floor care secrets to longevity and shine that most people never bother to master. You have the tools, you have the knowledge, and now you have the plank surgery skills to handle whatever life throws at you. Follow these expert flooring installation tips, take it one step at a time, and you’ll create a space you’re proud to walk on. What’s the one scratch or dent in your floor that drives you crazy every single day? Let me know in the comments below, and let’s figure out how to fix it together!