
I’ll never forget the sinking feeling in my stomach when I walked back into that master bathroom six months after finishing what I thought was a perfect project. I had spent weeks carefully laying out a gorgeous Carrara marble floor. It was my pride and joy. But there they were: strange, dark, shadowy stains creeping up from the bottom of the tiles. They weren’t on the surface where I could scrub them off; they were deep inside the stone itself. I’d made a rookie mistake that cost me a fortune in callbacks and a lot of lost sleep. Today, I am going to make sure you don’t fall into that same trap. We are going to look at moisture wicking and the specific thinset mistake that causes marble to stain from the back before it even has a chance to shine.
Stop Letting Your Subfloor Ruin Your Stone
Marble isn’t like your standard porcelain or ceramic. It is a metamorphic rock, which basically means it is a giant, expensive, and beautiful sponge. When you are aiming for [step-by-step guide to flooring installation and leveling success](https://tiletrendshop.com/step-by-step-guide-to-flooring-installation-and-leveling-success), the material you choose for your bond coat matters just as much as the tile itself. I used a cheap, standard gray thinset on that first job, thinking a ‘multipurpose’ mortar would be fine. I was dead wrong. The dark minerals in that gray thinset, combined with moisture trapped under the tile, literally soaked into the marble from the underside. [image] This phenomenon is often called ‘moisture shadowing.’ It happens when water gets trapped between the tile and the subfloor, often because the installer skipped the necessary [why your bathroom floor needs a waterproofing membrane](https://tiletrendshop.com/why-your-bathroom-floor-needs-a-waterproofing-membrane) or used the wrong notch trowel. If you don’t get 100% coverage, those little air pockets become swimming pools for moisture. This is exactly [why your large format tiles need back-buttering every time](https://tiletrendshop.com/why-your-large-format-tiles-need-back-buttering-every-time); you need to eliminate the voids where water can hang out and cause trouble.
Do I Really Have to Use a Special Mortar?
I get this question from skeptical DIYers and even some pros all the time. ‘Can’t I just use the same bag I used for the kitchen backsplash?’ The short answer is: only if you want to risk seeing those gray clouds in a year. According to the Natural Stone Institute, white marble is often translucent and highly porous, meaning it requires a specific high-quality white thinset to prevent the dark cement color from ‘bleeding through.’ It is not just a sales pitch to get you to buy more expensive bags; it is a scientific requirement for the material. If you use a gray mortar under a light stone, the gray will eventually telegraph through as the stone absorbs moisture over time. Have you ever noticed your stone tiles looking darker around the edges or in patches even when the floor is bone dry? I want to hear your story in the comments—let’s figure out if you’re dealing with the same ‘shadowing’ nightmare I did. It is a frustrating problem, but once you understand how the stone breathes, you can prevent it. We need to focus on [how to back butter large format tiles the right way](https://tiletrendshop.com/how-to-back-butter-large-format-tiles-the-right-way) to ensure that the bond is solid and the moisture has no place to hide.
Get Your Subfloor Flatter Than a Pancake
Leveling isn’t just about aesthetics; it’s about physics. If your subfloor has dips, your thinset will be thicker in some spots than others. Thicker thinset holds more moisture, and more moisture means a higher risk of wicking into the stone. You need to know how to check for high spots with a 10-foot straightedge before you even open a bag of mortar. I learned this the hard way on a job in a 1920s bungalow where I thought I could ‘float’ the floor with extra thinset. It was a disaster. The floor ended up with wet spots that never went away because the mortar was two inches thick in some valleys. Nowadays, I always use precise floor leveling techniques to achieve flawless surfaces first. This ensures a uniform, thin layer of bond coat that dries evenly. If you have a massive dip, learn how to level a floor that has a 2-inch drop across the room properly before you even think about the stone.
Kill the Moisture with a Solid Membrane
Think of your subfloor as a thirsty mouth that never stops drinking. If it’s concrete, it is constantly pulling moisture from the ground. This is the one step people skip during waterproof flooring installation in mckinney and everywhere else: failing to isolate the stone from the slab’s chemistry. In a bathroom, a liquid-applied membrane is your best friend. When I first started, I didn’t realize that why your bathroom floor needs a waterproofing membrane was about more than just leaks; it’s about stopping minerals from the concrete from traveling up through the moisture and into your stone. Without it, you are basically inviting those dark shadows to live in your marble.
Mix Your White Thinset Like a Pro
You can’t just wing the water-to-powder ratio when working with translucent stone. If it’s too soupy, you’re introducing way too much water into the stone. If it’s too dry, it won’t bond. You need the secret to mixing the perfect bucket of self-leveler every time—and that same precision applies to your white thinset. It should have the consistency of heavy peanut butter, not pancake batter. Over-watering the mix is the fastest way to cause ‘ghosting’ in your marble.
The Back-Butter Rule That Saves Your Stone
This is the non-negotiable step. Using the trowel notch secret for getting full thinset coverage is the only way to prevent those hollow spots where moisture pools. 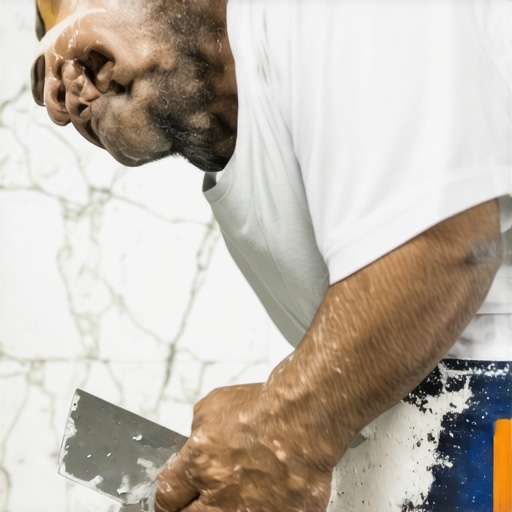 When you back-butter, you aren’t just adding more glue; you are ensuring that the entire surface of the stone is ‘primed’ by the white cement. This creates a uniform color profile so that even as the stone naturally breathes, it looks consistent across the entire floor. I once watched a helper skip back-buttering on a small foyer, and by the next morning, you could actually see the trowel lines through the stone. We had to rip the whole thing up. Never skip the back-butter; it’s the physical insurance policy for your installation.Let’s dig deeper into why so many ‘pro’ jobs still end up with lippage and cracked grout lines despite using expensive compounds. There’s a common belief in the industry that self-leveling underlayment (SLU) is a ‘set it and forget it’ miracle. I see installers pour a bucket and walk away, expecting gravity to create a perfect plane. But here’s the truth: gravity isn’t a finisher. If you don’t manually assist the material, it will mound or valley. Real [precise floor leveling techniques to achieve flawless surfaces](https://tiletrendshop.com/precise-floor-leveling-techniques-to-achieve-flawless-surfaces) require a gauge rake and a spike roller to break the surface tension. Without that mechanical help, you’re just trading one set of bumps for another. One of the biggest ‘oops’ factors I’ve seen—and I’ll admit I’ve done this myself in a rush—is ignoring the temperature of your mixing water. If you’re pulling water from a hose sitting in the sun, your leveler is going to ‘flash set.’ This is [the reason your leveler is setting up too fast](https://tiletrendshop.com/the-reason-your-leveler-is-setting-up-too-fast) and leaving you with a sticky mess that you can’t trowel smooth. I now keep a cooler of ice water on site specifically for mixing during the summer. The National Tile Contractors Association (NTCA) emphasizes that substrate and water temperature must stay within a specific range (usually 50°F to 90°F) to ensure the chemical bond actually works. If it’s too hot, the polymers don’t align correctly, and your expensive floor becomes a brittle sheet of potato chips.
Does My Subfloor Really Need Two Coats of Primer?
Most people think one coat of primer is a mere suggestion, but if you’re working over old concrete or OSB, that first coat often disappears instantly into the pores. This is [why your self-leveler is bubbling over plywood](https://tiletrendshop.com/why-your-self-leveler-is-bubbling-over-plywood); those bubbles are air escaping from the subfloor because the primer didn’t seal it completely. You need to learn [the secret to mixing leveler for a glass smooth finish](https://tiletrendshop.com/the-secret-to-mixing-leveler-for-a-glass-smooth-finish), which starts with a double-prime on highly absorbent surfaces. If you see ‘pinholes’ in your dried leveler, you’ve failed the primer stage. Another nuance that separates the masters from the apprentices is how they handle the perimeter. You have to [how to measure subfloor flatness before you start installing](https://tiletrendshop.com/how-to-measure-subfloor-flatness-before-you-start-installing) and realize that if you don’t leave an expansion gap—even for the leveling compound—the floor can eventually buckle. I’ve seen entire stone floors pop because the leveler was poured tight against the drywall, leaving no room for the house to breathe. Have you ever fallen into this trap where you thought the leveler would fix everything, only to find it created more work? Let me know in the comments—I’ve probably made the same mistake twice. We’re all here to learn from the ‘oops’ moments so our next [step-by-step guide to flooring installation and leveling success](https://tiletrendshop.com/step-by-step-guide-to-flooring-installation-and-leveling-success) actually yields a floor that lasts a lifetime.Once the dust settles and you’re standing on a perfectly flat surface, the battle isn’t over; it’s just changed fronts. I’ve seen beautiful installs fail three years later because the owner—or the installer—didn’t plan for the long game. To keep your results professional, you have to move past the ‘bucket and trowel’ mindset and start thinking like a forensic engineer. I never step foot on a job site without my Lignomat moisture meter. It’s the only way to be certain that the slab isn’t going to push vapor through your expensive stone. If you skip this, you’re just guessing, and how to use a moisture meter before installing wood floors is a skill that separates the hobbyists from the true masters.
Use Your Moisture Meter Like Your Life Depends On It
I’m obsessed with moisture readings because I’ve seen what happens when you ignore them. Whether it’s a slab or a plywood subfloor, the moisture content dictates which adhesives will actually hold. This is especially true when you are mastering floor leveling pro secrets for perfect installations. If the substrate is too wet, your leveler will eventually delaminate. 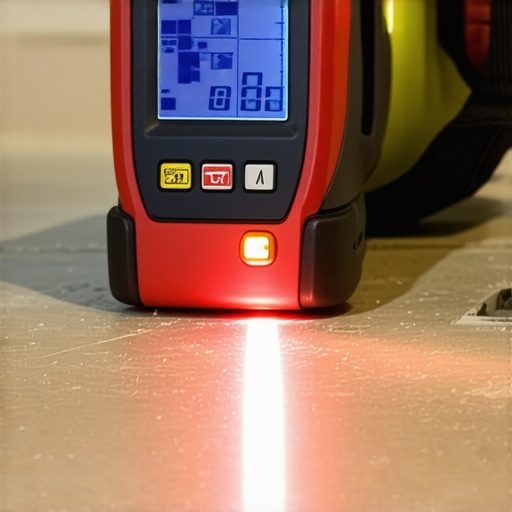 I also swear by my Bosch self-leveling 3-plane laser. Trying to find high spots with a bubble level is like trying to measure a football field with a ruler. The laser gives you a literal grid of light that exposes every dip and hump instantly. These are the tile installation pointers that save time and money because they prevent the ‘rip and replace’ scenarios that kill your profit margins.
The One Tool That Ended My Guesswork Forever
Beyond the laser, I’ve recently started using a specialized spiked roller for every single pour. It sounds like a small thing, but the mechanical action of the spikes releases trapped air that would otherwise turn into pinholes. Looking ahead, I see the industry moving toward ‘intelligent’ leveling compounds that use recycled polymers to offer even more flexibility. These materials will help mitigate the issues described in the TCNA Handbook (specifically Detail EJ171), which mandates strict expansion joint placement to handle the thermal expansion of modern homes. If you don’t plan for movement, your floor will find a way to move on its own—usually by cracking.
How Can You Keep That New Floor Shine From Fading?
Maintaining these surfaces requires a shift in habits. For hardwood, you have to understand hardwood floor care secrets to longevity and shine, which starts with throwing away the steam mop. Steam is the enemy of wood and the grout lines in your stone. For those marble floors we talked about, you must be vigilant; why you should never use acid-based cleaners on natural stone is the first thing I tell my clients. One wrong spray of a ‘heavy-duty’ bathroom cleaner can etch a permanent ghost mark into the surface of your marble. My advice? Grab a high-quality pinless moisture meter before your next project. It is the single best investment you can make to ensure your hard work stays flat and beautiful for the next twenty years.
Why My First Marble Job Failed and Yours Won’t
Reflecting on years of site visits, the most common flooring installation mistakes to avoid for lasting results almost always trace back to moisture and subfloor prep. I learned that white thinset isn’t an ‘upsell’—it is a scientific necessity for light stone to prevent mineral staining. I also realized that gravity is a terrible finisher; if you don’t use precise floor leveling techniques to achieve flawless surfaces like manual raking, you will end up with high spots. Most importantly, trust your instruments more than your eyes; if the moisture meter says the slab is wet, believe it.
Gear That Makes You Look Like a Master
To move from amateur to pro, you need to invest in the right diagnostics. I personally rely on a pinless moisture meter to verify slab conditions before any adhesive hits the floor. For layout, a self-leveling 3-plane laser is indispensable for finding the low spots that a bubble level simply misses. I also recommend keeping a copy of the TCNA Handbook in your truck; it’s the definitive guide that backs up your professional decisions when a client or contractor questions your methods. Finally, never pour leveler without a gauge rake to ensure the material stays at the correct depth across the entire room.
Build a Floor That Outlasts the House
Setting a stone floor is about more than just aesthetics; it’s about engineering a surface that survives the daily life of a home. When you take the extra time to learn how to measure subfloor flatness before you start installing, you are investing in your own reputation. Every bag of mortar you mix correctly and every tile you back-butter brings you closer to a result you can be proud of. A successful flooring installation isn’t defined by how it looks the day you finish, but how it holds up a decade later. Have you ever encountered those mysterious dark shadows in a marble floor months after you finished the install? I’d love to hear how you handled it in the comments below.