
I’ll never forget the sinking feeling in my gut when I walked into my living room at 7:00 AM, coffee in hand, ready to admire my handiwork. The light from the morning sun caught the floor at just the right angle, and my heart dropped. Instead of the mirror-like sheen I’d imagined, my beautiful oak was covered in hundreds of tiny, stubborn bubbles. It looked like a science experiment gone wrong. I’d followed every pro tip I found—or so I thought—but there I was, staring at a ruined weekend. If you’re standing in your hallway right now, looking down at a textured mess that’s supposed to be smooth, I know exactly how you feel. It’s frustrating, it’s exhausting, and it feels like you’ve wasted a lot of money. But don’t reach for the heavy-duty sander just yet. We are going to get that glass-smooth finish you were promised. [image_placeholder]
Stop the Bubbles Before They Ruin Your Hard Work
When I first started tackling my own home projects, I made the classic rookie mistake: I treated the polyurethane like a can of paint and gave it a vigorous shake. That’s the fastest way to inject air into the liquid, creating a micro-foam that dries into those dreaded bumps. I learned the hard way that mastering hardwood floor refinishing isn’t just about the tools you use, but the technique you apply during those final critical minutes. If you’re seeing this on your floor, you might also notice that your hardwood finish feels rough after drying, which is usually a sign of either air bubbles or dust contamination. The good news is that we can fix this without losing our minds. We aren’t just talking about a quick patch; we’re talking about a professional-grade restoration. Bubbles often happen because of off-gassing, where the wood releases air as the finish dries, or because the room was simply too hot for the product to level out. Have you ever had a finish look great at night only to wake up to a bubbly disaster? Drop a comment below and let me know—I promise I’ve probably made the same mistake!
Can You Really Fix This Without Sanding Everything Down Again?
The biggest fear I hear from neighbors is that they’ll have to rent that massive drum sander all over again and start from scratch. Thankfully, in most cases, that’s just not true. If the bubbles are only in the top coat, we can screen the floor—a fancy term for a light, manual sanding—to knock down the high spots without eating into the beautiful wood grain. This is a much more manageable task than a full sand-down. However, you have to be precise. According to the National Wood Flooring Association, applying a second coat before the first has fully outgassed is a leading cause of surface defects like these. You need to ensure the environment is controlled. Much like how you need the ultimate guide to floor leveling to get a flat base for tile, you need a stable temperature for polyurethane to lay flat. If the wood is still acclimating or the temperature is swinging wildly, those bubbles will find a way to the surface every single time.
Get Every Single Speck of Dust Off the Floor
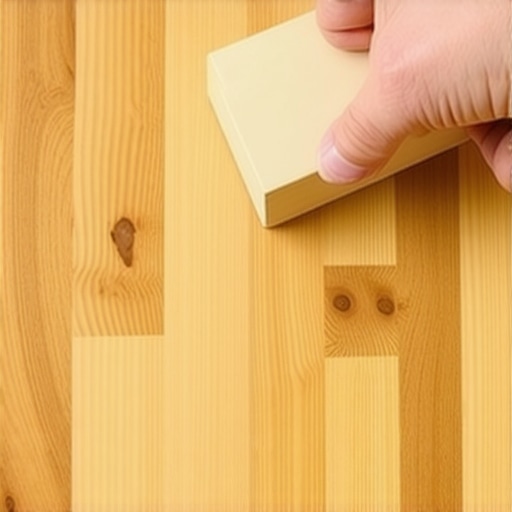
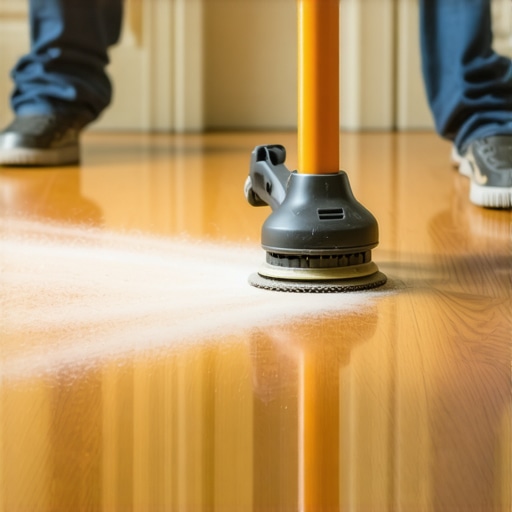
Once you’ve accepted that the current coat is a bust, your first move is to knock those bubbles down. I use a 220-grit sanding screen on a pole sander. You aren’t trying to see raw wood; you just want to level the surface so it feels like a smooth piece of slate. After you’ve screened the area, you must become obsessed with cleanliness. This is where most DIYers fail. I’ve seen people use a standard shop vac that just blows the fine dust back into the air, only for it to settle into the wet finish an hour later. You need the vacuum attachment that actually picks up fine sawdust to ensure the floor is truly bare. I remember a kitchen remodel where I thought a quick sweep was enough. I ended up with a finish that looked like I’d sprinkled pepper all over it. Now, I vacuum twice and follow up with a tack cloth dampened with mineral spirits. It should be so clean you’d feel comfortable eating off it.
Stir Your Poly Like a Delicate Sauce
If you take anything away from my trial and error, let it be this: never shake the can. Polyurethane is like a heavy cream; if you shake it, you’re making whipped cream. Use a clean wooden stir stick and move in slow, circular motions, making sure to scrape the bottom of the can where the flattening agents settle. This keeps the sheen consistent across the whole room. If you’re working on a larger project that involves a step by step guide to flooring installation and leveling success, you know that preparation is 90% of the battle. The same applies here. Once stirred, let the can sit for ten minutes to allow any tiny surface bubbles to pop before you even dip your brush.
The Secret to a Seamless Application
Think of applying polyurethane like rowing a boat—you want long, smooth, continuous strokes. I prefer using a high-quality natural bristle brush for the edges and a weighted T-bar for the main floor. The goal is to maintain a “wet edge.” If you stop in the middle of the floor to take a phone call, that edge will dry, and you’ll see a lap mark forever. When I was finishing my first guest bedroom, I tried to “stretch” the finish too thin to save money. Big mistake. The poly didn’t have enough body to self-level, leaving brush marks everywhere. You want to apply enough material so it can flow out, but not so much that it puddles. This is part of the hardwood floor care secrets to longevity and shine that pros use to get that deep, luxurious look. If you notice a bubble while the finish is still wet, you can very gently “feather” it out with the tip of your brush, but if it’s already getting tacky, leave it alone. Touching it late will only make it worse.
Keep the Temperature Steady to Let the Finish Flow
Polyurethane is incredibly sensitive to the environment. If the room is too hot, the top layer dries too fast, trapping air underneath. If it’s too humid, the drying process slows down so much that dust has more time to land on your floor. Ideally, you want the room between 65 and 75 degrees Fahrenheit. I once made the mistake of leaving a window open on a breezy spring day. Not only did the finish dry too quickly, but the wind carried in a million tiny pollen particles that ruined the coat. Close the vents, shut the windows, and let the room stay still. This patience is as critical as mastering floor leveling pro secrets; you are creating a controlled environment for a chemical reaction to take place perfectly.
It’s easy to think that once the surface is dry to the touch, the hard part is over. But here is the contrarian truth: the ‘eye test’ is the fastest way to guarantee a floor failure six months down the line. Most people assume that if a subfloor looks bone-dry, it’s ready for polyurethane or tile. In reality, moisture is often trapped deep within the slab or the wood fibers, waiting to wreak havoc. This is where learning how to use a moisture meter before installing wood floors becomes your most valuable skill. If you skip this, you’ll likely find that why your hardwood floor is crowning and how to dry it out becomes the next topic you’re frantically Googling. Most DIYers prioritize the ‘look’ of the finish, but the pros know that the invisible moisture content is what actually dictates longevity.
Why Does My Leveler Keep Pitting Even After I Stirred It?
The ‘oops’ factor I see most often in advanced projects involves the self-leveling process. People treat leveler like it’s just runny concrete, but it’s actually a complex chemical soup. If you over-water the mix to make it ‘flow better,’ you actually destroy the polymer chains that give it strength. This results in a weak surface that chalks or, worse, you’ll wonder why your floor leveler pitted during the drying process. Those tiny craters aren’t just an eyesore; they are often the result of air escaping from a porous subfloor that wasn’t properly sealed with a primer. According to the Tile Council of North America (TCNA), substrate preparation is responsible for over 80% of installation failures. It’s almost never the tile or the wood that fails; it’s the bond below it that gives way because of poor preparation. 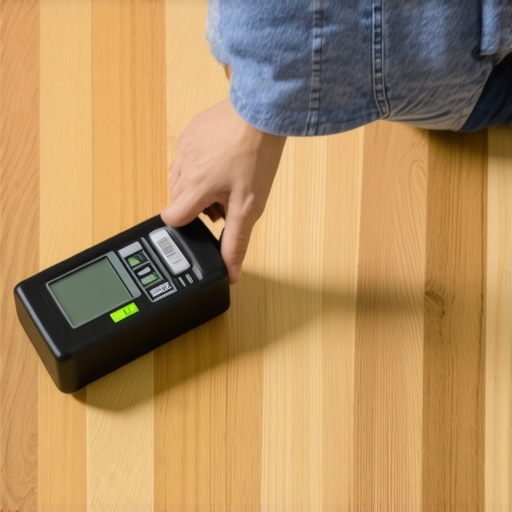
Don’t Ignore the Chemical Bond Beneath Your Feet
When you’re aiming for a glass-like finish, you have to respect the ‘re-coat window.’ Many believe that waiting longer is always safer, but with certain oil-based products, waiting too long can actually prevent the new layer from chemically bonding to the old one. You end up with ‘mechanical’ adhesion only, which is far weaker. This is one of the most common flooring installation mistakes to avoid for lasting results. If you miss that window, you have to lightly sand again just to create enough ‘teeth’ for the next coat to grab onto. I’ve seen entire floors peel up like a sunburn because the installer thought they were being ‘extra safe’ by letting it dry for three days without a scuff-sand. Hardwood is a living, breathing material, and it reacts to your home’s environment every single hour. Have you ever fallen into this trap and had to sand back to square one? Let me know in the comments—I’d love to hear how you fixed it!
I’ve realized that the difference between a floor that looks good for a month and one that stays perfect for a decade usually comes down to the gear you trust when the pressure is on. For me, that starts with a high-end moisture meter. I don’t just use it once; I use it to track the subfloor’s stability over a week. If you’re not how to use a moisture meter before installing wood floors correctly, you are essentially gambling with your investment. I personally swear by pinless meters because they don’t mar the surface of my expensive oak, and they give me a deep-scan reading of what’s happening two inches down where the real trouble hides. This level of precision is why pros rarely deal with why your hardwood floor is crowning and how to dry it out after the fact—they simply don’t install until the numbers are perfect.
The Non-Negotiable Gear for a Smooth Pour
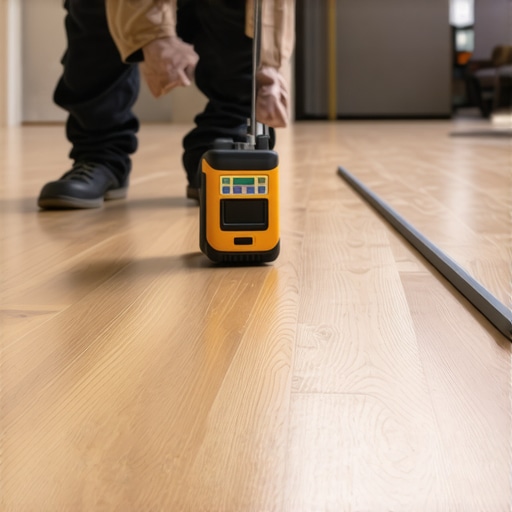
When it comes to leveling, I’ve stopped using cheap, hand-mixed buckets. I’ve moved to a dedicated heavy-duty mixing station with a specialized bird-cage paddle. Why? Because hand-mixing with a standard drill introduces micro-bubbles that will haunt your finish. You need a low-RPM, high-torque approach to get that pancake-batter consistency. This is the secret to mixing leveler for a glass smooth finish that most DIY videos skip. If you see swirl marks in your leveler, your paddle was too small or your speed was too high. I always tell my clients that preparation gear is an insurance policy. It’s much cheaper to buy a professional mixing paddle than it is to grind down a cured, bumpy mess. Before you even think about the top coat, you have to how to check for high spots with a 10-foot straightedge. If there is a gap the size of a nickel, your tile will eventually crack, or your hardwood will start that annoying ‘clicking’ sound.
How do I maintain my flooring finish over time?
Maintenance isn’t just about cleaning; it’s about climate control. The biggest threat to your floor isn’t your dog’s claws; it’s the lack of a whole-house humidifier. In the winter, wood shrinks and gaps appear. In the summer, it expands. I recommend keeping your home between 35% and 55% humidity year-round. For daily cleaning, stay far away from steam mops. I’ve seen steam mops turn a $10,000 floor into a warped disaster in under six months because they force moisture into the seams. Instead, use a microfiber mop and a pH-neutral cleaner. These are the real hardwood floor care secrets to longevity and shine that keep the wood from looking dull and dry. According to the technical specifications from Bona, using the wrong chemical cleaner can leave a residue that makes future re-coating impossible without a full sand-down. Always test a small, hidden spot before committing to a new product.
The Future of Flooring is Smart and Sustainable
I predict we are moving toward a world where “smart” subfloors are the norm. We’re already seeing sensors that can be embedded in the leveling compound to alert homeowners of moisture spikes before they cause visible damage. We are also seeing a massive shift toward water-based resins that cure in half the time of traditional oils without the toxic fumes. If you want a floor that lasts, you have to embrace these technical advancements. Don’t just settle for ‘good enough’ preparation. This weekend, I want you to try the straightedge test: take a 10-foot piece of perfectly straight lumber and slide it across your room. If you find a dip, don’t ignore it. Use mastering floor leveling pro secrets to fill it now, or you’ll regret it for years.
Hard-Won Lessons from the Bottom of a Polyurethane Can
After years of trial and error, I’ve realized that the difference between an amateur and a pro isn’t just speed; it’s the tiny habits developed through experience. First, if the sun is hitting the floor directly, stop immediately—the heat will cause the finish to skin over and trap air before it can escape. Second, never trust a cheap brush; those stray bristles will ruin your day faster than any bubble. Third, remember that mastering hardwood floor refinishing is as much about patience as it is about the pour. If you feel rushed, you’ve already lost the battle. Finally, always keep a damp rag nearby for those inevitable drips, but once the poly starts to tack, don’t touch it. I’ve found that the best results come when I treat the floor like a living thing that needs its own time to settle and breathe.
The Gear That Actually Saved My Sanity
I don’t believe in buying every gadget on the shelf, but three items are non-negotiable for me. I never start a project without a high-quality pinless moisture meter. If you aren’t sure how to use a moisture meter before installing wood floors or refinishing them, you’re leaving the outcome to pure chance. Next, a weighted T-bar is the only way to cover large areas without leaving visible lap marks that catch the light at the wrong angles. Lastly, I always keep a 10-foot straightedge handy. Even if you’re not doing a full level, you need to how to check for high spots with a 10-foot straightedge to ensure your final finish doesn’t highlight floor dips that ruin the mirror effect. These aren’t just tools; they are your insurance policy against an expensive and exhausting redo.
Your Journey Toward a Mirror-Like Shine Starts Today
There is a specific kind of pride that comes with walking across a floor that you finished yourself—one that glows with a deep, professional luster. Don’t let a few bubbles or a rough patch discourage you from the process. Every expert was once a beginner staring at a bubbly mess in the morning light. By applying these hardwood floor care secrets to longevity and shine and respecting the chemistry of your materials, you are going to create a surface that lasts for decades. You have the tools, you have the knowledge, and now you have the plan. It’s time to stop worrying about the mistakes and start pouring with confidence. Have you ever had a finish look perfect while wet only to find it felt like sandpaper the next morning? Let me know your biggest flooring frustration in the comments below!