
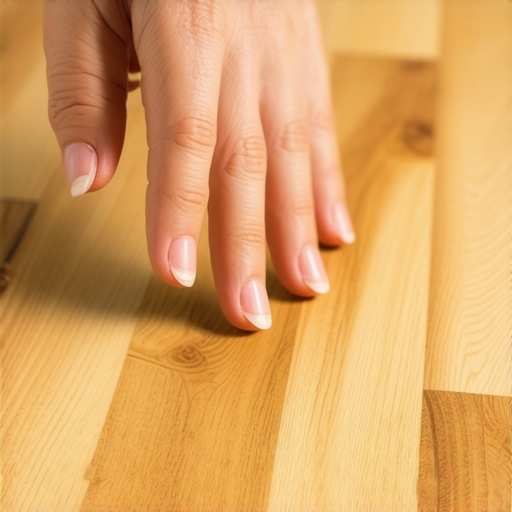
I knelt on my living room floor, running my palm across what should have been a mirror-smooth oak surface, only to feel a texture that reminded me more of a cat’s tongue than high-end flooring. I’d followed every instruction on the can. I’d bought the expensive brushes. Yet, there I was, staring at a rough finish that felt like I’d never sanded it at all. It was a visceral disappointment, the kind that makes you want to just throw a rug over the whole thing and give up. If you’ve just finished a grueling weekend of DIY and your feet are catching on tiny, prickly bumps, I know exactly the frustration you’re feeling. We put our heart into these projects, and a gritty result feels like a personal failure. But I have good news: it is almost always a simple fix rooted in physics, not a lack of talent. Today, we are going to dive into the exact reasons your finish went rogue and how to reclaim that buttery-smooth surface you were promised.
That First Step on a Gritty Floor Is a Total Heartbreaker
I made a massive mistake during my first big project: I focused so much on the floor that I ignored the ceiling and the window casings. I didn’t realize that every time I moved or the HVAC kicked on, I was shaking invisible dust onto my wet polyurethane. It’s a common flooring installation mistake that most of us make once and then never again. When you are mastering hardwood floor refinishing, you learn that the environment is just as important as the applicator. Those tiny bumps are often ‘dust nibs,’ small particles of debris that settled into the finish while it was still tacky. It doesn’t mean you need to start from scratch, but it does mean your cleaning process needs a serious upgrade. Have you ever spent a fortune on high-quality finish only to have it feel like a beach once it finally dried? I would love to hear your ‘sandpaper floor’ stories and what you think went wrong.
Is a glass-smooth finish just a marketing myth?
You might be wondering if those perfect floors you see in magazines are even possible for a DIYer. I used to think the same thing. However, professional results come from understanding ‘grain raise.’ When you apply a water-based finish, the wood fibers actually soak up the liquid and stand up straight, like the hair on your arms when you’re cold. According to the National Wood Flooring Association, wood is hygroscopic, meaning it constantly interacts with the moisture in the air and your finish. If you don’t ‘knock down’ that grain between coats, that roughness is here to stay. Whether you are focusing on hardwood floor care secrets or a brand new install, the secret is in the intermediate sanding. We’re going to walk through the exact grits and techniques to smooth those fibers out without ruining your color. It is time to stop settling for ‘good enough’ and get the professional texture your home deserves.
Kill the Stubble with Intermediate Sanding
Think of your first coat of finish like a first date—it’s full of potential, but rarely perfect. When you apply that initial layer, the wood fibers react like a sponge. They swell and stand up, creating a texture professionals call ‘grain raise.’ To get past this, you need to perform an intermediate sanding. I recommend using a 220-grit screen or sandpaper. This isn’t about removing the finish; it’s about ‘scuffing’ the surface to knock down those prickly fibers. You want to be gentle, like you’re wiping a crumb off a baby’s face. If you go too hard, you risk making the sanding mistake that leaves swirl marks on your wood, which will haunt you once the final coat is dry.
Why 220-Grit Is Your New Best Friend
Using a grit that’s too coarse will eat through your finish and hit the stain, while anything finer than 220 might just burnish the surface without creating the ‘tooth’ the next coat needs to bond. I remember my third project—a beautiful cherry wood floor. I was in a rush and skipped the thorough cleaning after scuffing. I figured the vacuum did its job. When I woke up the next morning, the floor looked like it had a five-o’clock shadow. Tiny specs of dust were frozen in the polyurethane forever. I had to sand the whole thing back down. It was a six-hour lesson in humility. If you want to avoid my fate, ensure you are mastering hardwood floor refinishing by respecting the grit sequence.
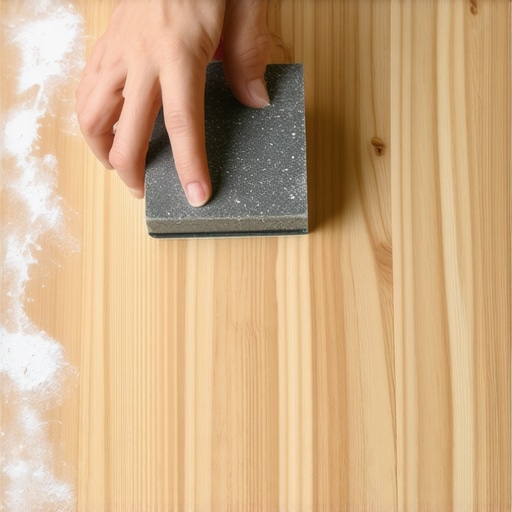
Capture Every Speck of Dust Before It’s Too Late
Vacuuming is only half the battle. Standard household vacuums often exhaust fine particles back into the room, where they float for hours before landing on your wet floor. You need a vacuum with a HEPA filter or, at the very least, the vacuum attachment that actually picks up fine sawdust rather than just moving it around. After vacuuming, use a tack cloth. This is a sticky cheesecloth that grabs the microscopic hitchhikers the vacuum missed. Wipe in one direction, toward yourself, and keep folding the cloth to a clean side. If the cloth comes up clean, you’re ready.
Master the Physics of a Level Pour
Sometimes the roughness isn’t just dust; it’s an uneven application that causes the finish to pool in low spots and stretch thin over high spots. This is similar to how a perfectly leveled subfloor behaves under gravity. If you’re seeing inconsistencies across the room, you might need a step-by-step guide to flooring installation and leveling success to understand how structural dips affect the final look. If your finish is applied too thin, it doesn’t have the surface tension required to ‘self-level’ and flow into a flat sheet. It’s like trying to paint a car with a dry sponge. You need enough product on the floor so that it can move and settle before it begins to ‘skin over.’ Professionals call this the ‘open time.’ If you’re working in a room with a draft or high heat, that open time shrinks, and you’re left with brush marks that feel like tiny ridges under your socks.
Apply the Final Coat with a Heavy Hand and a Light Touch
Now comes the ‘pour and spread’ phase. You want to maintain a ‘wet edge,’ which is a fancy way of saying you should never let the finish dry where you are currently working. If you stop for a coffee break halfway through the room, you’ll end up with a visible line. Use a high-quality applicator—a T-bar for large areas or a high-density foam brush for edges. Don’t over-work the product. The more you brush it, the more air bubbles you introduce, and air bubbles are just ‘dust nibs’ made of oxygen. Once it’s down, leave it alone. And remember, even if it looks tempting to clean up a smudge the next day, why you should never mop new hardwood for at least two weeks is a rule written in the blood of ruined projects. The finish needs time to chemically cure, not just dry to the touch.
Most homeowners assume that a smoother surface always yields a better result, but that is a dangerous misconception. If you polish raw wood beyond 150-grit before your first coat, you risk ‘burnishing’ the fibers—a state where the wood becomes so slick that stain and polyurethane cannot penetrate. This often leads to a finish that sits on top of the wood rather than bonding with it, causing it to flake off later. This is a nuance often missed even in guides about mastering hardwood floor refinishing. I recommend a thorough pass with a lower grit to keep the ‘pores’ open, even if it feels counterintuitive when you’re chasing that mirror shine. Going too high too early is effectively the sanding mistake that leaves swirl marks on your wood and prevents a deep, rich bond.
The Hidden Enemy Hiding Under Your Planks
The real secret to a professional finish isn’t in the sandpaper; it is in the moisture levels of the environment. Wood is a living material, and it is constantly seeking equilibrium with its surroundings. According to data from the Forest Products Laboratory, failing to account for the subfloor’s humidity is a leading cause of catastrophic flooring failure. If you don’t take the time to learn how to use a moisture meter before installing wood floors, you’re essentially gambling with your investment. If your subfloor is too damp, your new floor will eventually crown or buckle, regardless of how many coats of poly you apply.
Why does my leveler keep pulling away even after I primed?
Advanced DIYers often run into a wall when working with self-leveling compounds. You can follow the mastering floor leveling pro secrets for perfect installations to the letter and still end up with a product that doesn’t stick. The culprit is often ‘laitance’—a weak, powdery layer of cement that forms on the surface of concrete as it cures. If you prime over laitance, your leveler is only as strong as that dust. This is the primary reason why your self-leveler is pulling away from the concrete. You have to mechanically grind that top layer away to expose the solid aggregate beneath for a true chemical bond.
Stop Expecting Leveler to Fix Structural Issues
The ‘trap’ that catches even seasoned pros is ignoring the structural movement of the house itself. No amount of leveling compound or high-end finish can fix a bouncy subfloor. If the ‘bones’ of your home are moving, your finish will eventually crack or show stress marks along the seams. This is why addressing why your floor primer is peeling off like a sunburn starts with checking your floor joists for stability first. Have you ever fallen into this trap? Let me know in the comments. I’d love to hear your stories about the hurdles you didn’t see coming and how you reclaimed your project.I used to think that once the finish was dry, the hard work was over. I was wrong. The first six months are actually the most critical period for your floor’s long-term health. If you want to avoid flooring installation mistakes that only show up months later, you need to become obsessed with your home’s relative humidity. I personally never start a job without my Wagner Orion moisture meter. It’s not just a gadget; it’s a safeguard against the nightmare of ‘cupping.’ According to the experts at the National Wood Flooring Association, maintaining a consistent environment between 30% and 50% humidity is non-negotiable. If you don’t know how to use a moisture meter before installing wood floors, you are effectively flying blind.
How do I maintain my floor’s shine over the next decade?
The secret isn’t in a magic spray; it’s in the absence of extreme heat and moisture. I’ve seen so many homeowners ruin a $10,000 install because they used a steam mop. Please, hear me out: why you should never use a steam mop on click-lock floors is a lesson you don’t want to learn the hard way. The steam forces moisture into the seams, causing the core to swell and the edges to peak. Instead, I use a dedicated microfiber mop with a pH-neutral cleaner. It’s boring, but it works. When you are looking for hardwood floor care secrets, simplicity is your best friend. For the daily grit, I swear by the vacuum attachment that actually picks up fine sawdust and pet dander without scratching the finish. Standard beater bars are the enemy of a fresh topcoat.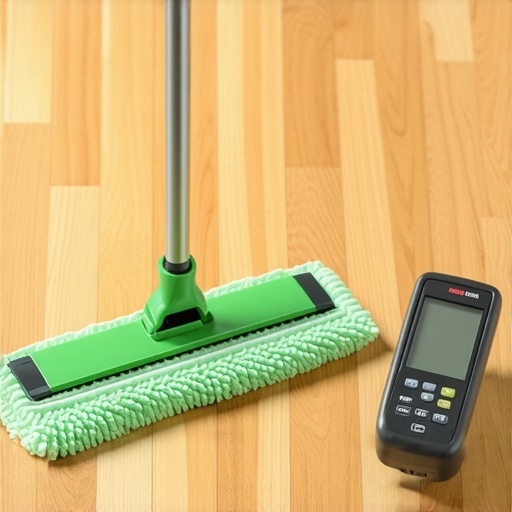
The Future of Flooring Is Smarter Than You Think
We are moving toward a world where you won’t have to guess if your subfloor is dry. I am already seeing ‘smart’ underlayments equipped with sensors that alert your phone if a leak starts under your LVP or if the humidity spikes. This tech will eventually be standard in choosing the right hardwood floors for your home. Until then, we rely on good habits and the right tools. If you’re dealing with transitions, don’t settle for the cheap plastic strips that come in the box. Invest in a solid wood or metal reducer, because why your thresholds are always the first thing to break is usually down to cheap materials and poor support. I want you to try this one advanced tip: the ‘blue tape test’ for your finish. Before you move your furniture back, place a small piece of painter’s tape on an inconspicuous area and peel it off after 24 hours. If it pulls any finish, your floor isn’t cured yet. If it stays perfectly smooth, you’ve won the DIY lottery. If you’re still feeling stuck on the leveling phase, go back and check out the step-by-step guide to flooring installation and leveling success to ensure your foundation is rock solid before the finish even touches the wood.
The Hardest Lessons I Learned While Sanding My Own Sanity
Refinishing a floor isn’t just a physical task; it’s a mental endurance test. Over the years, I’ve realized that the ‘grit’ you feel on the surface is often a reflection of the shortcuts taken in the prep phase. One big revelation was that the weather report matters as much as the sandpaper. High humidity can turn a fast-drying poly into a sticky mess that catches every floating pet hair in the neighborhood. I also learned that ‘good enough’ cleaning is the primary reason for flooring installation mistakes to avoid for lasting results. If you can see a speck of dust before the pour, you will feel a mountain after it dries. Most importantly, I discovered that mastering hardwood floor refinishing is 90% cleaning and 10% actually applying the finish. You have to treat your room like a surgical suite if you want that high-end glow.
The Gear That Saved My Back and My Budget
I don’t believe in buying every gadget at the big-box store, but a few specific tools are non-negotiable for a professional result. First, a reliable pinless moisture meter is your best defense against future cupping; knowing how to use a moisture meter before installing wood floors is the difference between a floor that lasts decades and one that fails in a year. Second, ditch the broom and get the vacuum attachment that actually picks up fine sawdust to ensure your workspace is truly pristine. Lastly, I always keep a pack of high-quality tack cloths and a 220-grit sanding screen in my toolkit. These aren’t just accessories—they are the gatekeepers of a smooth finish. I trust these tools because they have turned my most frustrating failures into my proudest home transformations.
Your Home Deserves This Victory
It is easy to get discouraged when that first coat feels rough, but remember that every pro started exactly where you are right now. That gritty texture is just a temporary hurdle on your way to a stunning home. By taking your time with the intermediate sanding and respecting the cure times, you are ensuring your hard work pays off for years to come. Once you have that glass-smooth surface, following hardwood floor care secrets to longevity and shine will keep it looking brand new without the constant stress. You’ve done the heavy lifting, now just finish strong. Have you ever been surprised by how much the ‘grain raise’ changed the feel of your wood? Let me know your experiences in the comments below!