
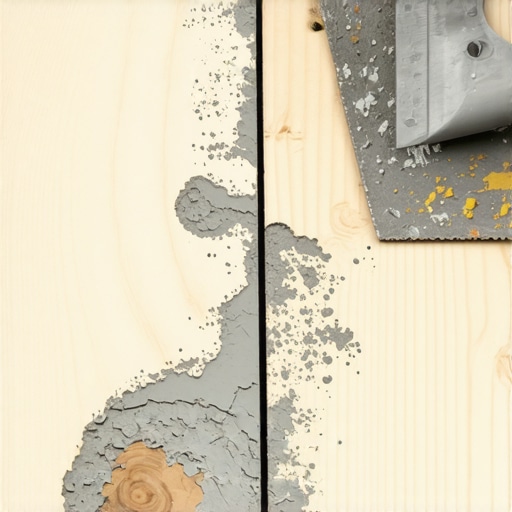
I stood there in my socks, staring at the absolute carnage of my kitchen floor, feeling like I’d just lost a fight with a sidewalk. I had just finished the ‘fun’ part—smashing up 20-year-old ceramic tiles—and what was left behind looked less like a home and more like a gravel pit. The thinset was stuck to the plywood subfloor like it was part of the original tree. My first instinct? Grab the heaviest, meanest floor scraper I could find and go to town. That was a massive mistake. Within ten minutes, I wasn’t just removing mortar; I was carving deep, ugly gouges into the wood that had me questioning my entire life’s choices. If you are currently standing in a cloud of dust wondering how to fix this mess without replacing every sheet of wood, I’ve got you. Today, we are going to walk through the exact process that saves your subfloor and your sanity, ensuring you have a surface ready for a flawless flooring installation.
Stop Fighting the Mortar and Start Thinking Like a Pro
When I first started flipping houses, I assumed brute force was the answer to everything. I ruined a perfectly good hallway because I didn’t understand that plywood is a layered, sensitive creature. If you go at it too hard with a powered demo hammer, you’ll delaminate the wood, and then you’re looking at a much more expensive repair. The real secret isn’t just about ‘scraping’; it’s about breaking the bond. This is especially vital if you want to avoid why your self-leveler didn’t bond to the wood subfloor later on. You need a clean, stable surface, and that requires a bit of finesse. I learned the hard way that a little heat or even a tiny bit of moisture can be your best friend, provided you don’t soak the wood. We want to get that subfloor back to its original state so your new layout is perfect, perhaps even following a step-by-step guide to flooring installation and leveling success. According to the National Wood Flooring Association, moisture-induced dimensional change is the leading cause of subfloor failure, so we have to be careful with how we treat the wood during this cleanup phase.
Can I just pour leveler over the old thinset and call it a day?
The short answer is: you could, but you’ll probably regret it. Those old ridges of thinset create ‘pivot points.’ If you’ve ever walked across a floor and heard a weird hollow sound, that’s often because the installer didn’t bother to clear the old debris. I once tried to ‘bury’ a particularly stubborn patch of mortar under an extra-thick layer of underlayment, and six months later, I was pulling the whole floor up because of a clicking sound. If you’ve ever dealt with how to stop your subfloor from squeaking with one screw, you know that stability is everything. Have you ever started a ‘quick’ Saturday project only to find yourself still scraping at midnight? Let me know in the comments if you’ve ever faced the ‘Scraper’s Remorse’—we can commiserate together while we get this floor right.
Clear the Big Chunks Before You Get Fancy
I’ve seen guys walk into a room with a 15-pound demo hammer like they’re trying to mine for gold. Unless you want your subfloor to look like a topographical map of the Ozarks, put the power tools down for a second. Your first move should always be a heavy-duty floor scraper with a fresh, sharp blade. Think of this like scraping ice off a windshield; you want to get under the edge of the mortar at a low angle. If you go too steep, you’ll dive right into the wood fibers. I remember my third project—a tiny bathroom in a 1940s bungalow—where I thought I’d save time by using a spade bit on a rotary hammer. Within minutes, I had chewed through the top layer of the plywood, essentially turning it into a pile of ‘shredded wheat’ that had zero structural integrity. I ended up spending two days replacing the very wood I was trying to save. Take your time with the manual scraper first to remove the high ridges. This prevents you from having to deal with why your self-leveler developed spiderweb cracks overnight because you didn’t have a stable base. Once those big chunks are gone, you can actually see the enemy you’re dealing with.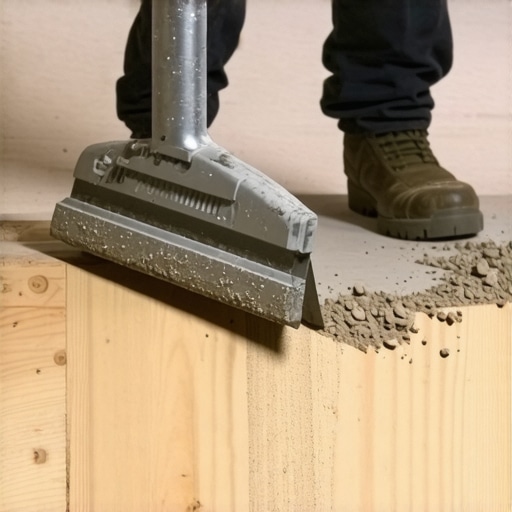
Use Just Enough Heat or Water to Break the Bond
If the thinset is being particularly stubborn, it’s usually because the original installer used a high-polymer modified mortar. This stuff is basically plastic-infused rock. Instead of fighting it with more muscle, try a heat gun. Heat softens the polymers, making the mortar brittle and prone to popping off the wood. Just keep the gun moving so you don’t start a fire—plywood doesn’t like to be toasted. Alternatively, you can use a slightly damp (not soaking) towel laid over the patches for 30 minutes. This little bit of moisture can soak into the porous mortar and weaken the bond with the wood. Just be careful; too much water leads to swelling. You want to avoid the situation where the sanding mistake that leaves swirl marks on your wood happens because the surface is too soft. While a concrete subfloor might require the best tool for scraping glue off a concrete slab, plywood requires a lighter touch to maintain its flatness.
The Final Sand and Why You Can’t Skip the Vacuum
Once the visible chunks are gone, your floor will still feel like 40-grit sandpaper. This is the ‘ghost’ of the old thinset. To get it truly smooth for your next layer, use a belt sander with a very coarse paper, like 36 or 40-grit. Keep the sander moving constantly. If you pause in one spot, you’ll create a divot that will show up in your finished floor later. This is the stage where you must use a how to check for high spots with a 10-foot-straightedge to ensure you haven’t created a valley. Removing every last speck of dust is the most boring part of the job, but it’s the most critical. If there is dust left behind, your new adhesive won’t stick. It’s like trying to put a sticker on a pile of flour. You need that clean wood-to-mortar contact to achieve the trowel notch secret for getting full thinset coverage when you start the new installation. I always vacuum twice and then use a tack cloth; it sounds like overkill until you see how much gray powder is left on the rag.
Let’s dig deeper into the nuances of subfloor preparation because, honestly, the ‘bare wood’ obsession is where most pros and DIYers alike start to lose the plot. Most people will tell you that the subfloor needs to be as clean and smooth as a new sheet of paper before you even think about how to achieve flawless floor leveling before tile laying. In my experience, that’s actually a recipe for disaster. If you sand the plywood until it’s polished, you are closing the wood’s pores and potentially creating a surface so slick that your primer or new thinset won’t have any mechanical ‘teeth’ to grab onto. This often leads to the frustrating scenario of why your self-leveler didn’t bond to the wood subfloor.
Stop Obsessing Over a Glass-Smooth Finish
The goal isn’t ‘pretty’ wood; it’s ‘stable’ wood. I’ve seen guys spend three days with a floor maintainer trying to get every last discoloration out of the grain. Those dark stains? That’s often just the polymer dye from the old mortar. As long as the surface is flat and the ‘chunks’ are gone, you are better off leaving a little bit of that old residue than you are grinding away the structural integrity of the plywood. If you over-sand, you risk the sanding mistake that leaves swirl marks on your wood or, worse, thinning the top veneer to the point of failure. According to the APA – The Engineered Wood Association, the strength of your subfloor is heavily dependent on the thickness of that top ply. When you grind it down, you are literally lowering the deflection rating of your room, which is the real reason your floor joists are making your tile crack months later.
The Hidden Danger of the Belt Sander Trap
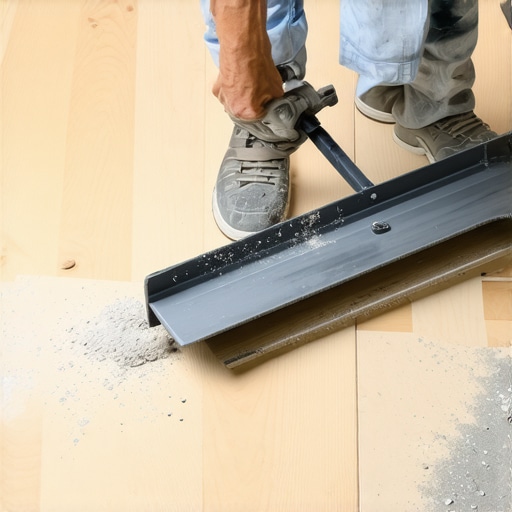
There is a specific ‘oops’ factor I call the ‘Valley Effect.’ When you hit a stubborn patch of thinset with a belt sander, the heat from the friction can actually melt the old polymers back into a gummy state before the sander clears them. This causes the sander to ‘grab,’ and before you know it, you’ve dug a 1/8th-inch trench into the subfloor. This is one of those floor leveling challenges that most people don’t realize they’ve created until they start pouring their leveler and notice a massive puddle forming in one spot. It’s better to use a sharp hand scraper for the final stubborn bits than to risk the high-speed destruction of a power sander on sensitive plys.
Can I skip the primer if the wood looks clean enough?
This is the question I get most often from people trying to save a few bucks. The answer is a hard ‘no.’ Even if you’ve done a masterful job of cleaning, the wood is now incredibly thirsty. If you pour a cementitious product directly onto it, the wood will suck the moisture out of the mix before the cement can properly hydrate. This is why you see why your self-leveler developed spiderweb cracks overnight. Use a high-quality acrylic primer to seal those pores first. It’s the cheap insurance policy that makes mastering floor leveling possible. Have you ever fallen into the ‘just one more pass’ trap with a sander and ended up with a dip in the floor? Let me know in the comments—we’ve all been there, and it’s a lesson you only need to learn once.
I used to think a shop vac was just a shop vac until I tried to prep a 500-square-foot room for self-leveler. Halfway through, the air was so thick with gray dust I couldn’t see my own boots. That is when I invested in a true HEPA-certified extractor. If you want to avoid flooring installation mistakes to avoid for lasting results, your cleanup game has to be elite. According to the Tile Council of North America (TCNA) Handbook, the substrate must be free of any bond-breaking contaminants including sealers, wax, and old adhesive residue to meet the minimum shear strength requirements for modern thinsets. I personally use a dust extractor with an automatic filter pulse because it keeps the suction consistent even when you are vacuuming up pounds of pulverized thinset.
Get the Gear That Actually Solves the Problem
Beyond the vacuum, my absolute non-negotiable tool is a 10-foot aluminum straightedge. I’ve seen guys try to use a 4-foot level, and it’s like trying to measure a mountain with a ruler. You need that length to find the subtle dips that turn into squeaks later. Learning how to check for high spots with a 10-foot straightedge will save you more money in wasted leveler than any other skill. I also swear by a high-torque, low-RPM mixer. If you use a standard drill to mix your leveler, you’ll whip too much air into the bucket, which is exactly why your floor leveler pitted during the drying process. The right tools don’t just make the job faster; they make the results predictable.
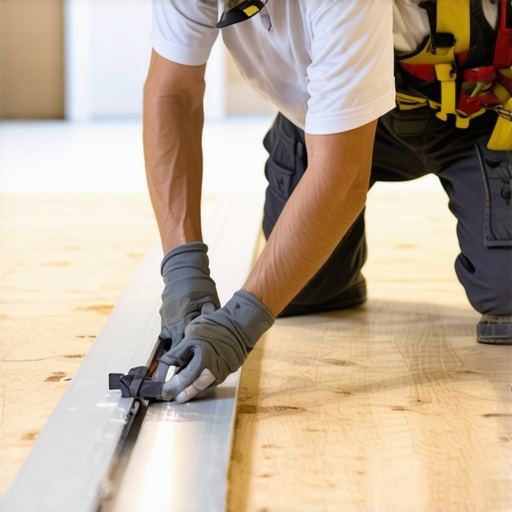
I also keep a specialized the vacuum attachment that actually picks up fine sawdust in my kit. It has a brush fringe that agitates the wood grain, pulling up those last microscopic particles of old mortar. If you leave that dust behind, you are basically building your new floor on a foundation of ball bearings.
How do I keep my subfloor stable for the next twenty years?
Maintenance of the subfloor actually starts with climate control. I’ve seen perfectly leveled floors fail because the homeowner turned off the HVAC during a month-long vacation. Plywood and hardwood are living, breathing things. To ensure longevity, keep your home’s humidity between 35% and 55%. If you let it swing wildly, that subfloor you worked so hard to clean will expand and contract, eventually breaking the bond of your thinset. Following hardwood floor care secrets to longevity and shine isn’t just about the topcoat; it’s about protecting the layers underneath from moisture stress.
Smarter Leveling and the Future of Your Living Room
Looking ahead, I see the industry moving toward ‘intelligent’ leveling systems. We are already seeing 3D laser scanners that can map a room and tell you exactly how many bags of product you need to achieve a mastering floor leveling result within a millimeter. It takes the guesswork out of the ‘pour and pray’ method. Even if you aren’t using lasers yet, you can still achieve pro results by being meticulous with your prep. My challenge to you: before you pour a single drop of leveler on your next project, spend an extra hour with a 10-foot straightedge and a pencil. Mark every single dip and high spot. That one hour of ‘scouting’ the terrain will make the actual installation feel like a breeze. Trust the process, trust your tools, and stop fighting the wood.
The Three Myths About Subfloor Prep That Almost Cost Me a Career
Looking back at my first few disasters, I realize I was following bad advice. The biggest myth is that you need to see ‘virgin wood’ before you can proceed. In reality, chasing that look often leads to over-sanding, which ruins the deflection rating of your floor. Another common lie is that self-leveler is a ‘magic eraser’ that hides all sins. It doesn’t; it just encapsulates them until the first time someone walks across the room in heavy boots. Finally, don’t believe anyone who says manual scraping is a waste of time. It is the only way to feel the floor’s response and ensure you aren’t digging into the plys. These tile installation pointers that save time and money focus on the prep for a reason: the finish is only as good as the foundation.
A Few Tools I Never Step onto a Job Site Without
I’ve whittled my kit down to the essentials that actually move the needle. A high-carbon steel floor scraper is my scalpel, allowing for precision without the violence of a demo hammer. I also never start a pour without knowing the secret to mixing the perfect bucket of self leveler every time, because a bad mix will fail even on a clean subfloor. My 10-foot aluminum straightedge is the ultimate truth-teller, revealing dips I’d never see with my eyes alone. Finally, a dedicated HEPA extractor is the only way to keep the wood pores open and ready for primer. If you are also dealing with wood surfaces beyond the subfloor, these mastering hardwood floor refinishing expert tips for 2025 can help you maintain that same level of professional detail throughout the home.
Bring Your Dream Floor to Life
Clearing away the ghosts of a previous floor is hard, dusty work, but it is the bridge between a DIY look and a professional result. When you take the time to treat the plywood with respect—using heat instead of hammers and vacuuming instead of just sweeping—you are guaranteeing that your next flooring installation will last for decades. Don’t rush the cleanup phase. Every minute spent with a scraper now is an hour you won’t spend later trying to fix a crack or a squeak. You’ve got the knowledge and the strategy, so grab that straightedge and start mapping your path to a perfect floor. Revamp your home with expert flooring installation tips and turn that gravel pit of a kitchen back into the heart of your house. Have you ever found a mystery patch of old adhesive or mortar that just wouldn’t budge no matter what you tried? Let me know in the comments below!