
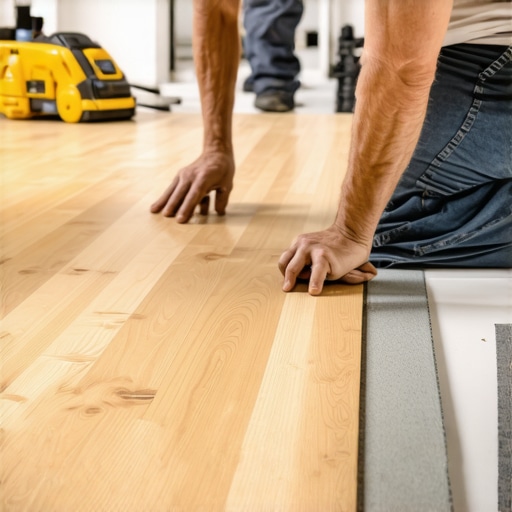
I remember the smell vividly. It was a mix of wet earth and wasted money. I had just finished laying down what I thought was a foolproof floor in my walk-out basement, only to find the edges of my beautiful planks curling like sun-dried potato chips two weeks later. I was devastated. I’d bought into the marketing hype that luxury vinyl was ‘100% waterproof,’ forgetting that while the plank itself won’t rot, the moisture trapped beneath it has to go somewhere. If you are staring at a damp concrete floor and wondering if you are about to make a massive mistake, you are in the right place. We are going to fix this today, once and for all.
Your Concrete Slab is Breathing and It’s Killing Your Floor
Most people assume that because a floor is ‘floating,’ the condition of the slab doesn’t matter. I made that exact mistake early on. I skipped a proper check and paid for it with a full tear-out. To avoid my fate, you should start by using the painters plastic trick for testing concrete moisture before you even open a box of flooring. Concrete is porous; it’s basically a hard sponge that pulls ground moisture up through capillary action. When you slap a non-breathable vinyl plank on top, you’re creating a terrarium. That trapped vapor pressure can actually pop the joints of your flooring or lead to nasty mold growth. This is why following the moisture barrier rule for basement vinyl floors is non-negotiable. If you don’t address the vapor, your ‘waterproof’ floor will fail from the bottom up.
Is a Plastic Sheet Really Enough to Save Your Sanity?
You might be skeptical that a thin layer of 6-mil poly can stop the relentless force of a damp slab. It feels too simple, right? However, the science is on our side. According to the Portland Cement Association, even concrete that looks bone-dry can have a high Moisture Vapor Emission Rate (MVER) that exceeds the manufacturer’s warranty limits. I once ignored a slightly dark patch in the corner of a room, thinking it was just ‘old concrete character.’ That ‘character’ turned out to be a slow leak that warped an entire hallway. If you want a step-by-step guide to flooring installation and leveling success, you have to embrace the prep work. Have you ever noticed a weird, musty scent in your basement even though there are no visible puddles? That’s the exact moisture we’re fighting against today. Once we seal that slab and prep it properly, your luxury vinyl will actually stay luxury for decades.
Scrub the Slab Until You Could Eat Off It
You cannot build a house on sand, and you certainly cannot lay a high-end floor on a layer of construction dust. I learned this lesson the hard way when I realized my adhesive was basically sticking to a thin film of pulverized drywall instead of the concrete. Think of your slab like a surgical site. Before you even think about the vinyl, you need to use a shop vac—not a broom—to pull every microscopic grain of grit out of those concrete pores. This is especially true if you are planning to glue anything down, as the best way to prep a dusty concrete floor for adhesive involves a deep scrub that most weekend warriors ignore. If you leave that dust behind, your floor will eventually start to ‘crunch’ when you walk on it, a sound that will haunt your dreams and tank your home value.
Flatten the Hills and Fill the Valleys
Concrete slabs are rarely flat; they are usually full of ‘waves’ that look like a calm ocean until you try to lay a straight piece of plastic over them. If you have a dip deeper than 3/16 of an inch over a 10-foot span, your vinyl joints will eventually snap under the weight of your footsteps. This is where you need to get comfortable with self-leveling compound. However, be warned: leveler is basically liquid stress. In my second basement project, I tried to skip the primer. I poured the leveler, and within twenty minutes, it looked like a topographical map of the moon because the dry concrete sucked the moisture out of the mix too fast. To get it right, you need to follow mastering floor leveler pro secrets for perfect installations, which starts with a high-quality primer to seal the concrete first.
Stop the Self-Leveling Runaway Train
One micro-disaster I’ll never forget happened when I was pouring leveler near a floor drain. I didn’t dam it off properly. I watched, paralyzed, as sixty dollars’ worth of compound vanished into my plumbing. If you don’t use foam strips or caulk to seal the perimeter and any holes, the leveler will find a way out. It’s like pouring water onto a dinner plate; it wants to go everywhere except where you need it. If you find that your self-leveler is drying faster than you can pour it, you likely forgot to cool the room or use cold mixing water. Work in small sections, and always have a partner mixing the next bucket while you spread the first one with a notched squeegee. This keeps the ‘wet edge’ alive so the sections blend into one glass-smooth surface.
Lay Your Plastic Like a Fortress
Once the floor is flat and clean, it’s time for the 6-mil poly. This is the ‘suit of armor’ for your floor. Don’t just lay the sheets side-by-side; you need to overlap the seams by at least six inches and seal them with moisture-resistant tape. This creates a continuous envelope that prevents vapor from reaching the underside of your planks. I’ve seen people try to save ten dollars by using thin painter’s plastic, but that stuff tears if you even look at it wrong. Stick to the heavy-duty stuff. This is the core of the moisture barrier rule for basement vinyl floors. When you run the plastic up the walls a couple of inches—which you’ll later hide with baseboards—you’re ensuring that any rising dampness is redirected away from your flooring investment. Avoiding flooring installation mistakes to avoid for lasting results starts with these invisible layers that nobody will ever see, but everyone will feel.
Let’s dig deeper into why so many DIY leveler jobs end up looking like a disaster zone. Everyone tells you that self-leveling compound is a ‘pour and forget’ solution, but in my experience, that is the biggest lie in the flooring industry. If you treat it like a magic wand, you are going to end up with a brittle, dusty mess that eventually cracks under the weight of your furniture. Success isn’t about the pour; it’s about the chemistry and the mechanical help you give the liquid once it hits the floor.
Stop Whipping Your Leveling Compound Like Meringue
One of the most common ‘oops’ factors I see is people using a high-speed construction drill to mix their compound. It feels efficient, but you are actually ruining the batch. High-speed mixing introduces thousands of tiny air bubbles into the mix. When you pour it, those bubbles rise to the surface and pop, creating ‘pinholing’ or ‘outgassing.’ This leaves you with a surface that looks like Swiss cheese and is significantly weaker. This is why the mixing paddle speed that ruins your leveling compound is a detail you can’t afford to ignore. You want a low-RPM drill to keep the mix dense and air-free.
The Lie That Self-Leveling Means Self-Smoothing
Here is a contrarian view: self-leveling compound does not actually level itself. It is viscous enough that surface tension will keep it from reaching every corner perfectly. If you just pour it and walk away, you will get a series of connected puddles rather than a flat plane. According to the ASTM F710 standard, concrete slabs must be structurally sound and free of all foreign substances to ensure a bond, but the flatness is on you. To get that mirror-like finish, you must use a tool most homeowners don’t even know exists. Using the spiky roller secret for a mirror smooth pour allows you to break the surface tension and release any remaining air bubbles without disturbing the leveling process. If you skip this, you might end up wondering why your self-leveler developed spiderweb cracks overnight because the tension caused the mix to pull apart as it dried.
Why Does Your Floating Floor Sound So Hollow?
Have you ever walked across a brand-new luxury vinyl floor and felt like you were walking on a hollow drum? That annoying ‘click-clack’ sound happens when there are minute voids between the leveler and the plank. Even if the floor is relatively flat, any micro-dip will cause the plank to deflect and hit the subfloor. This is a primary reason why floating floors sound hollow when you walk on them. To prevent this, you need to be surgical with your prep. If you are moving toward tile instead of vinyl, these same dips will cause your mortar to be uneven, making it nearly impossible to avoid ‘lippage’ (where one tile is higher than the next). Mastering the secret to installing large format tile without lippage starts with the very leveler prep we are doing right now. Also, be wary if you are working over old finishes; why most floor levelers fail on top of painted concrete usually comes down to a lack of mechanical etching or the wrong primer. Have you ever fallen into the trap of thinking the leveler would just fix everything on its own? Let me know in the comments below.
The Tools That Actually Make a Difference in Your Workflow
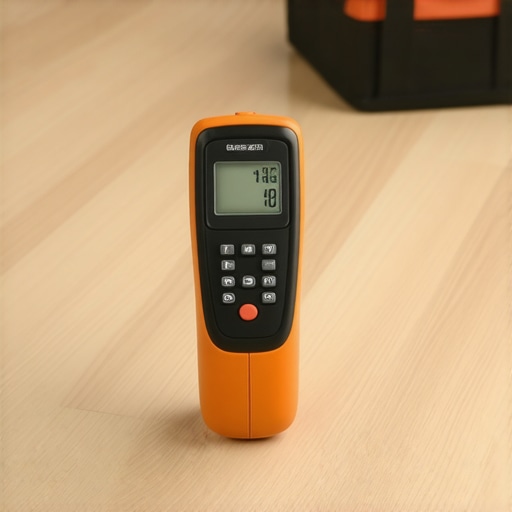
I’ve spent thousands of dollars on gadgets that promised to make flooring easier, but only three have earned a permanent spot in my truck. The first is a dedicated helical mixing paddle. Standard mud paddles tend to whip air into your leveler, but the helical design pulls material from the bottom up without the turbulence. If you want to avoid the headache of air bubbles, getting the right paddle is just as important as avoiding the mixing paddle speed that ruins your leveling compound. The second is an oscillating multi-tool for those impossible doorway notches. I used to struggle with hand saws, but a clean plunge cut with a high-quality blade saves hours. Finally, you need a professional-grade moisture meter. You shouldn’t even think about starting a project until you know how to use a moisture meter before you lay wood floors. This isn’t just about ‘feeling’ if the slab is dry; it’s about hard data that protects your warranty.
How Can I Keep This Floor Looking Like Day One?
The biggest threat to your new floor isn’t foot traffic—it’s the way you clean it. I have seen more floors ruined by well-intentioned ‘deep cleaning’ than by actual wear and tear. One of the most common errors is the obsession with steam. I can’t emphasize this enough: you should never use a steam mop on luxury vinyl. The heat can literally delaminate the wear layer and soften the core, leading to irreversible warping. Instead, stick to a pH-neutral cleaner and a microfiber pad. For those with natural wood, learning hardwood floor care secrets to longevity and shine involves managing your home’s humidity as much as it does sweeping. If you let the air get too dry in the winter, you’ll be searching for how to stop hardwood floors from gapping in the hallway by February. I personally keep a hygrometer on my mantle to ensure my home stays between 35% and 55% humidity year-round.
As we look toward the future of home renovation, I predict we are going to see a massive shift toward ‘smart’ underlayments. We are already seeing the emergence of cork and synthetic layers that can actually wick minor amounts of condensation away to the perimeter where it can evaporate safely. This is a game changer for basement installs. Regardless of the tech, the basics remain the same: your floor is only as good as the prep. If you want to revamp your home with expert flooring installation tips, start by treating the subfloor like the most important part of the finished product. According to the National Wood Flooring Association (NWFA) Technical Manual, a subfloor must be flat to within 1/8 inch in a 6-foot radius to prevent mechanical failure of the locking joints. That is a tight tolerance that requires patience and the right leveler. I highly recommend you try the ‘Blue Tape Method’ during your next layout; use the blue tape secret for perfectly straight grout lines or to mark out your starting rows for vinyl. It provides a visual guide that won’t get covered by dust or adhesive. Stop guessing and start measuring—your knees and your wallet will thank you.
The Most Expensive Mistakes I’ll Never Make Again
Looking back at my early projects, the “lightbulb moments” didn’t come from reading manuals—they came from failures. First, I learned that a slab is never truly finished; it is a living thing that reacts to the earth. If I had known how to use a moisture meter before you lay wood floors, I would have saved thousands in warped planks. Second, never trust a ‘self-leveling’ label to do the hard work for you. Without a primer, that liquid gold will just turn into a brittle mess. Finally, I realized that the time you spend on your knees with a shop vac determines the quality of the finish more than the brand of flooring you choose. Avoiding flooring installation mistakes to avoid for lasting results is really about realizing that prep work isn’t the obstacle; it is the foundation of the project.
The Gear That Saved My Knees and My Sanity
If you are serious about a professional finish, you need more than just a hammer and a prayer. I never step onto a job site without a helical mixing paddle because I’ve seen exactly how the mixing paddle speed that ruins your leveling compound can turn a smooth pour into an air-pocket disaster. For those larger pours, the spiky roller secret for a mirror smooth pour is my go-to for breaking surface tension and ensuring a glass-like finish. I also suggest keeping a heavy-duty moisture barrier on hand; it’s the ultimate cheap insurance against the elements. These tools don’t just make the job faster; they make the results repeatable.
#IMAGE_PLACEHOLDER_E#
Build a Floor That Lasts a Lifetime
You have the knowledge, the tools, and the plan. Now, it’s just about execution. Don’t let the scale of a basement project intimidate you. By focusing on the invisible details—the moisture barriers, the leveling, and the cleanliness—you are building a foundation that will support your home for decades. Every time you walk across that floor and feel the solid, quiet response of a perfectly prepped slab, you’ll know it was worth the extra effort. Mastering mastering floor leveling pro secrets for perfect installations is a skill that will serve you in every room of your house. Your journey toward a successful flooring installation starts with that first bucket of leveler and a little bit of patience. You’ve got this.
Have you ever encountered a ‘mystery leak’ or a moisture issue that threw your whole project off track? Let me know in the comments below.