
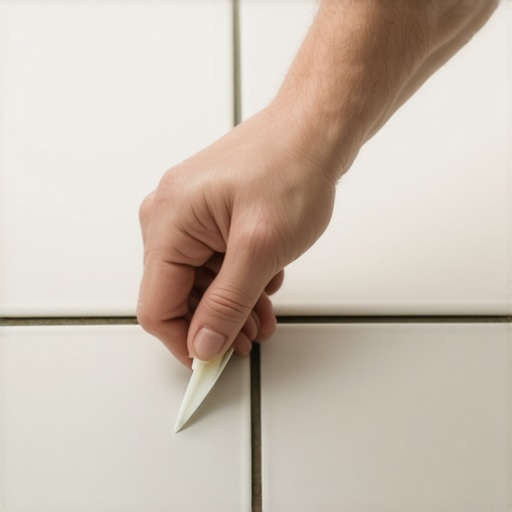
I was on my knees for six hours, meticulously placing every 1/8-inch plastic cross like my life depended on it. I felt like a pro. My back was aching, my knees were throbbing, but those lines looked laser-straight. Then, life happened—specifically, a dinner invite I couldn’t refuse. I decided to “let it set” overnight before pulling the spacers, thinking I was being smart by letting the bond get strong. Big mistake. Huge. By the next morning, those little plastic buggers weren’t just sitting there; they were entombed in rock-hard, gray thinset. I spent the next four hours with a dull utility knife, sweating and cursing, eventually chipping a gorgeous porcelain tile I’d spent forty bucks on. It was a visceral, painful lesson in the physics of adhesive. It was the moment I realized that tiling isn’t just about placement; it’s a frantic, calculated race against the clock. [IMAGE_PLACEHOLDER]
The Crucial Window for Perfect Grout Lines
If you leave your spacers in too long, you aren’t just making your life harder—you’re actively sabotaging the structural integrity of your future grout. Most DIYers think they need to wait until the floor is a fortress before touching it, but that’s one of those flooring installation mistakes to avoid if you actually want your project to look like a magazine spread. The goal is to yank those spacers when the thinset has “skinned over” but remains pliable enough to release the plastic without a fight. According to the Tile Council of North America (TCNA), thinset needs proper airflow and specific moisture levels to cure evenly, and leaving spacers buried deep in the joints can create air pockets or weak spots that cause your grout to crack in six months. I’ve found that the “sweet spot” is usually between 20 and 30 minutes after you’ve laid a manageable section. You want the tile to be stable enough that it won’t drift when you touch it, but you don’t want to be battling a chemical bond that has already transitioned into its final state. Have you ever found yourself desperately digging out plastic bits with a flathead screwdriver at 2 AM while your spouse sleeps peacefully? Trust me, there is a much better way to spend your weekend. This timing is just as vital as knowing how to get thinset off tiles after a particularly messy application has gone sideways.
Does a few hours really make a difference?
I know what you’re thinking because I thought the exact same thing ten years ago. You’re thinking that I’m being an obsessive neighbor and that if the grout covers the spacer, it’s out of sight and out of mind. Well, playing that game is a recipe for disaster. If a spacer is sitting just a millimeter too high, your grout layer becomes dangerously thin in that specific spot. That thinness leads to localized cracking, which then lets in water, which eventually ruins your subfloor. This is especially true if you are installing tiles like a pro and aiming for those modern, razor-thin lines that leave zero room for error. I learned through a very expensive replacement job that a little impatience—or misplaced patience—early on can save you a massive, multi-day headache during the grouting phase. Integrating simple tile installation pointers like these can be the difference between a floor that lasts decades and one that starts talking back to you within a year. By pulling those spacers at the precise right moment, you ensure your lines stay perfectly straight without the “ghosting” or ugly chipping that comes from a forced, desperate removal. Have you ever had a spacer get stuck so badly you considered just leaving it there and hoping for the best? Tell me I’m not the only one who has faced that dilemma!
Pull Spacers with the Three-Finger Resistance Test
Think of thinset like a high-speed dating service; it wants to bond, and it wants to bond fast. To avoid the nightmare I lived through, you need to use the resistance test. Around twenty minutes after laying a section, try to wiggle a spacer with your thumb and forefinger. If it slides out with a slight “schlock” sound and leaves a clean void, you are in the goldilocks zone. If the thinset is still runny and starts to slump into the gap, push it back in and wait ten more minutes. However, if you have to use pliers, you have waited too long. This is especially critical when using the fast-set mortar trick for same-day tile grouting, where your working window shrinks from hours to mere minutes. I once tried to do a small powder room with fast-set on a ninety-degree day, and by the time I finished the last cut, the first spacers were already immovable. I had to use a heat gun to soften the plastic enough to pick it out—a miserable experience that turned a two-hour job into a six-hour ordeal.
Keep Your Grout Joints Clean While You Work
A common rookie move is leaving “volcanoes” of thinset erupting between the tiles. When you pull the spacer, you must also check the depth of that joint. If the mortar is oozing up more than halfway, take a small margin trowel or even a screwdriver and scrape it out now. If you do not, you will be facing the secret to getting thinset off tiles later, which involves a lot more elbow grease and a high risk of scratching your finish. 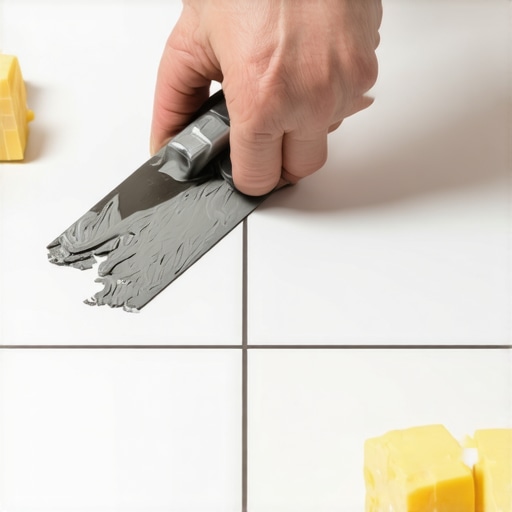
How to Manage Heavy Tiles and Prevent Lippage
Gravity is not your friend during a floor install. For bigger pieces, you are not just worried about spacing; you are worried about one edge sitting higher than its neighbor. This is where you need to master the secret to installing large format tile without lippage. If you find a tile is sinking, do not just shove a bigger spacer in; you need to back-butter the tile to build up the bed. Think of it like shimmying a table at a restaurant with a sugar packet—you are leveling the playing field. If your subfloor was not perfect to begin with, you might be dealing with why your self-leveling pour looks like a topographical map, which makes spacer management a secondary concern to basic physics. I have seen guys try to “force” tiles level using heavy weights, but all that does is squeeze the thinset out of the joints, making the spacers impossible to remove later.
Why a Rock-Solid Subfloor Keeps Spacers from Dancing
You can have the steadiest hands in the world, but if your underlayment is bouncy, those spacers will shift the second you walk away. I learned this the hard way in a Troy remodel where I ignored a slight flex in the subfloor. That flex caused the plywood mistake that causes grout cracks, and no amount of precision spacing could save it. Ensure you have the right plywood grade for a stable tile underlayment before you even think about the decorative layer. Use the chalk dust secret for finding low spots in subfloors to identify trouble zones before you mix your first bucket. A rock-solid base means your spacers stay exactly where you put them, allowing you to focus on the aesthetic alignment rather than fighting a shifting floor.
Stop treating self-leveler like it is magic water
One of the biggest myths in the flooring world is that self-leveling compound (SLC) is a “set it and forget it” solution. I have seen countless DIYers and even some seasoned renovators pour it out expecting it to behave like a perfectly flat lake of glass. In reality, SLC is finicky, temperamental, and often requires more preparation than the actual flooring installation itself. Most people think they can just pour it over a dusty slab and walk away, but that is exactly why your self-leveler stays in the bucket or, worse, peels off the floor like a bad sunburn. You have to treat the substrate like a canvas. If you skip the concrete etching step you should not skip before leveling, you are essentially pouring liquid stone onto a layer of microscopic dust that acts like a release agent. You aren’t building a floor; you are building a layer of brittle crackers.
Why does my level floor still feel “off” underfoot?
Precision is not just about being flat; it is about being structurally sound. You can have a floor that is level to within a fraction of an inch, but if you have tiny pinholes or “craters” from air bubbles, your finish will suffer. This usually happens because the subfloor was not properly primed to seal the pores in the concrete or plywood. According to the National Wood Flooring Association (NWFA) technical standards, subfloor flatness is the foundation of every successful install, requiring no more than 3/16 inch deviation over 10 feet. However, even if you hit that number, why your self-leveling compounds bubbled can haunt you for years. Those bubbles create hollow weak spots that collapse under the weight of heavy furniture, leading to that annoying “clicking” sound in floating floors. I always tell people to watch the mixing paddle speed that ruins your leveling compound; if you go too fast, you are just whipping air into the mix like a kitchen meringue, which is a disaster for structural integrity.
The moisture trap that destroys hardwood installs
If you are transitioning from a tile project to a wood floor, do not assume a dry-feeling slab is actually ready for wood. This is a massive “oops” factor that causes engineered wood planks to bow at the ends months after the job is finished. Even a slab that has sat for thirty years can still “breathe” moisture into your new boards. When mastering hardwood floor refinishing, you learn quickly that the moisture content of the wood must be within a specific percentage range of the subfloor. If you ignore this, you are building a ticking time bomb. This is where mastering floor leveling pro secrets becomes about more than just using a laser level; it is about moisture barriers and patience. Have you ever fallen into this trap of thinking “it looks flat enough” only to regret it six months later? Let me know in the comments!
The Gear That Separates Amateurs from Professionals
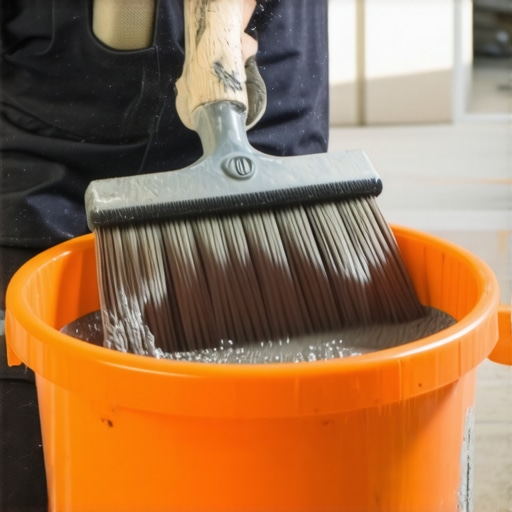
When you move past the basics, you realize that the right tool isn’t just about making the job faster—it’s about eliminating the variables that cause failure. For me, the game-changer was discovering the spiky roller secret for a mirror-smooth pour. I used to think a gauge rake was enough, but without those spikes breaking the surface tension of the self-leveler, you are basically hoping the laws of physics are in a good mood that day. Now, I never pour a bag without one. Similarly, if you are working with wood, you need a pinless moisture meter. I’ve seen too many guys rely on the old-school ‘it feels dry’ method, which is basically guessing. Following the ASTM F2170 standard for in-situ relative humidity testing in concrete is the only way to be 100% sure your slab won’t reject your expensive hardwood. I’ve spent years mastering hardwood floor refinishing, and the biggest lesson is that you can’t fight chemistry. If the moisture is there, it will come out, and your floor will pay the price.
How do I keep my new floors looking pristine for decades?
Maintenance is where most homeowners drop the ball after the initial excitement wears off. You just spent thousands on materials and weeks on labor; don’t ruin it with a five-dollar bottle of generic cleaner. You must stop using vinegar on your hardwood floors immediately. The acidity eats through the polyurethane finish over time, leaving your boards vulnerable to graying and water damage. Instead, look into hardwood floor care secrets to longevity and shine that focus on pH-neutral cleaners and microfiber dusting. For tile, the secret is all in the sealer. If you chose a beautiful natural stone, you need to be testing the seal every six months with the spray bottle hack for testing floor sealer coverage. If the water doesn’t bead up, you’re one spilled glass of red wine away from a permanent stain. Remember that why high gloss tile is a safety hazard in mudrooms isn’t just about slipping; it’s also about how easily those surfaces show every single microscopic scratch from tracked-in sand.
The Future of Leveling involves Lasers and Algorithms
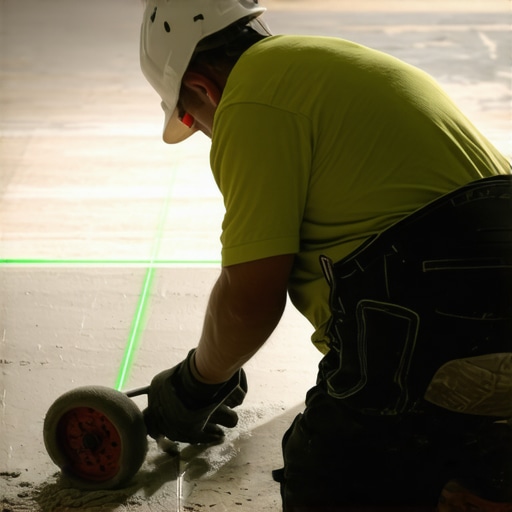
We are entering an era where ‘eyeballing it’ is becoming obsolete. I’m already seeing pros move toward 3D floor scanning technology that maps out high and low spots with sub-millimeter accuracy before a single drop of water is mixed. This takes precise floor leveling techniques to a whole new level. In the next five years, expect to see self-leveling compounds that are smarter, with built-in sensors or color-changing indicators that tell you exactly when the moisture content is safe for wood installation. It’s an exciting time to be a flooring geek! My best piece of advice for your next project? Get yourself a high-quality 360-degree green beam laser level. It makes setting your datum lines and checking for subfloor dips infinitely easier than a traditional spirit level ever could. If you want to truly level up your game, stop guessing and start measuring. Why not try the painter’s plastic trick for testing concrete moisture on your next subfloor before you buy your materials? It’s a low-tech way to gain high-tech certainty.
The Hardest Lessons I Learned Managing My Own Flooring Mistakes
After a decade of knees on the ground and buckets in hand, I’ve realized that the most expensive tool in your kit isn’t a laser—it’s your own patience. First, never underestimate a ‘dry’ basement. I once skipped a moisture barrier because the slab looked dusty and white, only to watch the boards cup three months later. Always check why your basement floor needs a moisture barrier before you commit to your layout.
Second, if you hear a ‘crunch’ when you walk on a finished tile, you have likely left an air pocket. Back-buttering isn’t just a suggestion for pros; it is the physical law of longevity for any tile project. Finally, remember that your layout is a puzzle that should start at the center of the room, not the most convenient corner. If you rush the initial measurements, you will be cutting awkward slivers of tile by the time you reach the far wall. [IMAGE_PLACEHOLDER]
My Personal Gear Picks for a Seamless Install
If you are ready to stop guessing and start building, there are three things I never walk onto a job site without. I always start by reviewing a step-by-step guide to flooring installation and leveling success to keep my workflow linear and prevent missed steps. For the actual labor, a high-quality spiky roller is non-negotiable for self-leveling pours, and a heavy-duty suction cup for large format tiles will save your fingers from getting pinched in the thinset bed.
I also highly recommend keeping a dedicated ‘oops’ kit on hand—extra spacers, a clean sponge, and a margin trowel—because when thinset starts to harden, things go wrong fast. Investing in flooring installation fundamentals like these ensures you aren’t fighting your equipment while you are fighting the clock.
Your Foundation is Ready for the First Step
The transition from a messy subfloor to a shimmering finished surface is one of the most rewarding feelings in home improvement. Don’t let the fear of a stuck spacer or a tiny bubble in your leveler stop you from starting your renovation. By following the ultimate guide to floor leveling for a perfect finish, you are already ahead of 90% of the people who just ‘wing it’ and hope for the best. Take a deep breath, mix that first bag of mortar, and trust the process. Your future self—walking across a perfectly flat, silent floor—will thank you for the extra effort you put in today during this flooring installation. Have you ever had a flooring project go sideways because of a ‘simple’ mistake you ignored at the start? Let me know your story in the comments below!