
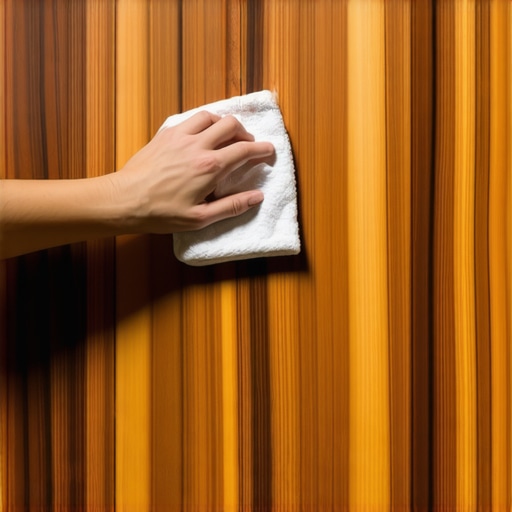
It happened last Thanksgiving. My aunt brought over a steaming dish of sweet potato casserole, and in the chaos of a crowded kitchen, I did the unthinkable. I set it right on my grandmother’s cherry wood sideboard without a trivet. Twenty minutes later, the dish was gone, but a ghostly, milky-white ring remained. I felt sick. My first instinct? I grabbed the dish soap and a scrubby sponge. Big mistake. I nearly took the finish right off and made the cloudiness worse. If I had known my hardwood floor care secrets to longevity and shine back then, I would have known that wood finishes are delicate ecosystems that react poorly to sudden, intense heat. I spent the rest of the night scouring the internet, terrified I’d have to refinish the whole piece. But here is the good news: you probably won’t have to sand anything down. Today, I’m going to show you how to pull that moisture out of the finish using things you already have in your pantry. Have you ever looked at a fresh white ring on your favorite table and felt your heart sink into your stomach? Let me know in the comments if you’ve tried a ‘miracle fix’ that actually worked!
Save Your Table Without Sanding It Down
Usually, when we see a mark on wood, we think of a stain or a scratch. But a white heat ring is a different beast entirely. It’s a physical change in the finish itself. I learned the hard way that you shouldn’t treat it like a spill. Whatever you do, stop using vinegar on your hardwood floors immediately or on your furniture when trying to clear these spots; the acidity can etch the finish and turn a surface blemish into a permanent scar.
Is this white mark actually permanent damage?
The short answer is: probably not. Most people panic because they think the wood is charred. However, according to the USDA Forest Products Laboratory, these white marks are typically just moisture trapped in the upper layers of the finish, not the wood fibers themselves. If the mark was black or dark brown, you’d be looking at a much tougher repair, perhaps needing to learn how to fix a burnt spot on hardwood without replacing the board. But white means there is hope. It means the finish did its job and protected the wood, but it got a little ‘clogged’ in the process.
Pick the Right Fight Against Trapped Moisture
The type of finish on your furniture determines how it reacts to heat. In the ongoing natural oil vs polyurethane debate for busy homes, we see that modern poly finishes are much more resilient, but they can still trap steam if a hot pizza box or coffee mug sits too long. Heat expands the molecules of the finish, allowing moisture from the steam to sneak inside. As the surface cools, the finish contracts, locking that moisture into a cloudy, visible layer. My mission today is to teach you how to gently reheat that surface just enough to let the moisture escape without melting the finish into a gooey mess. It’s a delicate dance, but once you see that white ring vanish before your eyes, you’ll feel like a woodworking wizard.
Use Dry Heat to Open the Finish
Your goal is to move the moisture out of the finish the same way it got in: through heat. Think of your wood finish like a microscopic gate. When the hot dish sat there, it forced the gate open, and steam rushed inside. When the dish was removed, the gate slammed shut, trapping the cloudiness. To fix this, you need to gently coax that gate open again. I always start with the most controlled method: the clothes iron. Unlike the moisture-heavy process of mastering hardwood floor refinishing expert tips for 2025, this is about surface-level manipulation.
How to Use a Clothes Iron Without Scorching the Wood
First, make sure your iron has absolutely no water in it. If you use steam, you are just adding more moisture to the problem. Set it to a low or medium-low heat. Lay a clean, dry cotton cloth—like an old t-shirt or a tea towel—flat over the white ring. Gently run the iron over the cloth in circular motions for about 15 to 20 seconds. I remember the first time I tried this on a sun-faded side table; I was so nervous I kept lifting the cloth every three seconds to check. The trick is to keep the iron moving. If you stay in one spot, you risk heat damage that might actually require you to learn how to fix a burnt spot on hardwood without replacing the board. Lift the cloth and look at the ring. Is it fading? If so, repeat the process. It took me three rounds on that cherry sideboard, but eventually, the white haze simply evaporated into the air. 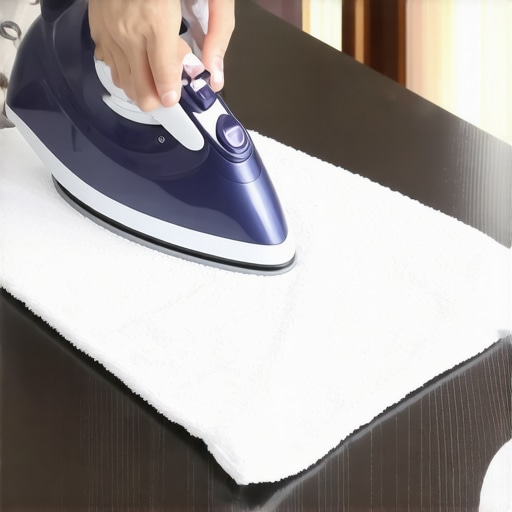
The Hairdryer Trick for Delicate Surfaces
If the iron feels too aggressive, or if the mark is near an edge where a flat iron can’t reach, grab your hairdryer. This is my go-to for smaller rings or thinner finishes where I’m worried about delamination. Set the dryer to medium heat and hold it about two inches away from the wood. Keep the air moving back and forth across the spot. This mimics the environment of a professional drying room but on a micro-scale. Just like using a how to use a moisture meter to prevent floor failure in a new installation, you are monitoring the wood’s reaction to its environment. After a few minutes, you’ll see the edges of the ring start to blur. It won’t happen instantly. I once spent ten minutes hovering over a coffee table, convinced it wasn’t working, and then—poof—it was like the wood finally took a deep breath and let the cloudiness go.
When Heat Fails Try This Simple Pantry Paste
Sometimes the moisture is stubborn, or perhaps the finish is older and more porous. In these cases, you need a very gentle abrasive to break the surface tension without scratching the wood. Mix a tiny bit of non-gel white toothpaste with a pinch of baking soda. Use a soft cloth to rub the paste into the ring in the direction of the wood grain. I learned this from a furniture restorer who swore by it for pieces that were too delicate for high heat. Be careful, though; if you rub too hard, you’ll create a shiny spot that stands out against a matte finish. This is much safer than chemical cleaners, and it’s a big reason why you should why you should never mop your floors with dish soap or use harsh surfactants on wood. Once the mark is gone, wipe the area clean with a damp (not wet) cloth and immediately buff it dry with a microfiber towel.While I’ve focused on surface repairs, the most common ‘advanced’ mistake I see isn’t about the finish—it’s about the foundation. Most people think that once they’ve addressed the visible damage, they’re in the clear. But professional-grade results require looking deeper into the subfloor. I’ve seen so many homeowners assume that a slightly wavy subfloor can be ‘padded out’ with a thicker underlayment. This is a massive mistake. In the world of high-end flooring, we call this chasing the dragon; you’re trying to fix a structural issue with a cosmetic band-aid.
Stop Trusting Your Eyes and Start Trusting Your Level
The human eye is surprisingly bad at detecting gradual slopes that can ruin a layout. I’ve walked onto jobs where the floor looked ‘good enough,’ but a 10-foot straightedge revealed a half-inch dip. If you ignore this, you’ll end up wondering why your lvp floor is clicking when you walk on it every time you step. According to the National Wood Flooring Association (NWFA), a subfloor must be flat within 3/16 of an inch over a 10-foot radius. If it isn’t, the stress on the locking mechanisms will eventually cause them to fail. This is why precise floor leveling techniques to achieve flawless surfaces is the difference between a floor that lasts 30 years and one that fails in three. Have you ever fallen into this trap? Let me know in the comments!
Can You Really Level a Floor Without Adding Massive Weight?
This is a question I get from people working on second-story renovations. They worry that a heavy layer of self-leveler will compromise the joists. The trick is to use high-flow, fiber-reinforced compounds and learn how to level a plywood subfloor without adding weight by targeting only the low spots rather than a full-room pour. However, even the best compound will fail if you don’t respect the chemistry. 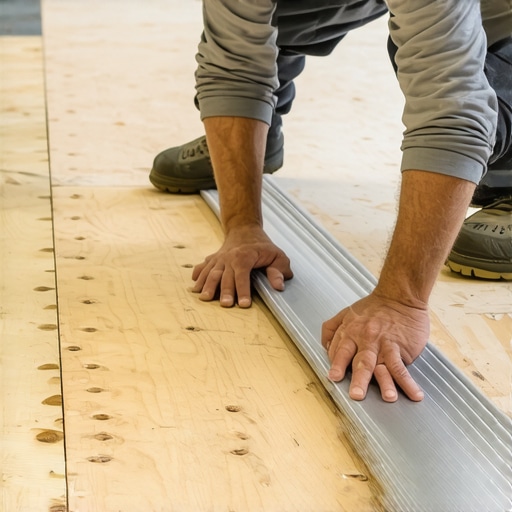
The Thick Underlayment Trap That Snaps Your Planks
One of the most pervasive myths in the DIY community is that ‘premium’ thick underlayment can compensate for a bumpy subfloor. In reality, too much cushion is the enemy of a floating floor. It creates ‘vertical deflection,’ meaning the floor moves up and down like a trampoline. This movement is what leads to flooring installation mistakes to avoid for lasting results. If you use a squishy foam, you’re essentially asking the thin plastic tongue-and-groove joints to act as a bridge over a canyon. They will snap. Always prioritize a flat subfloor over a thick pad. Also, keep an eye on your tools; using the mixing paddle speed that ruins your leveling compound can introduce air bubbles that weaken the entire structure. If you’re working on concrete, remember that moisture is your silent enemy. Even if the slab looks bone-dry, you should check why your basement floor needs a moisture barrier even if it feels dry before you commit to an expensive hardwood upgrade. Taking these extra steps isn’t just being ‘extra’—it’s how you guarantee that the work you do today doesn’t become a headache tomorrow.
The Gear That Separates Pros From Amateurs
I used to think a steady eye and a chalk line were all I needed, but after one too many skewed layouts, I invested in a high-end self-leveling laser. Now, I use the laser level move for perfectly straight hallways on every single project. It’s not just about speed; it’s about the peace of mind that comes from knowing your first plank and your last plank are perfectly parallel. If you’re still snapping lines and hoping for the best, you’re leaving too much to chance. For my tile work, I’ve also stopped eyeballing my start points. I’ve started using the pencil mark secret for perfectly centered tile layouts, which ensures that you don’t end up with a tiny, awkward sliver of tile against the far wall. These tools don’t just save time; they save your reputation. 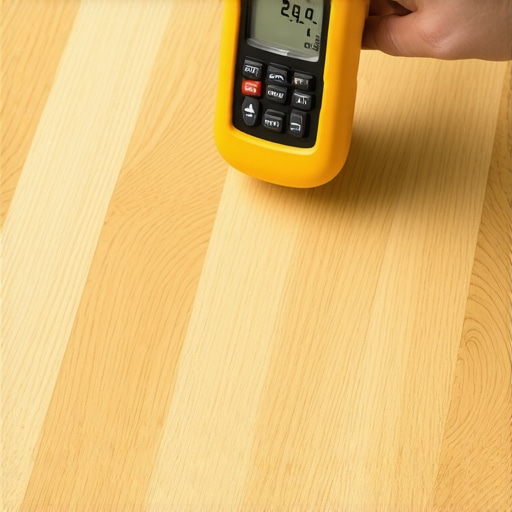
Data Beats Intuition Every Time
If there is one tool I will never step onto a job site without, it’s a pinless moisture meter. You might think the wood feels dry, but the internal cellular structure could still be holding onto enough water to cause cupping three months from now. Learning how to use a moisture meter to prevent floor failure is the ultimate insurance policy. As noted in the Bona Technical Data Sheets for professional finishes, maintaining a consistent relative humidity between 30% and 50% is the single most effective way to prevent structural wood failure. I’ve seen $20,000 floors ruined because a homeowner turned off the AC while on vacation, causing the wood to swell and buckle. In the next few years, I predict we will see smart sensors embedded directly into subfloors that can text your phone if moisture levels spike behind your baseboards. Until then, you are the sensor.
How do I maintain my new floors over time?
Long-term beauty is less about heavy cleaning and more about ‘smart’ protection. I always tell my clients that the best way to clean is to use a dry microfiber mop daily to remove grit. If you let sand and dirt sit, they act like sandpaper under your feet. Follow my hardwood floor care secrets to longevity and shine and avoid the ‘all-purpose’ cleaners found in big-box stores. Most importantly, why you should never mop your floors with dish soap is a lesson you don’t want to learn the hard way; those surfactants leave a film that attracts even more dirt over time. Instead, stick to pH-neutral cleaners specifically designed for your finish. For those tackling big renovations, mastering floor leveling pro secrets for perfect installations now will save you from having to do these repairs ten years down the road. Take my advice: go grab a moisture meter today and check three different spots in your house—you might be surprised by what the data tells you.
What I Finally Realized About Wood Finishes and Flat Floors
After years of fixing my own blunders, I’ve learned that wood is more like skin than plastic—it breathes, it reacts, and it heals if you treat it with respect. The biggest lightbulb moment for me was realizing that most ‘permanent’ damage is just a surface-level misunderstanding. Whether it’s a white ring on a table or a clicking sound in your living room, the wood is trying to tell you something about its environment. I also discovered that speed is usually the enemy. When you rush a floor leveling job, you miss the subtle dips that cause long-term failure. Now, I always follow a step-by-step guide to flooring installation and leveling success rather than winging it. Trusting the process is the only way to avoid the heartbreak of a floor that fails just as you’re starting to enjoy it.
The Professional’s Toolkit I Swear By
If you want results that look like you hired a pro, you need to stop relying on cheap department store tools. I personally trust a pinless moisture meter because it’s non-destructive and incredibly accurate for checking hydration levels before any install. For layout, I don’t move a single tile without checking my tile installation pointers that save time and money to ensure I’m not wasting material. I also highly recommend keeping a self-leveling laser in your kit; it’s the only way to be 100% sure your surface is ready. Finally, for those really tough foundation issues, mastering floor leveling pro secrets for perfect installations will teach you more than any generic tutorial ever could. #IMAGE_PLACE_HOLDER_E#
Take That First Step Toward a Flawless Surface
Fixing your home can feel overwhelming, especially when you’re staring at a ruined finish or a subfloor that looks like a roller coaster. But remember, every expert started with a project they were terrified of ruining. By focusing on the details—like moisture levels and subfloor flatness—you are already ahead of most DIYers. Use my hardwood floor care secrets to longevity and shine to keep your surfaces looking brand new, and don’t be afraid to take your time. You’ve got the knowledge and the tools; now it’s just about the execution. Have you ever successfully removed a white ring using the iron method, or did you find another trick that worked better for your specific furniture? Let me know below!