
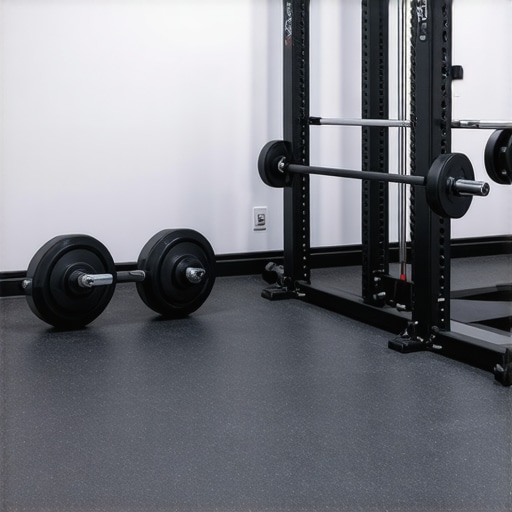
I remember the exact moment I realized I had made a massive mistake with my garage gym. I’d just finished a heavy set of deadlifts and, in a moment of exhaustion, let the bar drop a bit too fast. I expected a loud thud, but what I heard was a sickening crack. When I moved the weights, there it was: a jagged split right through the middle of my brand-new ‘waterproof’ residential vinyl plank. I had spent days leveling the subfloor for a perfect finish, only to watch my budget-friendly choice fail under the first sign of real pressure. It was heartbreaking, and honestly, a bit embarrassing. I thought I was being smart by saving a few hundred bucks on materials, but instead, I was staring at a repair job that would eventually force me to rip out the entire floor.
Stop Trashing Your Floors with Weak Residential Options
Listen, I’ve been right where you are. You’re looking at the price per square foot and thinking that the stuff labeled ‘Heavy Duty’ at the big-box store will handle your kettlebells and power rack. It won’t. One of the biggest mistakes that ruin your luxury vinyl plank installation is mismatching the material’s durability to its actual use. In my early days, I prioritized the pretty wood-grain pattern over the wear layer thickness, thinking a 6-mil layer was enough for a gym. It wasn’t even enough for my rolling chair, let alone a 300-pound squat rack. When you choose commercial-grade vinyl, you aren’t just paying for a name; you’re paying for a dense, high-performance core that doesn’t cave when life—or a dumbbell—hits it hard. I’m going to show you exactly why that extra investment is the only way to avoid the nightmare of flooring installation mistakes that lead to premature failure.
Is commercial vinyl actually worth the extra money?
I get the skepticism. Why pay double when the residential version looks almost identical on the shelf? The answer lies in the ‘indentation resistance.’ According to the ASTM F1913 standard for solid vinyl flooring, commercial-grade materials are engineered to withstand significantly higher static loads without permanent deformation. In plain English: your heavy treadmill won’t leave permanent ‘potholes’ in your floor. We’re going to dive into the technical reasons why this stuff holds up, from the 20-mil wear layers to the heat-pressed backings that prevent the edges from curling. Have you ever noticed your floor clicking when you walk on it after a few months of use? That’s often the locking mechanism failing under weight—something that rarely happens with the heavy-duty stuff. Have you ever finished a workout only to realize your equipment has permanently ‘sunk’ into your floor? I’d love to hear your horror stories in the comments so we can prevent others from making the same slip-ups!
Get the Foundation Right or Don’t Start at All
You have to treat your subfloor like the foundation of a skyscraper. If it’s wonky, everything on top eventually leans or snaps. I learned this the hard way when I ignored a slight dip in my concrete slab. I thought the commercial-grade core was stiff enough to bridge the gap. Within three months, the constant flexing of the planks over that hollow spot caused the locking joints to fatigue and eventually snap. Now, I never start without using precise floor leveling techniques to achieve flawless surfaces. It’s the difference between a floor that lasts twenty years and one that fails in one.
Why Priming is the Step You Can’t Skip
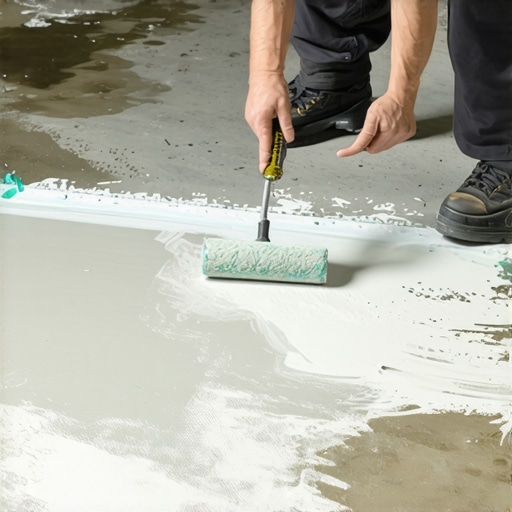
Before you even think about pouring a leveling compound, you need to address the ‘dust’ factor. I once spent a whole afternoon mixing and pouring leveler over an old garage floor, only to have the entire sheet of hardened compound pop off like a scab a week later. Why? Because I didn’t realize why you must prime concrete before every leveling job. The dust prevents the bond. Now, I scrub that concrete like I’m prepping for surgery and apply a high-quality primer. It’s a cheap step that saves you from a massive flooring installation mistake.
Glue Down vs Floating for High-Impact Zones
Next, decide if you’re going to float the floor or glue it down. For a high-impact area like a gym or a workshop, I’m a huge advocate for glue-down commercial vinyl. Floating floors are great for bedrooms, but in a space where you’re moving heavy equipment, a floating floor can shift or ‘tent.’ If you’ve ever seen why your vinyl floor is tent-peaking in the middle, it’s usually because it didn’t have enough room to breathe or it shifted under weight. Glue-down keeps every plank exactly where you put it, preventing that annoying clicking sound common with cheap underlayments.
Stay Straight with a Simple String Line
When you’re actually laying the planks, don’t just eyeball the layout. Use the string line method for perfectly straight hallway wood or vinyl. Even in a square room, walls are rarely straight. If you start crooked, by the time you reach the other side, your cuts will look like a jigsaw puzzle gone wrong. And for those tight corners around door frames, the right way to undercut baseboards for a clean flooring finish is to use a scrap piece of your actual flooring as a height guide for your saw. This ensures the plank slides right under the trim for a professional look without messy gaps.
The Noise Test for Wooden Subfloors
Don’t ignore the noise either. Before laying the first plank, perform the hammer test for finding loose floor joists. If you have a wooden subfloor, a simple tap can reveal where nails have pulled loose. I once ignored a slight squeak near my squat rack, and after the vinyl was down, that squeak became a rhythmic groan every time I walked by. I had to pull up three rows just to drive two screws into a joist. Lastly, give the material time to acclimate. If you’ve wondered why your vinyl plank floor is bubbling near large windows, it’s often because it was installed ‘cold’ and expanded as the sun hit it. Giving the material 48 hours to sit in the room prevents those painful buckles later on.
We’ve been conditioned to think that ‘waterproof’ is a magic shield. If the box says it, we assume our subfloor is safe. But here is a hard truth most retailers won’t tell you: the vinyl itself might be waterproof, but the installation rarely is. In my experience, relying on that label is one of the fastest ways to end up with mold or a buckling mess. You see, moisture doesn’t just come from a spilled water bottle; it migrates up through the concrete slab. If you don’t realize why you should not rely on waterproof labels alone, you’re essentially trapping vapor between your slab and your planks. According to the Resilient Floor Covering Institute (RFCI), waterproof ratings only apply to the integrity of the plank itself—not the space underneath it.
Is your concrete actually dry enough for vinyl?
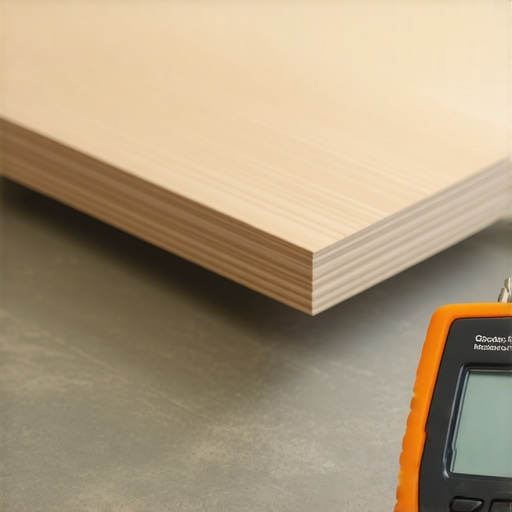
This is where the ‘pros’ separate themselves from the weekend warriors. Most people think if the concrete looks dry, it’s ready. Wrong. I’ve seen slabs that were twenty years old still off-gassing enough moisture to blow the seams of a commercial-grade floor. You absolutely have to learn how to use a moisture meter to prevent floor failure. If the relative humidity (RH) inside the slab exceeds 75%—the threshold set by ASTM F2170—you’re looking at a ticking time bomb. This is a nuance often missed in 7 mistakes that ruin your luxury vinyl plank installation.
Another common myth is that a 20-mil wear layer makes your floor scratch-proof. It doesn’t. A thicker wear layer protects the pattern from wearing through to the core, but a sharp pebble or a sliding chair can still gouge a 20-mil layer just as easily as a 6-mil one. The real expertise lies in knowing the finish—look for ceramic bead coatings rather than just thickness. And don’t forget the prep. If your subfloor prep wasn’t perfect, even the best vinyl will fail. If you’ve wondered why your self-leveling compound is cracking like a dry lake bed, it’s usually because you didn’t account for the mix ratio or the substrate temperature. Have you ever fallen into this trap? Let me know in the comments!
The Gear That Actually Makes You Look Like a Pro
Once you’ve wrestled with a bad subfloor, you quickly realize that your local hardware store’s ‘starter kit’ isn’t going to cut it. I spent years fighting with basic mallets before I discovered why you should use a dead blow hammer for floor capping. Unlike a standard rubber mallet that bounces and wastes energy, a dead blow hammer is filled with steel shot that stops the rebound. This means every strike translates into a solid, tight lock between planks without you having to swing like a lumberjack. It’s a game-changer for your wrists and your floor’s integrity. If you’re serious about this, check out the 7 tools you actually need for a professional DIY hardwood install to avoid the frustration of using the wrong equipment for a high-stakes job.
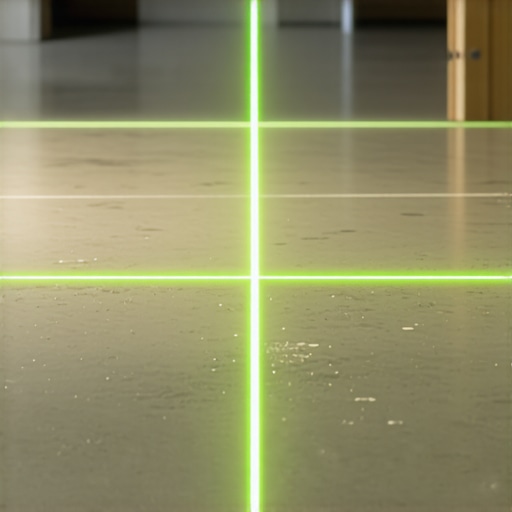
Beyond the hammer, the one tool that saved my sanity was a self-leveling cross-line laser. I used to rely on chalk lines, but in a long hallway, a string can easily be off by an eighth of an inch over twenty feet. I started using the laser level move for perfectly straight hallways, and it turned a four-hour layout job into a twenty-minute breeze. This precision is especially critical if you are working in a basement, where you also need to understand why your basement floor needs a moisture barrier even if it feels dry. The right tools aren’t just about speed; they are about preventing the structural failures that lead to ‘hollow’ sounds or shifting planks six months down the line.
How do I maintain my floor’s finish for decades?
Maintenance is where most people accidentally destroy their hard work. I’ve seen homeowners spend five figures on a floor only to ruin the finish with ‘natural’ cleaners. The National Wood Flooring Association (NWFA) Technical Publication A100 explicitly notes that maintaining consistent relative humidity between 30% and 50% is non-negotiable for wood-based products, and yet people still use steam mops. Steam is the enemy of any wood-composite or vinyl floor. To keep that professional look, you need to master hardwood floor care secrets to longevity and shine. Most importantly, why you should never mop your floors with dish soap is a lesson I wish I’d learned before I saw my first floor turn cloudy and dull. Dish soap leaves a film that attracts more dirt, creating a cycle of cleaning that eventually strips the factory finish.
The Future belongs to Lasers and Smart Sensors
Looking ahead, I predict we are going to see a massive shift toward integrated floor technology. We’re already seeing sub-floor sensors that can alert your smartphone if moisture levels rise under your vinyl planks—perfect for those of us who live in flood-prone areas. But until that becomes standard, you have to be the ‘smart sensor.’ If you do run into trouble, like a heavy dropped object, don’t panic. Learning how to fix a dent in your vinyl floor with a heat gun can save you from having to replace a whole row. It takes a bit of finesse, but it’s a skill that pays for itself. My best advice? Grab a high-quality dead blow hammer before your next project. It’s the single most satisfying tool in my kit and will immediately improve the quality of your joints. Try it on your next row and you’ll never go back to a standard mallet!
Hard Truths from a Lifetime of Broken Planks
If there is one thing I’ve realized after dozens of projects, it’s that the floor you see is only as good as the floor you can’t see. I spent way too many years thinking I could cheat the prep work by buying more expensive planks. I learned the hard way that a ten-dollar-per-square-foot commercial vinyl will still fail over a fifty-cent-per-square-foot dip in the concrete. Another big realization? Silence is a luxury you have to build into the subfloor. If you ignore those tiny squeaks now, they will haunt your footsteps for the next decade. Finally, remember that waterproof isn’t a license to be lazy; it is a safety net for the surface, not the structure. If you have ever felt that sinking feeling of a plank giving way, you know exactly why the details matter more than the brand name.
The Kit Every Home Hero Needs
You do not need a warehouse full of tools, but you do need the right ones. My first recommendation is a high-quality dead blow hammer; it is the difference between a tight seam and a damaged locking joint. I also swear by a digital moisture meter because it is the only way to be certain your slab is ready. For those struggling with phantom noises, check out my tips on how to fix a hollow sound under your luxury vinyl to see what tools can rescue an existing floor. I also recommend keeping a copy of the step-by-step guide to flooring installation and leveling success bookmarked on your phone during the job. These resources are the guardrails that keep your project on track when things get complicated.
#IMAGE_PLACEHOLDER_E#
Go Build Something That Lasts
Installing a commercial-grade floor is about more than just aesthetics; it is about creating a space where you can work, sweat, and live without worrying about what is under your feet. It takes patience to avoid common flooring installation mistakes, but the pride you will feel walking across a perfectly level, rock-solid surface is worth every extra hour of prep. You have the knowledge and the tools now it is time to get to work and transform that space into something legendary. Once the job is done, do not forget to protect that investment by using hardwood floor care secrets to longevity and shine, which work surprisingly well for high-end vinyl too. Have you ever encountered a subfloor surprise that nearly ruined your project? Let me know in the comments below!