

I remember the first time I stepped onto my kitchen floor after installing that fancy radiant heating system. It was mid-January, and the warmth on my toes felt like a dream—until I heard it. A sharp, rhythmic *pop* that sounded like a dry twig snapping under a heavy boot. I looked down and saw it: a gap big enough to swallow a dime right between my beautiful carbonized bamboo planks. I had spent weeks researching hardwood floor refinishing, but I completely missed the mark on how bamboo behaves when you cook it from underneath. Today, I am going to show you exactly why your floor is pulling apart and how we can fix the environment before your living room turns into a series of trenches. Have you noticed your floors separating since the temperature dropped?
Your Bamboo Floor is Gasping for Air
Let’s get one thing straight: bamboo is a grass, not a tree. Because of its unique cellular structure, it reacts much more aggressively to temperature shifts than your standard oak or maple. When you crank up that radiant heat, you are essentially dehydrating the material. My biggest mistake early on was ignoring the humidity levels in my crawlspace and the subfloor itself. I didn’t bother to use a moisture meter before I laid the floor, and I paid the price in cracks and groans. According to the National Wood Flooring Association, bamboo can be particularly sensitive to ‘dry-cupping’ when the heat source is directly beneath the plank, often requiring a much narrower range of relative humidity than other materials.
Is bamboo actually stable enough for underfloor heating?
You might be skeptical now, wondering if you chose the wrong material entirely. The truth is, bamboo *can* work, but it requires a very specific installation approach and a deep understanding of the real reason your bamboo floors are shrinking in the winter. If you did not acclimate the planks to the heated floor specifically, you are likely hearing that loud cracking sound as the fibers reach their breaking point. If your subfloor wasn’t prepped, you might also need to look into how to choose a floor leveler that won’t crack over radiant heat to ensure a stable base for the future. In the next section, I’ll dive into the specific humidity settings that saved my own floor from a total tear-out.
Control the Climate Before the Bamboo Snaps
Think of your bamboo floor as a giant, flat sponge. When the air is moist, it swells; when your radiant heat kicks on and dries out the air, it shrinks. If you want to know how to stop hardwood floors from gapping in the hallway, you have to start with a high-quality humidifier. I once made the mistake of leaving a guest room window cracked during a dry Kansas winter while the floor heat was set to seventy-five. By morning, the gaps were so wide I could see the subfloor. I didn’t panic and reach for the wood filler; instead, I slowly cranked the humidifier until the room hit forty-five percent relative humidity. Over the next week, the planks actually ‘walked’ back together.
Keep Your Air Humid Enough to Save the Planks
You need to maintain a constant relative humidity between 35% and 55%. If you drop below that, the bamboo loses its internal moisture and the cellular structure collapses, leading to those loud cracks. I highly recommend a digital hygrometer placed right on the floor surface, not five feet up on the wall near the thermostat. If you see the number dip, your floor is in the danger zone. This is especially true if the reason your new floor feels cold even with the heat on is due to poor insulation, which forces the system to run longer and dry out the wood even more. 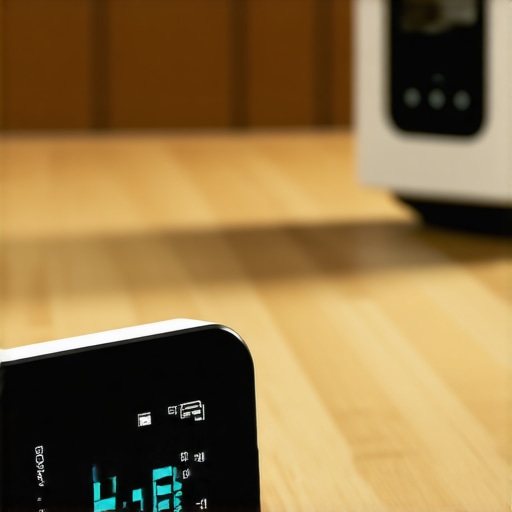
Master the Art of Subfloor Prep Under Heat
A floor that isn’t perfectly flat will fail ten times faster over a radiant system. You need precise floor leveling techniques to achieve flawless surfaces because a dip in the subfloor over a heating element creates a localized ‘hot spot.’ This heat trap cooks the bamboo unevenly, causing one side of a plank to shrink while the other stays stable. I found this out the hard way in a kitchen remodel where I ignored a quarter-inch dip. Within two months, the bamboo over that dip had cupped so badly it became a tripping hazard.
Pick the Right Leveler for High-Temperature Zones
Not all self-leveling compounds are built to handle the constant expansion and contraction of a heated floor. You must use a fiber-reinforced product designed for radiant heat. I learned the secret to mixing the perfect bucket of self-leveler every time after a failed attempt where the mix was too thick to flow around the heating wires. The key is using a specialized drill paddle and strictly following the water-to-powder ratio. If you mess this up, the leveler will crack, and those cracks will eventually telegraph through your bamboo. Always ensure you know how to achieve flawless floor leveling before tile laying or wood installation to provide a rock-solid foundation that distributes heat evenly across the entire surface.Most folks think they can just toss a few boxes of planks in the room, wait 72 hours, and call it ‘acclimated.’ In my experience, that is a shortcut to a complete disaster. Everyone says the three-day rule is the golden standard, but if you are dealing with underfloor heating, you are playing a different game entirely. You need to ‘pre-stress’ the environment. The Radiant Professionals Alliance (RPA) emphasizes that the heating system must be operational for at least 72 hours prior to installation to ensure the subfloor is fully dry and stable. I didn’t do this the first time, and I ended up with flooring installation mistakes to avoid for lasting results that cost me thousands in replacement planks.
Why Three Days of Acclimation is Often a Recipe for Disaster
When you are installing over heat, you aren’t just acclimating to the air; you are acclimating to the thermal output of the slab. I’ve found that even if the air humidity is perfect, a slab that hasn’t been brought up to temperature will dump its residual moisture directly into the bottom of your bamboo planks the moment you turn the heat on. This leads to ‘crowning,’ where the planks arch up like a bridge. To avoid this, you should be checking the subfloor with a professional-grade meter—not just guessing based on the calendar. If you fail to do this, you’ll likely run into why most floor levelers fail on top of painted concrete or wood when the thermal expansion kicks in and breaks the bond.
Can you really trust a ‘pre-leveled’ concrete slab?
Many homeowners assume that because their slab looks flat, it’s ready for bamboo. This is the ultimate ‘oops’ factor. A slab can be ‘level’ but not ‘flat,’ and in the world of radiant heat, flatness is the only thing that saves your joints from snapping. If there is even a tiny air pocket between the bamboo and the heat source, that pocket acts as an oven, baking that specific spot of the plank. I always use a 10-foot straightedge to verify flooring installation fundamentals leveling for a seamless look before I even open a box of flooring. 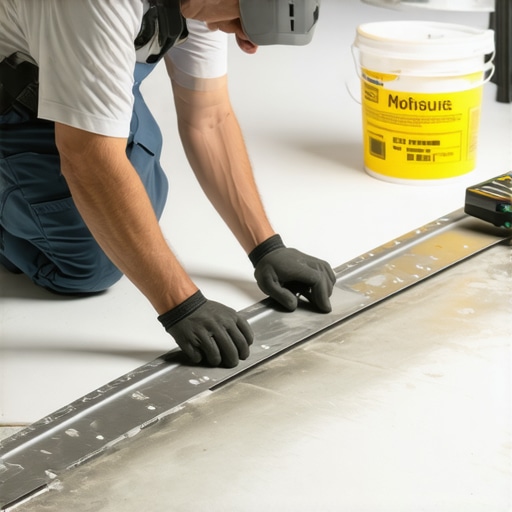
The Hidden Bond Breaker Most DIYers Ignore
One thing I see people get wrong constantly is the primer. They buy the most expensive self-leveler but then skip the matching primer or apply it over a dusty surface. This is why your floor primer is peeling off like a sunburn, taking the leveler and your bamboo floor’s stability with it. Furthermore, the speed at which you mix your leveler matters. If you use a high-RPM drill, you’re whipping air into the mix. Those tiny bubbles become weak points once the radiant heat starts causing the floor to expand. I learned the secret to mixing the perfect bucket of self-leveler every time involves using a low-speed mixer and letting the bucket ‘slake’ for two minutes before the pour. This ensures you get the secret to getting a flat floor for large format tiles or wood planks that won’t shift or crack under thermal stress. Have you ever fallen into this trap where your prep work seemed fine but the results said otherwise? Let me know in the comments.Once you have successfully poured your leveler and laid your planks, the anxiety does not just vanish. I remember obsessively checking my floor for the first three months, waiting for a gap to reappear. I eventually realized that I needed to stop guessing. I bought a FLIR infrared camera attachment for my phone. It sounds overkill, but it allowed me to see exactly where the radiant coils were running. I discovered a ‘hot spot’ near my refrigerator where the heat was trapped by the appliance’s kickplate. By adjusting the flow, I saved that section from buckling. This kind of tech is essential if you want to revamp your home with expert flooring installation tips that actually stick long-term. I have learned that following a step-by-step guide to flooring installation and leveling success is only half the battle; the real work starts once the furniture is moved back in.
Stop Guessing the Temperature of Your Slab
Most thermostats read the air, not the floor. If your air is 70 degrees, your bamboo might be sitting at a scorching 85 degrees. According to the National Wood Flooring Association (NWFA) Technical Publication No. C200, the surface temperature of wood flooring should never exceed 80 degrees Fahrenheit (27 degrees Celsius). If you go higher, you are literally baking the resins out of the bamboo. I personally use a non-contact infrared thermometer every Sunday morning during the winter to spot-check high-traffic zones. This habit has kept my floors from suffering the typical flooring installation mistakes to avoid for lasting results that most homeowners ignore until it is too late.
How do I maintain bamboo floors over time without ruining the finish?
Maintenance is where most people fail. They grab a steam mop and think they are being deep clean experts. Stop right there. Steam is the natural enemy of bamboo and radiant heat. You are forcing pressurized moisture into the joints of a floor that is already being stressed by heat from below. I have seen countless neighbors ask why your hardwood floor turned cloudy after cleaning, and 90% of the time, it is because they used too much water or a wax-based cleaner that reacted with the heat. Stick to a pH-neutral cleaner and a barely-damp microfiber pad. These are the basic hardwood floor care secrets to longevity and shine that keep the bamboo looking like it was installed yesterday. 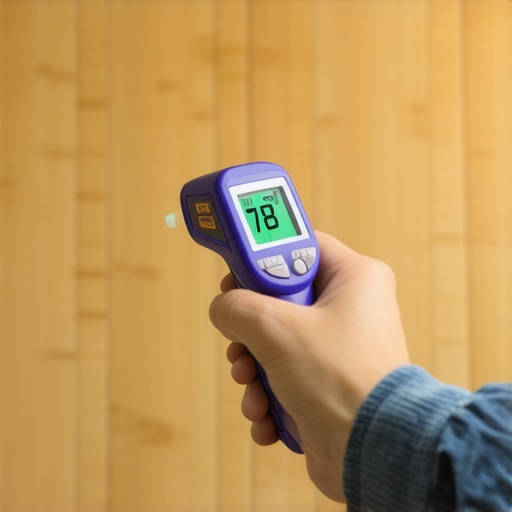
Smart Sensors and the Next Wave of Flooring Tech
Looking ahead, I am seeing a massive shift toward ‘smart subfloors.’ Companies are starting to develop sensors that you actually embed into the leveler or under the bamboo during installation. These sensors link to your phone and alert you the second the humidity or temperature drops out of the safe zone. It is a game-changer for those of us who travel or have second homes. If you are already looking into mastering hardwood floor refinishing for an older home, consider adding this layer of protection now. It is much cheaper to install a fifty dollar sensor today than to replace five thousand dollars worth of bamboo in five years. If you want to really level up your DIY game, try this: download a thermal mapping app and spend ten minutes checking your floor distribution. It is the fastest way to catch a failing system before your planks start to groan.
Bamboo Secrets No One Tells You at the Showroom
After living with this material for years, I have realized that bamboo flooring is not just a design choice; it is a living, breathing component of your home’s ecosystem. One major lightbulb moment was discovering that the loud cracking sound does not always mean the wood is breaking—sometimes it is the adhesive losing its grip because of thermal shock. Another lesson? Do not trust the sales pitch that says all bamboo is created equal. I learned the hard way why bamboo flooring is not always the greenest choice when it comes to volatile organic compounds (VOCs) that can off-gas faster when heated from below. Finally, always remember that radiant heat is a slow-cooker, not a microwave. If you ramp up the temperature too fast, even the best elevate your space choosing the right hardwood floors for your home efforts will result in boards that want to walk right out of the room.
The Gear That Saved My Living Room Floor
If you are serious about DIY, you cannot rely on guesswork. My toolkit always includes a pinless moisture meter to ensure I am following the hardwood floor care secrets to longevity and shine from day one. #IMAGE_PLACEHOLDER_E# I also swear by using a fiber-reinforced self-leveler; it is the only way to avoid floor leveling challenges common mistakes and how to avoid them when your subfloor is literally expanding and contracting every day. For cleaning, I tossed my steam mop and moved to a dedicated pH-neutral spray. It is a small investment that prevents your finish from looking like a hazy mess by mid-February.
Your Path to a Crack-Free Winter
Installing bamboo flooring over radiant heat is an ambitious project, but the comfort of a warm floor on a snowy morning is worth every ounce of prep work. By mastering the humidity, respecting the acclimation period, and using the right leveling compounds, you are setting yourself up for a home that feels as good as it looks. Don’t let the fear of a few pops stop you from creating a beautiful, sustainable space. Have you ever heard your floor make a loud, mysterious crack in the middle of a cold night? Let me know about your experience in the comments below!