
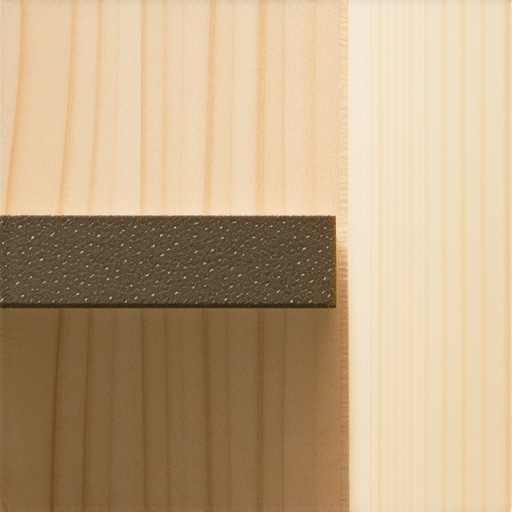
I’ll never forget the first time I tried to refinish a bedroom floor in my old house. I spent three days meticulously sanding the center of the room until it was as smooth as glass. I felt like a pro. Then, I reached the corners. My big orbital sander couldn’t reach them, so I grabbed a small palm sander and pushed it right into the edges. The moment the stain hit that wood, those “invisible” scuff marks lit up like a neon sign. It looked terrible. I’d made the classic sanding mistake that leaves swirl marks everywhere, but especially in those tight spots. It’s a gut-wrenching realization, but it taught me a valuable lesson: the last two inches of your floor require more respect than the first ten feet. Today, I’m going to show you how to avoid that heartache and get corners so crisp they look like they were finished by a machine from the future.
Why the Corners Are Your Floor’s Biggest Enemy
The problem with corners isn’t just the space; it’s the physics. Most of us want to be efficient, so we try to force a power tool into a space meant for a surgeon. When you press a circular sanding pad into a 90-degree angle, you are inevitably sanding against the grain. On many species, especially oak or maple, those cross-grain scratches are deep and unforgiving. Even if you follow hardwood floor care secrets for years, you can’t hide a bad initial sand. According to the National Wood Flooring Association, the grit sequence you use in the corners must match your field sanding exactly, or the stain will absorb differently, leaving your corners looking darker or muddier than the rest of the floor. Have you ever spent hours on a project only to have a tiny corner ruin the whole look? Drop a comment below and let me know if you’ve ever had a “corner catastrophe”!
Does Hand-Sanding Actually Result in a Better Finish?
You might be thinking that doing this by hand sounds like a slow descent into madness. Is it really worth the extra elbow grease? In my experience, yes—every single time. While there are detail sanders on the market, nothing beats the tactile feedback of a sanding block and a sharp scraper. When you’re working on expert floor refinishing in 2025, precision is what separates a DIY job from a professional masterpiece. Early in my career, I tried to skip this step by using a high-speed rotary tool in the corners. It was a disaster; I burned the wood and had to sand back half the room to fix the discoloration. Trust me, taking fifteen minutes to hand-prep a corner is better than spending fifteen hours re-doing the entire floor. We need to focus on the grit transition, which we will dive into next.The transition begins with a sharp tool, not a piece of paper. Most homeowners make the mistake of trying to fold a piece of 60-grit sandpaper and rubbing it into a corner with their thumb. This creates localized divots that the light will catch later. Instead, use a carbide-tipped paint scraper. I remember working on a gorgeous Brazilian Cherry floor years ago where I thought a dull blade wouldn’t matter. I ended up plowing the wood rather than shaving it, leaving deep gouges that took me hours to hand-sand out. Always pull the scraper toward you with the grain, keeping it flat. This removes the old finish and levels the wood perfectly in that tight 90-degree intersection where your edger stopped. 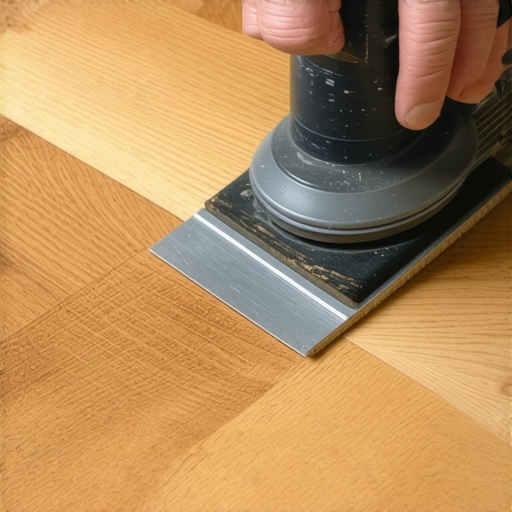
Grab a Carbide Scraper Before You Reach for the Sandpaper
Once the bulk of the finish is gone, you need to follow a strict grit progression. If you used 40, 60, and 100 grit on the main floor, you must use those exact same grits in the corners. Skipping a step here is the primary reason why your hardwood stain looks darker in the corners. When you skip a grit, the scratches from the previous, coarser paper aren’t fully removed. Those microscopic canyons hold more pigment, making the perimeter of your room look like a dark frame. Treat the corners like a miniature version of the entire room.
Match Your Grit Sequence to Avoid Ugly Stain Blotches
When mastering hardwood floor refinishing expert tips for 2025, the key is consistency. I use a small wooden sanding block for the corners. A soft rubber block might feel better, but it rounds over the wood; a hard block keeps the surface flat. Sand about 2 to 3 inches into the field—the area already sanded by the big machine—to blend the two textures.
How to Blend the Edges Into the Field Sanding
The blend is where the magic happens. After you’ve reached your final grit, usually 100 or 120, you’ll notice a distinct line where the hand-sanding meets the machine-sanding. To erase this, use a technique called orbital hand-blending. Move your sanding block in small, light circles over the transition line. This mimics the scratch pattern of the machines and ensures that when the finish is applied, the transition is invisible. Don’t forget to use the vacuum attachment that actually picks up fine sawdust to clear the corners frequently. If dust builds up under your paper, it can cause pills—tiny balls of wood fiber and grit that leave deep, circular scratches.
Final Inspection Before the First Coat of Finish
Before you even think about opening a can of polyurethane, take a bright LED flashlight and lay it flat on the floor, pointing into the corner. This raking light will reveal every scratch you missed. If you see a scratch, don’t just sand that one spot; you’ll create a dip. Sand the entire 6-inch area around it. It feels tedious, but remembering why you must sand between polyurethane coats helps you realize that the foundation must be perfect. If the raw wood isn’t smooth, every subsequent layer of finish will only highlight the flaws. I’ve seen beautiful oak floors ruined because the DIYer didn’t check the corners until the second coat was already dry. By then, the only fix is starting over.
Continuing from the prep work, we need to talk about the smoothness myth. Many DIYers believe that if a surface feels like silk, it is ready for finish. In reality, you can have a surface that is perfectly smooth but professionally a disaster because it lacks flatness. This is where the ultimate guide to floor leveling for a perfect finish comes into play. If your corners are not planar with the rest of the floor, the finish will pool in the depressions, leading to uneven drying and eventual peeling.
Stop Chasing High Grits Like They Are the Holy Grail
Common wisdom suggests that sanding to 220 grit or higher makes for a better floor. In my experience, this is a recipe for a burnished surface. When you sand wood too finely, especially dense species like maple or hickory, the friction actually heat-seals the wood cells. The result is that the stain cannot penetrate. This is the primary reason why your hardwood polyurethane is peeling in sheets later on—it simply had nothing to grab onto. According to the National Wood Flooring Association (NWFA) Technical Manual, most domestic hardwoods should not be sanded beyond 100 or 120 grit for the best finish adhesion. By over-polishing the corners while the rest of the floor is at a lower grit, you create a chemical mismatch that no amount of blending can fix.
Is Water-Popping the Secret to Uniform Corner Absorption?
If you find that your corners still look slightly different despite matching your grits, you might need to use a technique called water-popping. This involves lightly misting the wood with distilled water to open the fibers back up after the trauma of sanding. It is a delicate balance; if you over-saturate, you risk grain raise that will make the floor feel like sandpaper once the finish dries. This is often why your hardwood finish feels rough after drying. However, when done correctly, it levels the playing field between the machine-sanded center and the hand-sanded edges. Have you ever fallen into this trap where the stain just would not take in the corners? Let me know in the comments below!
The Moisture Meter Mistake That Ruins Everything
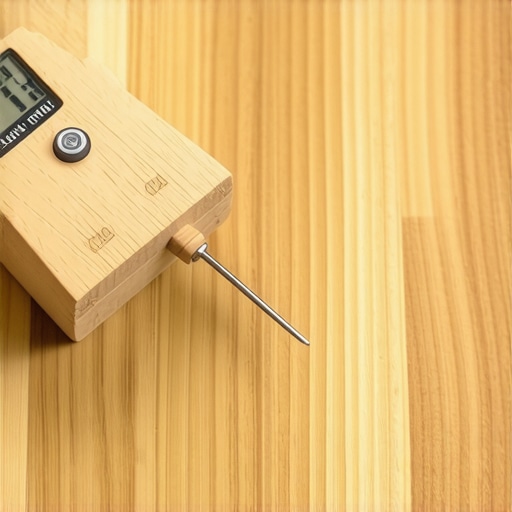
The most advanced oops factor I see is ignoring the ambient environment. You can sand a corner to perfection, but if the wood moisture content is too high from a recent cleaning or humid weather, the wood will swell and reject the sealer. I always tell my clients that you must learn how to use a moisture meter before installing wood floors and certainly before refinishing them. If your corner reads 2% higher than the center of the room, you have a pocket of moisture that will cause the finish to cloud. This level of detail is what we talk about when mastering hardwood floor refinishing expert tips for 2025. Don’t let a hidden pocket of dampness under a baseboard ruin a week of sanding. Precision is not just about the tools you hold; it is about the data you collect before the first drop of stain hits the grain.
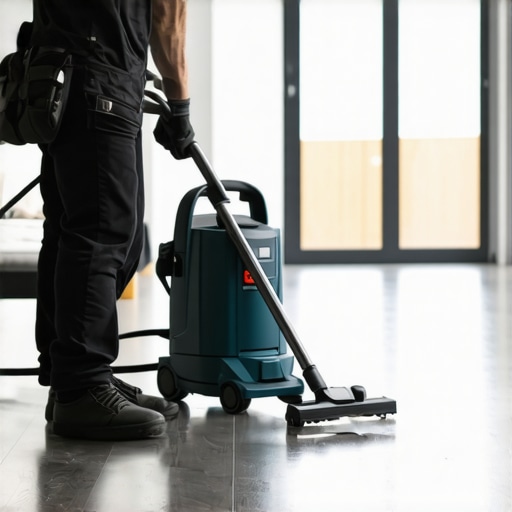
I often tell people that the difference between a floor that looks good for a month and one that looks incredible for a decade isn’t just the sanding; it is the gear you keep in your truck and how you treat the wood after the dust settles. If you are serious about this, you have to move past the big-box store rental equipment. The tool that fundamentally changed my workflow was a high-end HEPA-certified dust extraction system. When you use the vacuum attachment that actually picks up fine sawdust, you aren’t just saving your lungs; you are preventing ‘cobwebbing’ in your polyurethane. Even a microscopic amount of dust left in a corner can ruin a gallon of expensive finish. I personally use a Festool CT MIDI coupled with my sanders because the suction is consistent enough to prevent the sandpaper from loading up with resin, which is exactly how you avoid those dreaded swirl marks.
Buy once cry once with professional dust extraction
Beyond the sander, your subfloor is the silent hero of the project. I’ve seen beautiful white oak installations fail within two years because the installer ignored a 1/8-inch dip in the plywood. You must learn how to measure subfloor flatness before you start installing. If I find a low spot, I don’t just ‘hope for the best’ with extra adhesive. I pull out the straightedge and follow the ultimate guide to floor leveling for a perfect finish. Whether you are prepping for hardwood or thinking about choosing the best tile for your hardwood floor upgrade, that foundation is everything. I once spent an entire day just grinding down high spots on a concrete slab in a high-rise condo. My back hated me, but that floor is still perfectly silent ten years later.
The leveler trick for perfectly planar transitions
When you are moving between different materials, like transitioning from a kitchen tile to a living room hardwood, the heights almost never match perfectly. This is where the secret to mixing leveler for a glass smooth finish becomes your best friend. I always use a spiked roller to release air bubbles—it’s a small step that prevents those tiny pinholes that can telegraph through thin materials. According to the National Wood Flooring Association (NWFA) Technical Publication No. C200, maintaining a consistent environment is the most critical factor in long-term finish success. They specify that indoor relative humidity should generally stay between 30% and 50% to prevent the wood from moving too much. If you ignore this, you’ll find why your hardwood polyurethane is peeling in sheets as the wood beneath it expands and contracts like an accordion.
How do I maintain my professional finish over time?
Maintenance is where most homeowners drop the ball. I’ve walked back into houses I finished five years ago only to see the owners using a steam mop. It breaks my heart. You should never use a steam mop on click-lock floors or finished hardwood; the moisture is driven deep into the seams and will eventually cause the wood to rot from the inside out. Instead, follow hardwood floor care secrets to longevity and shine by using a pH-neutral cleaner and a microfiber pad. Looking forward, the industry is moving toward UV-cured site finishes. This technology allows us to cure a floor instantly with a high-intensity light, meaning you can walk on it with high heels the second we are done. It’s expensive now, but it’s the future of residential refinishing. For your next project, I challenge you to try the ‘raking light’ test I mentioned earlier—grab a high-lumen flashlight and see what your floor actually looks like at floor level. You might be surprised at what you’ve been missing.
What a Decades-Old Oak Floor Taught Me About Patience
Over the years, I’ve realized that hardwood flooring isn’t just about the wood; it’s about your relationship with the light. My biggest “lightbulb moment” happened when I stopped treating corners as a chore and started seeing them as the signature of a craftsman. If you rush the edges, the center of the room doesn’t matter. I’ve learned that a sharp scraper is more valuable than a bucket of wood filler, and that listening to the sound of the sandpaper tells you more than your eyes ever will. When you avoid common flooring installation mistakes to avoid for lasting results, you aren’t just saving time—you’re building a legacy in your home. It’s better to spend an extra hour on your knees today than to look at a dark stain blotch for the next ten years.
#IMAGE_PLACE_HOLDER_E#
Tools That Make Your Life Easier and Your Floors Better
I don’t believe in buying every gadget on the shelf, but these items are non-negotiable for me. First, a high-quality 2-inch carbide scraper; it saves your hands and gives you a cleaner edge than any power tool. Second, a 10-foot straightedge; you need to check for high spots with a 10-foot straightedge to ensure your sanding is actually flat. Finally, a dedicated LED work light. If you can’t see the scratch, you can’t fix it. These tools help you with mastering floor leveling pro secrets for perfect installations, whether you are working with oak or transitioning to choosing the best tile for your hardwood floor upgrade later on.
Your Journey Toward a Professional-Grade Hardwood Finish
Refinishing your own home is an act of love. It’s tempting to cut corners—literally—but the satisfaction of a perfectly blended edge is worth the extra effort. When you take the time to implement mastering hardwood floor refinishing expert tips for 2025, you’re ensuring that your hardwood floors will remain the centerpiece of your home for decades. Don’t be afraid of the manual labor; the wood will reward your patience with a glow that machine-only jobs simply can’t match. Remember, the difference between a DIY job and a pro job is simply the last two inches of the floor. Have you ever discovered a hidden ‘sanding scar’ after you already applied the stain? Let me know your biggest floor-refinishing hurdle in the comments below!