
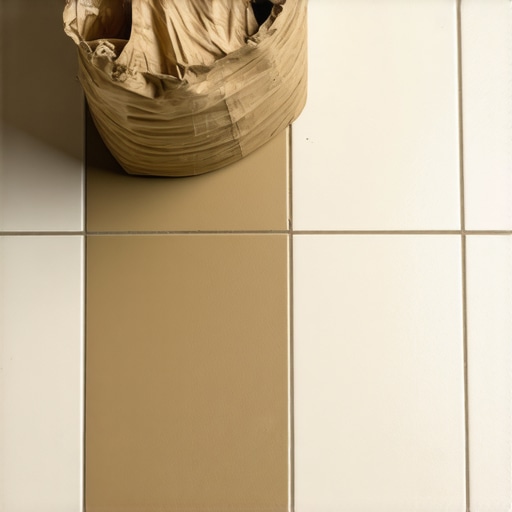
I stood there in my kitchen, staring at a floor that looked like a zebra. One half was a crisp, snowy white, while the other—mixed just an hour later from the same bag—was a muddy, depressing cream. I’d spent three days perfectly setting my porcelain tiles, only to ruin the entire aesthetic because I was too afraid to waste five dollars worth of powder. I thought I was being efficient by mixing small batches. I was wrong. My penny-pinching cost me an entire weekend of scrubbing and scraping. If you have ever wondered the reason your grout color looks splotchy and uneven, it usually starts with a half-empty bag and a bucket. Today, I am going to show you why committing to the full bag is the only way to avoid a visual disaster. We are going to ensure your hard work stays looking professional for years.
Stop Trying to Save Pennies and Mix the Whole Bag
Mixing a partial bag of grout is a gamble you will almost always lose. Manufacturers blend their grout in massive batches, but during shipping, the heavier pigments and chemicals inevitably settle at the bottom of the bag. When you scoop out just a few cups, you are not getting a representative sample of that chemistry. You might get too much pigment in the first batch and almost none in the second. This is why even a bad batch of grout can sometimes just be a case of poor mixing discipline. According to the Tile Council of North America (TCNA), maintaining a consistent water-to-powder ratio is the most critical factor in grout color uniformity. When you mix the entire bag at once, you eliminate the guesswork and the risk of “shading” that occurs when different sections of your floor dry in slightly different hues.
Is wasting a little grout really worse than a splotchy floor?
Many DIYers worry about the grout hardening in the bucket before they can use it all. I used to be one of them. But here is the reality: wasting five pounds of grout is cheap compared to the nightmare of grout falling out of the joints because the mix was too watery or inconsistent. It is much easier to manage your time and work in sections than it is to fix a color mismatch after it has cured. Have you ever finished a beautiful tile job only to realize the colors didn’t match up once they dried? I want to hear about your experiences! This approach isn’t just about color; it is about the structural integrity of your floor. By mixing everything at once, you ensure the polymers are distributed evenly, giving you a bond that lasts. Let’s get into the actual mechanics of how to handle a full-bag mix without losing your mind—or your grout.
Get your measurements right from the start
Mixing grout is more like chemistry than it is like cooking. If you are off by even a few ounces of water, the color density shifts. Treat your water measurement like a liquid gold requirement. I learned this the hard way during a bathroom remodel in 2019. I thought I could ‘eyeball’ the water by pouring it from a dusty old Gatorade bottle. By the time I reached the shower floor, the grout was noticeably lighter than the walls because I’d gotten lazy with the ratios. Now, I use a dedicated measuring pitcher and write the exact ratio on the lid of the bucket. The same precision is needed here as when you are learning the secret to mixing the perfect bucket of self-leveler every time. You want a consistency that mimics thick peanut butter—if it’s runny enough to pour, it’s a disaster waiting to happen. Pour the water into the bucket first, then slowly add the powder to prevent dry clumps from hiding at the bottom. 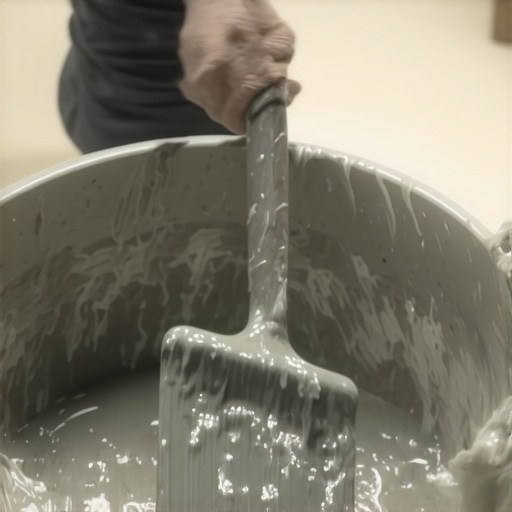
Keep your drill speed under control to avoid air pockets
Many DIYers reach for their highest-power drill and pull the trigger full-throttle. This is a massive mistake. High-speed mixing whips air into the grout, creating thousands of tiny micro-bubbles. Once the grout dries, these bubbles collapse, leaving behind pinholes that act like tiny magnets for mold and dirt. I once spent four hours with a grout saw because I ‘power-mixed’ a batch that ended up looking like a sponge after it cured. You need a low-rpm mixing paddle. If you don’t have a variable speed drill, mix it by hand with a margin trowel. It’s a workout, but your floor will thank you. This technique is very similar to the roller selection that prevents air bubbles in leveler; you are essentially managing the fluid dynamics to ensure a solid, dense finish. Just like installing tiles like a pro, the secret is in the patience of the process rather than the speed of the tool.
Why you must let your grout rest before applying
After you finish mixing, you’ll be tempted to start smearing that grout into the joints immediately. Don’t. You need to let it ‘slake’ for five to ten minutes. Slaking is a fancy word for letting the water fully penetrate every single particle of the polymer-modified powder. During this time, the chemicals are bonding. If you skip this, the grout will feel gritty and might lose its structural integrity. After the slaking period, give it one final, slow stir by hand. Do not add more water at this stage, even if it feels a bit stiffer. Adding water after the slake is a surefire way to cause shading issues. I remember a kitchen job where I was in a rush to catch a football game; I skipped the slake and ended up with grout falling out of the joints within six months because the bond never truly formed. While you wait for the slake, it’s a great time to ensure you aren’t making other flooring installation mistakes to avoid for lasting results, like leaving spacers in or forgetting to vacuum the joints one last time.Most people assume that if they follow the bag instructions to the letter, they are completely safe. But in my experience, the environment is a variable that the printed label simply cannot predict. If you are working in a room that is 85 degrees versus a cool 60-degree basement, the hydration rate changes completely. Professionals often talk about ‘re-tempering’—the act of adding a splash of water to a bucket that is getting stiff. This is the ultimate ‘oops’ factor. Even if it feels like you are just making it workable again, you are actually diluting the pigment and weakening the polymer bond. This is a primary culprit behind grout falling out of the joints in the hallway later on. Once the mix starts to set in the bucket, your window is closed. Throw it out and start over rather than trying to revive it.
Does the temperature of your mixing water actually change the final color?
Surprisingly, yes. High-temperature water accelerates the chemical reaction, which can trap air and prevent the pigments from dispersing evenly. The National Tile Contractors Association (NTCA) emphasizes that using ‘potable’ water at room temperature is non-negotiable for color consistency. I once saw a crew use water from a garden hose that had been sitting in the sun for hours; the grout turned out three shades lighter than the sample card because the heat caused it to cure too rapidly. This level of precision is just as vital when you are learning how to achieve flawless floor leveling before tile laying. If your substrate or your water is too warm, your materials will ‘flash set’ before they can properly bond to the surface. 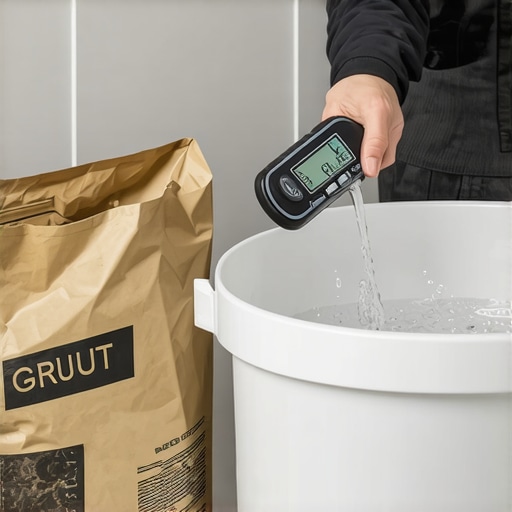
The cleaning water trap that most DIYers ignore
You have mixed the perfect batch, you have let it slake, and you have applied it with a steady hand. Now comes the moment where ninety percent of people ruin their hard work: the wash. If your sponge is dripping wet when you go to clean the tiles, you are essentially washing the pigment out of the top layer of the grout. This leads to that frustrating chalky, white residue known as efflorescence. It is a similar chemical failure to why your self-leveler developed spiderweb-cracks overnight—having too much moisture at the wrong stage of the curing process ruins the structural integrity. You want a damp sponge, not a wet one. If you can squeeze more than a single drop of water out of it, it is still too wet. Have you ever fallen into this trap? Let me know in the comments. By paying attention to these micro-details, you move from being a weekend warrior to someone who is truly installing tiles like a pro. These are not just suggestions; they are the fundamental differences between a floor that lasts twenty years and one that looks like a DIY mistake in six months.
Stop guessing and buy a professional moisture meter
If I could go back in time and give my younger self one piece of advice, it would be to stop relying on ‘feel’ and start relying on data. I used to think I could tell if a subfloor was dry just by looking at it. I was wrong more often than I’d like to admit. Now, I never start a job without a high-quality pinless moisture meter. It’s the same discipline required when you are learning how to use a moisture meter before you lay wood floors. This isn’t just about wood, either; checking the moisture levels in a concrete slab before applying thinset or leveler is the only way to ensure your bond doesn’t fail. According to the National Wood Flooring Association (NWFA) Technical Publication A100, maintaining a consistent indoor environment with relative humidity between 30% and 50% is non-negotiable for preventing gaps and cracks. If you don’t own a Tramex or a Delmhorst meter, you are essentially gambling with your client’s—or your own—money.
How do I maintain my flooring investment over the long haul?
Maintenance isn’t just about sweeping; it’s about chemical compatibility. Most people reach for the most aggressive cleaner they can find, but for hardwood and tile, a pH-neutral cleaner is your only real option. I’ve seen beautiful finishes destroyed by ‘all-purpose’ sprays that eat through the sealant. You need to unlock the hardwood floor care secrets to longevity and shine by avoiding wax-based products that create a sticky residue. On the tile side, don’t let dirt sit in the grout lines. I personally use the vacuum attachment that actually picks up fine sawdust to clean my grout joints before I even think about mopping. This prevents the ‘muddying’ of the grout that happens when you push wet dirt into the pores of the cement. 
Where the flooring industry is headed next
We are moving toward a world where self-leveling compounds are becoming ‘smarter.’ I’m already seeing high-flow, fiber-reinforced levelers that can be poured thinner than ever before while maintaining incredible compressive strength. If you want to stay ahead, you need to be mastering floor leveler pro secrets for perfect installations now. The trend for 2025 and beyond is clearly shifting toward large-format tiles and seamless transitions, which makes the ultimate guide to floor leveling for a perfect finish more relevant than ever. Floors that aren’t perfectly flat will simply not accommodate the modern aesthetics that homeowners are demanding. If you can master the subfloor, the rest of the job becomes a breeze. I challenge you to try one thing on your next project: measure your water to the exact gram instead of the ounce. You will see a level of consistency in your grout and leveler that you never thought possible.
The Hardest Lesson I Learned About Pro Grade Floors
The first time I saw “zebra” grout, I realized that flooring installation is ninety percent preparation and ten percent application. If you don’t respect the chemistry, the chemistry won’t respect your design. I used to think I could skip the technical specs, but I quickly learned that precision is the only thing standing between a masterpiece and a redo. To avoid the heartbreak of a failed project, I always double-check my process against the step-by-step guide to flooring installation and leveling success to ensure no micro-detail is missed.
Another lightbulb moment was realizing that a wet sponge is your worst enemy during cleanup. It feels like you are cleaning, but you are actually diluting the pigment. Now, I squeeze that sponge until it feels almost bone-dry. This one change stopped my grout from turning chalky and saved me from hours of unnecessary scrubbing later on. Also, remember that your environment is alive; if the room is too hot, your grout will flash set, and no amount of effort can fix the color once that happens.
My Gear List for Consistent Results
I don’t leave my success to chance anymore. I rely on a few specific items that have never let me down. First, I always have a high-end pinless meter nearby because knowing how to use a moisture meter before you lay wood floors is the only way to sleep soundly at night. Second, I keep a dedicated 5-gallon bucket that is never used for anything but grout or leveler—residue from old thinset can ruin the chemistry of a new batch. Third, for maintaining the finish, I only recommend pH-neutral cleaners that follow hardwood floor care secrets to longevity and shine. Finally, if you are tackling a room with significant dips, you must consult the ultimate guide to floor leveling for a perfect finish before you even open a bag of powder.
#IMAGE_PLACEHOLDER_E#
Your Turn to Build Something Permanent
Taking on a tile or hardwood floors project can feel overwhelming, but it is also incredibly rewarding. When you look down at a floor that you leveled, laid, and grouted perfectly, you will know it was worth every measured ounce of water and every minute of slaking time. Don’t be afraid to take your time and do it right the first time; the longevity of your home depends on those small, disciplined choices. Have you ever run into a grout color mismatch that drove you crazy? Let me know in the comments below!