
I’ll never forget the sound of my first head chef’s shoes squeaking like a wet basketball court on a floor I had just mopped for two straight hours. I was young, eager, and proud of that supposedly clean surface, but within ten minutes of the lunch rush, the line felt like we were skating on a thin layer of chilled butter. It’s a frustrating, visceral feeling to look at your tile after a deep clean and still see that dull, hazy sheen mocking you. You aren’t alone in this. It’s a battle I fought—and lost—many times before I realized that most of us are just moving grease from one corner of the kitchen to the other. Today, I want to pull back the curtain on why your cleaning routine is failing and how you can finally get that safety-first grip back under your feet.
The Invisible Layer That’s Ruining Your Grip
Early in my career, I made a classic rookie mistake: I assumed more soap meant a cleaner floor. I would dump half a gallon of heavy-duty degreaser into a single bucket and go to town. What I didn’t realize was that I was actually creating a sticky, microscopic residue that acted like a magnet for every airborne particle of frying oil. This soap film is often the real culprit behind a perpetually slick surface. When you combine that chemical buildup with scuff marks from matte porcelain flooring or the porous nature of older tiles, you’ve got a recipe for a slip-and-fall disaster. According to the National Floor Safety Institute (NFSI), nearly half of all slip-and-fall accidents are caused by walkway surfaces that haven’t been maintained correctly, often due to this exact type of residue. Even if you know how to get grease stains out of unfinished pine floors in a residential setting, a high-volume commercial kitchen is a completely different beast that requires a different strategy.
Is your current degreaser actually making things worse?
It’s a fair question to ask because, in many cases, the answer is a resounding yes. If the pH balance of your cleaner isn’t right for the specific fats you are cooking with, or if you aren’t using hot enough water to emulsify those lipids, you’re just spreading a thin, hot mess around. I’ve seen kitchens where the grout lines have turned into literal grease reservoirs because the floor wasn’t properly maintained or the slip-resistant quarry tile was saturated beyond repair. If you find yourself constantly failing the slip resistance test during safety inspections, it might be time to stop blaming the closing crew and start looking at the chemistry in your mop bucket. Have you ever felt like no matter how much you spend on specialized chemicals, the floor still feels like an oil slick? If so, we need to talk about the physical breakdown of the grease itself.
Stop Pushing Grease Around with a Dirty Mop
If you’re still relying on a standard cotton string mop to clean a high-volume kitchen, you’re essentially trying to paint a masterpiece with a wet sponge. It doesn’t work. Mops are fantastic for picking up liquid spills, but they are notoriously terrible at removing the solidified animal fats and vegetable oils that bake into the texture of your tile. Think of it like a greasy frying pan; you wouldn’t just wipe it with a damp cloth and call it a day. You need agitation. I remember a particularly brutal New Year’s Eve at a high-end steakhouse where the floors were so slick the servers were practically ice-skating with trays of champagne. After the shift, I stayed until 4:00 AM, ditched the mop, and realized that the only way to save the floor was to treat it like a restoration project. Much like how homeowners struggle when a hardwood floor turned cloudy after cleaning, a kitchen floor with white haze is simply crying out for a different chemical approach. 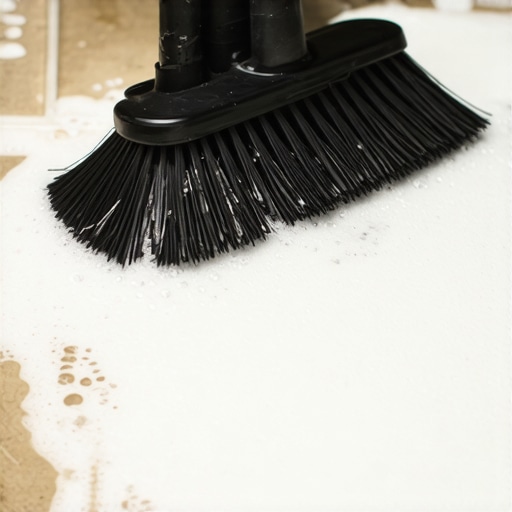
The Deck Brush is Your Only Real Friend
To actually break the bond between the grease and the tile, you must use a stiff-bristled deck brush. The bristles reach into the microscopic valleys of the slip-resistant surface and the grout lines where grease loves to hide. Start by applying your degreaser at the correct dilution—more is not better. Over-concentrating your chemicals leaves a sticky residue that attracts more dirt, a common issue that causes many to wonder why your commercial floor is failing the slip resistance test despite daily cleaning. Scrub in a circular motion, focusing on the high-traffic zones in front of the fryers and the grill. During my 4:00 AM epiphany, I noticed that the water wasn’t just dirty; it was thick. If you don’t see a gray, viscous slurry forming, you aren’t actually lifting the grease. This mechanical action is just as vital as the foundation work found in a step-by-step guide to flooring installation and leveling success; without the right prep, the final result will always be compromised.
Why Scalding Water and Fresh Buckets Change Everything
The temperature of your water is the difference between emulsifying fat and just moving it. If the water isn’t hot enough to melt the specific lipids you use—be it butter, lard, or canola oil—the degreaser can’t do its job. I’ve seen crews try to save time by using the same bucket for the whole line, which is like trying to wash your face with muddy water. Use the ‘Two-Bucket’ system: one for your hot chemical solution and one for clean rinse water. This prevents cross-contamination and ensures you aren’t just redepositing grease back into the pores of the tile. Just as hardwood floor care secrets to longevity and shine involve protecting the surface from abrasive buildup, keeping your kitchen tile free of abrasive grease-sand will extend the life of your grout and keep the friction levels high. If the floor still feels tacky after it dries, you haven’t rinsed enough. A proper rinse should leave the floor feeling ‘squeaky,’ meaning your shoes should actually make a noise when you twist your foot. This level of clean isn’t just for aesthetics; it’s a fundamental safety requirement that prevents the long-term degradation of your flooring investment.Everyone tells you to buy more expensive chemicals, but in my years on the line, I’ve found that the most expensive degreaser in the world can’t fix a floor that was leveled incorrectly or installed with the wrong materials. We often think of ‘level’ as the gold standard, but in a high-volume kitchen, ‘flat’ and ‘level’ are two very different things. If your installer didn’t know how to achieve flawless floor leveling before tile laying, you might have ended up with a surface that pools water instead of directing it toward the drains. This standing water creates a ‘hydroplaning’ effect that no deck brush can solve. The real nuance that most veterans miss is the bond between the substrate and the finish. I’ve seen owners pour thousands into premium quarry tile only to have it fail because they tried to save a few hundred on the underlayment. The hidden cost of using cheap thinset on large format tiles becomes apparent when you start seeing ‘hollow’ sounds under your feet. Those hollow spots aren’t just an annoyance; they are air pockets where moisture and bacteria thrive, eventually pushing the tile up and breaking the grout seal. Once that seal is gone, your floor is no longer a safety feature—it’s a liability. 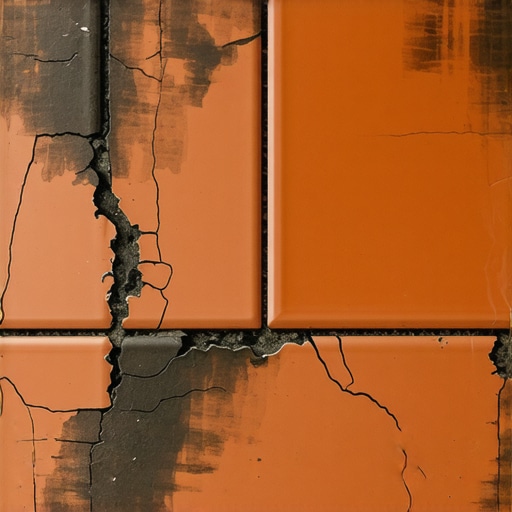
Why does my self-leveler look perfect today but crack by next month?
It usually comes down to one word: primer. One of the most common floor leveling challenges is the assumption that the leveler will naturally stick to whatever is underneath it. If you’re working over an old slab, why most floor levelers fail on top of painted concrete is due to a lack of mechanical or chemical bond. According to the Tile Council of North America (TCNA), the Dynamic Coefficient of Friction (DCOF) must be at least 0.42 for level interior spaces expected to be walked upon when wet. However, if your floor is ‘telegraphing’ cracks from the subfloor because you skipped the reinforcement mesh or the correct primer, that DCOF rating won’t save your staff from a trip hazard. The ‘oops’ factor here is the rush to grout. If you don’t wait for the subfloor to fully cure and reach the right moisture level, you’re trapping gas that will eventually blow out your joints. It’s the same reason why the secret to getting a flat floor for large format tiles isn’t just about the spacers you use, but the patience you have during the drying phase. Have you ever fallen into this trap of thinking a cleaning chemical would fix a structural installation error? Let me know in the comments.
The Pro Toolkit That Saves Your Back and Your Budget
Once you’ve moved past the structural nightmare of a bad subfloor, you have to talk about the gear that keeps the surface from failing three months down the line. I used to think I could ‘feel’ if a floor was ready for a finish, but that kind of ego leads to flooring installation mistakes to avoid for lasting results. The most important tool in my kit isn’t a fancy saw or a high-end trowel; it’s a digital moisture meter. I don’t care if you’re a seasoned pro or a weekend warrior, you need to know how to use a moisture meter before you lay wood floors. According to the National Wood Flooring Association (NWFA) Technical Manual, failing to reach the equilibrium moisture content (EMC)—which usually sits between 6% and 9% for most of North America—is the primary reason for cupping and crowning later on. If you skip this step, you’re just waiting for the weather to change so your floor can self-destruct.
How do I maintain floor integrity without losing the shine?
Long-term maintenance is where most people revert to bad habits, like using vinegar on stone or steam mops on vinyl. For hardwood, the goal is ‘dry and gentle.’ I always recommend a microfiber dust mop for daily use and a pH-neutral cleaner specifically formulated for your finish type. If you are dealing with a combo space, you should look into hardwood floor care secrets to longevity and shine to ensure your wood matches the durability of your tile. In commercial settings, I’ve found that switching to an auto-scrubber with a soft cylindrical brush can replace a dozen mops and provide a much deeper clean without the risk of oversaturation. This is especially true if you followed the ultimate guide to floor leveling for a perfect finish, as a perfectly flat floor allows the machinery to work at 100% efficiency.
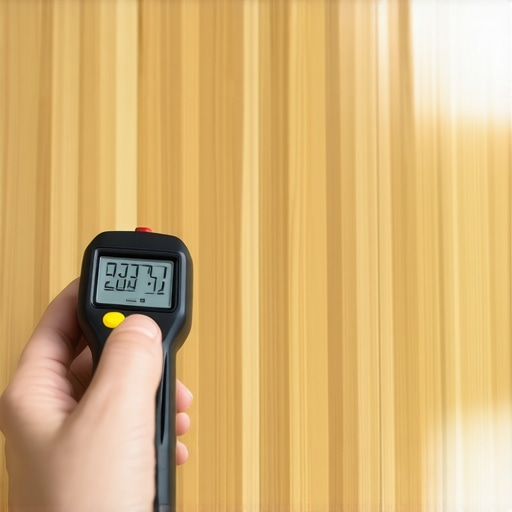
Looking ahead, the industry is moving toward ‘smart flooring.’ I’m already seeing high-end installs where we embed moisture sensors directly into the subfloor near potential leak points—like dishwashers or refrigerators. These sensors sync to an app and alert the owner the moment a pipe starts weeping, potentially saving a $20,000 floor from a $50 plumbing leak. It’s the ultimate insurance policy for anyone mastering hardwood floor refinishing expert tips for 2025. We are also seeing a massive shift toward bio-based finish resins that offer the durability of a traditional poly without the off-gassing. If you want to elevate your next project, my best advice is this: go buy a reliable moisture meter today. Spend the $40 now so you don’t have to spend $4,000 on a redo later. It’s the single most effective way to guarantee your installation survives the seasons.
Lessons My Feet Learned After Years in the Grease Trap
Looking back at that first kitchen, I realize I wasn’t just cleaning a floor; I was fighting physics and losing. Here are the core truths that only come from years on the line: First, pH balance is not a suggestion; it is the difference between removing oil and creating a chemical glue. Second, grout is the ‘canary in the coal mine.’ If your grout is turning black and soft, your subfloor is already drinking in grease, which often leads to flooring installation mistakes to avoid for lasting results. Third, the ‘squeak test’ is the only inspection that matters. If you can’t hear your rubber soles grip the tile, your floor is a hazard, period. Finally, I’ve learned that the most expensive degreaser is worthless if you skip the ultimate guide to floor leveling for a perfect finish, because grease will always find the low spots to hide.
The Gear That Keeps My Professional Reputation Intact
I don’t go into any project—commercial or residential—without these specific resources. I highly recommend the National Floor Safety Institute (NFSI) guidelines for anyone struggling with why your commercial floor is failing the slip resistance test; their standards are the gold standard for liability protection. For those moving into wood surfaces, the NWFA Technical Manual is my bible for moisture management. I also swear by a Digital Moisture Meter; I’ve found that how to use a moisture meter before you lay wood floors is the single most important skill for a long-lasting finish. Lastly, for heavy-duty kitchen maintenance, look for Cylindrical Brush Auto-Scrubbers. They reach into the grout lines that a flat mop simply skips over, ensuring your tile stays as safe as the day it was installed.
Your Path to a Permanent Grip Starts Here
Taking control of your kitchen floor isn’t just about the nightly clean; it’s about respecting the chemistry of the grease and the structural integrity of the installation. Whether you are mastering hardwood floor refinishing expert tips for 2025 or just trying to keep your staff from sliding into the reach-in, the principles remain the same: prep correctly, use the right tools, and never ignore the signs of moisture. A safe floor is the foundation of a successful business. Don’t let a poor flooring installation or a lazy cleaning habit become your biggest liability. Take the time to do it right, and your team—and your bottom line—will thank you. Have you ever struggled with a floor that felt slick even after a deep scrub? Let me know your biggest cleaning challenge below.