
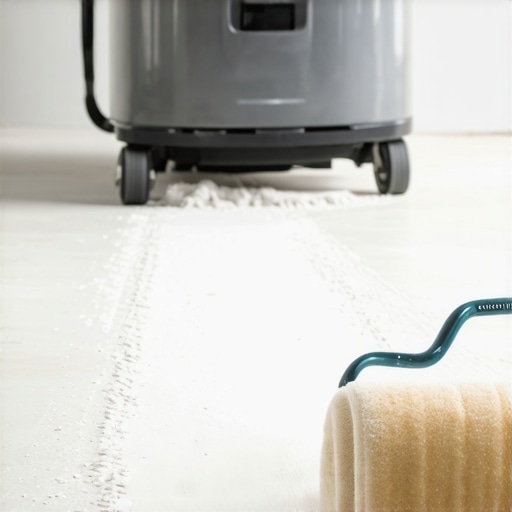
I remember standing in my basement three years ago, staring at a stack of premium vinyl planks and a concrete floor that looked like a scene from a desert sandstorm. I had spent the better part of a Saturday morning with a heavy-duty broom, thinking I was doing a stellar job. My back ached, my eyes stung, but the floor looked “clean” to the naked eye. Then, I did the finger test. I swiped a single finger across the slab and it came back coated in a fine, chalky grey powder. That was my lightbulb moment: if my finger couldn’t get a grip, how on earth was my expensive adhesive supposed to stay put? I realized then that the invisible “ghost dust” is the silent killer of DIY dreams.
Stop the Dust from Ruining Your Flooring Investment
We are going to tackle that frustrating, never-ending concrete dust so your adhesive actually sticks the first time. I learned the hard way—after watching several planks in a previous project start to “drift” because I skipped the deep clean—that flooring installation mistakes to avoid for lasting results usually start with what you can’t see. If you’ve ever wondered why your floors feel “crunchy” or why a corner keeps popping up, the culprit is almost always poor surface prep. Modern adhesives are amazing engineering feats, but they are also incredibly picky. Unlike the thick, black mastics used decades ago, today’s high-performance glues are often thin-spread and water-based, meaning even a microscopic layer of dust acts like a sheet of parchment paper between your floor and the slab. You might also want to check the painters plastic trick for testing concrete moisture before you get too deep into the process, because dust isn’t your only enemy down there.
Is all this cleaning really worth the extra weekend?
I get the skepticism. You want to see the new floor down, not spend another six hours with a vacuum and a damp mop. You’re probably thinking, “Can’t the glue just soak through the dust?” But here is the reality: according to the Tile Council of North America (TCNA), bond failure is most frequently caused by surface contaminants like dust, oil, or old paint. If you don’t how to prep a concrete slab for glue-down hardwood properly, you’re essentially gluing your floor to a layer of ball bearings. One huge mistake I made early on was thinking a standard shop-vac was enough. It sounded powerful, but without a HEPA filter, it was just a giant dust-relocation machine, sucking it up from the floor and spraying it out the exhaust into the air, only for it to settle right back down ten minutes later.[image_placeholder_1]Before you even open that bucket of glue, you have to ensure the slab is chemically and physically ready. Sometimes that means looking into the concrete etching step you shouldnt skip before leveling or bonding. Have you ever spent hours prepping a floor only to feel like you didn’t make a dent in the dust? Tell me I’m not the only one who has fought this battle! It’s exhausting, but skipping it is the fastest way to turn a $2,000 flooring project into a $4,000 repair job. Today, I’ll show you the exact sequence of HEPA vacuuming, pH-neutral mopping, and priming that transformed my installs from “shaky” to “rock solid.”
Capture Every Particle with HEPA Power
The biggest mistake most of us make is assuming a standard shop vacuum is a miracle tool. In reality, unless that vacuum is equipped with a certified HEPA filter, you are just running a very expensive air-pollution machine. The dust on your concrete is so fine that it passes right through standard paper filters and shoots back out the exhaust. I once tried to prep a small sunroom using a cheap vacuum I found in the garage. Within twenty minutes, the room looked like a scene from a haunted house—a thick, grey fog hung in the air. By the time I came back the next morning, that dust had settled into a fresh layer right where I had just ‘cleaned.’ It was a total waste of a Saturday. To avoid this, you need a vacuum that captures 99.97% of particles down to 0.3 microns. Think of it like this: your floor adhesive needs to ‘shake hands’ with the concrete. If there is a layer of dust in between, they never actually touch, and your bond will fail before the glue even cures.
The Right Way to Vacuum
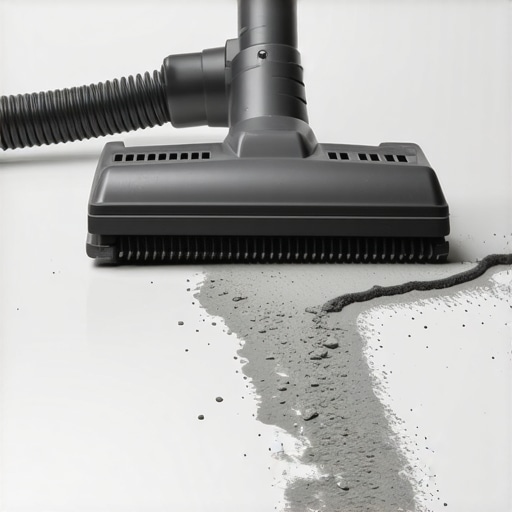
Don’t just swing the wand around like you’re cleaning your living room rug. You need to move slowly, allowing the suction to pull the dust out of the microscopic pores of the concrete. Use a brush attachment to agitate the surface as you go. This loosens the ‘ghost dust’ that static electricity likes to hold onto. If you find yourself dealing with stubborn areas, you might need to use the chalk dust secret for finding low spots in subfloors to identify where the vacuum might be skipping over uneven pockets. Once the vacuuming is done, the surface should look matte and feel slightly rough, not slick or powdery.
Wash the Slab the Right Way
After vacuuming, you have to mop. This is where most DIYers unintentionally ruin their project. You might be tempted to grab whatever cleaner is under the sink, but you have to why you should never mop your floors with dish soap when preparing for a bond. Dish soaps contain degreasers and surfactants that leave a thin, waxy film on the concrete. That film is an incredible ‘bond breaker’ that acts like a lubricant for your adhesive. Instead, use a pH-neutral cleaner or, better yet, just clean, lukewarm water with a splash of denatured alcohol. Use a microfiber mop head rather than a traditional cotton string mop. Microfiber actually traps the particles instead of just pushing them around in a muddy slurry. Change your water often—if the water in your bucket looks grey, you aren’t cleaning the floor; you’re just painting it with liquid dust.
Find Hidden Dips Before Bonding
Once the floor is clean and dry, you’re in the best position to see the true topography of the slab. This is the moment to look for floor leveling challenges common mistakes and how to avoid them before you start spreading glue. A clean floor reveals cracks and divots that were previously hidden by dust. If you find significant un-level areas, you will need to learn how to achieve flawless floor leveling before tile laying or hardwood installation. If you ignore a 1/8-inch dip now, it will translate into a ‘click’ or a ‘hollow sound’ every time you walk across the finished floor later. In some cases, if the slab is too smooth or has a sealer on it, you must consider the concrete etching step you shouldnt skip before leveling or bonding to ensure the surface has enough ‘tooth’ for the glue to grab. Prep isn’t just about cleaning; it’s about creating a surface that wants to be stuck to.
Let’s look at a nuance that most weekend warriors—and even some pros—completely miss. There is a common belief that if a concrete slab is as smooth as a glass tabletop, it is the perfect canvas for your expensive adhesive. I used to think the same thing. I would spend hours polishing away every bump until that concrete looked like a gallery floor. But here is the contrarian truth: Smooth concrete is often a liability in disguise. Adhesives, whether for tile or hardwood, require a mechanical “tooth” to grab onto. According to the National Wood Flooring Association (NWFA), a concrete slab should typically have a Concrete Surface Profile (CSP) of 1 or 2 for most glue-down applications. If your slab is power-troweled to a mirror finish, the glue has nothing to bite into. You might think you are being thorough, but you are actually creating a surface that is functionally no different than glass. This is why the concrete etching step you shouldnt skip before leveling or bonding becomes vital even if the floor looks perfect to the naked eye.
Watch Out for the Invisible Sealant Trap
Even if you have the right texture, there is a hidden “oops” factor that ruins projects every year: curing compounds. Builders often spray these chemicals on new slabs to slow down the drying process and prevent cracking, but they are notorious bond-breakers. This is one of those flooring installation mistakes to avoid for lasting results because no amount of HEPA vacuuming will remove a chemical sealer that has penetrated the pores. If you don’t account for these invisible layers, you’re trying to build your new floor on a foundation of oil. This is also a major reason why most floor levelers fail on top of painted concrete or previously sealed surfaces. If you ignore this profile now, why your lvp floor is showing telegraphing from the subfloor will be the next mystery you are trying to solve when the planks start to shift and reveal the unevenness below.
How can you tell if your slab will actually accept the glue?
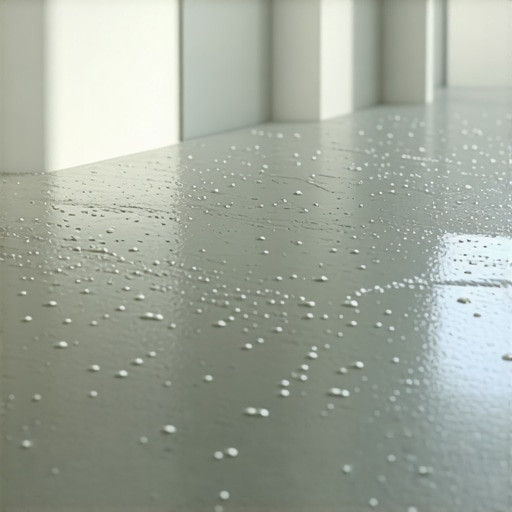
You can perform a simple water drop test to verify porosity. Drop a few beads of water onto various spots on the slab. If the water beads up and stays there for more than a minute rather than soaking in, you have a sealer or a lack of porosity. In these cases, you must use a specialized primer or a diamond grinder to open the surface. If you are working with larger materials, remember that why wide plank flooring needs both glue and nails is often due to the sheer tension these boards put on the bond. If that bond is already weak because of a ghost sealer or a lack of surface profile, the wood will simply pull the glue right off the concrete as it acclimates to your home’s humidity. Have you ever fallen into the too-smooth trap or discovered a hidden sealer halfway through a project? Let me know in the comments!
If there is one thing I’ve learned from years of bruised knees and dusty lungs, it’s that the difference between a ‘good enough’ job and a professional-grade installation is the gear you use when nobody is looking. I used to think a tape measure and a prayer were sufficient, but once I invested in a Wagner Orion pinless moisture meter, my success rate skyrocketed. According to the Wagner Meters technical documentation, a non-destructive pinless meter is the only way to get a truly representative sample of the slab’s internal moisture without turning your floor into Swiss cheese. If you haven’t mastered your step-by-step guide to flooring installation and leveling success, you are essentially gambling with your material costs.
The Gear That Makes Me Look Like a Pro
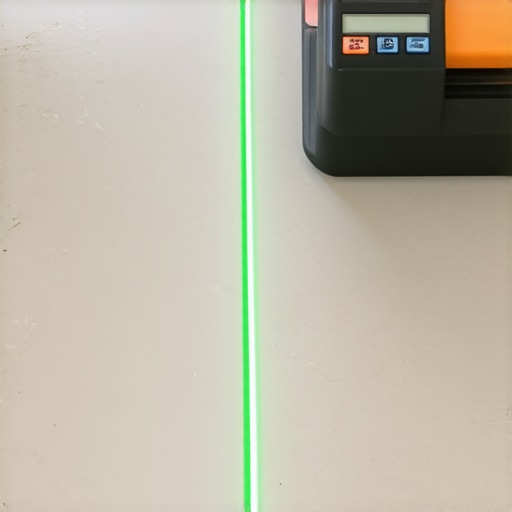
Beyond the vacuum and the mop, you need a high-quality notch trowel that you actually clean after every use. I see so many guys using trowels with dried gunk in the teeth, which completely changes the coverage. For hardwood, I’m a devotee of the ‘stand-up’ trowel systems because, let’s be honest, our backs aren’t getting any younger. But the real game-changer is a self-leveling laser. I use a Bosch 3-plane leveling laser to find the high spots before I even open a bag of compound. It’s much more accurate than a 6-foot bubble level and it helps you achieve those mastering floor leveling pro secrets for perfect installations that separate the amateurs from the artists. I also keep a stash of specialized cleaners on hand; you should hardwood floor care secrets to longevity and shine to ensure you aren’t stripping the finish off your hard work the first time you spill some coffee.
How do I keep my floor from falling apart in five years?
Maintenance isn’t just about sweeping; it’s about environment control. Wood and tile are living, breathing parts of your home (metaphorically for the tile, literally for the wood). I predict that in the next decade, we will see ‘smart subfloors’ with embedded moisture sensors that sync to your HVAC system to automatically adjust humidity levels. Until then, you are the sensor. Use a humidistat and keep your home between 30% and 50% humidity. If you have furry friends, you’ll need to stop your pets claws from ruining your vinyl planks or hardwood by keeping them trimmed and using area rugs in high-speed ‘zoomie’ zones. Longevity is a game of mitigation. Every scratch you prevent today is a sanding session you don’t have to do in 2030.
I want you to try something this weekend: go buy a simple, inexpensive hygrometer for your room. Watch how the humidity spikes when you boil pasta or drops when the heater kicks on. Once you see those numbers jump, you’ll understand why your floor ‘groans’ at night. It’s the first step in moving from a DIYer who just ‘lays floors’ to a craftsman who ‘manages installations.’ Take that moisture reading today and see if your home is actually ready for that premium oak you’ve been eyeing.
What the Pros Never Tell You About Concrete Dust
I’ve spent years analyzing why some installs fail and others last decades, and it often comes down to the microscopic level. One major realization was that dust isn’t just dirt; it’s a structural barrier. If you’re planning to revamp your home with expert flooring installation tips, remember that a clean slab is a chemical requirement, not a suggestion. I once ignored a slight chalkiness on a back-room slab, thinking the heavy glue would ‘eat’ it. Within six months, I could feel the tiles ‘crunching’ because the bond was only as strong as the loose dust sitting on top. Another lightbulb moment was the importance of airflow. If you clean with the windows shut, the dust just floats and resettles. Always create a cross-breeze to pull airborne particles away from your work zone.
You also need to think about the long-term interaction between the slab and the wood. If you are trying to how to match new hardwood to a century-old subfloor, the prep is even more critical because older concrete can be incredibly porous and ‘thirsty,’ sucking the moisture out of your glue before it can even bond to the wood. Always use a primer if the slab is older than 20 years.
The Gear I Rely on for a Perfect Bond
Success in flooring is 20% skill and 80% having the right tools for the specific environment. If you want to follow the ultimate guide to floor leveling for a perfect finish, start with a specialized floor-prep vacuum. I personally trust high-end HEPA dust extractors because they have pulse-cleaning filters that won’t clog when handling the fine particulates of a concrete slab. For testing, I never skip using simple pH strips. If your slab is too alkaline, it will literally ‘cook’ the adhesive from the bottom up, leading to a massive failure. Finally, keep a supply of lint-free microfiber towels; they are the only way to ensure the final wipe-down is actually removing residue rather than just redistributing it.
Start Your Project with Confidence
It’s easy to feel overwhelmed by the technicalities of moisture, dust, and profile, but remember that every pro started exactly where you are today. If you take the time to clean correctly, you are already ahead of 90% of the DIY crowd. Whether you are laying luxury vinyl or looking into mastering hardwood floor refinishing expert tips for 2025, the foundation is everything. Don’t rush the dry-times, and don’t settle for ‘clean enough.’ Your future self—the one walking on those silent, rock-solid floors ten years from now—will thank you for the extra effort you put in today.
Have you ever had a floor that felt “crunchy” or hollow because of a cleaning mistake? Let me know your biggest prep challenges in the comments below!