
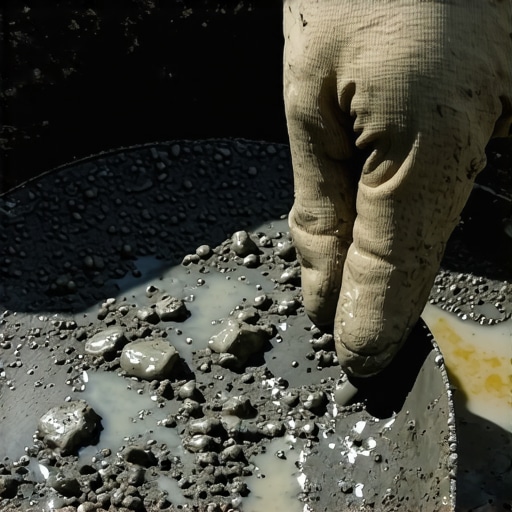
I was on my knees in my half-finished bathroom, staring at a bucket of what looked like gray sludge, wondering why it smelled like a damp basement. I’d spent all weekend mastering floor leveling and getting my tiles perfectly aligned, only to have the final step turn into a nightmare. I ignored my gut, pushed that gritty, clumping mess into the joints, and paid the price. Three days later, it was cracking and falling out. I had to scrape it all out with a dental pick. It was soul-crushing. If you’ve ever felt that pit in your stomach when a project starts going sideways, you’re in the right place. Today, I’m going to show you exactly how to vet your grout so you don’t end up with a splotchy, crumbling mess that ruins your beautiful tile installation.
That Sinking Feeling of a Failed Grout Job
Grout is the unsung hero of any flooring project. It ties everything together, but if it’s “off,” it becomes the villain. I remember my first big mistake: I bought a bag from a clearance rack at a big-box store. I didn’t check the date code. I didn’t check for clumps. I just assumed grout was grout. That mistake cost me a full week of rework. Most people think grout failure is about the mixing technique, but often, the battle is lost before you even add water. According to the Tile Council of North America (TCNA), cement-based products have a limited shelf life, typically around one year, and moisture is their absolute nemesis.
Is Expired Grout Actually a Real Problem?
You might be wondering if those “best by” dates on the bag are just a way for companies to sell more product. I used to think the same thing. I’d tell myself, “It’s just sand and cement, what could possibly go wrong?” The reality is that the chemical additives—the polymers that help with color consistency and flexibility—break down over time. If your grout has been sitting in a humid warehouse or a damp garage, those chemicals can pre-react. If you’ve ever wondered why your new tile grout is turning white and chalky, a bad batch is often the culprit.
Check the Bag Before You Break the Seal
The first line of defense is a simple squeeze test. Before you even pay for that bag, give it a good hug. It should feel like a soft pillow of flour. If you feel hard lumps or anything that resembles small pebbles, put it back. Those are “micro-clumps” caused by moisture infiltration. Even if you manage to mix them out, the structural integrity of the grout is compromised. I’ve seen people try to use the blue tape secret for perfectly straight grout lines, only to have the grout crumble away from the tape because the binder had already failed. Have you ever opened a bag and found it felt more like a rock than a powder?If it’s a rock, it’s garbage. But even if it’s powder, your work has just begun.
Precision Beats Intuition Every Single Time
Mixing grout is more like baking a delicate souffle than mixing concrete for a fence post. If you add too much water, you dilute the polymers and pigments, leading to that chalky, weak finish we all dread. I always tell people to treat their water-to-powder ratio like a holy text. Grab a measuring bucket and follow the bag’s instructions to the milliliter. Even if you’ve already achieved flawless floor leveling before tile laying, a watery grout mix will shrink as it dries, leaving gaps that invite moisture behind your tiles. 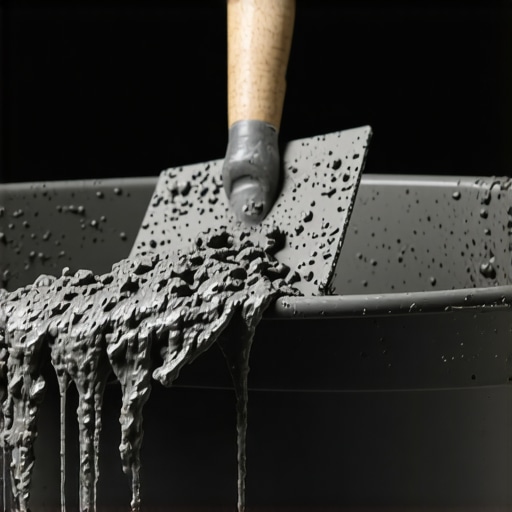
The Five Minute Wait That Saves Your Joints
Once you’ve mixed the powder and water, you’re going to be tempted to start spreading immediately. Don’t. You need to let it “slake.” This is a fancy term for letting the chemicals fully hydrate. I learned this the hard way on a backsplash project in my first apartment where I skipped the wait. The grout felt fine at first, but it didn’t bond correctly to the tile edges. By day three, I could literally flick pieces out with my fingernail. Let it sit for 5 to 10 minutes, then give it one final, slow stir by hand. Avoid high speeds; remember that the mixing paddle speed that ruins your leveling compound applies here too—too much air creates bubbles that turn into pinholes once the grout cures.
Look for the Peanut Butter Peak
How do you know the texture is right? It should look and feel like creamy peanut butter. If you pull your margin trowel out of the bucket, the grout should hold a stiff peak without slumping back down. If it runs off like pancake batter, it’s too wet. If it’s chunky like oatmeal, it’s too dry. This consistency is vital for any flooring installation where durability is the goal. I once worked on a large format porcelain job where the grout was just a hair too dry. It was a nightmare to push into the joints, and I ended up with “holidays”—empty spots—under the surface that eventually cracked under the weight of heavy furniture.
Try a Test Run on Your Scraps First
Before you commit to the whole floor, grab a few scrap pieces of your tile and do a mock-up. This is especially important if you’re using high-contrast colors or porous stone. You want to see how the pigment reacts with the tile surface. If the grout stains the tile, you’ll need a sealer or a grout release agent first. It’s much easier to pivot now than to be searching for the mineral spirits trick for removing dried grout haze later. On a recent bathroom remodel, this test saved me from ruining a beautiful marble mosaic. The dark grey grout I picked bled right into the stone pores; a quick coat of sealer on the tile face before grouting made the cleanup effortless and kept the colors crisp. If you’re aiming for perfectly straight grout lines, a clean, well-mixed batch is your only path to success.People often get hyper-fixated on the spirit level. They think if the bubble is centered between those two black lines, their job is done. But here is the hard truth that many pros won’t tell you: your house can be slightly tilted and still have a successful, lifelong floor. What actually kills a project isn’t being out of ‘level’; it’s the lack of ‘flatness.’ I’ve seen homeowners spend hours trying to correct a slight one-degree slope in a subfloor, only to end up with a surface that looks like a rolling sea because they didn’t know how to prep a concrete slab for glue down hardwood correctly.
Stop Chasing the Bubble and Start Chasing the Plane
In my experience, mechanical flatness is the secret sauce. If you have a ‘dip’ in your floor, your level might say it’s fine, but your floating floor will eventually fail. This is why why your lvp floor is clicking when you walk on it—the planks are bridging over a hollow spot and snapping under your weight. The National Wood Flooring Association (NWFA) is very clear about this: subfloors must be flat to within 1/8 of an inch over a 10-foot radius. If you ignore this, you’re just building a trampoline, not a floor. I always use the chalk dust secret for finding low spots in subfloors to map out the terrain before I even think about opening a bag of leveler. 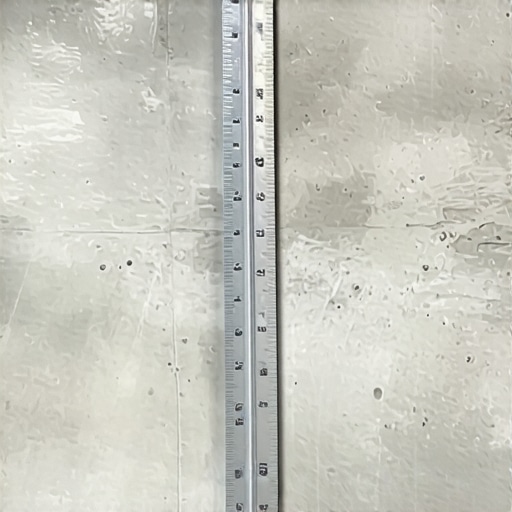
Can You Trust Your Self-Leveling Compound to Do All the Work?
Most people assume that ‘self-leveling’ means the product acts like water and finds its own perfect plane. That is a dangerous myth. If you don’t help it along, you’ll end up wondering why your self-leveling pour looks like a topographical map. You have to gauge rake it and use a spiked roller to release surface tension. One ‘oops’ factor that ruins many high-end jobs is neglecting the transition between different materials. When tile meets wood, they expand at different rates. If you don’t respect the expansion gap rule, you’ll find your beautiful hardwood floor refinishing project buckling against the rigid tile. It’s a sophisticated mistake that even seasoned contractors make when they get too comfortable. Have you ever fallen into this trap of chasing level instead of flat? Let me know in the comments—I’d love to hear your ‘war stories’ from the subfloor trenches. Understanding these flooring installation mistakes to avoid is what separates a DIY weekend project from a professional-grade transformation.
I’m done with standard bubble levels. If you want a hallway that doesn’t look like it was laid by a drunk sailor, you need to upgrade your kit. After years of chasing my tail with a 4-foot I-beam level, I finally invested in a self-leveling green beam laser. It changed everything. When you are trying to execute the laser level move for perfectly straight hallways, the visual feedback is instant. You can see the variance across twenty feet rather than just checking the next two. This level of precision is how you ensure your hardwood floor refinishing or tile layout doesn’t start drifting into a diagonal mess by the time you reach the far wall.
Ditch the Bubble for a Laser Beam
I personally use a 360-degree cross-line laser because it handles the floor and the wall layout simultaneously. This is non-negotiable for large format tiles where even a 1/16th of an inch deviation at the start results in a massive gap by the finish. If you’re still relying on a chalk line that gets smeared the moment you apply thinset, you’re making the job harder than it needs to be. For those aiming for flooring installation and leveling success, seeing that glowing green line over your wet mortar is a total game-changer. 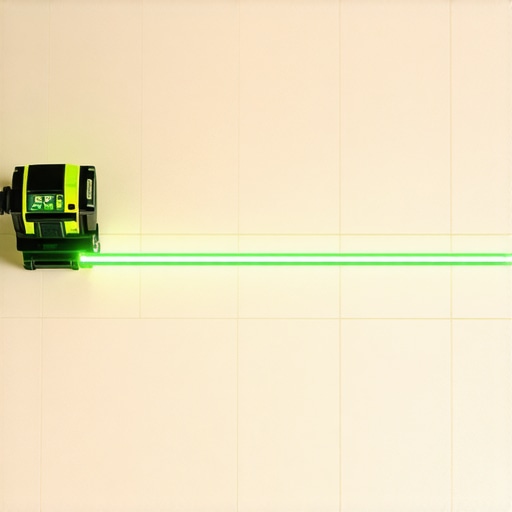
A Mirror Finish Needs the Right Roller
When you finally pour your self-leveling compound, the most common mistake is walking away too soon. You’ll see bubbles rising to the surface as the air escapes the subfloor. This is where the spiky roller secret for a mirror-smooth pour comes into play. I use a high-density spiked roller to break that surface tension. It doesn’t just pop bubbles; it helps the material knit together, preventing those ugly ridges that occur when the pour begins to set. According to technical documentation from Mapei, neglecting to release entrapped air can reduce the compressive strength of the cured surface by up to 15%. That is the difference between a floor that lasts forty years and one that starts to pit in five.
How do I keep my new floors from aging prematurely?
Maintenance is where most DIYers fail their own hard work. I see people spend thousands on choosing the right hardwood floors only to ruin the finish with a steam mop or supermarket chemicals. You must stop using vinegar on your hardwood floors immediately. The acid eats the protective polyurethane layer, leaving the wood vulnerable to moisture. Instead, stick to pH-neutral cleaners specifically designed for your finish type. If you want to dive deeper into the specifics, hardwood floor care secrets focus on one main thing: humidity control. I predict that in the next five years, integrated moisture sensors built into the subfloor will become the standard for high-end installs, alerting your smartphone if your HVAC isn’t keeping the environment stable enough for your wood.
If you’re ready to stop guessing and start measuring like a pro, I challenge you to try the chalk dust secret for finding low spots on your next project. It’s a low-cost way to visualize the terrain of your floor before you spend a dime on expensive levelers.
The 2 AM Realization That Saved My Subfloor
After years of wrestling with uneven slabs, I finally realized that my biggest enemy wasn’t a crooked joist—it was my own impatience. I used to think I could outrun a quick-setting mortar or eyeball a low spot. Now, I know that floor leveling challenges are won in the prep phase. One specific lightbulb moment happened when I stopped trying to force the floor to be ‘level’ according to the earth’s axis and started focusing on making it perfectly flat. If you can slide a dime under your 10-foot straightedge anywhere on the floor, you aren’t done yet. This level of obsession is why revamp your home with expert flooring installation tips usually starts with slowing down and measuring twice.
Another secret? Temperature matters more than you think. If your subfloor is freezing cold or baking in the sun, your self-leveling compound will act like a completely different product. I always keep my material in the room for 24 hours before pouring. It’s a small step that prevents those heartbreaking cracks later on.
Gear That Actually Makes Pro-Level Results Possible
You don’t need a warehouse full of tools, but you do need these three essentials for a successful floor leveling for a perfect finish. First, a high-quality 360-degree laser level; it is the only way to see the ‘big picture’ of your room. Second, a heavy-duty mixing paddle—specifically one designed not to whip air into the mix—because the mixing paddle speed that ruins your leveling compound is a very real danger. Finally, I never start a job without checking industry standards. It’s where I go when a unique substrate throws me a curveball.
Build a Floor That Outlasts Your Mortgage
It’s easy to get overwhelmed by the grit and the dust, but remember that a high-quality flooring installation is one of the few things you can do to your home that provides both immediate joy and long-term value. Every time you walk across a floor that doesn’t click, squeak, or dip, you’ll feel that pride of craftsmanship. Don’t let the fear of a splotchy grout line keep you from starting. You have the tools, the techniques, and the knowledge to get it right the first time. #IMAGE_PLACEHOLDER_E#
Have you ever had a grout job go south because of an expired bag or a bad mix? Let me know your biggest flooring horror story in the comments below!