
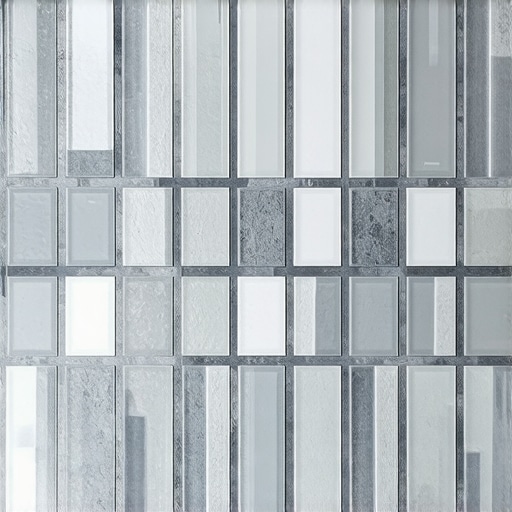
I stood in my kitchen, sponge in hand, feeling that familiar post-grout exhaustion. But as the haze cleared, my heart sank. Instead of the shimmering sea of marble I’d envisioned, I saw a rigid, ugly grid. It looked like I’d glued twelve-inch graph paper to my wall. You could see exactly where one sheet ended and the next began. It was devastating. I’d spent hundreds on premium tile only to make it look like a cheap DIY disaster because I fell for the ‘mesh sheet’ trap. If you have ever felt that pit in your stomach after seeing visible sheet lines, you are not alone.
Stop Settling for Visible Sheet Lines
We’ve all been there. You buy those convenient 12×12 mesh-backed sheets because they promise a faster install. But the truth is, those sheets can be your worst enemy. If you do not treat the edges where sheets meet with the same respect as the individual tiles, you end up with ‘ghosting’ lines that scream amateur hour. Today, I am going to show you exactly how to break that grid pattern so your backsplash or shower floor looks like a continuous masterpiece. Whether you are installing tiles like a pro or just trying to save your weekend project, this is the missing step. I have learned the hard way that you cannot just slap these sheets down and expect them to align themselves perfectly.
Is Mosaic Tile Actually Too Hard for a DIYer?
People often ask me if they should just stick to large format tiles to avoid the headache. I used to think so, especially after my first big fail where I did not realize that the best trowel notch size for glass mosaic tiles is much smaller than for standard ceramic. My big mistake? I assumed the factory spacing on the mesh was perfect. It almost never is. According to the Tile Council of North America (TCNA), manual adjustment of interlocking sheets and checking for consistent joint widths is critical for a professional finish. If the gap between two sheets is even a hair wider than the gap between the tiles on the sheet, the grout will reveal that secret immediately. Have you ever stepped back from a fresh grout job only to realize you can see every single square sheet? I want to hear about your most frustrating tile moments in the comments. We are also going to look at the blue tape secret for perfectly-straight-grout-lines and why the secret to cutting glass mosaic without chipping is vital for those tricky perimeter cuts that often highlight grid issues.If you want that high-end look, you have to treat every sheet as a suggestion, not a law. I learned this the hard way on a laundry room floor that ended up looking like a checkerboard gone wrong. I followed the grid, and the grid punished me. Now, I always start by ensuring my substrate is dead flat. You cannot hide a wavy wall or a lumpy floor with tiny tiles; in fact, small mosaics highlight every imperfection. Before you even mix your mortar, look into how to achieve flawless floor leveling before tile laying to ensure you aren’t fighting the surface while also fighting the mesh. Once your surface is ready, you need a plan that doesn’t involve just sticking sheets side-by-side.
Stop the Grid by Offsetting Your Sheets
The biggest mistake DIYers make is aligning the 12×12 sheets in a straight cross-hair pattern. This creates long, continuous vertical and horizontal lines that the eye picks up instantly. Think of it like a brick wall—you never see the vertical joints lining up from one row to the next. You should apply this same logic to your mosaic sheets. By staggering the sheets by half a length, or even just a few inches, you break up those long lines. I used the pencil mark secret for perfectly centered tile layouts to map out my stagger before the thinset was even wet. This small bit of prep work means if there is a slight variation in spacing, it is localized rather than running the entire length of your backsplash.
Rip These Tiles Off the Backing for a Better Blend
Sometimes, the factory mesh is just too tight or too loose at the edges. When two sheets meet, the gap is often double what it should be. On a project last summer, I was working with a stunning recycled glass mosaic and noticed the interlocking ‘teeth’ were creating a slight bulge every three feet. Instead of forcing it, I took my utility knife and cut individual tiles off the edge of the new sheet. I manually ‘stitched’ them into the previous sheet. It took an extra hour, but the ‘sheet lines’ vanished completely. 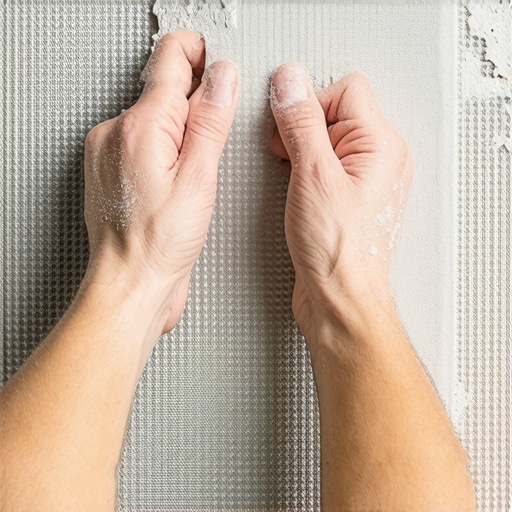 This ‘braiding’ technique is what separates a $500 job from a $5,000 one. You have to be willing to destroy the sheet to save the design. It is also why knowing the best trowel notch size for glass mosaic tiles is non-negotiable—too much thinset and you will never be able to move those individual pieces into place.
Keep Your Thinset Low to Save Your Grout
Nothing ruins a clean mosaic line faster than thinset squeezing up through the joints. If the mortar fills more than half the depth of the tile, your grout won’t have anywhere to go, and you will see grey or white patches in your finished color. I always recommend using a 3/16 inch V-notch trowel for most mosaics. If you find the mortar is still oozing, use the side of your trowel to knock down the ridges slightly before pressing the sheet in. To keep everything crisp, you can use the blue tape secret for perfectly-straight-grout-lines along your edges and transitions. This prevents the mess from migrating where it shouldn’t, especially when you are transitioning from tile to a different material like hardwood. Achieving a professional finish requires more than just luck; it requires precise floor leveling techniques to achieve flawless surfaces and a patient hand with the mesh cutter.Everyone tells you that self-leveling compound is the ‘undo’ button for a bad subfloor, but in my experience, relying too heavily on the ‘self’ part of the name is a recipe for a topographical nightmare. I have seen countless DIYers pour a bucket and walk away, only to find a frozen wave of concrete the next morning. If you do not use the spiky roller secret for a mirror smooth pour, you are leaving your floor’s fate to physics that isn’t always on your side. Have you ever fallen into this trap of assuming the liquid would just know where to go? Let me know in the comments. The most overlooked mistake actually happens before the pour: the mixing speed. People often use a standard drill and whip it like a cake batter, but the mixing paddle speed that ruins your leveling compound is almost always ‘high.’ High speeds pull air into the mixture, resulting in tiny pinholes that weaken the surface. The American National Standards Institute (ANSI A108.02) is very clear: a substrate must be within a 1/8 inch variation over 10 feet for most thinset applications. If your leveler is full of air bubbles, you have already failed that spec before the first tile is even laid. 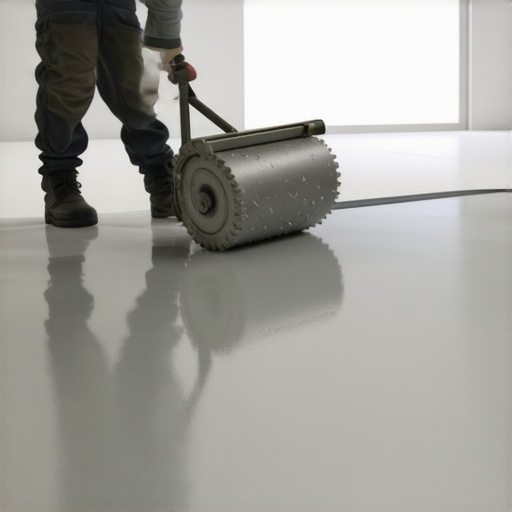
Why is your floor leveler cracking over those radiant heat pipes?
If you are working over heated floors, there is a specific nuance you cannot ignore. Why your floor leveler is cracking over radiant heat pipes usually comes down to thermal expansion and a lack of proper priming. You cannot just slap leveler over PEX or electric mats; the heat causes the subfloor to expand at a different rate than the compound. This principle applies to wood as well. Many think hardwood is more ‘forgiving’ because of the underlayment, but why wide plank flooring needs both glue and nails is often due to the fact that any slight dip in the floor will cause those expensive boards to cup, squeak, or pull. You must master precise floor leveling techniques to achieve flawless surfaces if you want a high-end, quiet result. Here is the ‘oops’ factor most people miss: the surface prep on old concrete. Most levelers fail because of old paint or sealer. Why most floor levelers fail on top of painted concrete is a simple lack of a mechanical bond. You must use the concrete etching step you shouldnt skip before leveling to open those pores. If you are installing tiles like a pro, you know that your finish is only as good as what is underneath it. Without proper prep, your beautiful new mosaic floor is just a floating sheet waiting to crack.Once that last tile is set and the leveler has cured into a glass-like plane, you might think the hard work is over. But honestly, the difference between a floor that lasts thirty years and one that fails in three is the gear you use and how you treat it after the dust settles. I used to rely on a standard 4-foot bubble level until I realized it was lying to me over long distances. Now, I never start a project without my self-leveling green beam laser. Using the laser level move for perfectly straight hallways is the only way to ensure your grout lines don’t slowly drift into a diagonal nightmare as you move from the kitchen to the foyer. It’s about precision that the naked eye just can’t replicate. If you’re still hunting for dips, try the chalk dust secret for finding low spots in subfloors; it’s a low-tech way to verify what the laser is telling you before you commit to a pour.
How do I keep my high-end floors looking brand new?
The most heartbreaking thing I see is a homeowner spending five figures on a White Oak installation only to ruin it with a bucket of soapy water. You have to stop using vinegar on your hardwood floors immediately. The acid eats through the polyurethane, leaving the wood vulnerable to moisture. According to the National Wood Flooring Association (NWFA) technical manual, maintaining a consistent indoor relative humidity between 30% and 50% is the single most important factor for wood longevity. If you ignore this, even the best install will suffer from gapping or cupping. For those everyday messes, why you should never mop your floors with dish soap comes down to the filmy residue that attracts more dirt, creating a cycle of dullness. Instead, lean into hardwood floor care secrets to longevity and shine that focus on pH-neutral cleaners and microfiber. 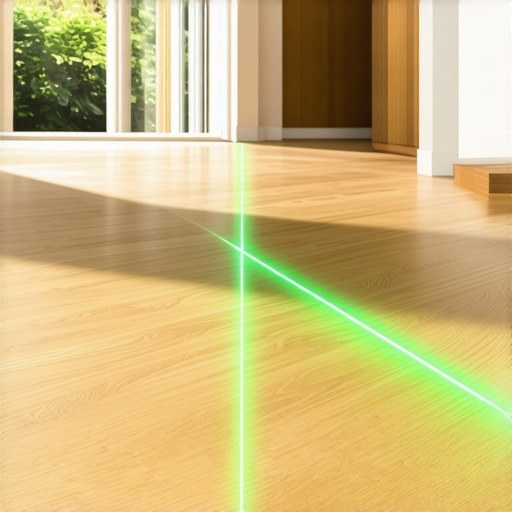 When it comes to the tile side of things, grout haze is the final boss. I’ve spent hours scrubbing with clear water only to see that white film return. I finally discovered the mineral spirits trick for removing dried grout haze, which works wonders on stubborn epoxy residues that haven’t fully cured. As we look toward the future, I suspect we will see a massive shift toward robotic floor-leveling systems and AI-integrated layout apps that can project your tile pattern directly onto the subfloor. For now, we rely on the ultimate guide to floor leveling for a perfect finish to bridge that gap. If you’re ready to step up your game, I challenge you to ditch the manual level on your next project and try the laser method—it will change your entire perspective on what ‘flat’ really means. For those looking to restore rather than replace, checking out mastering hardwood floor refinishing expert tips for 2025 is your next logical step in protecting your investment.
Lessons My Subfloor Taught Me the Hard Way
Reflecting on years of dusty knees and grout-stained hands, I have realized that the most expensive tile in the world cannot save a poorly prepped room. First, never assume your subfloor is ‘good enough.’ Even a sixteenth of an inch of height difference can cause a mosaic sheet to tilt and create a shadow line. Second, the mesh backing is a guide, not a guarantee; I have often had to cut nearly a third of the tiles off their backing just to make a pattern look natural and continuous. Third, if you rush the drying time for your leveler, you are essentially building on a foundation of sponges. Always follow a step-by-step guide to flooring installation and leveling success to avoid those heart-crushing cracks that appear months after the job is done.
Tools That Turned My DIY Disasters into Pro Finishes
If you want to move beyond the amateur look, you need to invest in the gear that removes human error from the equation. My current ‘must-have’ list includes a self-leveling green beam laser for perfect layout lines—it is truly the only way to avoid ‘drifting hallway syndrome’ where your lines slowly go diagonal. I also swear by a high-quality V-notch trowel specifically sized for mosaics to keep thinset from oozing through the joints. For those finishing touches, I have learned to protect my work by following hardwood floor care secrets to longevity and shine, ensuring that the transition between my tile and wood remains pristine. Finally, a spiky roller is the only way to get that mirror-finish on your leveling pour without trapped air bubbles. #IMAGE_PLACE_FINAL#
Start Your Next Floor with New Confidence
It is easy to get paralyzed by the fear of visible sheet lines or cracking grout, but remember that every master installer started exactly where you are right now. By mastering the ultimate guide to floor leveling for a perfect finish and taking the extra time to manually ‘stitch’ your mosaic edges, you are already ahead of the majority of the DIY crowd. Your home deserves a surface that looks intentional, seamless, and feels solid underfoot for decades. Do not let a few tricky mesh sheets intimidate you—you now have the techniques to turn a standard flooring installation into a high-end work of art. Have you ever had a mosaic project reveal those annoying grid lines only after you finished the final grout wipe? Let me know your story in the comments below!