
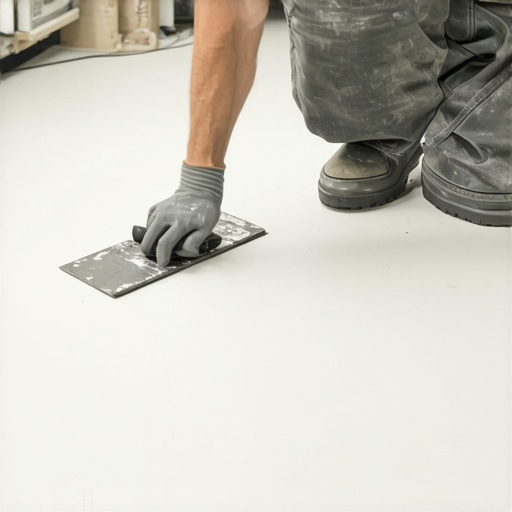
I was kneeling on a subfloor that felt like it was a hundred degrees, sweat dripping off my nose, and I had a four-hundred-dollar sheet of vinyl that was starting to look like a crumpled bedsheet. I had used the full-spread method, thinking I was being a pro by gluing every single square inch. I wasn’t. I was just a guy with a sticky floor and a shrinking window of time before the adhesive set forever. That was the moment I realized that for large residential spaces, the perimeter glue method isn’t just an alternative; it is a absolute survival tactic. It is one of those classic flooring installation mistakes to avoid for lasting results that nobody tells you about until you are already in too deep. Today, I am going to show you how to avoid that heartache and get a professional finish without the adhesive-induced panic attack.
My Sticky Disaster and the Lesson That Saved My Sanity
I remember that first kitchen remodel like it was yesterday. I thought more glue meant more security. Instead, I ended up trapping more air bubbles than a bubble wrap factory, and the center of the room looked like a topographical map of the Andes. It was a sticky, expensive mess that eventually led to me ripping the whole thing out. Early on, I even skipped the essential step to revamp your home with expert flooring installation tips, specifically ignoring subfloor prep. That was a huge mistake. The perimeter glue method changed everything for me because it allows the vinyl to float slightly, which is crucial since vinyl can actually expand and contract with temperature changes. According to the Resilient Floor Covering Institute, vinyl flooring is highly sensitive to environmental fluctuations, and a perimeter bond provides the flexibility needed to prevent buckling over time. Have you ever had a DIY project turn into a nightmare because you followed the old-school way of doing things? I would love to hear your horror stories.
Is Perimeter Gluing Actually Going to Hold Up?
Many folks are skeptical that a floor held down only at the edges will stay put. I get it. You fear the middle will shift or bunch up under heavy furniture. But when done correctly, the weight of the vinyl sheet itself combined with the perimeter bond and the baseboards creates a rock-solid surface. If you have ever wondered why your glue down vinyl is curling at the edges, it is usually because the wrong adhesive was used or the subfloor was dirty, not because the method itself is flawed. In fact, I often use the weight plate trick for bonding stubborn vinyl corners to ensure those critical edges never budge. This approach saves you hours of troweling and keeps the center of your floor smooth and bubble-free for years to come. We are going to dive into the specific steps to make this happen, starting with the prep work that most people skip.
Get the Subfloor Smooth or Suffer Later
The first thing I learned the hard way—usually while crying over a ruined roll—is that your subfloor is like the foundation of a house. If it is wonky, the whole thing is doomed. I once spent six hours laying a beautiful sheet only to realize I had left a single, tiny drywall screw head protruding just a fraction of an inch. Within a week, that screw had worn a hole right through the vinyl. You absolutely must follow the ultimate guide to floor leveling for a perfect finish before you even think about opening that glue. I personally swear by the chalk dust secret for finding low spots in subfloors; it is low-tech, but it shows you exactly where the dips are that will cause your vinyl to flex and eventually crack. If your subfloor is concrete, do not just sweep it; you need to ensure it is dry and porous enough for the adhesive to grab. This is a crucial part of the step by step guide to flooring installation and leveling success that many skip.
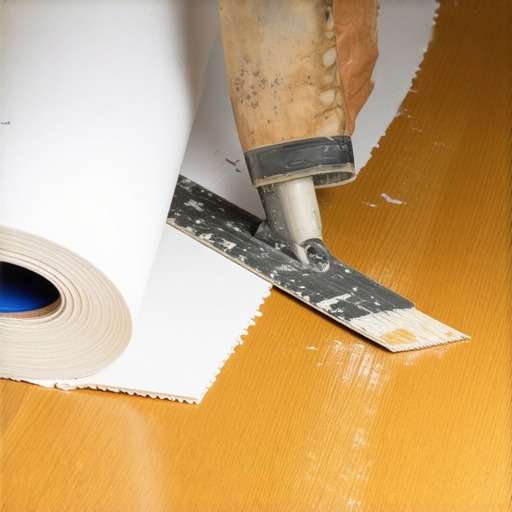
The Right Way to Lay Your Glue Border
Why You Need a Precision Perimeter
Once your floor is flatter than a pancake, it is time to dry-fit the vinyl. I always leave about two inches of excess running up the walls. This is your insurance policy. I remember a job in a sunroom where I rushed the layout and cut it too tight. The next morning, the floor looked like it was breathing because I had not accounted for the heat. That is why your vinyl plank floor is bubbling near large windows—it needs room to move, and the perimeter method provides that specific freedom in the center while staying anchored at the edges. For the actual glue application, you are only applying a band of adhesive about 3 to 4 inches wide around the entire room. If you are transitioning between different rooms, pay close attention to how to get a seamless look with different flooring types so your vinyl does not look like an afterthought next to your tile.
Securing the Edges Without the Mess
After you have spread your adhesive along the walls, carefully roll the vinyl back into the wet glue. This is where most people panic. Do not. You have a few minutes to shift it. If you find the corners are fighting you, I highly recommend using the weight plate trick for bonding stubborn vinyl corners. I keep a few old gym weights in my truck just for this. By putting focused pressure on those perimeter points, you ensure the vinyl does not curl back while the glue sets. This simple move prevents the dreaded gap that often appears under baseboards. It is much more effective than just trying to tape it down and hoping for the best. Remember, the goal is a tensioned fit, not a strangled one. Focus on getting a clean cut at the wall using a sharp utility knife, and you will see the floor tighten up naturally.
Everyone tells you that self-leveling compound is “liquid magic.” They make it sound like you just dump it on the floor and it finds the low spots like a heat-seeking missile. In my experience, that’s a total myth that leads to some of the most expensive flooring installation mistakes to avoid for lasting results. If you don’t prep the subfloor right, that leveler will dry with more craters than the moon. One huge “oops” factor I see pro-sumers make is skipping the primer. You might think, “Hey, it’s just concrete on concrete,” but why you must prime concrete before every leveling job is actually about physics. Concrete is like a giant sponge. If you don’t seal those pores, the slab will suck the hydration right out of your expensive compound before it can properly flow. This results in why your self leveling pour looks like a topographical map instead of a glass-smooth surface.
Why did my leveler crack even though I followed the instructions?
Usually, it’s a combination of poor mixing speed and trapped air. Most people use a standard drill on high, but the mixing paddle speed that ruins your leveling compound is real—you’re literally whipping air into the mix. I always tell guys to use the spiky roller secret for a mirror smooth pour. It pops the tiny bubbles that the eye can’t see but the floor certainly feels. According to the ASTM F710 standards, a subfloor must be free of any bond-breakers and have a consistent moisture vapor emission rate. If you skip testing, you’re just gambling.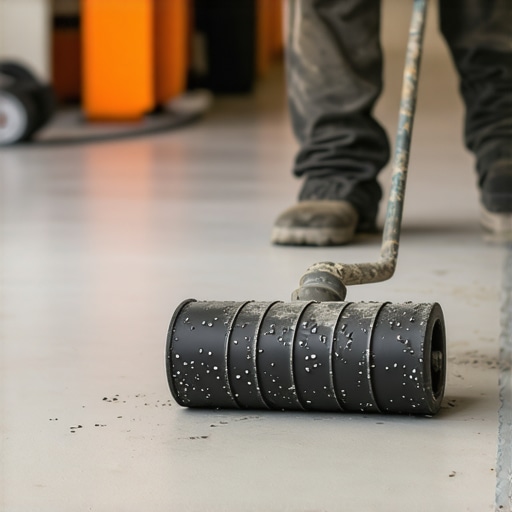
Don’t Trust Your Eyes When It Comes to Moisture
Another hidden nuance is the moisture factor. I’ve seen beautiful hardwood installs fail within six months because the installer assumed the slab was dry since it “looked” light gray. I never touch a floor without knowing how to use a moisture meter to prevent floor failure. It’s the difference between a floor that lasts decades and one that buckles by next summer. Whether you’re working with wood or installing tiles like a pro, that reading is your only real insurance policy. Have you ever fallen into this trap where the “easy” product turned out to be the hardest part of the job? Let me know in the comments—I’d love to swap stories.Once the dust settles and you finally step back to admire that perfectly leveled, bubble-free surface, the real challenge begins: keeping it that way. I’ve seen homeowners spend thousands on premium materials only to destroy the finish in six months by using the wrong cleaner. If you want your investment to last, you need to stop using vinegar on your hardwood floors immediately. The acidity eats away at the protective seal faster than you can say ‘all-natural.’ Instead, focus on hardwood floor care secrets to longevity and shine that rely on pH-neutral solutions. In my experience, the ‘set it and forget it’ mentality is why so many floors fail prematurely. You have to treat your floor like a living thing, especially with wood, which breathes and reacts to your home’s climate. The National Wood Flooring Association (NWFA) recommends maintaining an indoor relative humidity between 30% and 50% to prevent the wood from checking or gapping. If you ignore the air quality, the most expensive glue in the world won’t save you from the laws of physics.
How do I maintain my floor’s finish over the long haul?
Maintenance isn’t just about cleaning; it’s about protection from daily trauma. I always tell my clients to use the scrap carpet trick for heavy furniture moves. It sounds simple, but those felt pads you buy at the big-box store will eventually collect grit and turn into sandpaper. For the big stuff—fridges, sofas, pianos—you need a thick buffer. As for the future of flooring, I’m seeing a massive shift toward ‘smart’ underlayments that can actually detect sub-slab moisture before it reaches your planks. We are moving toward a world where your floor will send a notification to your phone if a pipe is leaking under the kitchen island. It’s an exciting time to be a builder.
The three tools that separate the pros from the panic
If I had to narrow my kit down to three non-negotiables, the first would be a professional-grade moisture meter. It’s not just for the initial install; I use it to troubleshoot every ‘mysterious’ floor issue I encounter. If you ever face a minor spill that seeps in, knowing how to save a water-damaged wood floor with a vacuum can be a literal lifesaver, but you need that meter to know when the wood is truly dry. Second is a high-quality laser level. I don’t care how good your eyes are; a 20-foot hallway will reveal every half-degree of error. Third is a dedicated floor-prep vacuum with a HEPA filter. Dust is the enemy of adhesion. If you leave even a fine film of powder on that leveled slab, your glue won’t bond, and you’ll be dealing with ‘hollow spots’ for the next ten years. I strongly encourage you to grab a moisture meter this week and check three different spots in your home—you might be surprised by what the numbers tell you about your subfloor’s health.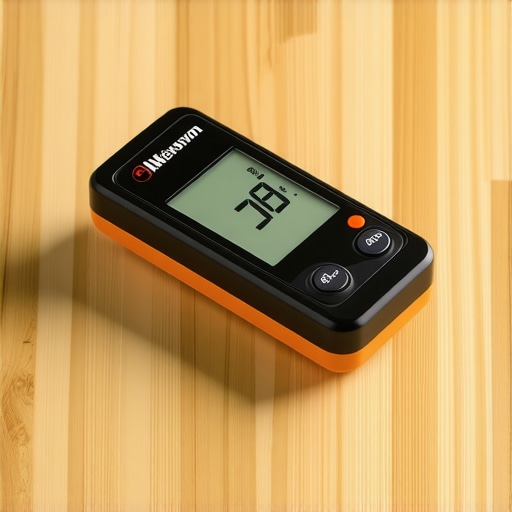
The Hardest Lesson I Learned About Flexible Floors
The most important lightbulb moment in my career was realizing that vinyl is a moving, breathing material. I used to think of a floor as a static surface, like a countertop, but it’s actually more like a sail on a boat. If you don’t give it room to expand, it will eventually fight back. The biggest takeaway I can offer is this: patience during the dry-fit saves 80% of your labor. If you let that roll sit in the room for 24 to 48 hours to acclimate, you’ve already won half the battle. I’ve seen countless DIYers rush the install only to find their why your subfloor patching compound is cracking under pressure because they didn’t account for the subtle shifts in the house’s foundation. Another hard truth? Glue is not a structural fix for a bad subfloor. If your base is wonky, your finish will be too. Focus on how to achieve flawless floor leveling before tile laying or vinyl, and the rest of the job becomes a breeze.
The Gear That Keeps My Floors From Failing
If you are serious about getting a professional result, you need to look beyond the basic toolkit. I personally swear by Wagner moisture meters; they provide non-destructive readings that tell you the truth about your slab before you ever open a bucket of adhesive. For maintenance, I always point my clients toward pH-neutral cleaners specifically designed for resilient flooring. These formulas protect the wear layer without leaving the sticky residue that attracts dirt. I also recommend keeping a copy of the National Wood Flooring Association technical manuals on hand, even if you are working with vinyl. Their insights into moisture and subfloor stability are universal. Following these hardwood floor care secrets to longevity and shine will ensure that your hard work doesn’t fade or peel within the first year.
#IMAGE_PLACEHOLDER_E#
Your Journey to a Flawless Finish Starts Today
Flooring is one of those rare home projects where the results are visible under every single step you take. It can be intimidating, especially when you are dealing with expensive materials and fast-setting glues. But remember, every expert started with a sticky mess and a lesson learned the hard way. By using the perimeter glue method and focusing on meticulous prep work, you are already ahead of 90% of the casual installers out there. Your next flooring installation project isn’t just about the aesthetics; it is about building something that lasts for decades. Don’t be afraid to take your time on the leveling and the layout—the precision you put in now is what will give you that high-end look later. You’ve got the tips and the strategy; now it’s time to get to work and revamp your home with expert flooring installation tips. Have you ever skipped the moisture test and lived to regret it, or do you have a trick for keeping your subfloor perfectly clean? Let me know in the comments below!