
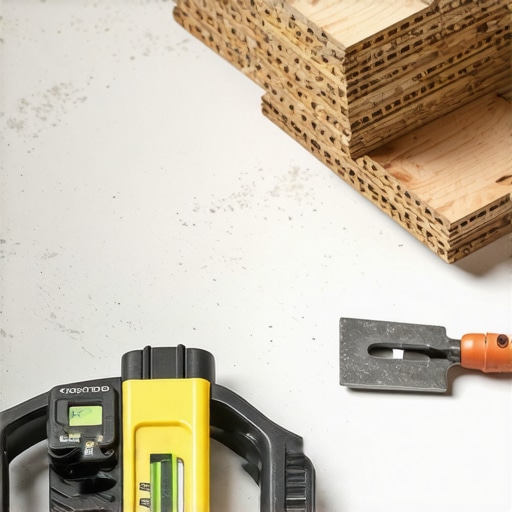
I’ll never forget the sound of my first DIY hardwood project: crunch, pop, snap. It wasn’t the cozy fireplace vibe I was going for; it was the sound of $3,000 worth of premium oak planks detaching from a dusty, uneven concrete slab. I had spent weeks picking out the perfect wood, but I spent about ten minutes thinking about the concrete underneath it. I figured the glue would just fill in the gaps. Boy, was I wrong. If you’ve ever walked across a floor that felt hollow or heard that sickening ‘tack-tack’ sound of a board struggling to stay down, you know the sinking feeling in your gut. Today, we’re going to make sure that never happens to you. We’re diving deep into the unglamorous, dusty, but absolutely vital world of slab prep. Because the truth is, a glue-down floor is only as good as the rock it sits on.
Before we get into the heavy machinery, I have to confess: my biggest blunder was skipping the moisture test. I thought because the basement ‘felt dry’ and hadn’t flooded in years, I was safe. I didn’t bother to use a moisture meter to prevent floor failure, and within a month, the wood started cupping like a row of Pringles. Now, I never touch a slab without checking its ‘thirst’ first. Have you ever started a project only to realize you missed a critical first step? Drop a comment below; I’d love to know I’m not the only one who’s learned the hard way! According to the National Wood Flooring Association (NWFA), moisture is responsible for nearly 75% of all wood floor failures, which is why your basement floor needs a moisture barrier even if it seems bone-dry.
[IMAGE_PLACEHOLDER_1]
Stop Thinking ‘Flat Enough’ is Good Enough
Most folks think ‘level’ and ‘flat’ are the same thing, but when it comes to glue-down hardwood, your slab doesn’t have to be perfectly level with the horizon, but it absolutely must be flat. If there’s a 1/8-inch dip over a six-foot span, that glue isn’t going to bridge the gap. You’ll end up with a hollow spot that sounds like a drum every time the dog walks over it. I learned the hard way that you can’t just throw more adhesive at the problem—in fact, using too much glue can lead to yellowing or brittle bonds later on. You need to get that slab within spec before the first bucket of glue even gets opened. This means you might need to find the best way to patch a concrete slab to fill those low spots or grab a grinder for the high ones.
Does This Level of Detail Really Matter for Your Project?
I get it. You want to see the wood down. You want the room finished. You’re wondering if you can just sand the high spots and call it a day. But here’s the reality: if you don’t prime your concrete before leveling, that expensive self-leveler is just going to flake off like a bad sunburn. You’re building a foundation here. If the foundation is dusty, oily, or uneven, the bond will fail. I once tried to save time by not cleaning off old adhesive properly, and I can tell you that removing old mastic without damaging the slab is a chore you only want to do once. Taking the extra day to prep properly is the difference between a floor that lasts thirty years and one that needs a ‘fix’ in thirty days.
Scrub the Slab Until the Pores Are Open
Glue-down installation is essentially a giant chemistry experiment. If you have a layer of dust, old paint, or drywall mud between the concrete and your adhesive, the glue will bond to the debris rather than the slab. I remember a job in a tight hallway where I thought a quick sweep was enough. Two days later, I could literally peel the planks up because the glue had just made a “dust sandwich.” You need to get down to the raw aggregate. If you’re dealing with leftovers from a previous floor, you need to know how to remove old mastic without damaging the slab. Think of the concrete like a dry sponge; if the pores are clogged with old gunk, it won’t “drink” the adhesive, and your bond will be superficial at best.
Whack the High Spots Down to Size
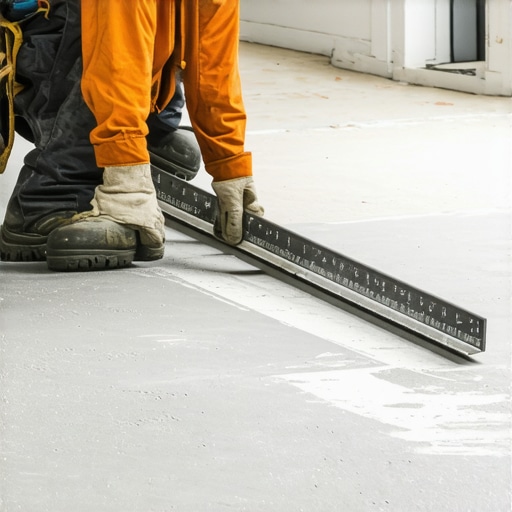
Once the floor is clean, grab a 6-foot or 10-foot straightedge. You’re looking for “humps.” These are the silent killers of a quiet floor. If a board has to bend over a hump, it creates tension that eventually pulls the glue away from the concrete. When I first started, I used a cup wheel on a grinder to take down a massive ridge in a kitchen. I didn’t use a vacuum shroud, and within minutes, the entire house looked like a London fog. Save yourself the nightmare and learn how to sand a floor without creating a dust storm. Grinding is messy, but it’s the only way to ensure those “mountain peaks” don’t telegraph through your beautiful new wood.
Fill the Valleys Before They Swallow Your Adhesive
After the humps are gone, it’s time to deal with the dips. A common mistake is thinking the glue will act as a filler. It won’t. It shrinks as it cures, leaving a void. To find these dips, I love the chalk dust secret for finding low spots—just scribble some chalk and run your straightedge over it; the chalk stays in the low spots. For shallow dips, you can use a high-quality patch, but for larger areas, you’ll need the ultimate guide to floor leveling for a perfect finish to get things right. Just remember: you must prime concrete before every leveling job. I once skipped the primer on a small bathroom patch, and the next morning the patch sounded like a bag of potato chips when I stepped on it—it had completely delaminated because the dry concrete sucked the moisture out of the patch too fast.
The Final Pass for a Flawless Surface
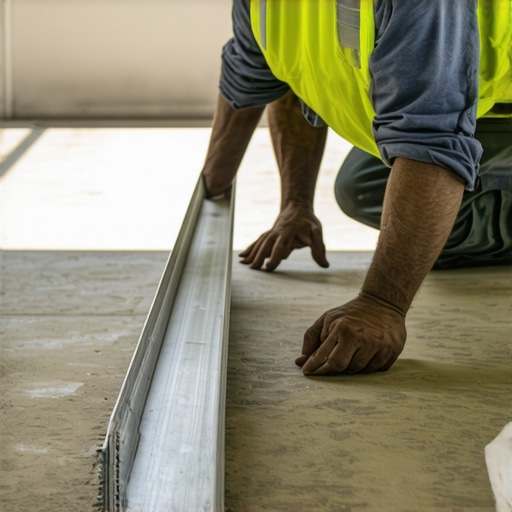
Before you even think about opening a bucket of glue, perform one final “dry run” with your straightedge. We aren’t just looking for “okay,” we are looking for precise floor leveling techniques to achieve flawless surfaces. This is where you verify that your patches are feathered out perfectly. If you can slide a nickel under your straightedge at any point, you’ve still got work to do. It feels tedious, and your knees will likely scream at you, but this is the real secret behind pro secrets for perfect installations. When that floor is flat, the wood lays down like a dream, and you won’t spend the next ten years listening to the “click-clack” of a hollow subfloor.
Let’s get real for a second: most contractors will tell you that a little bit of extra adhesive can bridge a gap in a slab. I’m here to tell you that’s a recipe for a squeaky, failed floor. In fact, a common myth in the industry is that modern ‘high-performance’ glues are substitutes for a flat subfloor. They aren’t. According to the National Wood Flooring Association (NWFA), substrate flatness is the single most critical factor in long-term glue-down success, yet it’s the one most often ignored in favor of speed. If your floor isn’t flat, that glue won’t magically fill the void; it will eventually crack or lose its grip, leaving you with that dreaded hollow sound.
The biggest ‘oops’ I see—and I’ve done it myself—is assuming that because a slab is old, it’s ready to bond. Old slabs are often ‘sealed’ by years of foot traffic, dust, or even old cleaning waxes. If you don’t use precise floor leveling techniques to achieve flawless surfaces, you’re just throwing money away. You have to open the pores of that concrete. If the water doesn’t soak in during a ‘bead test,’ your glue won’t either. I once spent three days installing a high-end engineered floor only to realize the previous homeowner had used a silicone-based sealer. Half the floor didn’t stick. Talk about an expensive lesson!
Can you really level a floor without removing every bit of old mastic?
This is the question that separates the pros from the weekend warriors. The short answer is: maybe, but why risk it? Even a thin film of old adhesive can act as a ‘bond breaker’ for new self-leveling compounds. You need to know how to remove old mastic without damaging the slab to ensure your new prep work actually stays put. If you’re layering new products over old junk, you’re creating a ‘house of cards.’ This is exactly where most flooring installation mistakes to avoid for lasting results begin. Have you ever fallen into this trap of trying to save time on the prep only to have it bite you later? Let me know in the comments—I suspect I’m not the only one who’s tried to take a shortcut that ended up taking twice as long.
The one primer step you can’t afford to skip
Before you pour that leveler, remember: you must prime concrete before every leveling job. It’s not just a suggestion from the manufacturer to sell more bottles; it’s what prevents the concrete from ‘drinking’ the water out of your leveler too fast, which leads to pinholes and cracking. If you want pro secrets for perfect installations, it all comes down to the bond. A perfectly leveled floor that isn’t bonded to the substrate is just a giant, brittle sheet of crackers waiting to snap. Stick to the basics of the ultimate guide to floor leveling for a perfect finish and your future self—and your feet—will thank you.
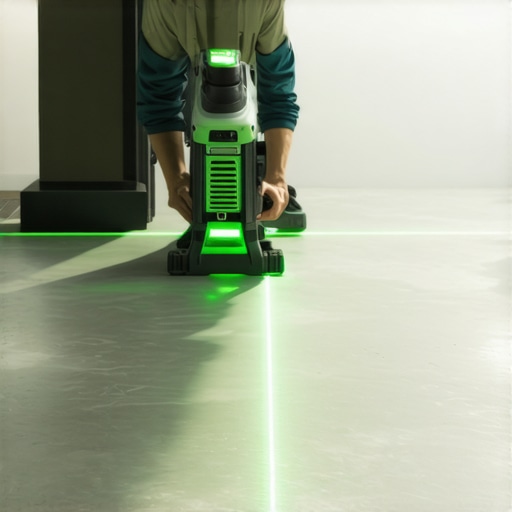
I used to think my standard yellow box level was my best friend, until I realized it was lying to me over long distances. If you’re serious about this, you need to upgrade. I switched to a 360-degree green beam laser because the laser level move for perfectly straight hallways isn’t just about aesthetics; it’s about seeing every dip and hump in real-time. According to the International Concrete Repair Institute (ICRI), achieving the correct Concrete Surface Profile (CSP) is the only way to guarantee the mechanical bond of your adhesive. You don’t need a truckload of gear, but there are 7 tools you actually need for a professional DIY hardwood install that aren’t negotiable—like a high-quality pinless moisture meter. If I had known that ten years ago, I would have saved enough on ruined wood to buy a small boat.
Looking ahead, the industry is moving toward ‘smart’ leveling compounds that change color when they’ve reached the perfect internal moisture content for wood installation. We’re also seeing augmented reality (AR) apps that allow you to project your entire layout—including every complex tile cut—directly onto your subfloor before you even open a box. It sounds like sci-fi, but it’s becoming the standard for high-end installers who want to avoid the ‘math-headache’ of complex geometric patterns.
How do I maintain my floor’s integrity over the long haul?
Maintenance isn’t just about sweeping; it’s about protecting the bond you worked so hard to create. One of the biggest mistakes people make once the job is done is reaching for the wrong cleaner. You need to stop using vinegar on your hardwood floors immediately. The acid breaks down the protective finish and can eventually seep into the seams, weakening the very glue holding your planks to that slab. To really keep things looking like day one, follow the hardwood floor care secrets to longevity and shine, which include strictly controlling your home’s relative humidity. Wood is alive; it breathes. If your house gets too dry, those planks will shrink and pull at the adhesive like a violent tug-of-war match. If you’re planning ahead for a future refresh, staying on top of mastering hardwood floor refinishing expert tips for 2025 will keep your home ahead of the design curve. My challenge for you: before you even start your next project, try the spray bottle hack for testing floor sealer coverage on your slab. It’s a five-second test that tells you instantly if your floor is ready to bond or if you’ve got a hidden sealer nightmare waiting to ruin your hard work.
Hard Lessons from My Most Expensive Flooring Mistakes
I used to think I could wing it on slab prep, but three specific failures changed how I work forever. First, never assume old glue is good enough to stay; I’ve learned that you must remove old mastic without damaging the slab or your new floor is literally sitting on a layer of future failure. Second, the dust sandwich is a real threat—if you don’t vacuum like your life depends on it, the bond won’t hold. Third, skipping the primer is a death sentence for leveler. If you don’t prime concrete before every leveling job, you will likely hear the sickening crunch of delamination within weeks. These aren’t just tips; they are the scars of projects that cost me thousands in re-dos and taught me that patience is the cheapest tool in your bag.
#IMAGE_PLACEHOLDER_E#
Gear That Actually Earns Its Keep in My Van
If you’re going to tackle this yourself, don’t waste money on gimmicks. I swear by the laser level move for perfectly straight hallways because it reveals dips that a standard 4-foot level misses every time. You also cannot afford to guess on moisture; knowing how to use a moisture meter to prevent floor failure is the difference between a stable home and a buckled mess. Before you start, check out the 7 tools you actually need for a professional DIY hardwood install to ensure you have the heavy-hitters, including a dead blow hammer for floor capping, which is vital for seating planks without damaging the tongue and groove.
Your Foundation is Your Legacy
At the end of the day, no one sees the hours you spent grinding, patching, and priming. They only see the beautiful, finished result. But you will know. You’ll feel it in the solid, silent thud of every footstep. Taking the time for proper floor leveling and substrate prep isn’t just about following technical rules; it’s about the pride of building something that lasts for generations. You’ve got the knowledge, the links, and the roadmap—now go get that slab ready for its close-up. Have you ever pulled up old carpet only to find a concrete disaster underneath? Let me know your biggest subfloor surprise in the comments below!