

I was three hours deep into a Saturday afternoon, sweat stinging my eyes, when I realized my dream herringbone floor was slowly turning into a geometric nightmare. I had meticulously followed the center line, or so I thought, but by the time I reached the fifth row, the ‘V’ shape was visibly leaning toward the hallway like it was trying to escape the room. My knees were screaming from the hard concrete, and my heart sank as I saw the gap widening. My mistake? I was arrogant. I figured I could just trust my measurements and start gluing. That’s the day I learned, through several hundred dollars of wasted oak, that the ‘dry-fit rule’ isn’t a suggestion—it’s a survival tactic. It’s that moment of realization that your hard work is literally crooked that changes how you approach every job from then on. [image_placeholder]
Lay It Out Before You Lock It Down
If you are tackling a complex herringbone pattern, you are essentially solving a massive jigsaw puzzle where the pieces don’t always want to play nice. The pressure to just get moving is real, especially when you’ve already spent hours on flooring installation fundamentals like checking for moisture and prepping the subfloor. But trust me, jumping straight into the adhesive is one of the biggest mistakes that ruin your installation. Today, I’m going to show you how a full-room dry-fit saves your sanity and your wallet. We’re going to fix the ‘drift’ before it happens and ensure your corners look as sharp as a professional’s. I want you to feel that confidence when you finally put the first bit of glue down, knowing exactly where every piece ends.
Is the Extra Prep Work Actually Worth Your Time?
I get the skepticism. You want to see progress, not just look at loose boards on the floor for four hours. You might be thinking that your measurements are perfect, so why bother? Here is the cold, hard truth: even a 1/32-inch gap at the start of a herringbone run can translate into a two-inch gap by the time you hit the far wall. The National Wood Flooring Association indicates that layout errors are responsible for nearly 40% of material overages in custom pattern work. That is a lot of money to throw in the dumpster. When I first started, I ignored the spacing secret for perfect herringbone layouts and ended up with a threshold that looked like a staircase instead of a straight line. It was embarrassing. By dry-fitting, you can use the pencil mark secret for perfectly centered layouts to adjust your starting point without the mess of wet mortar or tacky glue. Have you ever had to rip up a half-finished floor because the pattern went rogue? It’s a gut-wrenching feeling that we are going to avoid today. We are going to walk through the logic of the ‘dry-run’ so you can catch those nasty wall-tapers before they ruin your weekend.
Stop Trusting Your Eyes and Start Trusting the Crosshair
To get started, you need to establish your primary axis. I used to think I could just eyeball the center of the room, but walls are almost never perfectly parallel. Instead, use the laser level move for perfectly straight hallways to find the true center of your space. This isn’t just about the middle; it’s about the visual weight of the pattern. If you’re slightly off, you’ll end up with ‘slivers’ at one wall and full boards at the other. I remember a kitchen job in 2019 where I skipped this step. I was so focused on the starting corner that by the time I hit the island, the herringbone looked like it was sliding downhill. I had to rip up $400 of material because I didn’t verify the lines. Now, I always snap a primary line and a secondary perpendicular line to create a perfect crosshair. This avoids the chalk line mistake that makes open rooms look crooked. Think of these lines as your GPS; without them, you are just wandering in the woods.
How the Spine Prevents Pattern Rotation
The ‘spine’ is the most critical part of your layout. It’s the first double-row of boards that runs down your center line, looking like the backbone of a fish. Before you even think about the bucket of adhesive, lay out at least six feet of this spine. This allows you to check for ‘drift’—that annoying phenomenon where the boards slowly rotate as you progress across the room. Use the string line method for perfectly straight hallway wood to ensure your points are staying perfectly on track. If the tips of your ‘V’ are wandering off the line even by a hair, stop and re-align them now. If you were working with wet glue, you’d be panicking; since it’s a dry-fit, you just nudge them back. 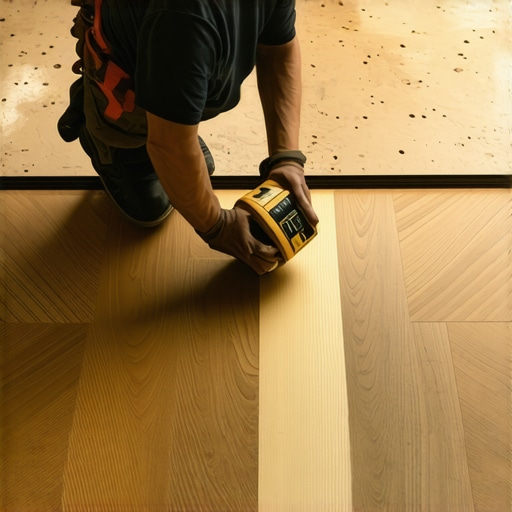 This phase is also where you should check for floor flatness. If a board wobbles during the dry-fit, it’s a red flag that you need precise floor leveling techniques to achieve flawless surfaces before proceeding with the final install.
Catching the Taper Before the Glue Dries
Once the spine is set, dry-fit a few ‘arms’ of the pattern toward the walls. This is where you catch the ‘taper.’ Most rooms are shaped like a trapezoid, not a perfect square. By dry-fitting all the way to the edges, you can see if your last row of boards will be a nightmare to cut. If you realize the gap at the wall is only a quarter-inch, you can shift the entire layout an inch to the left to give yourself a more manageable cut. This is a key part of any step-by-step guide to flooring installation and leveling success. I always keep a few spacers handy to simulate the expansion gap during this process. Without them, your dry-fit won’t reflect the final reality, and you might find yourself facing flooring installation mistakes to avoid for lasting results. Use a pencil to mark the subfloor at the edges of your dry-fit. These marks act as your ‘guardrails’ when the glue finally goes down, ensuring your pattern stays locked in place exactly where you planned it.However, even the most perfect dry-fit can’t save you if you’re building on a lie. The common consensus in the DIY world is that self-leveling compound is a ‘magic liquid’—you just pour it out and it finds the horizon automatically. In my experience, that is exactly how you end up with a floor that looks like a rolling sea. Self-leveler actually has a surprisingly high surface tension. If you don’t help it along, you’ll find that why your self-leveling compound is cracking like a dry-lake bed usually starts with the belief that the product does 100% of the work. You need to use mastering floor level-ing pro secrets for perfect installations, like using a spiked roller to break the surface tension and release trapped air, or you’re just trading one bump for another. 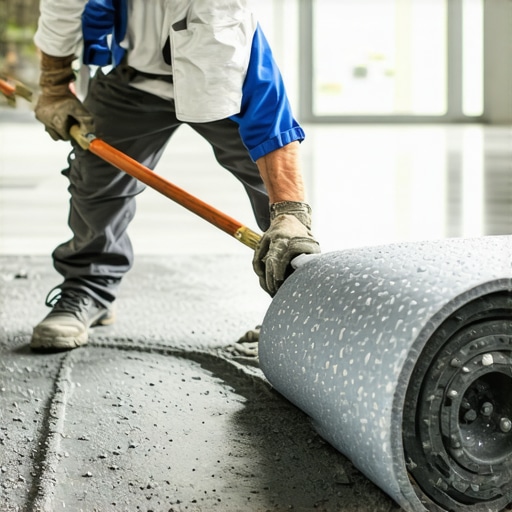
Why Your Primer Is the Only Thing Standing Between Success and a Cracking Mess
The biggest mistake I see pros and homeowners alike make is treating the primer as optional. If the subfloor is porous—which most concrete and plywood are—it will suck the moisture out of your leveler before it has a chance to settle. This flash-drying ruins the chemical bond. This is why you must prime concrete before every leveling job. Without that moisture barrier, the compound won’t flow, and it certainly won’t stick. I once saw a beautiful $5,000 tile job literally ‘pop’ off the floor three months later because the installer skipped the $30 bottle of primer. It’s a classic ‘penny-wise, pound-foolish’ scenario that leads to massive floor leveling challenges common mistakes and how to avoid them.
Does Your Floor Have Too Much Give for Heavy Tiles?
This is the advanced question most people forget to ask: is your floor structurally capable of holding the weight without flexing? The Tile Council of North America (TCNA) specifies that for large format tile, the subfloor must not deflect more than L/360 under a concentrated load. If your floor is ‘bouncy,’ no amount of leveler will stop the grout from cracking later. If you’re seeing issues, you might need precise floor leveling techniques to achieve flawless surfaces that involve reinforcing the joists before the first drop of compound is mixed. Ignoring the ‘oops’ factor of subfloor deflection is a recipe for disaster. Have you ever fallen into the trap of thinking a bag of leveler would fix a structurally bouncy floor? Let me know in the comments. Using the wrong tools can even cause the trowel size error that leads to hollow sounding tiles, further complicating your professional-looking finish. Always verify the structure before you commit to the aesthetic.
I have a rule in my shop: never trust your gut when a tool can give you a number. If you are investing thousands in high-end oak or custom porcelain, a high-quality moisture meter is the cheapest insurance policy you will ever buy. I once saw a gorgeous wide-plank install fail in six months because the installer assumed the subfloor was dry. It was not. This is how to use a moisture meter to prevent floor failure before you even open a box of material. According to the National Wood Flooring Association (NWFA) Technical Publication A100, professional installers must document moisture content readings for both the flooring and the subfloor to ensure they are within a 4% range for strip flooring or 2% for wide-plank. Ignoring these metrics is simply gambling with your reputation. I personally swear by pinless meters for finished surfaces, but for the subfloor, I want those pins digging in to get the real story. 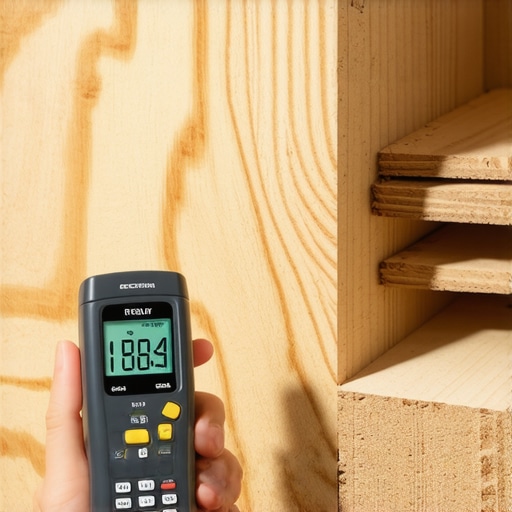
The Specialized Gear That Separates Pros from Amateurs
If you are still using a standard framing hammer for your floor capping, you are literally bruising your investment. I always tell my crew to switch to a specialized mallet because why you should use a dead blow hammer for floor capping becomes obvious the second you see a splintered tongue on a $12-a-square-foot board. The dead blow absorbs the shock, driving the board home without the recoil that causes micro-cracks. For those tricky spots where the pattern meets a stone fireplace or a curved wall, I skip the complex geometry and use the pencil trick for scribing wood planks against stone fireplaces. It is a low-tech solution that produces high-end results every single time.
How do I maintain my herringbone masterwork over time?
Maintenance starts the moment the last piece of trim is installed. You have to realize that a floor is a living, breathing thing. For wood, consistency is king. I recommend keeping your home between 30% and 50% humidity year-round. If you let it drop in the winter, you will see gaps; if it spikes in the summer, you will see cupping. Learning the hardwood floor care secrets to longevity and shine involves more than just a mop; it is about environment control. For tile, the secret is in the grout protection. Using a high-quality sealer prevents that splotchy look that haunts so many entryways. I suspect that in the next five years, we will see ‘smart’ subfloors integrated with sensors that alert your phone if moisture levels rise under your LVP or hardwood—effectively ending the era of hidden mold. For now, we rely on the 7 tools you actually need for a professional diy hardwood install to do the heavy lifting. I want you to try one thing on your next project: spend thirty minutes measuring the moisture of your subfloor in ten different spots. It will change how you view your floor forever.
What My Most Expensive Failures Taught Me
After years of installing every type of surface imaginable, I have realized that the perfect floor is not about the wood or tile you pick—it is about the invisible prep work underneath. One of the biggest lessons I learned is that moisture is a silent killer. If you do not take the time to how to use a moisture meter to prevent floor failure, you are basically building on quicksand. Another lightbulb moment was realizing that the ultimate guide to floor leveling for a perfect finish is not just a manual; it is a professional mindset. If it is not flat, it is not finished. I have also learned to listen to the floor—literally. Using the hammer test for finding loose floor joists before you start can save you from a decade of annoying squeaks that no amount of finish can fix.
Tools That Never Leave My Truck
I do not believe in buying every gadget on the shelf, but a few items are non-negotiable for a high-end look. First, always keep a reliable laser level. It is the only way to avoid the chalk line mistake that makes open rooms look crooked. Second, I always rely on tile installation pointers that save time and money, like using a high-quality notched trowel specific to the material size. I have seen too many DIYers use the wrong size and end up with hollow spots. Finally, do not overlook the impact of your trim; knowing the right way to undercut baseboards for a clean flooring finish is what separates the weekend warriors from the true craftsmen. [image_placeholder]
Your First Step Toward a Flawless Floor
Starting a complex flooring project is intimidating, but remember that even the most intricate herringbone pattern is just one board at a time. By focusing on expert flooring installation tips and taking your time with the dry-fit, you are already ahead of the majority of homeowners. You have the knowledge and the tools to create something beautiful that will last for generations. Don’t be afraid to make those pencil marks and double-check your level before the adhesive touches the floor. You have got this, and the results will be worth every drop of sweat. Have you ever struggled with getting a herringbone pattern to stay straight across a large room? Let me know in the comments below!