
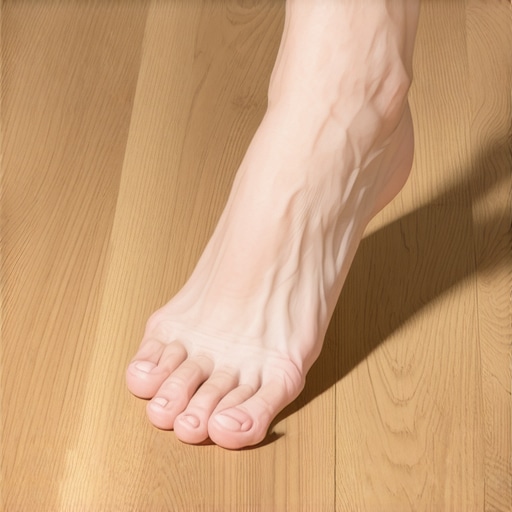
I’ll never forget the sinking feeling I got when I finished my first ‘pro-level’ vinyl plank job in my guest bedroom. I had spent hours obsessing over the layout and ensuring my cuts were crisp, but as soon as I took my boots off and walked across the room in socks, I heard it—that thin, echoing thwack with every single step. It didn’t feel like a solid, luxurious floor; it felt like I’d laid expensive plastic over a series of empty shoeboxes. My big mistake was thinking the stuff underneath didn’t matter. I’d grabbed the cheapest, thinnest foam roll I could find at the big-box store, thinking I was being savvy by saving fifty bucks. Instead, I created a drum in my own house. If you’re currently standing in a room that sounds like a hollow stage, or you’re about to start a project, let me tell you right now: that ‘budget’ underlayment is the fastest way to ruin a high-end look.
That Annoying Click-Clack Sound Isn’t Always the Vinyl’s Fault
When people complain about their floors sounding ‘cheap,’ they usually blame the planks themselves. But the truth is that even the best Luxury Vinyl Plank (LVP) can only do so much if it’s hovering over a void. Cheap underlayment is often too compressible or far too thin to bridge the tiny imperfections in your subfloor. When you walk, the plank flexes into those micro-gaps, hits the subfloor, and sends a vibration right back up. This is why 7 mistakes that ruin your luxury vinyl plank installation often start with the very first layer you put down. High-quality underlayment acts as a shock absorber, not just a pad. It kills the ‘rebound’ of the sound wave. If you didn’t perform the 3-foot level test for checking subfloor flatness like a pro, a cheap, flimsy underlayment will only highlight every dip and hump with a loud, hollow protest every time your heel hits the ground. Have you ever finished a project only to realize the sound was all wrong? It’s a heartbreaking realization, but you aren’t alone in this. According to the International Building Code, the Impact Insulation Class (IIC) rating is a critical measure of how well a floor assembly blocks impact sound, and budget foam rolls frequently fail to meet the standards required for a truly ‘quiet’ home. You might think you’re saving money, but you’re actually sacrificing the ‘feel’ of your home’s quality.
Is Premium Underlayment Actually Worth the Extra Cash?
The short answer is a resounding yes, and I say that as someone who has had to pull up an entire floor to fix this exact issue. When you invest in the best underlayment for soundproofing, you aren’t just buying a roll of material; you’re buying density. A dense rubber or high-compression foam fills the ‘air pockets’ that cause that hollow resonance. It makes vinyl feel like real hardwood underfoot. If you’ve already made the mistake of going cheap and don’t want to tear everything out, you might be looking for ways how to fix a hollow sounding tile or plank without a total demo, but usually, the real fix starts from the bottom up. We are going to solve this noise problem today by looking at exactly which materials actually dampen sound and why thickness isn’t always the same thing as quality.
Fix the Subfloor Before the Foam Hits the Ground
You cannot hide a bad subfloor with a good pad. Think of your underlayment like a car’s suspension; if the road is full of potholes, even the most expensive shocks will struggle to give you a smooth ride. I learned this the hard way on a condo project where I rushed the prep work. A month later, the homeowner called because the floor felt like a trampoline near the doorway. Now, I always start by ensuring a flawless surface through leveling for a seamless look. If you are working with concrete, knowing why you must prime concrete before every leveling job becomes your first priority. A dusty or uneven slab will prevent your leveler from bonding, leading to cracks that your underlayment simply cannot mask. If you are on plywood, take five minutes to learn how to fix a squeaky subfloor by driving screws into the joists. That extra effort turns a loud, ‘floating’ floor into one that feels solid and permanent.
Choosing Density Over Thickness for Real Results
The biggest marketing lie in the flooring aisle is that thicker is always better. A 6mm cheap foam roll is basically a giant sponge; it will compress under the weight of your furniture, leaving your vinyl planks to support the load alone. This is how click-lock joints break and why 7 mistakes that ruin your luxury vinyl plank installation often start with picking the wrong pad. Instead, look for high-density rubber or cross-linked polyethylene. These materials do not just sit there; they push back. When you use the best underlayment for soundproofing your new condo floor, you are looking for a low compression set. I once used a 2mm high-density rubber mat that felt thinner than the cheap foam I had used previously, but the difference in acoustics was night and day. It turned that plastic clack into a muffled thud. For those who care about sustainability, there are also excellent best eco-friendly underlayment for quiet apartments options like cork that offer incredible natural dampening without the chemical odor.
Don’t Let Your Seams Become Sound Leaks
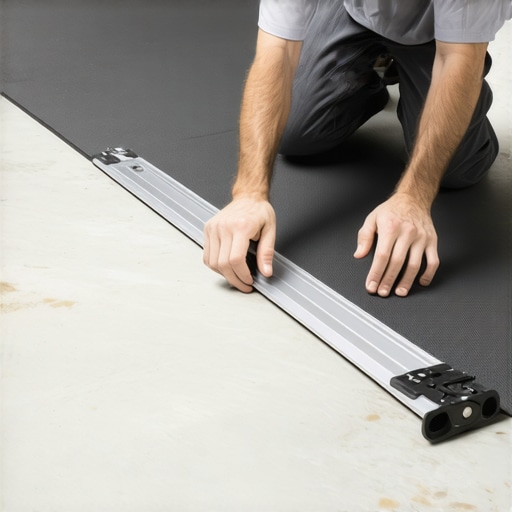
How you lay the rolls is just as critical as what you are laying. I see many DIYers overlapping the edges of their underlayment, thinking it creates a better moisture barrier. In reality, that overlap creates a literal speed bump under your planks. You want to butt the edges tightly together and use a vapor-rated tape to seal the deal. This prevents the underlayment from shifting during the step-by-step guide to flooring installation process. If you are working over a crawlspace or basement, that tape is your last line of defense against moisture-related bubbling or mold. I remember one basement job where we missed a tiny two-inch gap in the tape; six months later, that specific spot had a faint musty smell because moisture found the one way out. Take the time to run your hand over every seam to ensure it is perfectly flat and fully sealed before the first plank goes down.
Even if you pick the most expensive rubber-core underlayment, your flooring project is doomed if you haven’t mastered the art of the subfloor. Most people assume that self-leveling compound is a ‘pour and walk away’ solution, a sort of magic juice that fixes all sins. In my experience, that mindset is the quickest way to end up with a floor that sounds like a bowl of Rice Krispies. If you don’t understand the chemistry of what’s happening on your slab, you’ll soon be wondering why your self-leveling compound is cracking like a dry lake bed just weeks after the install. It isn’t just about flatness; it is about the bond.
Stop Dreaming that Self-Leveler Fixes Every Problem
The common myth is that more product equals a flatter floor. I’ve seen DIYers dump four inches of leveler into a dip without a second thought. The reality? Self-leveler is heavy, and it shrinks as it cures. If you over-apply without using precise floor leveling techniques, the internal tension will actually pull the compound away from the substrate. This is often the hidden culprit behind why your self-leveler is peeling off the concrete in sheets. You aren’t just filling a hole; you are creating a new structural layer. If the concrete underneath is ‘dusting’ or hasn’t been properly primed, that bond is non-existent. Always check for signs your tile contractor is cutting corners on prep work, because if they skip the primer, they are setting you up for a total failure. I always tell my clients: the leveler is the star, but the primer is the stage. Without the stage, the star falls flat.
The Invisible Trap of Over-Mixing Your Compound
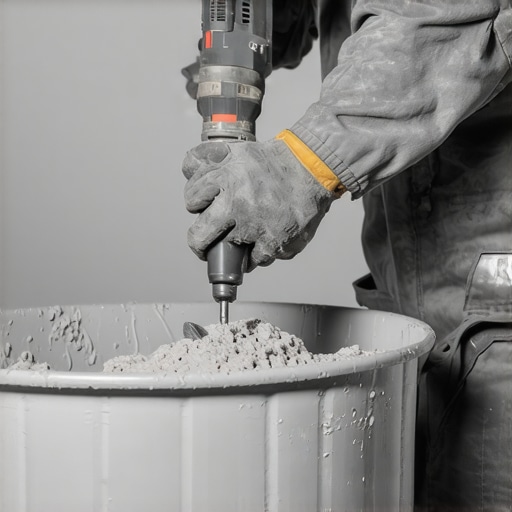
Here is a nuance most beginners miss: the speed of your drill matters. If you crank your mixing paddle to max speed, you are whipping air into the mixture. Those tiny bubbles might look harmless in the bucket, but once you pour, they rise to the surface and create thousands of microscopic pinholes. These pinholes weaken the entire surface. To avoid this, you need to follow the best way to mix self-leveler for a perfect smooth surface, which usually involves a low-RPM setting and a specialized ‘egg-beater’ paddle. According to the Tile Council of North America (TCNA), the integrity of the underlayment is the primary factor in long-term tile and plank durability. If your leveler is full of air, it becomes brittle. It’s an ‘oops’ factor that costs thousands but takes only a minute of patience to avoid.
How Do You Know if Your Slab is Actually Dry Enough?
Another sophisticated mistake is ignoring the moisture content of the subfloor. Even if you are achieving flawless floor leveling before tile laying, trapped moisture in a concrete slab will eventually turn into vapor pressure. This pressure can cause your leveler to delaminate or your vinyl planks to bubble. This is why you must learn how to use a moisture meter to prevent floor failure. A slab that looks ‘dry’ on the surface might still be holding gallons of water in its core. I once had a project where the homeowner insisted on skipping the moisture test because the house was 20 years old; we found 90% relative humidity inside that slab. We had to pause everything for a moisture barrier, or the entire floor would have failed within a year. Have you ever fallen into this trap of rushing the prep because the surface ‘looked’ fine? Let me know in the comments. It’s a common hurdle, but one that separates the pros from the frustrated amateurs.
Once the dust settles and your leveler has cured to a matte, smooth finish, you might think the hard part is over. But honestly, this is where the difference between a floor that lasts five years and one that lasts fifty is determined. Professionalism isn’t just about the initial pour; it’s about the maintenance and the highly specific tools that ensure your hard work stays put. I’ve seen beautiful installs ruined because the owner used a steam mop on a surface that couldn’t handle the heat, or a contractor skipped the final moisture check. To get this right, you need to think like an inspector, not just an installer.
Stop the Steam Mop if You Love Your Wood
The biggest threat to your floor’s longevity isn’t foot traffic—it’s how you clean it. I always tell my clients that moisture is the silent killer of floor systems. If you’ve just finished choosing the right hardwood floors for your home, the last thing you want is for them to cup because of a cleaning habit. According to the National Wood Flooring Association (NWFA) Technical Publication No. A100, excessive moisture is the primary cause of dimensional instability in wood flooring. This is exactly why you should never use a steam mop on engineered wood floors; that high-pressure vapor drives water deep into the core, bypassing the finish. Instead, focus on hardwood floor care secrets to longevity and shine that rely on pH-neutral cleaners and microfiber. If you can master the cleaning, you won’t be searching for how to identify water damage in hardwood six months from now.
The Pro Tools That Actually Save Your Knees
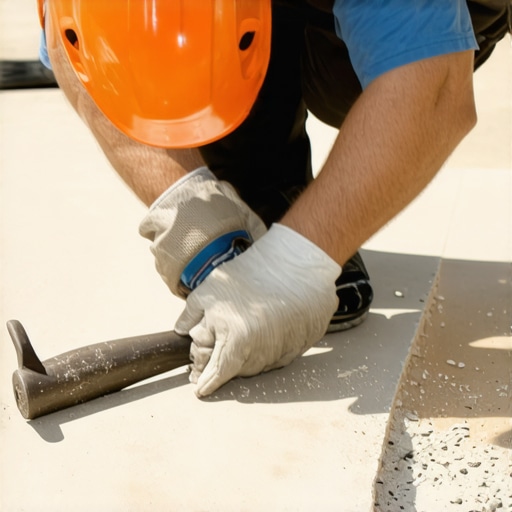
I get asked all the time what’s in my ‘magic bag’ when I walk onto a job site. It isn’t just a basic hammer and a saw. If you want a result that looks like a high-end showroom, you need 7 tools you actually need for a professional diy hardwood install. For me, the MVP is always a dead blow hammer. I use it for everything from seating a stubborn plank to tapping a transition into place. In fact, why you should use a dead blow hammer for floor capping becomes obvious the second you realize a regular hammer would leave a permanent dent. I also swear by a high-quality notched trowel; using the wrong size is a classic trowel size error that leads to hollow sounding tiles. When you use the right tool, the air escapes, the bond is 100%, and that ‘thwack’ sound I talked about earlier becomes a thing of the past.
How do I keep my new floors looking pristine over time?
Maintenance is a marathon, not a sprint. Once the installation is complete, you need to protect that investment from the daily grind. This means knowing how to protect your new floors during a full kitchen remodel or even just moving furniture. I always keep a stash of heavy-duty felt pads in my truck. Beyond physical protection, you have to be vigilant about the environment. If you notice a small blemish, don’t panic; learning how to remove scuff marks from your new luxury vinyl floors without harsh chemicals can save the finish. For deeper issues, knowing how to repair a loose hardwood plank without tearing up the row is a skill that will save you thousands in labor costs down the line.
The Future of Smart Flooring and Digital Leveling
Looking ahead to 2025 and beyond, I predict we are going to see a massive shift toward ‘smart’ subfloor systems. We’re already seeing sensors that can be embedded into the underlayment to alert homeowners of a leak before the wood starts to rot. We are also moving toward more tile selection tips for elegant hardwood floors in 2025 that focus on modular, dry-lay systems which eliminate the need for messy glues entirely. This trend is great for DIYers because it reduces the margin for error. For now, the best way to stay ahead is to perfect your prep work today. I challenge you to try the hammer drill hack for removing old ceramic tile on your next demo—it’s a total game-changer for getting back to a clean slab quickly.
3 Hard Truths Every Flooring Pro Eventually Accepts
Over the years, I’ve realized that even the most expensive materials can’t save a project from a lack of patience. First, never ignore the atmospheric conditions inside your home; failing to realize why bamboo floors need triple the acclimation time is an invitation for gaps and buckling. Second, an expansion gap isn’t a suggestion—it’s a structural requirement. I’ve seen entire rooms lift off the ground because someone didn’t know why your hybrid flooring still needs an expansion gap. Finally, if you aren’t sure if your foundation can handle the weight of a new setup, perform the simple test to see if your subfloor is strong enough for tile. It takes five minutes and saves five years of regret.
The Gear That Separates Amateurs From Artisans
#IMAGE_PLACEHOLDER_E#
If you want to move beyond “good enough,” you need tools that offer precision and protection. I never step onto a job without a professional sensor; it’s the only way to know how to use a moisture meter to prevent floor failure before it even starts. For those tricky areas around the bathroom or fireplace, skip the guesswork and use the cardboard template secret for complex corner tiles. When it comes to the very end of the day, I always rely on the scrap wood move for snapping last row planks into place without damaging the drywall. These aren’t just gadgets; they are the shortcuts to a professional finish.
Build a Foundation You Can Be Proud Of
Flooring is more than just a surface; it’s the stage where your life happens. By focusing on the prep work and choosing the right underlayment, you are ensuring that your flooring installation is built to last through every spill, step, and season. Don’t be intimidated by the technical details—take it one row at a time and trust the process. Have you ever encountered a subfloor problem that seemed impossible to fix? Let me know in the comments below!