
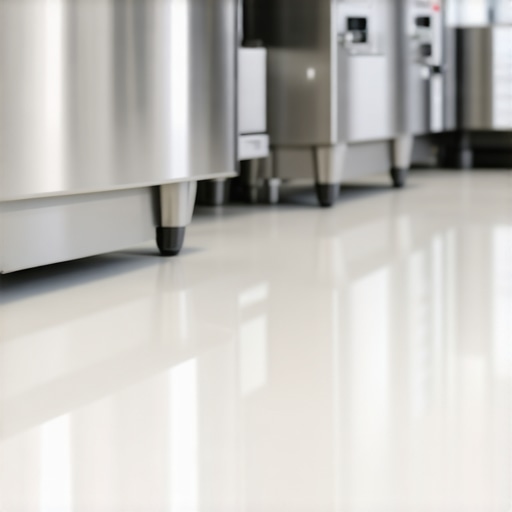
I remember the first time I stood in a commercial kitchen after a long Saturday shift, staring at the black sludge hiding in the 90-degree angle where the tile met the wall. It was a humid night, and no matter how hard my team scrubbed, that corner felt like a permanent home for grease and bacteria. I’d made the classic rookie mistake of thinking a standard flat baseboard would suffice, or that a bead of caulk could bridge the gap. I was wrong. That tiny, unreachable crevice became my personal nightmare during our next health inspection, and it taught me a lesson I’ll never forget about the necessity of coved bases.
Stop Fighting the Grime in Your Kitchen Corners
If you are running a restaurant or any food prep space, you already know that the health inspector doesn’t just look at your stove; they look at the places where dirt hides. A coved base—where the floor tile literally curves up the wall—is not just an aesthetic choice; it is a sanitary requirement that makes cleaning actually possible. Early in my career, I tried to save a few bucks by skipping the specialized coved pieces, thinking I could just use tile installation pointers that save time and money to make regular tiles work. I ended up with a floor that looked great but was a literal breeding ground for mold. Today, we are going to fix that mindset and look at why this curve is your best friend in a high-traffic kitchen. One thing I’ve learned is that 7 signs your tile contractor is cutting corners on prep work often starts with them trying to talk you out of coving because it’s harder to install. Don’t let them.
Is a coved base actually worth the extra effort and cost?
It is a fair question, especially when you are balancing a tight renovation budget. However, the reality is that without that curve, liquids pool against the wall, seeping into the drywall or the subfloor. According to the FDA Food Code, floor-to-wall junctions in food preparation areas must be ‘coved and closed to no more than 1/32 inch,’ specifically to ensure surfaces are easily cleanable. When you have a seamless transition, your mop actually reaches the dirt instead of just pushing it into a crack. I’ve seen beautiful floors ruined because the owner didn’t perform the simple test to see if your subfloor is strong enough for tile before adding the heavy coved pieces, leading to cracking later on. Have you ever spent hours scrubbing a corner only to have the health inspector find a speck of mold anyway? It’s a gut-wrenching feeling that a simple coved base could have prevented entirely. Establishing a solid foundation is key, much like how the ultimate guide to floor leveling for a perfect finish ensures your tiles don’t pop, the coved base ensures your health permit stays on the wall. Let’s dive into how to choose the right material for this critical transition.
Get the Foundation Flat Before the Curve Starts
A coved base is essentially a tailored suit for your kitchen floor; if the body—your subfloor—is out of shape, the suit will look terrible and fail regardless of the material’s cost. You simply cannot hide a significant dip or hump in the floor with a 6-inch sanitary base. I once worked on a small bistro where the owner was in a rush and insisted we just ‘heavy-up’ the thinset to compensate for a half-inch slope near the floor drain. It was a disaster. Within months, the vibration from the heavy industrial refrigerators caused several cove pieces to crack because they weren’t fully supported by a flat surface. This is why mastering floor leveling pro secrets for perfect installations is the absolute first step before you even think about the tile. If the floor isn’t planar, the curved radius of the cove tile will never align from one piece to the next, leaving you with jagged edges that snag mops and harbor bacteria.
Don’t Skip the 3-Foot Level Test
Before you thinset a single piece, you need to verify the topography of your room. Use the 3-foot level test for checking subfloor flatness like a pro to identify any ‘daylight’ under your level. In a commercial setting, you are looking for 1/8 inch of variation over 10 feet. If you find a valley, fill it with a high-quality compound. If you find a hump, it’s time to get the grinder out. If you bypass this, your vertical grout lines will start to ‘fan out’ or ‘pinch in’ as you move along the wall, making the whole room look crooked. 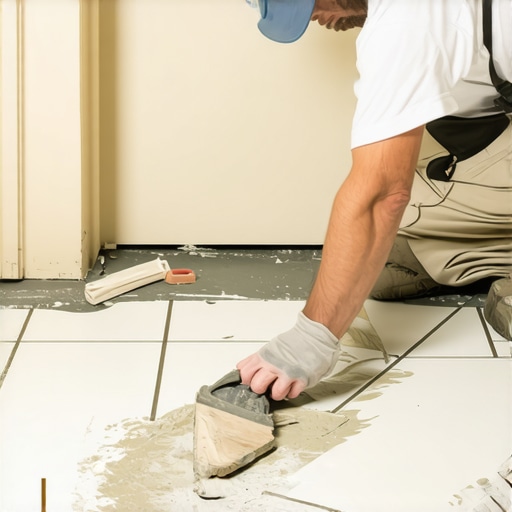
Stop the Hollow Sound Before It Happens
One of the most common failures in commercial kitchens is the ‘crunch’ sound when a heavy cart rolls near the wall. This is a direct result of the trowel size error that leads to hollow sounding tiles. Because a coved base transitions from a horizontal plane to a vertical one, it is incredibly easy to leave a void right at the center of the curve. To prevent this, you must back-butter every single cove piece. Think of back-buttering like putting peanut butter on toast; you want a thin, even layer of thinset on the back of the tile to ensure 100% contact. When you press that tile into the combed thinset on the wall, the two layers fuse together, eliminating any air pockets where water—and eventually mold—could settle.
Lock It Down with Consistent Grout
The curve of the cove creates a bowl-like shape that naturally collects excess water during the cleaning process. If your grout is weak, it will wash away within a year of high-pressure spraying. I’ve found that learning how to mix grout so the color stays perfectly consistent is about more than just looks; it’s a sign of a proper water-to-powder ratio that ensures the grout is hard enough to withstand chemicals. When you apply the grout, use a small margin trowel or a flexible float to follow the internal radius of the tile. You aren’t just filling a gap; you are creating a waterproof seal. Following a step-by-step guide to flooring installation and leveling success ensures that once that grout is cured, that kitchen corner is effectively a fortress against grime.Most contractors will tell you that once you pour self-leveling compound, your subfloor problems are over. I am here to tell you that is a dangerous oversimplification. In my years on the job, I have seen more leveled floors fail than I care to count, usually because the installer treated the compound like a magic wand rather than a chemical process. Everyone says self-leveler is a shortcut, but in my experience, it requires more precision than the tile itself. For instance, a common trap is ignoring surface preparation; why your self-leveler is peeling off the concrete in sheets is almost always a result of skipping the cleaning phase. Many pros forget that why you must prime concrete before every leveling job is about managing surface tension and air bubbles, not just making things sticky. If the concrete is thirsty, it will suck the moisture out of your leveler too fast, leading to pinholes and a brittle, unusable finish.
The Self-Leveling Myth That Ruins Budgets
The “oops” factor here is the assumption that “self-leveling” means it finds level on its own. It is actually more about self-smoothing. If you do not guide it, you end up with a smooth but sloped floor that will cause your coved base to look like a zigzag. I have also noticed that why your self-leveling compound is cracking like a dry lake bed is almost always tied to high-speed mixing that introduces too much air into the slurry. Treat it like a delicate chemistry experiment, not pancake batter.
Why do even expensive porcelain tiles crack on a perfectly flat floor?
This is where the sophisticated nuance comes in. You can have a floor as flat as a billiard table, but if it is not rigid, your coved base and tiles are doomed. According to the Tile Council of North America (TCNA) Handbook, the standard deflection limit for ceramic and porcelain tile is L/360 under live and dead loads. This means even a tiny bit of “bounce” in your joists can snap a tile. I have seen owners invest in beautiful wide planks or heavy tiles only to see them fail because they did not realize why porcelain tiles crack more often than ceramic on wood—it is often the density of the tile reacting poorly to subfloor flex. This is why you must learn how to check for subfloor flex before you lay rigid tile to ensure the structure matches the material.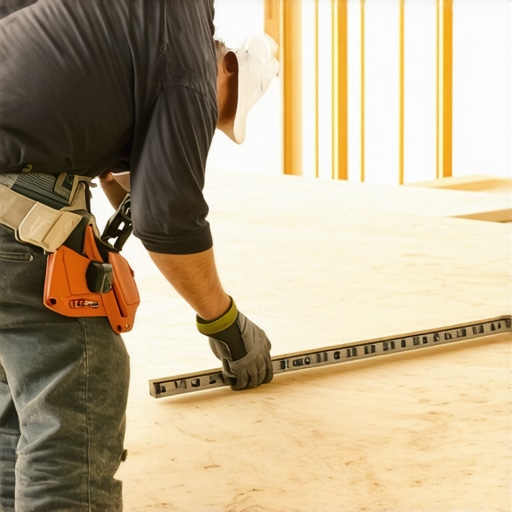
Locking in the Bond for Life
The biggest hidden nuance is the expansion factor. People assume a “waterproof” tile means a waterproof room. Water is a persistent enemy; it finds the path of least resistance, which is usually the transition points. If you are not using the expansion joint secret for large tiled living areas, you are creating a ticking time bomb. Heat and humidity cause everything to move. Without those joints, that beautiful coved base we talked about will eventually buckle or shear right off the wall. Using precise floor leveling techniques to achieve flawless surfaces is only half the battle; you have to allow the room to breathe. Have you ever fallen into this trap where you thought you were saving time, only to have to pop up tiles a week later? Let me know in the comments. I have been there, and it is a lesson that sticks with you.Once the dust settles, the real work of preservation begins. I’ve seen $20,000 installations ruined in six months because the owner used a steam mop on engineered planks or ignored a slow leak behind a coved base. To avoid that heartbreak, you need to transition from an ‘installer’ mindset to a ‘maintainer’ mindset. Personally, I don’t step onto a site for a follow-up without a high-end pinless moisture meter. It’s one of the 7 tools you actually need for a professional DIY hardwood install if you want to catch subfloor issues before they warp your surface.
Equip yourself with tools that actually matter
If you’re serious about long-term results, stop relying on your eyes. Use a digital laser level to check for settling every few years, especially in newer builds. I also swear by the bucket test to check your concrete slab for excessive moisture even after the floor is in, if you suspect a vapor barrier failure. For those doing their own maintenance, knowing how to clean hardwood floors after a major renovation is critical because construction dust is abrasive and will eat through your finish like sandpaper if not handled with a HEPA vacuum properly. 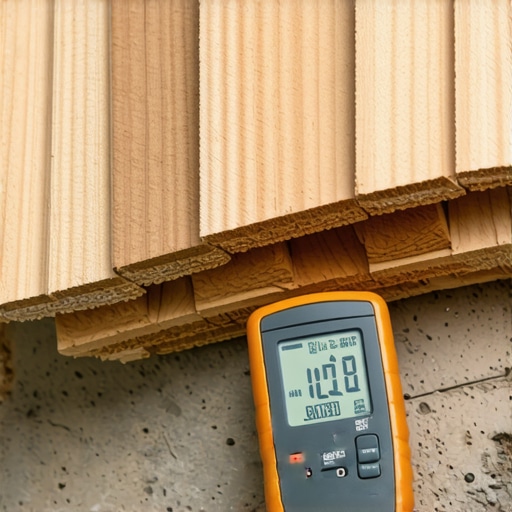
How do I keep my commercial tile and wood transitions looking sharp year after year?
The secret isn’t a magic chemical; it’s consistency and pH balance. In my commercial projects, I tell clients to throw away the bleach. As I’ve mentioned before, you should stop using bleach on your grout because it eventually eats the polymer binders. Instead, stick to a neutral cleaner. For the wood side of a transition, hardwood floor care secrets to longevity and shine often boil down to protecting the wear layer from grit. According to the National Wood Flooring Association (NWFA), maintaining a consistent indoor environment—specifically a relative humidity between 30% and 50%—is the single most important factor in preventing gaps and cupping. I’ve seen high-end restaurants install expensive HVAC humidifiers just to protect their expert hardwood floor tile combinations, and it pays for itself by avoiding a full sand-and-refinish every three years.
Why data-driven maintenance is the future of flooring
I predict that within the next five years, we’ll see moisture-sensing chips embedded directly into subfloor underlayments. Imagine getting a notification on your phone because a pipe is sweating under your tile before the grout even discolors. Until then, we rely on manual checks. If you are managing a large space, don’t just ‘eyeball’ the wear; use a gloss meter to track finish degradation in high-traffic paths. This allows you to perform a ‘screen and coat’ exactly when needed, rather than waiting for the wood to be bare. If you’re at the end of your project now, my best advice is to grab a scrap of your flooring and a moisture meter today to set your baseline. It’s the only way to know if things are changing for the worse later. If you’re still in the prep phase, make sure you are achieving flawless floor leveling before tile laying to ensure those maintenance tools actually have a flat surface to read.
Why Your Kitchen Corners Define Your Professional Reputation
My biggest lightbulb moment came when I stopped viewing the coved base as a code requirement and started seeing it as an insurance policy for my reputation. If you skip the fine details, you’re not just risking a health inspector’s citation; you’re risking the structural integrity of your subfloor. One thing I’ve learned is that rushing the process is the fastest way to failure; walking on a fresh floor too soon is one of the top flooring installation mistakes to avoid for lasting results. I also discovered that if you ever hear a crunching sound under your feet, you’ve missed a void. Knowing how to fix a hollow sounding tile without tearing it up can be a lifesaver, but the real wisdom is in the back-buttering. Finally, remember that your tile is only as strong as what lies beneath—if you haven’t prepped correctly, even the most expensive porcelain will eventually fail.
How the Gear in My Truck Keeps My Installations Level
To move from guesswork to professional-grade results, you need tools that don’t lie. I never step onto a job site without a pinless moisture meter; it is the only way to ensure your slab won’t fight back later. I also swear by using a digital laser level to catch those micro-slopes that create floor leveling challenges common mistakes and how to avoid them. #IMAGE_PLACEHOLDER_E# If you are looking to mix materials, I highly recommend researching choosing the best tile for your hardwood floor upgrade to master how different expansion rates interact. These tools aren’t just for pros—they are the key to a DIY project that doesn’t need to be redone in two years.
Why You Should Take Pride in the Parts They Can’t See
At its heart, a successful flooring installation is about more than just aesthetics. It’s about the quiet confidence of knowing every junction is sealed and every transition is smooth. Whether you are building a commercial kitchen or planning to revamp your home with expert flooring installation tips, the care you put into the prep work is what defines the lifespan of the floor. When you get the floor leveling right and treat the coved base as a priority, you’re creating a space that is as sanitary as it is durable. It takes time, but the peace of mind is worth every extra hour.
Have you ever found a hidden pocket of mold or a hollow tile after a project was supposed to be finished? Let me know your experiences in the comments below!