
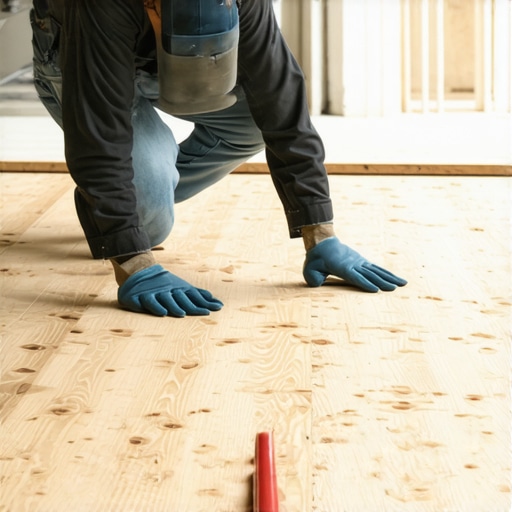
I stood in my kitchen three years ago, staring at a ripple in my brand-new vinyl that absolutely shouldn’t have been there. I pressed my heel down, and instead of the firm resistance of a solid floor, I felt a sickening, spongy ‘give.’ It wasn’t the vinyl. It was the plywood underneath literally shredding itself into layers like a wet stack of playing cards. That moment of realization—that my entire subfloor was falling apart from the inside out—was the most expensive ‘oops’ of my DIY life. If you are hearing strange crunches when you walk or seeing mysterious humps in your flooring, you aren’t just dealing with a cosmetic issue; you are witnessing delamination. Today, I am going to show you exactly how to halt this process in its tracks and why your choice of materials matters more than you think. Have you ever walked across your room and felt that dreaded sponge under your feet?
Stop the Rot Before Your Kitchen Becomes a Canoe
Plywood delamination happens when the adhesive bonds between the wood veneers fail, usually due to excessive moisture or poor manufacturing. I learned the hard way about flooring installation mistakes to avoid for lasting results when I used standard interior-grade plywood in a laundry room without a proper vapor barrier. It lasted six months. Moisture is the ultimate enemy here; according to the APA – The Engineered Wood Association, prolonged exposure to high humidity or direct water contact is the primary driver of glue-line failure in structural panels. Before you even think about mastering floor leveling, you must ensure the wood underneath isn’t turning into mulch. If the core isn’t solid, no amount of leveler or expensive tile will save you.
Is fixing delaminated plywood actually worth the effort?
Many people ask me if they can just ‘glue it back together’ and call it a day. The short answer is: sometimes, but you have to be surgical about it. If you catch a small spot early, you can often inject high-strength epoxy or structural adhesives, but if the damage is widespread, you’re looking at a replacement. I once tried to save a section by just screwing it down tighter, which only resulted in the top layer splintering further. You need to use the simple test to see if your subfloor is strong enough for tile before proceeding. If you have significant movement, check out how to fix a bounce in your plywood subfloor to see if the issue is structural or just surface-level peeling. We are going to dive into the exact sealing techniques and moisture-blocking strategies that will keep your subfloor rock-solid for the next twenty years.
Injecting Life Back into Separating Wood
If you’ve caught the delamination before the wood has turned into actual sawdust, you can perform what I call ‘subfloor surgery.’ This is for those spots that feel a bit hollow but haven’t fully collapsed. I remember trying this in a cramped bathroom where I really didn’t want to pull up the toilet. I thought I could just pour some wood glue in the cracks. Wrong. Standard glue is too thick and doesn’t penetrate. You need a low-viscosity structural epoxy that can seep into the ‘pancake layers’ of the plywood.
The Surgical Syringe Method for Small Spots
First, vacuum out any loose debris from the gaps—if you leave dirt in there, the bond won’t hold. Use a high-pressure syringe to force the epoxy deep into the separation. Once it is in, you have to clamp it like your life depends on it. I once used a stack of heavy dumbbells because I didn’t have enough long-reach clamps, and while it worked, I nearly broke my toe when they shifted. It is much safer to learn how to level a plywood subfloor with shims and plywood scraps if you need to build up an area while the glue sets. 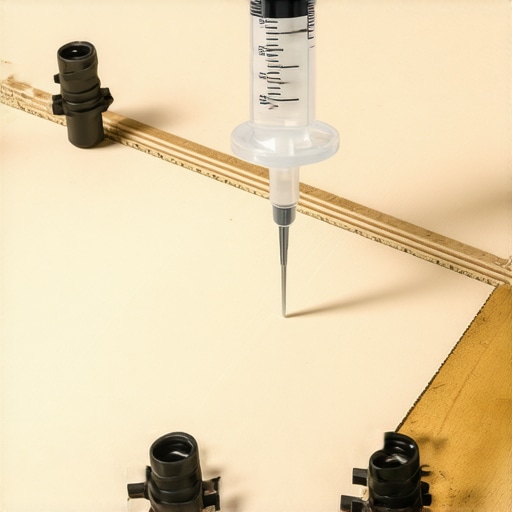
When to Cut Your Losses and Cut the Wood
Sometimes the damage is too deep. If the layers have separated more than half an inch or the wood feels ‘chewy’ when you poke it with a screwdriver, stop wasting epoxy. You need to perform an amputation. I spent three days trying to save a 4×4 section in a hallway once, only to have it crunch the second I stepped on it after the ‘fix.’ Save yourself the headache. Use a circular saw set to the exact depth of the plywood—usually 3/4 inch—to cut out the rotted section. Before you drop in a new piece, you must check how to check for subfloor flex before you lay rigid tile or any other heavy material. If the joists underneath are also compromised, your new patch won’t stay level for long.
Nail Down the Reinforcement Strategy
Once the new wood is in place, don’t just nail the edges. You need a solid perimeter. This is where most people fail and end up with 7 mistakes that ruin your luxury vinyl plank installation. You want to use construction adhesive on the joists and then screw the plywood down every 6 to 8 inches. If you are worried about weight, especially in older homes, check out how to level a plywood subfloor without adding weight to ensure you aren’t overstressing the structure. I learned that lesson when I added three layers of patch to a kitchen and realized the floor was sagging under its own bulk.
Block the Moisture for Good
The best repair is useless if the moisture comes back. Think of your subfloor like a sponge; it will always try to drink. After the structural fix, apply a high-quality wood sealer or a vapor barrier primer. If you have ever dealt with a slab, you know why you must prime concrete before every leveling job, and the same logic applies to wood. You want to close those pores. This prevents the humidity from the crawlspace from migrating up into the veneers and starting the rot all over again. If you are going for a really flat finish, make sure you have mastered precise floor leveling techniques to achieve flawless surfaces so your final floor doesn’t telegraph every tiny seam in the plywood.
Now, if you think you’ve mastered the basics by just patching a hole, we need to talk about the ‘Flatness vs. Levelness’ debate. Most people spend hours with a six-foot level trying to make their subfloor perfectly horizontal relative to the earth’s core. In my experience, that is a recipe for frustration. Unless you are building a laboratory, your house has settled. If you force a floor to be perfectly level in a room that leans two inches to the left, you’ll end up with a massive, awkward step-up at the doorway. What actually matters—the secret that pros won’t always tell you—is flatness. You can have a slanted floor that lasts a century as long as it is flat. If you don’t use the 3-foot level test for checking subfloor flatness like a pro, you are just guessing. I once saw a guy level a bathroom so perfectly that the door wouldn’t close because he didn’t account for the existing slope of the house.
Flat Floors Win the Long Game
The real danger isn’t a slight tilt; it’s the ‘waves.’ When you lay rigid materials like large-format tile or hardwood over a wavy subfloor, you create air pockets. These gaps are where the wood starts to creak and the tile starts to crack. I used to think I could just ‘extra-glue’ my way out of a dip, but that is one of the most common flooring installation mistakes to avoid for lasting results. Thickening the adhesive doesn’t provide structural support; it just creates a shrinking sponge that eventually pulls away. If you are struggling with a dip, you need to learn how to achieve flawless floor leveling before tile laying rather than relying on thinset to do the heavy lifting.
Why does my self-leveler keep cracking after I apply it?
This is the question that haunts every DIYer’s first big project. You buy the expensive bags, mix them up, and two days later, it looks like a dry lake bed. The ‘oops’ factor here is almost always related to surface tension and absorption. Wood is thirsty. If you don’t prime it correctly, the plywood sucks the moisture out of the leveling compound before the chemical bond can form. This results in why your self-leveling compound is cracking like a dry lake bed. It isn’t a product failure; it’s a preparation failure. You have to seal the wood first so the leveler can cure at its own pace. I’ve even seen cases where why your floor primer is making the leveler bubbling worse because the installer didn’t let the primer dry completely before pouring. Slow down to speed up.
The Hidden Trap of Trowel Ridges
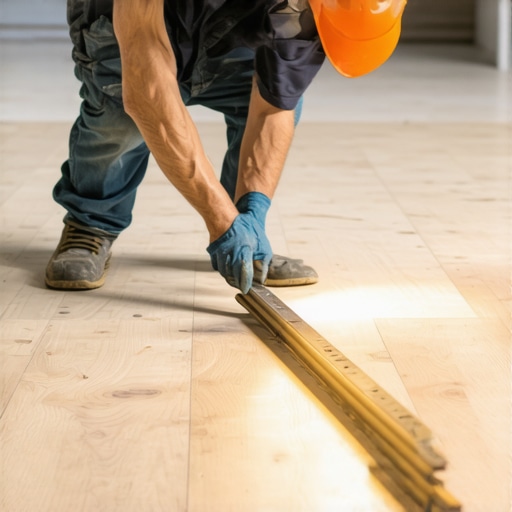
Even with a flat subfloor, you can fail at the finish line if you ignore ‘ridging.’ According to the National Tile Contractors Association (NTCA), achieving at least 80% mortar coverage in dry areas (and 95% in wet areas) is non-negotiable for a professional bond. Most beginners use the wrong notch size, which is the trowel size error that leads to hollow-sounding tiles. If those ridges don’t collapse into a solid bed of support, your subfloor repair was for nothing. Have you ever fallen into this trap of skipping the ‘back-buttering’ step or using a tiny trowel for big tiles? Let me know in the comments below, and let’s troubleshoot your floor together.
I’ve spent years trying every ‘miracle’ tool at the big-box stores, and honestly, 90% of them end up in the junk bin. If you’re moving from subfloor repair to the actual install, you need to be surgical about your gear. I personally never start a job without a dead-blow hammer. Why? Because a standard rubber mallet often leaves ‘ghost marks’ or black scuffs that are a nightmare to remove later, while a dead-blow drives the energy into the plank without the bounce-back that causes gaps. You can find my full list of 7 tools you actually need for a professional diy hardwood install to see exactly what I carry in my van. Beyond the hammer, an undercut saw is your best friend for making the floor look like it grew out of the walls. If you skip this and try to ‘caulk the gap’ around a door jamb, you are making one of the most visible flooring installation mistakes to avoid for lasting results. I use a manual flush-cut saw because it gives me tactile control that oscillating tools lack, preventing me from accidentally gouging the casing. 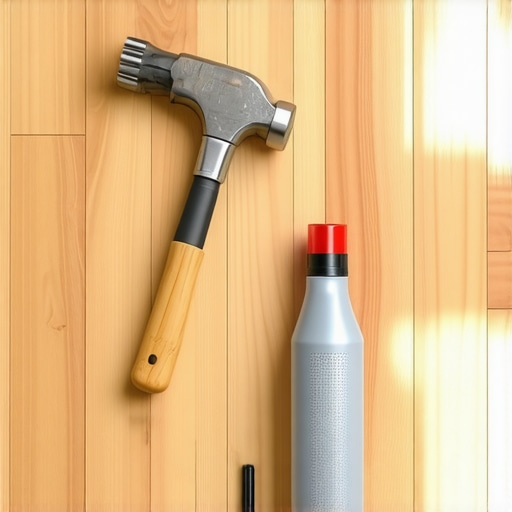
Stop Killing Your Grout with Kitchen Pantry Staples
One of the biggest heartbreaks I see is homeowners spending five figures on a beautiful tile layout only to ruin the grout within a year by using vinegar. Please, listen to me: stop using vinegar. The acetic acid eats away at the cementitious bond of the grout, making it brittle and prone to falling out. This is the primary reason why your grout is crumbling in the shower corners or why it looks perpetually dirty. I always recommend a pH-neutral cleaner. According to the National Wood Flooring Association (NWFA), maintaining a consistent indoor environment is just as critical as the cleaner you use. Wood is alive; it breathes. If you don’t manage your humidity, your repairs won’t matter because the wood will shrink and expand regardless of how many screws you put in it. I expect we will soon see smart moisture sensors integrated directly into subfloor underlayments to alert homeowners to leaks before the delamination even starts.
How do I maintain my hardwood floors over time?
The secret isn’t a special wax; it’s grit management. Think of dirt like sandpaper on your shoes. I am religious about using walk-off mats at every entrance and vacuuming with a soft-brush attachment twice a week. You need to know hardwood floor care secrets to longevity and shine, which starts with the very first cleaning. If you’ve just finished a project, learn the best way to clean a new hardwood floor for the first time to remove the construction film without streaking. If you have been doing a major renovation, don’t forget how to clean hardwood floors after a major renovation because drywall dust is incredibly abrasive and can dull a finish in days. Before you move onto your next room, I challenge you to go out and buy a dedicated dead-blow hammer and a high-quality pH-neutral cleaner—it is the single best investment you can make for your floor’s future.
The Brutal Truth About Skipping the Details
Over the years, I’ve realized that a squeak isn’t just ‘character’ in an old house—it’s a warning sign. If you ignore that soft spot today, you’re essentially inviting a structural failure into your home. One of the biggest lightbulb moments for me was realizing that most people fail because they prioritize the look of the top layer over the integrity of the base. If you don’t use the 3-foot level test for checking subfloor flatness like a pro, you are basically flying blind. Another hard lesson? Moisture meters are non-negotiable. Checking the wood’s water content before sealing it is the difference between a floor that lasts decades and one that buckles in two years. Finally, remember that flatness is far more important than a perfectly level surface; your furniture won’t wobble on a flat slope, but it will dance on a wavy ‘level’ floor.
What Stays in My Truck on Every Job
I don’t believe in buying every gadget at the store, but there are a few essentials I never leave behind. First, a high-quality dead-blow hammer is mandatory. I’ve written before about why you should use a dead-blow hammer for floor capping because it delivers the force you need without the damaging bounce-back of a standard mallet. Second, I always keep a stash of low-viscosity structural epoxy for those surgical repairs where cutting the wood isn’t an option. For anyone serious about the craft, I highly recommend the technical manuals from the National Wood Flooring Association (NWFA). They provide the science behind the wood behavior that most YouTube tutorials skip over. When it comes to the final finish, mastering precise floor leveling techniques to achieve flawless surfaces is what separates the DIY look from a gallery-quality install.
Your Floor is the Foundation of Your Home’s Peace
It is easy to feel overwhelmed when you’re staring at a stripped-back subfloor, but don’t let the scale of the work intimidate you. A successful flooring installation is really just a series of small, intentional steps done correctly. When you finally lay that last plank and walk across a silent, rock-solid room, you’ll realize that the time you spent crawling on your knees was an investment in your home’s future. You have the tools and the knowledge now—go make that floor legendary. Have you ever discovered a ‘soft spot’ in your floor that turned out to be a much bigger project than you originally expected? Let me know your story in the comments below!