
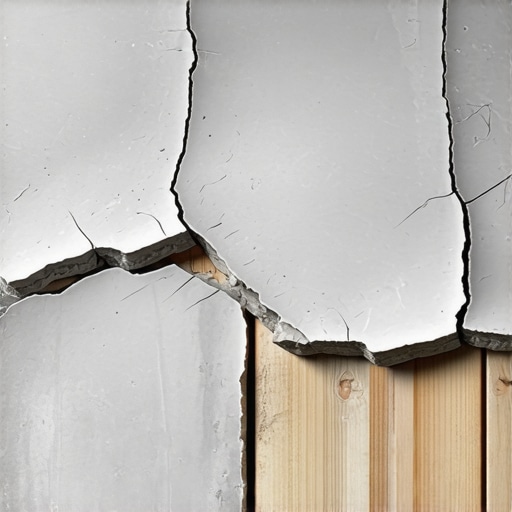
I’ll never forget the sound—a sharp, sickening crack echoing from my kitchen at two in the morning. It sounded like a gunshot. I had spent three weekends and way too much of my hard-earned savings installing what I thought was the indestructible choice: high-grade, dense porcelain. But there it was, a jagged hairline fracture running straight through the center of a beautiful tile I’d meticulously leveled. It was a heart-sinking moment that taught me a hard lesson about the physics of flooring. Porcelain is the overachiever of the tile world, but when it meets a wooden subfloor, that very strength becomes its greatest liability. Today, I want to help you avoid the same expensive heartbreak by breaking down why porcelain fails where humbler ceramic often succeeds, and how you can prepare your home for a lasting finish.
The Hidden Tension Between Rigid Porcelain and Living Wood
Porcelain is incredibly dense and fired at much higher temperatures than ceramic, making it nearly waterproof and extremely hard. However, wood is a living material. It breathes, it swells with humidity, and it flexes every time you walk across the room. Because porcelain is so rigid, it doesn’t know how to dance with that movement; it simply resists until it snaps. I’ve seen this happen countless times when people ignore flooring installation mistakes to avoid, assuming that a premium material compensates for a moving base. If your subfloor has even a tiny bit of bounce, a ceramic tile—which is slightly more porous and forgiving—might actually survive the stress that would shatter a porcelain equivalent.
Does the extra density actually make porcelain more fragile?
In a way, yes. Think of it like a glass rod versus a plastic one. The glass is harder, but the plastic can bend. When I first started out, I made the rookie mistake of thinking I could skip a thorough check for subfloor flex because I was using ‘the good stuff.’ I didn’t realize that the Tile Council of North America (TCNA) specifies strict deflection ratings, and porcelain’s brittleness means it has zero tolerance for a subfloor that isn’t rock solid. Have you ever noticed a single, straight crack appearing across several of your tiles? This is often why your porcelain tiles are cracking in a perfect straight line—the tile is literally telegraphing a seam or a flex point in the plywood underneath. Before you lay a single square inch of thinset, you have to ensure the foundation is ready to support the weight and the rigidity of your chosen material. We’re going to look at the exact prep steps that make the difference between a floor that lasts decades and one that fails in months.
Stop the Bounce Before You Start Mixing Thinset
To keep porcelain from cracking, you need to turn your flexible wood floor into a rigid slab. Start by performing the simple test to see if your subfloor is strong enough for tile. I remember one job in an old 1920s bungalow where the kitchen floor felt like a trampoline. I thought I could just add more screws, but the joists themselves were undersized. I had to go into the crawlspace and add cross-blocking between the joists to kill the vibration before I even considered laying a tile. If your floor has a visible dip, you must learn how to level a plywood subfloor with shims and plywood scraps rather than relying on thick layers of mortar, which can actually add too much weight and cause more sagging over time.
Eliminate Every Dip with Precision
Even a 1/8-inch valley can cause a porcelain tile to bridge a gap, leaving a hollow space underneath. When you step on that specific spot, the tile simply snaps because it has no support. You can find these danger zones using the 3-foot level test for checking subfloor flatness like a pro. If you find low spots, do not just dump self-leveler and hope for the best. On wood, you often need to use specific techniques for how to level a plywood subfloor without adding weight to the structural joists. I once over-poured leveler on a second-story bathroom and watched in horror as the ceiling below started to groan. Use a high-quality primer first to ensure a permanent bond, or you will quickly find out why your self-leveling compound is cracking like a dry lake bed just weeks after the job is finished. 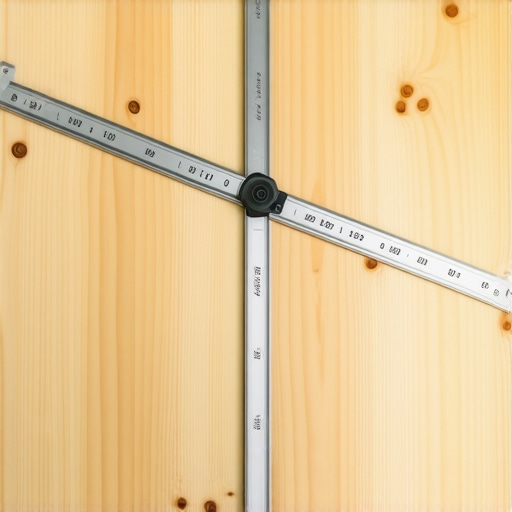
The Uncoupling Secret That Saves Your Grout
Since wood expands and porcelain stays still, you need a slip-sheet or an uncoupling membrane. This material allows the subfloor to move independently of the tile surface. Think of it like the expansion joints in a bridge; it absorbs the lateral stress so the visible surface doesn’t have to. Without it, you will eventually see why your tile grout is cracking at the room corners or along the main walking paths. During one of my early kitchen remodels, I skipped the membrane to save a few hundred dollars. Six months later, I was back on my knees digging out crumbling grout and replacing broken tiles. It is much cheaper to do it right the first time by installing tiles like a pro with a dedicated underlayment designed for rigid porcelain.
Choose the Right Tools for Dense Materials
Porcelain is much harder than ceramic, which means your standard manual snap-cutter might just shatter the edge rather than giving you a clean line. You need tools that respect that density. I highly recommend learning the wet saw water trick for cleaner porcelain cuts to avoid those jagged, ugly edges that ruin a professional look. Also, pay close attention to your mortar application technique. A common pitfall for DIYers is the trowel size error that leads to hollow-sounding tiles. For large-format porcelain planks, you usually need at least a 1/2-inch square-notched trowel to ensure the ridges actually collapse and grip the entire back of the tile, leaving no air pockets for potential failure.Most DIYers—and even some ‘pros’—obsess over getting a floor perfectly level. While a level surface is great, it is a secondary concern compared to structural deflection. You can have a floor as flat as a billiard table, but if it has ‘give’ when you walk on it, your porcelain is doomed. I have seen beautiful installations fail simply because the installer did not understand the L/360 requirement. The National Tile Contractors Association (NTCA) emphasizes that for natural stone or large format porcelain, the floor must be twice as stiff as standard ceramic requirements. This is where most people get it wrong: they assume if it is flat, it is ready. In reality, checking for subfloor flex is the single most important diagnostic step you can take. If you skip this, you will be searching for how to fix a hollow-sounding tile without tearing it up sooner than you think. Have you ever fallen into this trap? Let me know in the comments.
The Thicker-Is-Better Mortar Trap
There is a dangerous myth that you can just ‘butter’ your way out of a dip. People think that using extra thinset to level a low spot is a clever shortcut. It is not. Thinset is an adhesive, not a structural filler. As it cures, it shrinks. When you have a massive lump of mortar under one tile and a thin layer under the next, they shrink at different rates, pulling the tile downward and creating stress points. This is exactly the trowel size error that leads to hollow-sounding tiles and eventual cracks. Instead, you must use precise floor leveling techniques before the tile even touches the room. I once saw a kitchen where the installer used nearly two inches of thinset to compensate for a sagging joist; within a month, the grout lines had turned to powder. Always use a dedicated leveler or shims on the joists to fix the topography first.
Can you really skip the primer on a clean plywood subfloor?
Many believe that if the wood is new and clean, the self-leveler or thinset will bite just fine. This is a high-stakes gamble. Wood is incredibly thirsty. Without a dedicated primer, the plywood will suck the moisture out of your leveling compound or mortar before it has a chance to chemically cure. This results in a brittle, ‘flash-dried’ bond that will eventually delaminate. I have walked onto jobs where I could peel the leveling compound off the floor in giant, potato-chip-like sheets. This is why your self-leveling compound is cracking like a dry lake bed. Always prime. It is a ten-minute step that saves a ten-thousand-dollar floor. If you are mixing materials, make sure you are mixing self-leveler for a perfectly smooth surface to ensure that primer does its job effectively. 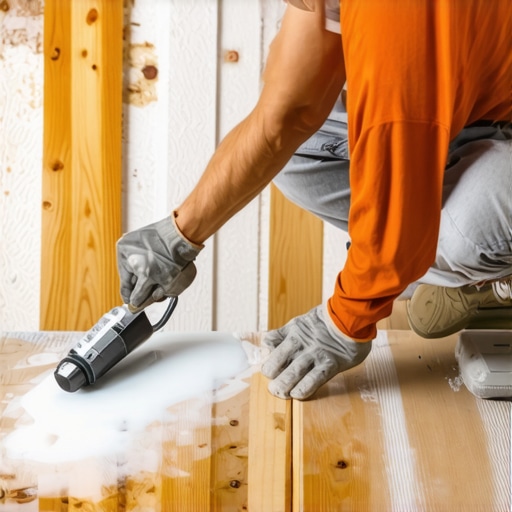
Don’t Grout Your Material Transitions
When transitioning between materials, like when you combine hardwood and tile, the height difference is not just an aesthetic issue—it is a movement joint issue. Most people use a cheap transition strip and call it a day. But an expert knows that the gap between the tile and the hardwood must be treated as a live expansion joint. If you grout that joint solid, the hardwood will expand and literally push the tile off the floor. Use a color-matched 100% silicone caulk instead. It looks like grout but acts like a shock absorber. This is one of those signs your tile contractor is cutting corners on prep work if they insist on grouting right up against a different material. Take the extra time to plan your heights so you can achieve seamless flooring transitions that stay intact through the seasons.Once the dust settles and the tools are put away, the real work of preservation begins. I’ve seen gorgeous $20-per-square-foot porcelain ruined in six months because a homeowner used a harsh acidic cleaner. You have to know the vinegar mistake why it destroys your tile grout; vinegar is an acid that literally eats the cementitious binder in your grout lines. Instead, stick to pH-neutral cleaners that won’t strip your sealer. And for the love of your subfloor, stop using bleach on your grout before you read this—it is too aggressive and eventually makes the grout more porous and susceptible to staining. If you have hardwood nearby, the rules change entirely. One of the biggest ‘floor killers’ I see is the steam mop. I cannot stress this enough: why you should never use a steam mop on engineered wood floors is that the forced heat and moisture can delaminate the layers. Stick to hardwood floor care secrets to longevity and shine like micro-mist mopping and maintaining a steady 35-55% humidity level in your home.
How do I keep my new floor looking like Day One?
The secret is proactive protection. For tile, this means a high-quality penetrating sealer applied every one to two years. For wood, it is about identifying issues early. You should learn how to identify water damage in hardwood before it starts to rot, especially near dishwashers or entryways. When you finish the job, the best way to clean a new hardwood floor for the first time is with a dry microfiber dust mop to remove any abrasive construction grit that could scratch the finish underfoot.
The Professional Tools You Will Actually Use More Than Once
If you are serious about DIY, stop buying the cheapest plastic spacers and start investing in a mechanical leveling system. Beyond that, there are 7 tools you actually need for a professional DIY hardwood install, including a quality moisture meter. According to the technical guidelines from the National Wood Flooring Association (NWFA), the moisture content of your subfloor should be within 2% to 4% of your flooring material to prevent warping. I personally use a Wagner pinless meter because it doesn’t leave holes in my expensive planks. For tile work, I always keep a dead blow hammer handy; you can see why you should use a dead blow hammer for floor capping to ensure every tile is fully seated without the risk of shattering the surface. 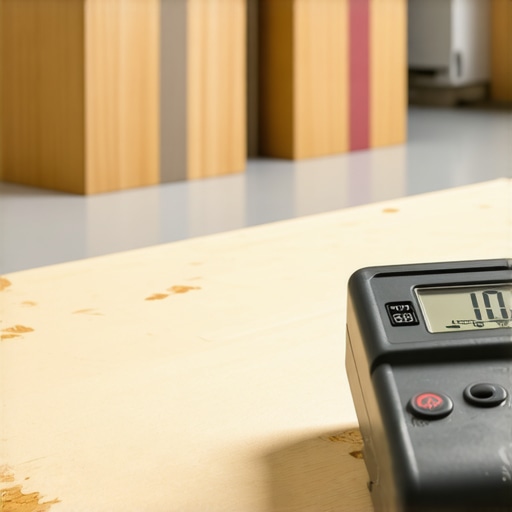 Looking ahead, I predict we will see a massive shift toward ‘smart’ underlayments that can detect subfloor moisture via Bluetooth sensors before a failure occurs. Until then, you have to be the sensor. If you suspect a mistake was made, don’t panic; there is usually a way how to fix a hollow-sounding tile without tearing it up using injectable adhesives. I challenge you to grab a moisture meter today and check your subfloor before your next project—it is the single best way to guarantee your floor survives the next decade.
The Hard Truths I Learned from My Worst Flooring Disasters
Looking back at years of trial and error, I’ve realized that the most expensive tile in the world can’t save a cheap foundation. One major lightbulb moment was discovering that deflection is invisible. You can’t always see a floor bounce, but the porcelain feels every millimeter of it. I used to think that rigid meant strong, but in the world of flooring installation and leveling success, rigid often just means brittle if it lacks the right support. Another hard lesson was that moisture is the silent killer; if you don’t account for how wood breathes, your grout will tell the story within a year. Finally, I learned to stop rushing the thinset; the prep is the project, and the actual tiling is just the victory lap.
The Gear That Separates Amateurs from Professionals
If you want to move beyond basic DIY, you need a toolkit that respects the physics of your home. I never start a project without a high-quality pinless moisture meter to ensure the subfloor is ready for a bond. I also swear by the TCNA Handbook; it’s the industry bible that prevents those common flooring installation mistakes to avoid. For perfectly flat surfaces, skip the guesswork and use a mechanical leveling system—it’s the only way to eliminate lippage on large porcelain planks. These tile installation pointers that save time and money aren’t just about speed; they’re about ensuring you don’t have to redo the work in five years. #IMAGE_PLACEHOLDER_E#
Build a Foundation That Stands the Test of Time
Starting a major renovation can feel overwhelming, especially when you’re dealing with the complexities of mixing rigid materials with a flexible home. But remember, every expert started with a single cracked tile and a lot of questions. By focusing on structural integrity and using the ultimate guide to floor leveling as your roadmap, you are already ahead of most contractors. Take your time, trust your level, and don’t be afraid to over-engineer your subfloor. Your future self will thank you every time you walk across a solid, silent floor. Ready to revamp your home with expert flooring installation tips? You’ve got the knowledge—now it’s time to pick up the trowel. Have you ever discovered a hidden subfloor issue halfway through a project? Let me know in the comments below!