
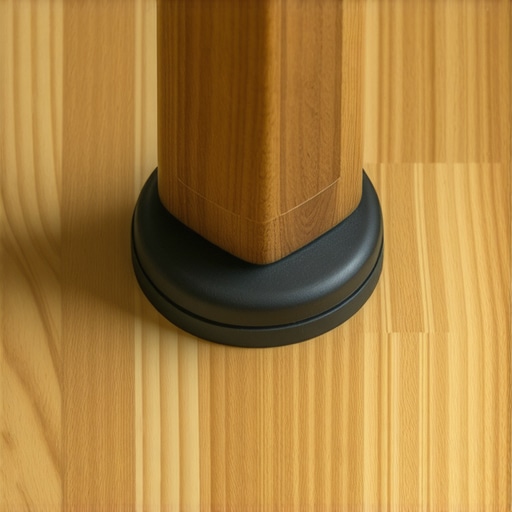
I’ll never forget the sinking feeling in my stomach when I pushed my heavy oak dresser back against the wall, only to hear a soft *click-clack* that shouldn’t have been there. I looked down, and to my absolute horror, the luxury vinyl planks (LVP) had shifted. A gap the size of a nickel had opened up three feet away. I’d spent all weekend following every [flooring installation fundamentals](https://tiletrendshop.com/flooring-installation-fundamentals-leveling-for-a-seamless-look) guide I could find, yet here I was, watching my floor literally walk away from me. It’s a common nightmare for DIYers. You pick out a beautiful floor, spend hours on [precise floor leveling techniques](https://tiletrendshop.com/precise-floor-leveling-techniques-to-achieve-flawless-surfaces), and then a single piece of furniture treats your floor like a sliding puzzle. Today, I’m going to show you exactly how to anchor those planks so they stay put, even when you’re moving the heaviest sofa in the house.
Your Heavy Furniture is Moving Your Floor
The problem with LVP is right in the name: it’s a floating floor. It’s not glued or nailed down, which is usually a blessing until you drop a 300-pound armoire on it. When that weight is concentrated on a small point, it acts like a brake on one part of the floor while the rest of the planks want to move. I learned this the hard way during my first renovation when I ignored [flooring installation mistakes to avoid for lasting results](https://tiletrendshop.com/flooring-installation-mistakes-to-avoid-for-lasting-results). I assumed the weight of the furniture would hold it down, but it actually creates a pivot point that causes joints to fail. According to the Resilient Floor Covering Institute, vinyl is sensitive to ‘point loading,’ which can cause enough stress to snap the locking mechanisms if the floor isn’t perfectly stabilized. Have you ever felt your floor shift under your feet while moving a table? Let me know in the comments because I felt like I was losing my mind the first time it happened to me.
Does LVP really hold up under a heavy piano?
This is the question I get asked most often at neighborhood BBQs. People are terrified that their investment will buckle under the weight of a baby grand or a massive sectional. The honest answer? It will—if you don’t prepare the subfloor. If you have dips or peaks, the weight of the furniture will force the planks into those voids, causing them to slide or disconnect. This is why [the ultimate guide to floor leveling](https://tiletrendshop.com/the-ultimate-guide-to-floor-leveling-for-a-perfect-finish) is your best friend before you even open a box of flooring. You might also find that [why floating floors sound hollow when you walk on them](https://tiletrendshop.com/why-floating-floors-sound-hollow-when-you-walk-on-them) is often linked to these same subfloor issues that allow planks to migrate.
The Friction Secret for Stable Planks
The trick isn’t just about how you lay the floor, but what you put under the furniture. Early in my DIY journey, I made the mistake of using those slick plastic sliders under my heavy table. Big mistake. They reduced friction so much that the table was basically a sled for the planks. Instead, you need to increase the grip between the furniture leg and the plank. If you’re dealing with stubborn edges that just won’t stay put, I’ve found that [the weight plate trick for bonding stubborn vinyl corners](https://tiletrendshop.com/the-weight-plate-trick-for-bonding-stubborn-vinyl-corners) works wonders during the initial set. You also need to ensure [why your floor to wall gap is the most important part of lvp](https://tiletrendshop.com/why-your-floor-to-wall-gap-is-the-most-important-part-of-lvp) is followed to the letter, or the shifting has nowhere to go but into your baseboards, causing even bigger headaches later.
Flatten Your Subfloor to Kill the Shifting Problem
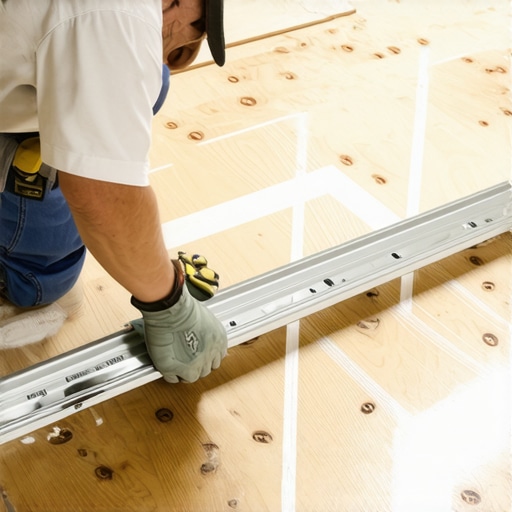
LVP is like a giant sheet of ice; if the surface beneath it isn’t perfectly flat, everything starts to drift downhill or buckle under pressure. I learned the hard way that a 1/8-inch dip can become a plank-killing canyon once a heavy dresser sits on it. To avoid this, you must master mastering floor leveling pro secrets for perfect installations. I used to just eyeball it, but now I swear by the chalk dust secret for finding low spots in subfloors. You drag a straight edge across the floor, and the chalk stays in the valleys, showing you exactly where you need more compound. If you don’t fill those voids, you’ll end up wondering why your lvp floor is showing telegraphing from the subfloor after just a few months of heavy traffic.
Stop the Wave with Better Pouring Techniques
When you do pour your leveler, don’t let it just sit there. I once ended up with a floor that looked like a stormy sea because I didn’t use the right tools. You need the spiky roller secret for a mirror smooth pour to pop air bubbles and help the material settle. If you skip this, you’ll find why your self-leveling pour looks like a topographical map—full of ridges that cause your planks to pivot and slide when you move your couch. This is essential for flooring installation fundamentals leveling for a seamless look because even a tiny ridge acts like a fulcrum under a heavy piano leg.
Ditch the Plastic Sliders for High-Friction Pads
Most people think sliders are great for protecting floors, but on LVP, they turn your furniture into a battering ram. I once helped a friend move a heavy oak cabinet using those slick disks. As we pushed, the cabinet didn’t just slide on the floor; it took the entire middle section of the flooring with it toward the wall. It was a disaster that required precise floor leveling techniques to achieve flawless surfaces to fix after we ripped the planks back up. Instead, you need rubberized non-slip pads. These create a ‘grip’ that locks the furniture to the plank, ensuring that when the floor expands or contracts naturally, the furniture moves with the floor rather than sliding over it and unzipping the joints.
Spread the Load with Wide-Base Coasters
Point loading is the enemy of the floating floor. Think of it like walking on thin ice: if you stand on your tiptoes, you’ll fall through; if you lay flat, you’re safe. Heavy furniture legs need wide-base coasters to distribute that weight over multiple planks. This prevents the ‘pivot effect’ where one plank is pinned down while its neighbor is free to move. If you’ve already got a gap, you might need the weight plate trick for bonding stubborn vinyl corners to reset the bond before you place your protective coasters. Also, make sure you aren’t making flooring installation mistakes to avoid for lasting results by forgetting to check the moisture levels. Always know how to use a moisture meter before you lay wood floors or vinyl to ensure the subfloor is dry enough for the planks to sit stable without the underlayment shifting underneath them.
I’ve seen so many people fall for the “thicker is better” myth when it comes to underlayment. They think a 6mm pad will make their floor feel like a cloud, but in reality, that squish is a primary cause of joint failure under heavy furniture. When you have too much vertical “give,” the weight of a heavy dresser forces one plank down while the adjacent plank stays up. This puts a shearing force on the locking system that it wasn’t designed to handle. Instead of masking floor dips with foam, you need to rely on precise floor leveling techniques to achieve flawless surfaces. Have you ever fallen into this trap of buying the “premium” thickest pad only to have your floor feel like a trampoline? Let me know in the comments.
Does a Quarter-Inch Expansion Gap Really Matter for Small Rooms?
Actually, yes. In my early days, I figured I could skip the gap in a tiny powder room because there simply wasn’t much material to move. I was wrong. The National Wood Flooring Association (NWFA) emphasizes that dimensional stability is subject to environmental changes regardless of square footage. Even in a small space, if the temperature spikes or the humidity climbs, those planks are going to expand. If they hit the drywall, they’ll buckle or “tent” in the middle of the room. This is why your floor to wall gap is the most important part of lvp. For those with underfloor heating, it’s even more critical to follow the expansion gap rule for radiant heated wood floors to prevent the heat from forcing a massive, destructive shift.
Protect Your Joints from the Dreaded Mallet Fracture
Most DIYers reach for a heavy hammer when a plank won’t seat properly. That’s a huge “oops” factor. I call it the rubber mallet mistake that ruins tongue and groove joints. If you strike the edge directly or too forcefully, you create micro-fractures in the brittle core. You might not see it now, but once you put your dining table on it, the weight will cause those weakened joints to snap and separate. Always use a sacrificial scrap piece as a tapping block to distribute the force. This is one of those flooring installation mistakes to avoid for lasting results that pros know but weekend warriors often overlook until it is too late.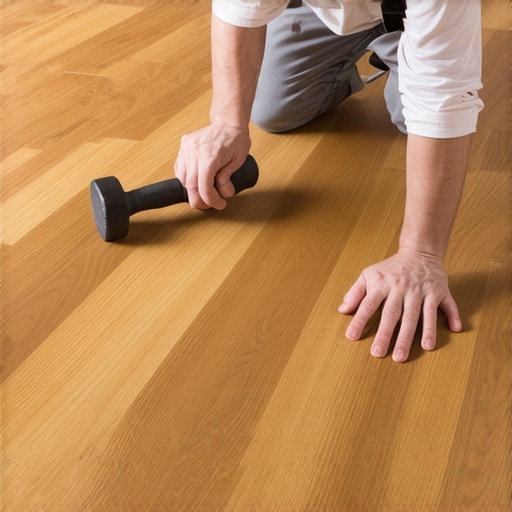
Stop Your Self-Leveler from Failing Before You Even Pour
If you’re prepping a subfloor, don’t forget the prep-before-the-prep. Many people dump leveler onto a dusty or painted slab and expect a bond. This is why most floor levelers fail on top of painted concrete. The leveler doesn’t bond; it just sits on top like a sheet of paper. You need to perform the concrete etching step you shouldnt skip before leveling to create a profile for the leveler to grab onto. Without it, you’ll end up wondering why your self-leveler is drying faster than you can pour it, as the porous concrete drinks the moisture out of the mix, leaving you with a brittle mess. For long-term maintenance after you successfully anchor your planks, make sure you understand hardwood floor care secrets to longevity and shine to keep your investment looking brand new for years.
The Gear That Saved My Knees and My Sanity
I used to think a standard bucket and a generic stick were enough to mix my materials, but I couldn’t have been more wrong. If you want to avoid the nightmare of a failed installation, you need to invest in the right arsenal. One of the most underrated pieces of equipment in my trailer is a high-quality moisture meter. I’ve seen beautiful projects ruined because someone skipped the testing phase. Learning how to use a moisture meter before you lay wood floors is the difference between a floor that lasts and one that warps by Christmas. I personally use a pinless moisture meter because it allows me to scan multiple areas of the subfloor without leaving unsightly puncture marks in the wood or underlayment.
Don’t Let Your Drill Ruin the Pour
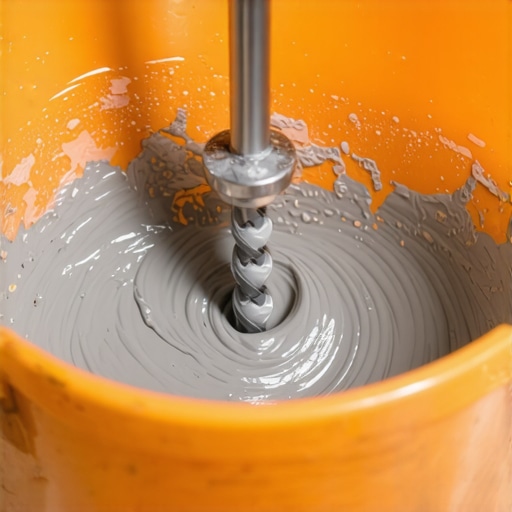
When it comes to leveling, the tool is just as important as the technique. I’ve seen DIYers use high-speed paint mixers for self-leveling compound, which is a recipe for disaster. You end up with the mixing paddle speed that ruins your leveling compound by introducing tiny air bubbles that turn into craters once the floor dries. I use a dedicated, low-RPM mixing drill with a helical blade. This specifically pulls the material from the bottom up without whipping it like a meringue. It ensures a dense, glass-like finish that is critical for flooring installation fundamentals leveling for a seamless look. According to MAPEI’s technical data sheets on high-flow self-levelers, maintaining a consistent, low-speed mix is the only way to guarantee the compressive strength required for heavy point loads like pianos or safes.
How can I keep my flooring looking new for decades?
Maintenance isn’t just about mopping; it’s about choosing the right products. I strictly tell my clients to stop using vinegar on your hardwood floors immediately. The acid eats away at the protective finish over time, leaving it dull and prone to water damage. Instead, focus on hardwood floor care secrets to longevity and shine, which involve pH-neutral cleaners and microfiber pads that don’t trap abrasive grit. For those with tile, keeping it looking fresh means knowing the exact moment you should pull your tile spacers for the cleanest lines and ensuring your grout is sealed. If you’re looking to scale your skills, I highly recommend checking out tile installation pointers that save time and money for your next big project.
The Future of Flooring is Smart and Seamless
I predict that in the next five years, we are going to see a massive shift toward “intelligent” underlayments that can actively manage moisture and sound. We are already seeing the beginning of this with advanced cork and recycled rubber composites. If you want to stay ahead of the curve, stop relying on cheap foam and start looking at precise floor leveling techniques to achieve flawless surfaces using fiber-reinforced compounds. These materials are becoming more DIY-friendly, allowing for thinner pours with higher durability. My big advice? For your next project, try the “double-mix” technique: mix your leveler, let it slake for two minutes, and mix again for 30 seconds. It’s a pro secret that eliminates lumps every single time.
The Most Expensive Mistakes I Made So You Don’t Have To
Over the years, I’ve realized that flooring installation is 90% preparation and 10% actually clicking planks together. One lightbulb moment for me was realizing that acclimation isn’t just a suggestion; it’s a requirement. If your vinyl doesn’t reach the room’s temperature, it will expand or contract the moment you finish, leading to those annoying gaps. Also, never ignore a ‘hollow’ sound. If you step on a spot and it sounds like a drum, you’ve got a subfloor dip that will eventually cause a joint to snap. This is where precise floor leveling techniques to achieve flawless surfaces become your best friend. I’ve also learned that the ‘gentle touch’ wins every time—forcing a plank into place almost always micro-fractures the tongue, which is the rubber mallet mistake that ruins tongue and groove joints. Take your time, and if it doesn’t click easily, check for debris in the groove.
The Gear I Actually Keep in My Truck
If you want a professional finish, you can’t rely on a basic toolkit. I always carry a suction cup floor puller; it’s the only way to close a gap in the middle of a room without ripping everything up. For prepping the subfloor, a helical mixing blade is non-negotiable. It prevents the aeration that explains why self-leveling compounds bubbled over your subfloor. I also never start a job without a pinless moisture meter. Knowing how to use a moisture meter before you lay wood floors or vinyl is the only way to be 100% sure your subfloor won’t fail from underneath. Finally, keep a sacrificial tapping block made from a scrap piece of your actual flooring; it’s the best way to protect those delicate edges during floor leveling and installation.
Now Go Build a Floor That Stays Put
You’ve got the knowledge, the pro tips, and the warnings to avoid the most common pitfalls. Flooring installation can be intimidating, but when you focus on floor leveling and proper furniture anchoring, you’re creating a surface that will withstand the chaos of daily life for decades. Don’t be afraid to take it slow and double-check your work at every row. You’re not just laying down plastic; you’re building the foundation of your home’s comfort. Have you ever had a heavy piece of furniture cause a gap in your flooring? Let me know in the comments below!