
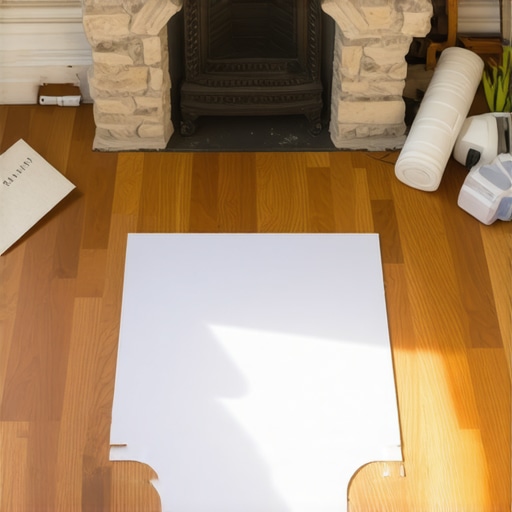
I still remember the sinking feeling in my stomach three winters ago. There I was, sitting on a cold subfloor, staring at a $120 plank of select grade white oak that I had just butchered. I had tried to freehand-cut the board to match the undulating, rugged face of my living room stone fireplace. The result? A gaping, ugly half-inch gap that looked like it was carved by an angry beaver. I tried to hide it with a thick glob of colored wood putty, but every time the fire caught, that ugly patch job just gleamed back at me, screaming amateur hour. It was a painful lesson in why precision matters, and it sent me on a quest to find a foolproof way to marry organic stone with rigid hardwood. That is when I discovered the magic of templating. Today, I am going to share how a simple piece of craft paper can save your sanity, your flooring budget, and your living room aesthetics. We are going to dive deep into the trick for scribing wood planks to a stone fireplace so you can achieve a seamless, professional finish without losing your mind. But first, let us address the elephant in the room.
Is the paper template method actually worth the extra time?
I get it. You are in the middle of a major flooring installation project, your knees hurt, your back is stiff, and you just want to get the planks laid down. Creating a physical paper template for every single stone bump feels like pulling teeth. You might be tempted to just eye-it or use a cheap plastic profile gauge. Trust me, I made that mistake early on. The plastic pins on those gauges slide around too easily, and they simply do not have the run capacity to handle a deep hearth stone. According to architectural design standards, a fireplace is the natural focal point of any living area; even minor installation gaps of more than 1/16th of an inch can draw the eye directly to the flaw and lower the perceived value of the entire room. Taking twenty minutes to craft a precise paper template is not just a neat trick—it is the difference between a custom, high-end look and a frustrating DIY regret. It is just as critical as taking the time to measure subfloor flatness before you start laying down your expensive timber. Have you ever tried to freehand a cut around stone only to end up with a gap you could slide a smartphone through? Tell me about your fireplace design struggles in the comments below! Let us get our tools ready and look at exactly how to execute this flawlessly.
How to set up your template guide without sliding off-mark
Before you pull out the saw, you need a rigid baseline. If your paper template moves even a millimeter while you are tracing the stone contours, your final cut on that beautiful hardwood will be completely ruined.
Step-by-step masterclass for transferring irregular stone lines
To turn this chaotic stone face into a clean cutting line, think of your paper template as a translator. It takes the wild, unpredictable language of the stone and translates it into a language your jigsaw can actually understand. When I was working on that white oak project, I realized my mistake was treating the stone as a straight line. It is not. It is a series of tiny hills and valleys. To capture them, you need a physical bridge between the last installed flooring plank and the hearth.
Anchor your template paper like a pro
Start by laying a strip of heavy builder’s paper or rosin paper directly over the gap where your next hardwood plank will sit. This paper must be perfectly parallel to your flooring run. Grab some blue painter’s tape and secure the paper to the subfloor. Do not skimp on the tape here; any shifting will ruin your cut line. I learned this the hard way during a chaotic living room remodel where my dog ran across my template mid-trace, shifting the paper by a quarter-inch. I ended up cutting a beautiful piece of timber completely wrong because I had only used two tiny pieces of tape. Now, I tape down the entire back edge.
Trace the stone contours with a compass scribing tool
Now, grab an inexpensive carpenter’s compass. Set the span of the compass to match the widest gap between your paper edge and the deepest recess of the fireplace stone. Keep the metal point of the compass pressed firmly against the stone face, and let the pencil lead rest on the paper template. Smoothly glide the compass along the profile of the fireplace. As the metal tip rides the bumps and crevices of the stone, the pencil will draw an exact, parallel replica of that rough face onto your paper. This simple mechanical transfer bypasses all human error. If you are working on a complex layout, ensuring you have used proper flooring installation fundamentals beforehand keeps your plank flat while you scribe.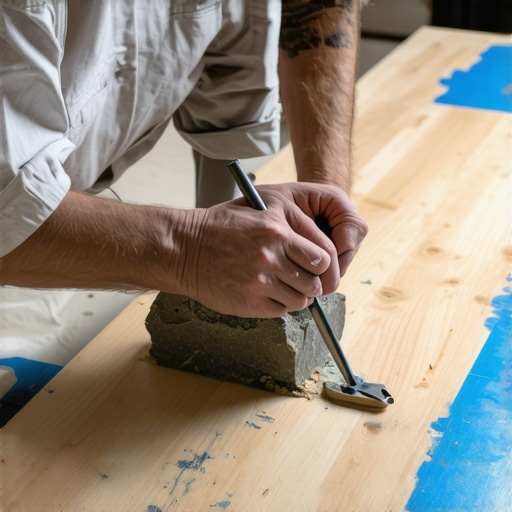
Transfer the paper line to your hardwood plank
Once your pencil line is drawn, carefully peel up the paper. Do not throw away your alignment marks. Place this paper template directly on top of the actual wood plank you intend to install. Make sure the straight edge of your paper aligns perfectly with the tongue or groove side of your plank, depending on your direction of travel. Use a sharp utility knife to cut along your scribed pencil line, slicing right through the paper. This leaves a clean, physical cut line directly on the face of your wood. To protect the wood fibers from splintering when you cut, press a strip of painter’s tape along the path of the cut before tracing. This is one of those crucial flooring installation mistakes to avoid that separates a clean, professional edge from a jagged, amateur mess.
Make the cut with a back-bevel angle
Set your jigsaw with a clean-cutting downward scroll blade. As you follow your traced line, tilt the base of your jigsaw slightly—about 5 to 10 degrees. This creates a back-bevel, meaning the top face of the wood plank will be slightly longer than the bottom side. This angle is your secret weapon. When you push the plank against the rugged stone, the sharp, top edge of the wood will make contact first, hiding any minor subfloor imperfections underneath. If you are working on achieving a flat subfloor before starting this process, utilizing precise floor leveling techniques beforehand will guarantee that your back-beveled edge sits flush without any unsightly vertical lippage.
Why the standard rules of self-leveling are leading you astray
Let us dig deeper into what is actually happening beneath those planks. Ask any traditional carpenter, and they will tell you that prepping your floor simply means dumping a few bags of self-leveler and letting gravity do the work. But in my years of fixing bowed planks, I have learned that self-leveler is not actually self-leveling. It is self-smoothing. If you treat it like water, it will pool in the wrong places, leave high spots, and cause your beautiful custom-scribed boards to bounce and squeak over time. One of the most overlooked flooring installation mistakes to avoid is ignoring the liquid surface tension of these compounds. They do not magically find absolute level; they fight against it.
Why does your self-leveler keep bubbling over wood?
The answer lies in the moisture-wicking nature of your subfloor. When you pour wet compound over dry plywood, the wood instantly sucks the moisture out of the mix, trapping escaping air as ugly, brittle craters. To prevent this, you must understand why your self-leveler is bubbling over plywood and seal the wood with an acrylic primer first. According to a comprehensive structural study by the National Wood Flooring Association (NWFA), subfloor preparation accounts for over 75% of post-installation floor failures. Ignoring the primer or rushing the dry time means your leveler will crack, telegraphing those structural failures directly up to your masterfully scribed hearth planks. 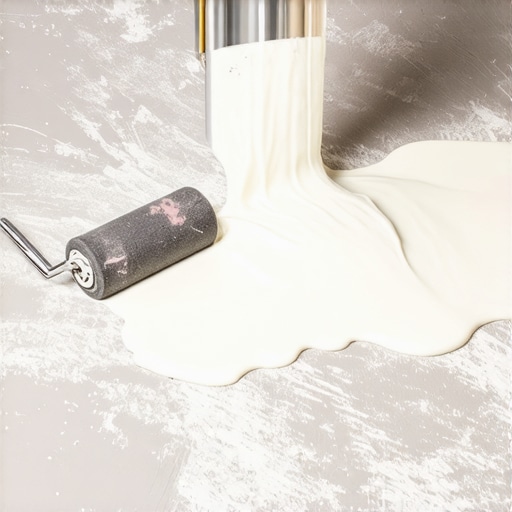 Have you ever fallen into this trap and had to scrape up hardened leveling compound with a chisel? Let me know in the comments! If you want to avoid these painful setbacks altogether, mastering precise floor leveling techniques before you scribe your first board is the ultimate secret to a squeak-free, museum-quality finish.
How do I maintain my scribed fireplace transition over time?
Once you have successfully completed that grueling scribe job, the battle is only half won. Hardwood is a living, breathing material that reacts constantly to the moisture levels in your home. If you want to keep that tight, custom-scribed look without the wood buckling or pulling away from the hearth, you have to manage seasonal expansion. This is where most homeowners fail. They pack the gap between the wood and the stone with rigid caulk or standard wood filler. Within six months, as winter sets in and humidity drops, that filler cracks and crumbles away. I highly recommend using a high-flexibility, color-matched elastomeric sealant instead. These sealants are specifically formulated to stretch up to 500% of their original width, acting as a flexible gasket that accommodates the natural movement of your timber. If you want to dive deeper into protecting your investment, check out hardwood floor care secrets to longevity and shine. In my experience, keeping your home’s relative humidity strictly between 35% and 55% using a dedicated humidifier is the single most important thing you can do to avoid unsightly gaps from opening up during dry winter months. To learn more about this seasonal battle, read my guide on how to keep your hardwood floors from gapping in the winter.
The essential precision toolkit for long-term flooring success
To keep your floors in museum-quality condition, you need to transition from installation tools to diagnostic tools. I do not go to any job site without a pinless wood moisture meter and a 100-foot digital laser measure. The pinless moisture meter, like the Wagner Meters Orion series, is my personal favorite because it allows you to scan your hardwood and subfloor without leaving ugly puncture marks. Before you ever lay a plank or if you are checking for hidden issues later, knowing how to read these levels is critical. I always advise people to how to use a moisture meter before installing wood floors to prevent catastrophic cupping. Looking ahead, the flooring industry is moving rapidly toward smart flooring systems with embedded moisture sensors that can alert your smartphone to subfloor dampness before it ruins your hardwood. Until those become mainstream, relying on precision hand tools is your best defense. If you ever run into a squeak that develops near your fireplace or heating vents over time, do not panic. It is usually caused by micro-movements of the wood against the subfloor, which you can easily address once you understand why your new floor is squeaking near the heat vents. 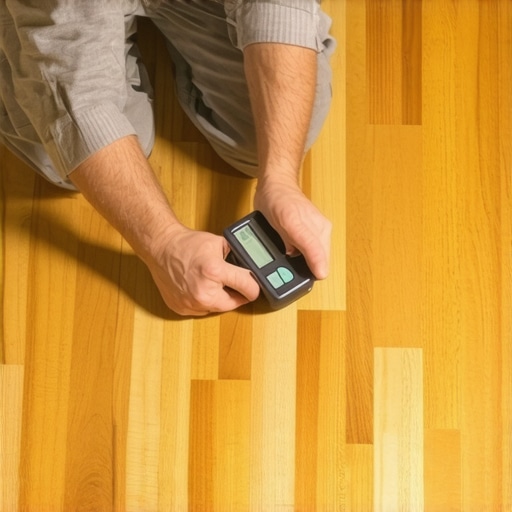 I challenge you to try the back-bevel jigsaw trick on your very next transition cut—it is a game-changer that will completely transform the quality of your work. For more advanced preparation strategies, make sure you are familiar with precise floor leveling techniques.
What Experts Won’t Tell You About Scribing Hardwood to Stone
Through years of dusty trials and a few ruined planks, I have discovered that the secret to a flawless scribe is not just a steady hand. It is recognizing how wood behaves under pressure. When you press wood directly against cold stone, you are creating a high-stress transition zone. Here are the core insights most professional installers keep to themselves:
- The Expansion Gap Illusion: Many pros will tell you to leave a massive 1/2-inch gap and cover it with trim. Around a beautiful rustic hearth, that looks terrible. By back-beveling your cuts and utilizing a flexible sealant, you can achieve a gapless look that still allows the timber to breathe safely.
- Friction is Your Enemy: Wood expands perpendicular to the grain. If your scribed cut is too tight in the corner pockets of the stone, the expanding board will slowly lift itself off the subfloor over time, causing a squeaky bounce.
- Templates Over Paper Profiles: A paper template is a baseline, but the final test is always on scrap wood. Never make your final scribe cut on your premier plank without testing the template on a scrap piece of flooring first.
The Ultimate Precision Toolkit for Seamless Transitions
To pull off this high-level detail, you cannot rely on a standard toolbox. Investing in a few specialized instruments will turn a stressful weekend job into a satisfying, exact craft. Here is what I keep in my installation bucket:
- Veritas Log Scribe: Unlike a cheap school compass, a high-quality double-pointed log scribe holds its angle locked solid, ensuring your transfer lines are perfectly true over long runs.
- Bosch Barrel-Grip Jigsaw: The barrel grip gives you much lower center-of-gravity control compared to top-handle models, which is crucial when navigating the tight, organic curves of a stone face.
- High-Flexibility Elastomeric Caulk: Do not use standard silicone. Products like Lexel or Sashco Big Stretch will bend and pull without breaking, ensuring your transition stays sealed forever. If you want to dive deeper into general surface preparation before laying down your boards, take a moment to study the the ultimate guide to floor leveling for a perfect finish.
Bring the Ultimate Hearth Focal Point to Life
Do not let the fear of a complex cut stop you from achieving the living room of your dreams. Precision work like scribing to stone is what separates a standard house from a home designed with true architectural character. Take your time, tape your edges, and cut with confidence. If you want to make sure your entire layout is built on a rock-solid foundation, check out our guide on step-by-step guide to flooring installation and leveling success to avoid any vertical alignment issues later on.
Have you ever tried to scribe wood to an uneven surface, or did you opt for a wider trim transition instead? Let me know your thoughts and struggles in the comments below!